Eyelet Wheel Stitch
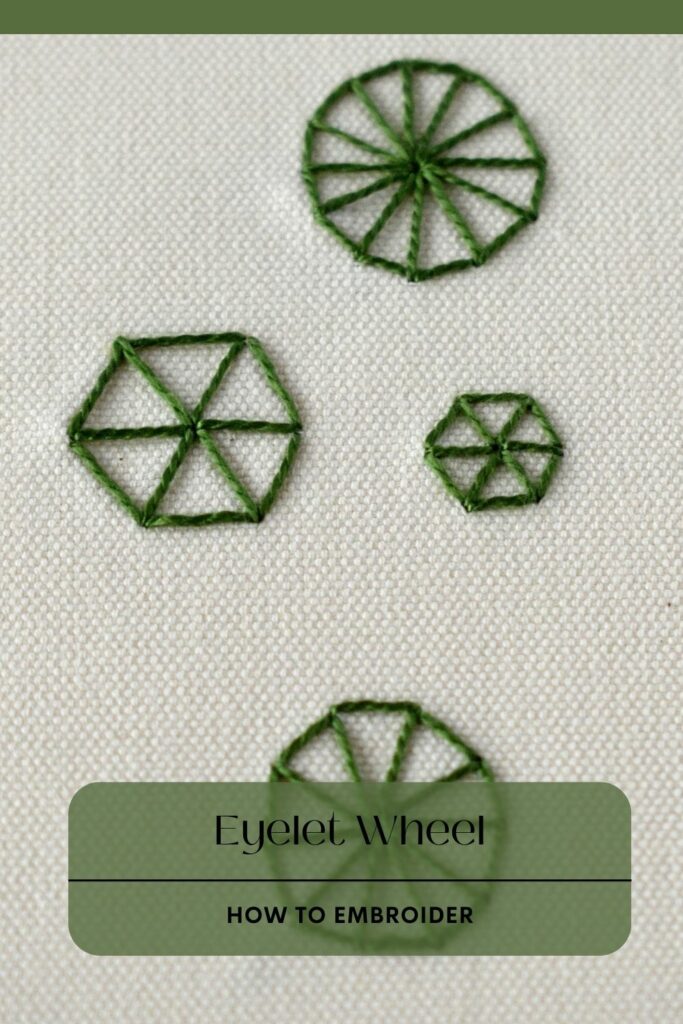
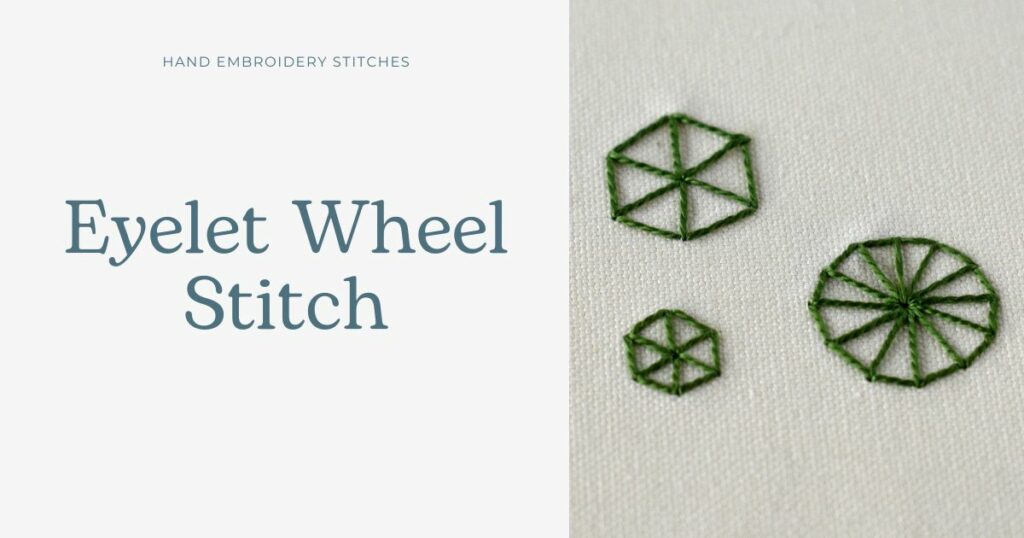
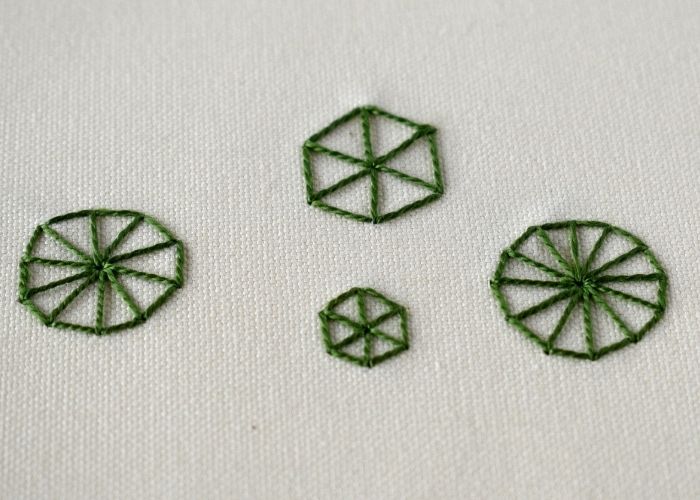
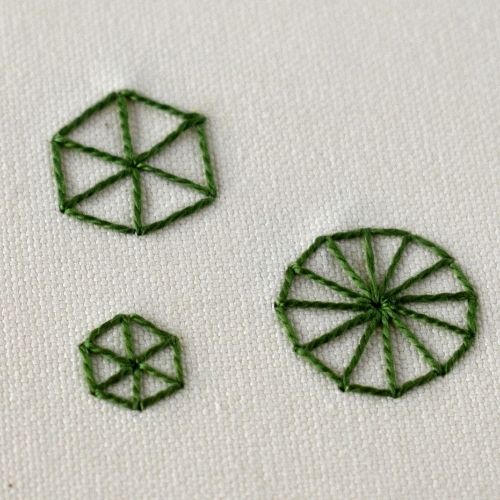
Eyelet Wheel Stitch is a hand embroidery technique from the straight stitch family. With this technique, the stitches, positioned in a circle, create a wheel shape. Visually, the stitch resembles the Buttonhole Wheel but has more stability and does not loosen up so quickly. Besides that, both sides of the stitch will look exactly the same.
The embroidery technique of the Eyelet Wheel is similar to that of the Eyelet Star. All the spokes are made towards the central hole, only additional stitches are added to join the spokes and create a full circle.
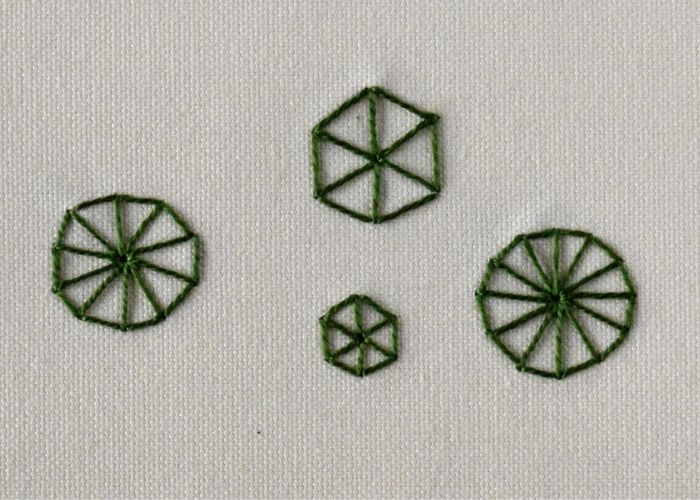
The number of spokes and their density can vary a lot. You can choose an even or odd number of spokes, too. The more spokes you make, the more fluid the circle will be. Fewer spokes will result in geometrical shapes like pentagons, hexagons, or heptagons.
Applications of the Eyelet Wheel
This decorative hand embroidery stitch will look great as a decorative motive on its own, in botanical embroideries, and anywhere where the circular shape is required.
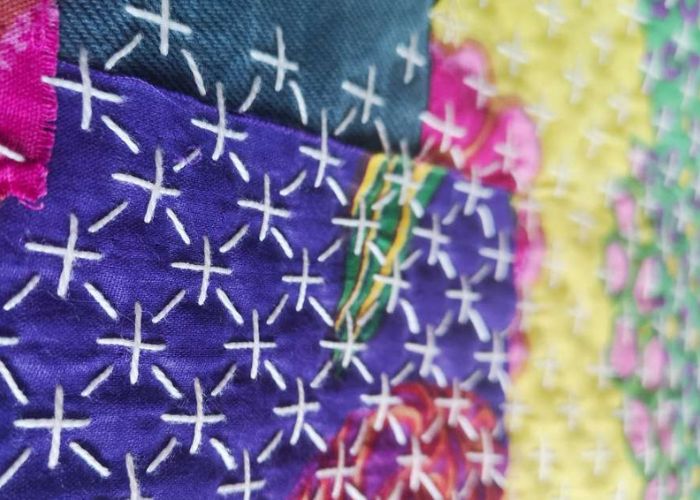
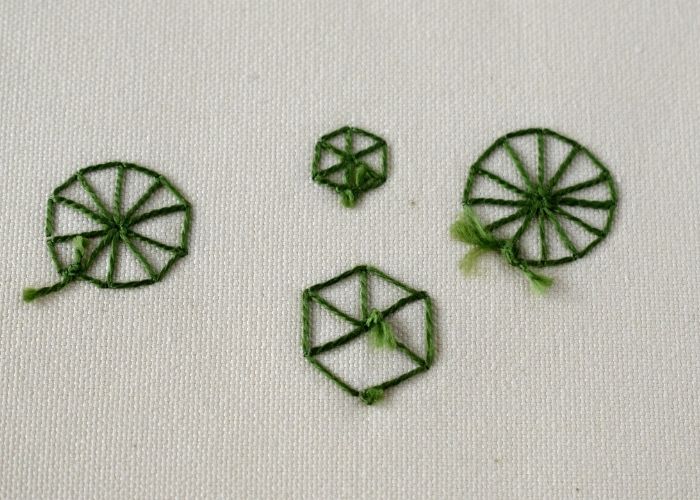
Besides the decorative surface embroidery, Eyelet Wheel Stitch is used in crazy quilting and mending projects.
More stitches from the Straight stitch family
- Lantern Stitch
- Triangular Turkish Stitch
- Algerian Eyelet
Learn how to embroider Eyelet Wheel
Follow the step-by-step tutorial with detailed photos below, and you will learn the Eyelet Wheel quickly. If you are a visual learner, watch a video lesson in the tutorial or on the Practical Embroidery YouTube channel to learn this hand embroidery stitch faster.
How to embroider Eyelet Wheel Stitch
Step-by-step hand embroidery tutorial
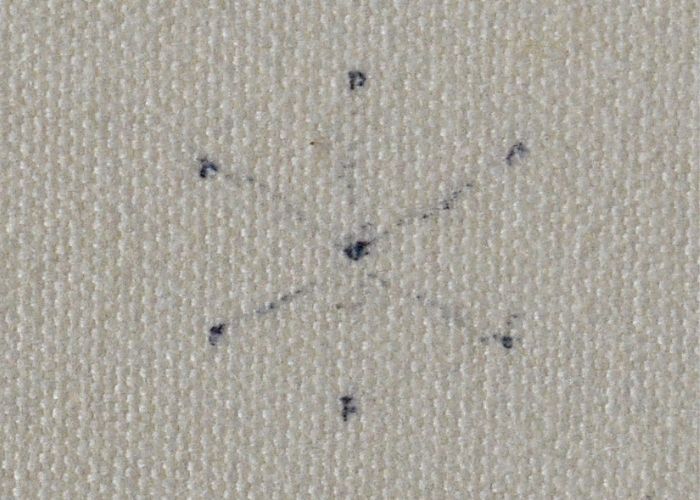
- Mark the circle with a center
Plan the number and positioning of spokes and mark the position of stitches.
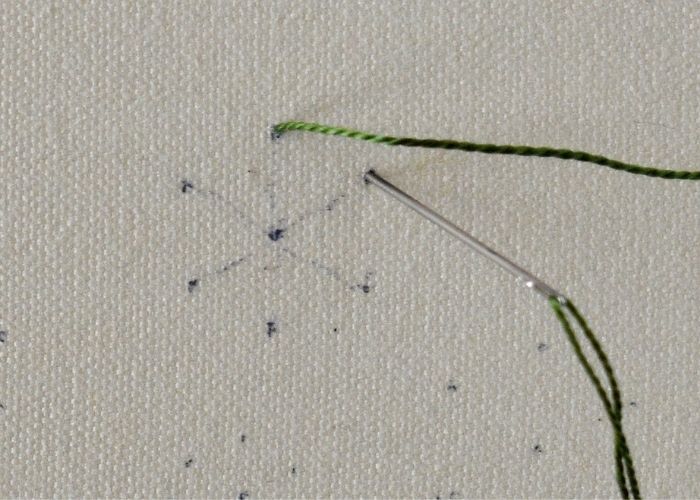
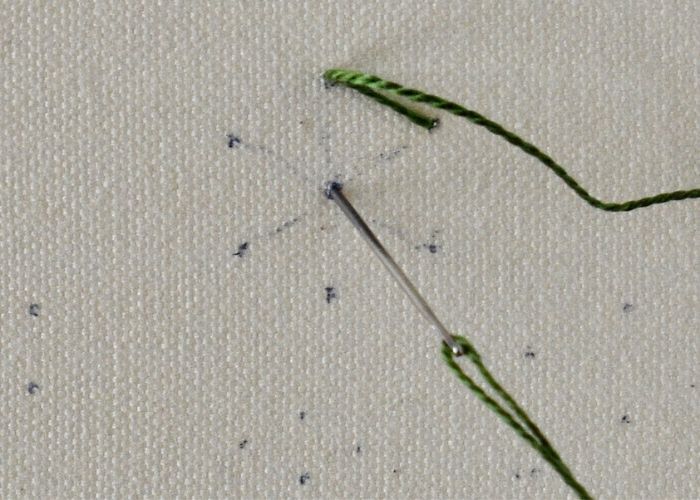
- Make the first stitch
Take the needle to the surface on the outer mark and make a stitch to shape the circle’s edge.
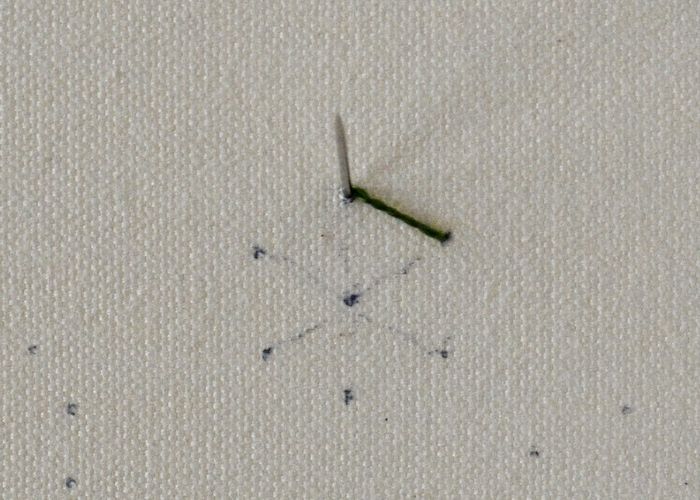
- Back to the starting position
Take the needle up to the surface at the same starting point. Pull the thread to the surface.
- Make the first spoke
Take the needle down in the center of the shape. Pull the thread to the back to shape the first spoke of the Eyelet Wheel.
- Make the second backstitch for the edge
Take the needle to the surface on the circle’s edge, one stitch away. Make a stitch to connect it to the previous stitch.
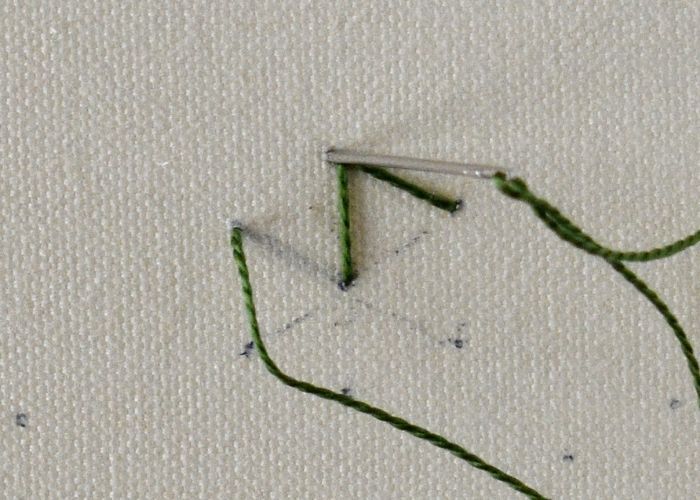
- Make the second spoke
Take the needle up at the same starting point and make a straight stitch to form the second spoke.
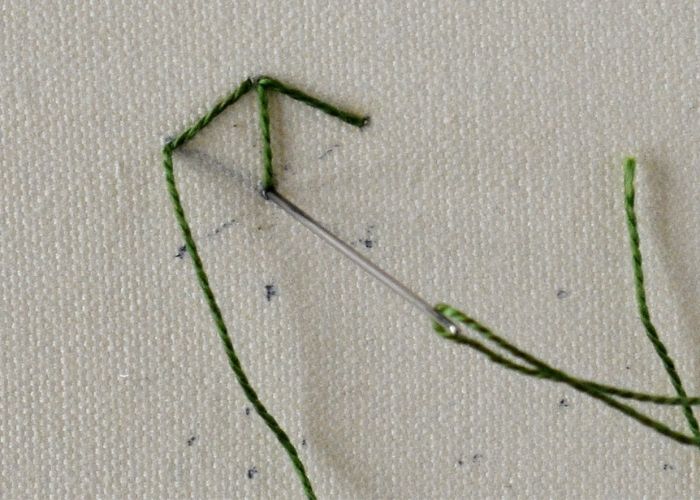
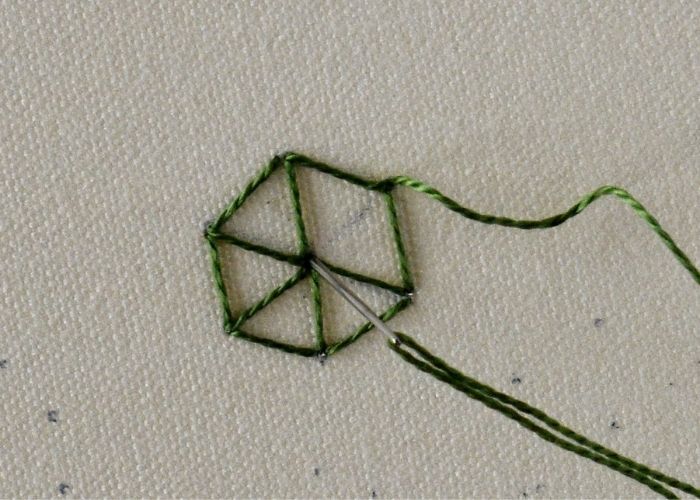
- Continue adding stitches
Add the stitches to shape the outline of the circle and the spokes. At the end, add the final stitch to close the circle.
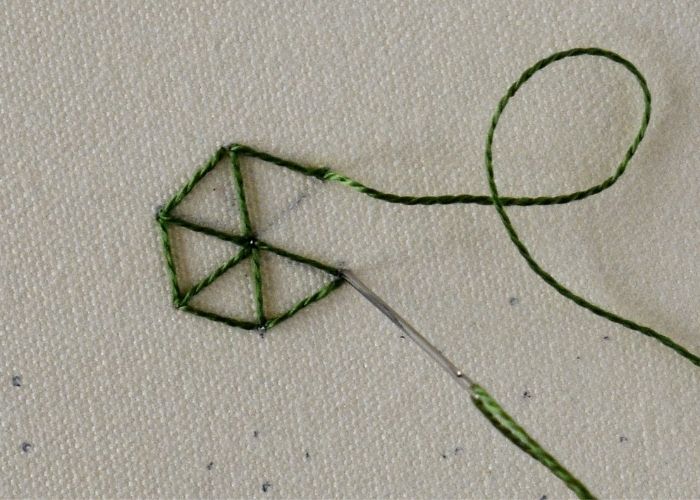
- Add the final spoke
Finally, add the last spoke and secure the thread on the back.
- Practice
Try making Eyelet Wheels with a various number of spokes and notice how it changes the shapes of the circles.
Eyelet Wheel Video tutorial
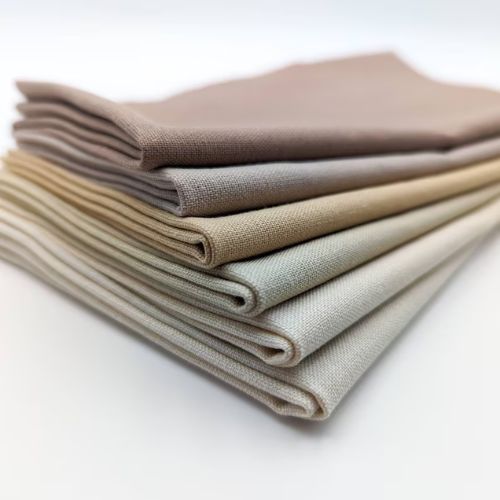
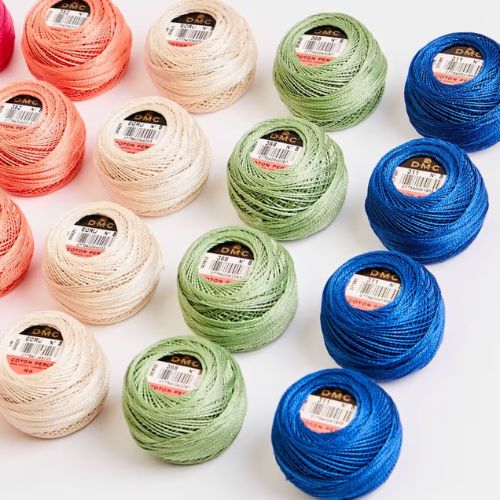
Tools and materials I used for this sampler
Disclaimer. To cover the cost of creating free embroidery patterns and video tutorials for this blog, I do sometimes link to products. Please assume these links are affiliate links. If you choose to buy through my links then THANK YOU – it will make it possible for me to keep doing this.
What’s next?
If you’re in the mood to explore more hand embroidery stitches, check out the Stitches and Techniques page for the list of other fantastic stitches available on my blog. From timeless classics to modern twists, a whole world of stitches is waiting for you to explore and master. So, grab your hoop and needle, and let’s stitch our way to creative bliss!
Don’t miss a thing!
Follow me on YouTube, Instagram, Facebook, and Pinterest. Or why not subscribe to Practical Embroidery newsletter and get embroidery tips straight to your inbox every few weeks?
Need More Guidance?
The top 10 hand embroidery stitches to learn is a free online course created for beginners.
