Cross Stitch
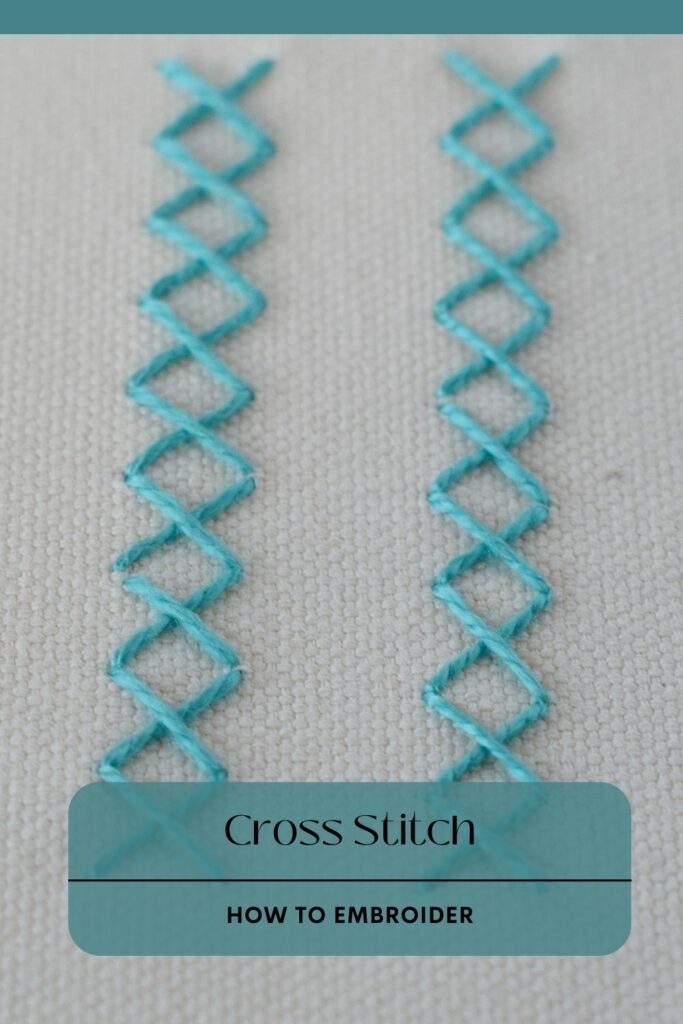
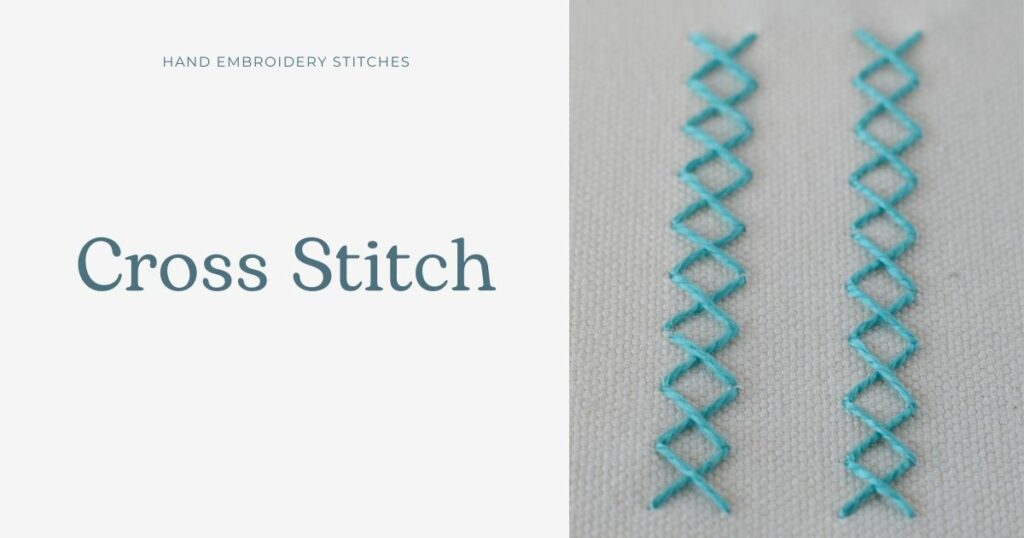
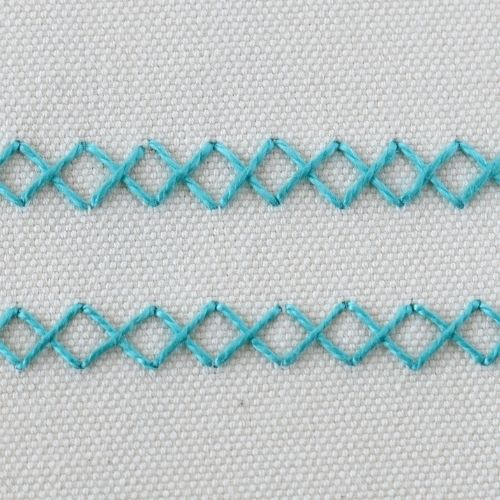
Cross Stitch is a basic hand embroidery technique in which two straight stitches are crossed to shape an X sign.
This antique hand embroidery technique is known worldwide; many traditional textiles are made with this embroidery technique.
Cross Stitch has various embroidery methods. The choice of method will depend on the purpose of the stitching and the durability of the embroidered piece. If the piece is made to endure more friction and wear, the stitches are made individually. For decorative pieces, a row of diagonal stitches is made, and then – on the reverse way – the other half of the stitch is added.
Other names of the stitch
This widespread embroidery stitch has many alternative names, such as Point de Croix Stitch, Gros Point, Cushion Stitch, Point de Marque Stitch, Sampler Stitch, Simple Cross Stitch, and Berlin Stitch.
Applications of the Stitch
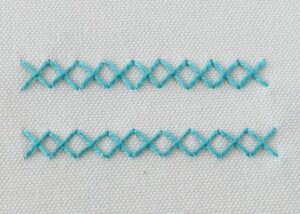
Traditionally, Point de Croix Stitch is a counted thread technique. Besides that, you can also use it as a detached decorative stitch, embroider the rows of Sampler Stitches on curved lines or make a filling on even weave fabric.
Some folk hand embroidery techniques use Point de Croix Stitch embroidery with red thread to embroider traditional motives.
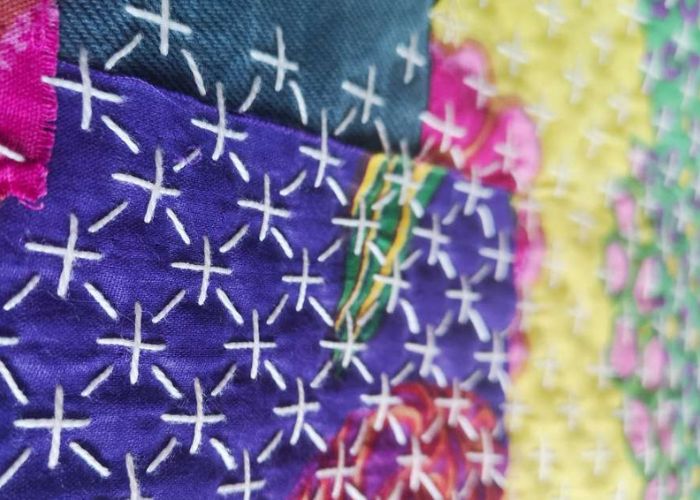
Along with that, Cross Stitch is used in crazy quilting, mending projects, and other textile and mixed media arts, like embroidery on paper or applique.
More stitches from the Cross Stitch family
- Ermine Stitch
- Star Stitch
- Smyrna Stitch
Learn how to embroider Cross Stitch
Follow the step-by-step tutorial with detailed photos below, and you will learn the embroidery technique quickly. If you are a visual learner, watch a video lesson in the tutorial or on the Practical Embroidery YouTube channel to learn this hand embroidery stitch faster.
How to embroider Cross Stitch
Step-by-step Cross Stitch hand embroidery tutorial
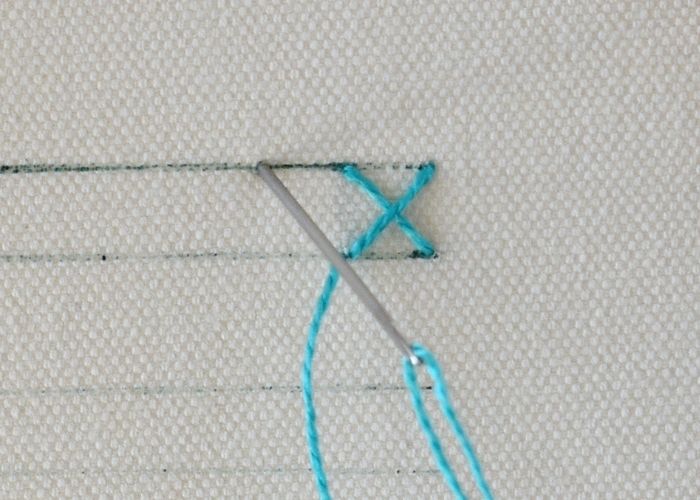
- Make the first stitch
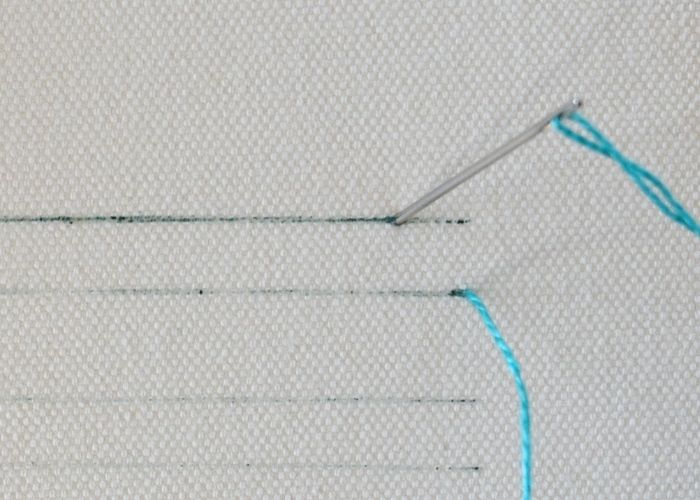
If you are using even weave fabric, mark two parallel lines to position the line of X stitches. Push the needle up to the surface on the lower line mark on the right. Make a diagonal stitch to the left on the upper line. The length of the stitch should be equal to the distance between the marked lines. This way, the stitches will be perfectly square.
- Make a Cross
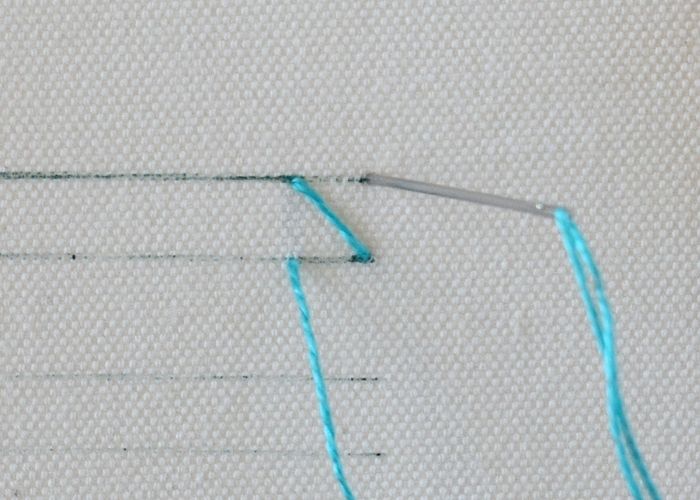
Take the needle to the surface on the lower marked line, right below the first stitch, and make a diagonal stitch to the upper right corner.
- Repeat the sequence
Push the needle to the surface on the lower marked line at the same spot as the previous stitch and make a diagonal stitch. Then, cross it with the second diagonal stitch.
- The second method to make Cross Stitch
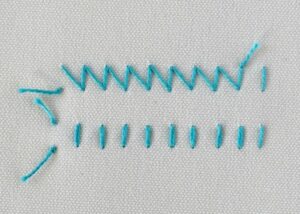
First, embroider a row of diagonal stitches. The method is the same as making a Whip Stitch.
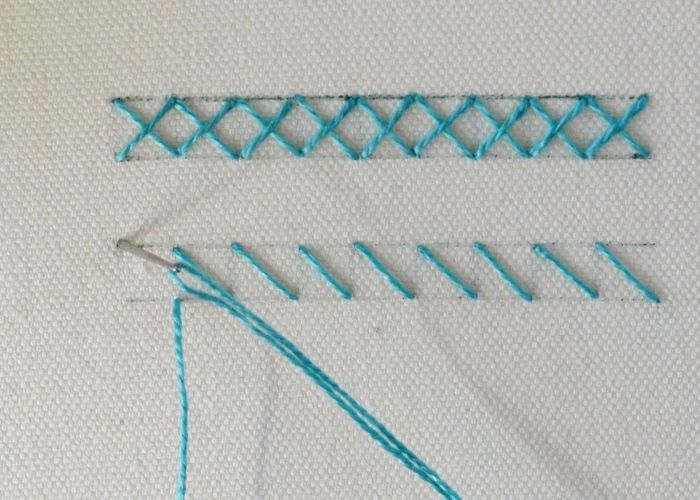
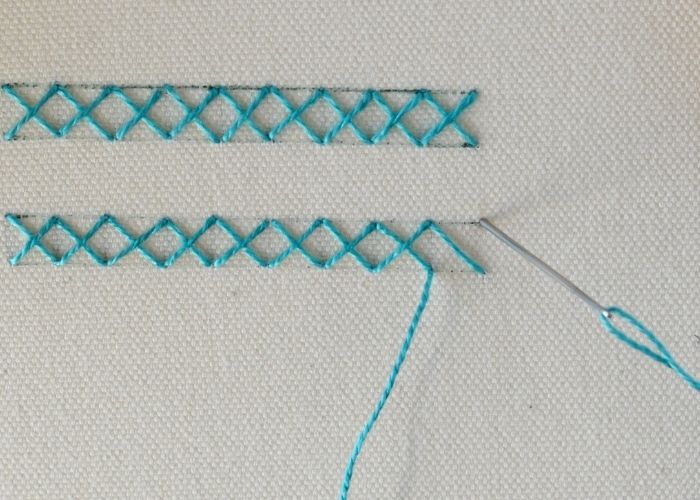
- Adding the cross
When the entire row is filled with diagonal stitches, make one more row of diagonal stitches inclined in another direction above the first one. This way, the stitches of the second row will cross the stitches from the first one and form an X.
Video tutorial – Cross Stitch Embroidery
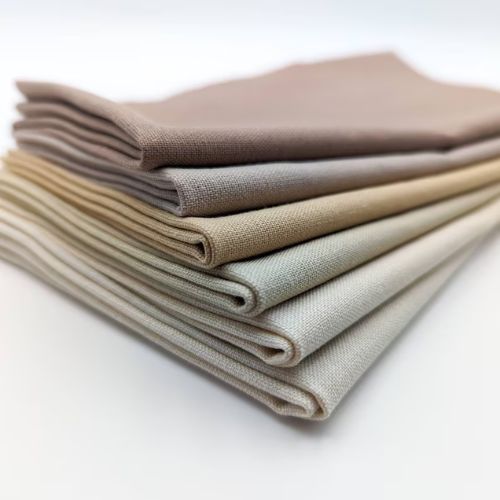
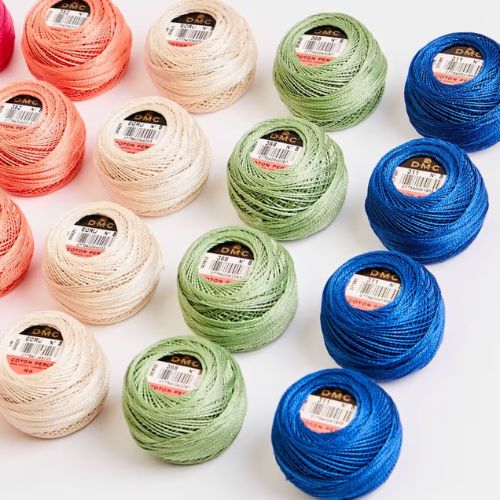
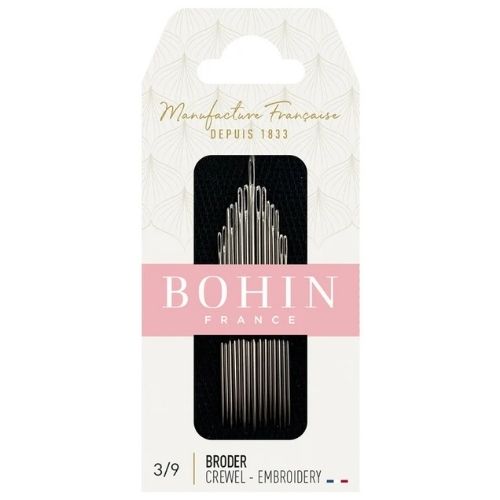
Tools and materials I used for this sampler
Disclaimer. To cover the cost of creating free embroidery patterns and video tutorials for this blog, I do sometimes link to products. Please assume these links are affiliate links. If you choose to buy through my links then THANK YOU – it will make it possible for me to keep doing this.
What’s next?
If you’re in the mood to explore more hand embroidery stitches, check out the Stitches and Techniques page for the list of other fantastic stitches available on my blog. From timeless classics to modern twists, a whole world of stitches is waiting for you to explore and master. So, grab your hoop and needle, and let’s stitch our way to creative bliss!
Don’t miss a thing!
Follow me on YouTube, Instagram, Facebook, and Pinterest. Or why not subscribe to Practical Embroidery newsletter and get embroidery tips straight to your inbox every few weeks?
Projects to practice the stitch
Need More Guidance?
The top 10 hand embroidery stitches to learn is a free online course created for beginners.
