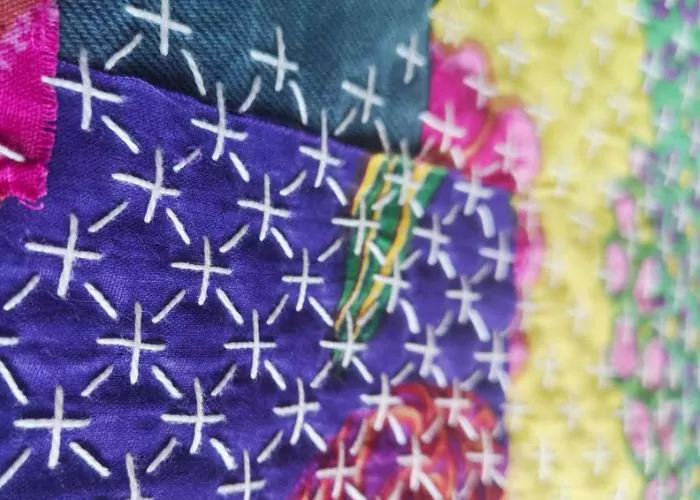
Chevron stitch
A Chevron Stitch embroidery is a zig-zag-shaped stitch done between two parallel lines. The lines can be straight and curved.
Tiny horizontal straight stitches are connected with diagonal lines to make this beautiful stitch.
Other names of the stitch
Also known as Point de Chevron or Punto de Chevron, this stitch has various names reflecting its global journey. It has been adapted and renamed in different cultures. Still, the essence of the Chevron remains constant: a series of interconnected V’s forming a zigzag pattern.
Applications of the Chevron stitch
The Chevron Stitch is an embroidery technique often used for lines and borders.
Besides its decorative purpose, the Chevron Stitch is excellent for sewing and mending. It is slightly elastic. Therefore, you can use it for the borders of the garments. This stitch is a practical choice for reinforcing seams or adding decorative edges to the fabric. Its robust structure makes it ideal for durable items like table linens or denim.
The distance between parallel lines and the diagonal stitches’ angle will define the stitches’ size and density.
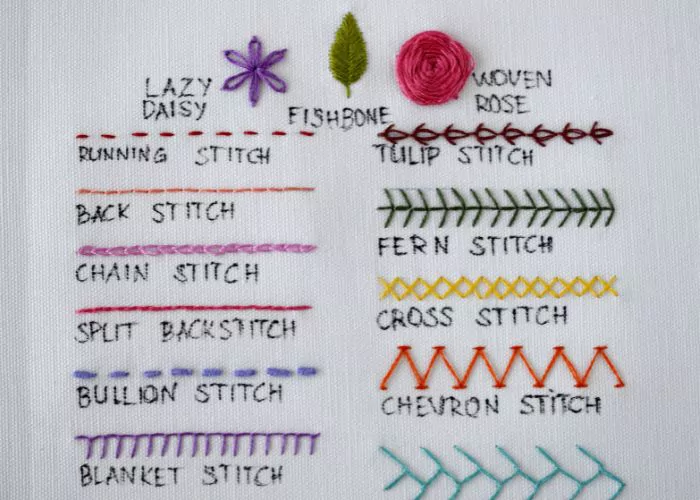
More stitches from the Chevron stitch family
Learn how to embroider Chevron Stitch
Follow the step-by-step tutorial with detailed photos below to learn the Chevron Stitch quickly. If you are a visual learner, watch a video lesson in the tutorial or on the Practical Embroidery YouTube channel to learn this hand embroidery stitch faster.
How to embroider Chevron Stitch
Step-by-step hand embroidery tutorial
Instructions
1. Mark two parallel lines for guidance. Start with a short horizontal stitch on the top mark. Pull the thread to the back, but leave a small loop open.
2. Push the needle back to the surface in the middle of the stitch you just made. Pull the thread to the surface and tighten the loop.
3. Make a diagonal stitch to the lower marking line.
4. Take the needle up to the left. Make a horizontal stitch to the right. Make sure that the end of the diagonal stitch sits centrally between these two points. Pull the thread to the back, but leave a small loop open.
5. Get the needle back up at the same spot where the diagonal stitch ended. Pull the thread and tighten the horizontal stitch.
6. Make a diagonal stitch in the top-right direction, and repeat the steps to create a zigzag shape with a horizontal stitch at the angle.
7. Move in a zigzag trajectory and repeat the steps to embroider the entire row of Chevron Stitch.
Chevron stitch hand embroidery Video tutorial
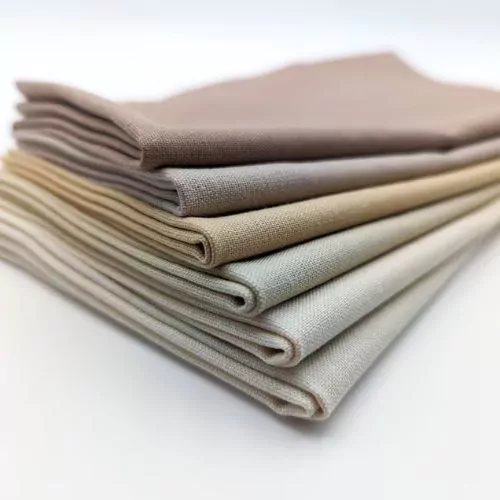
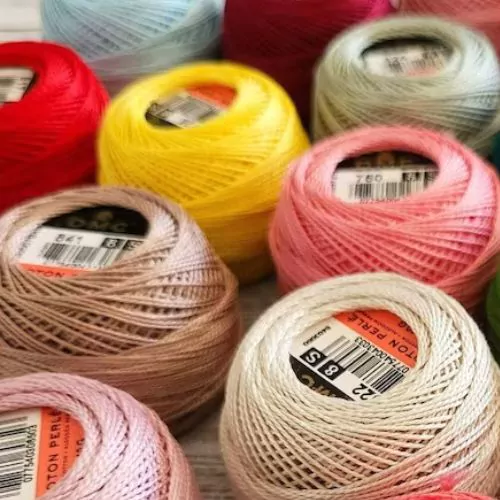
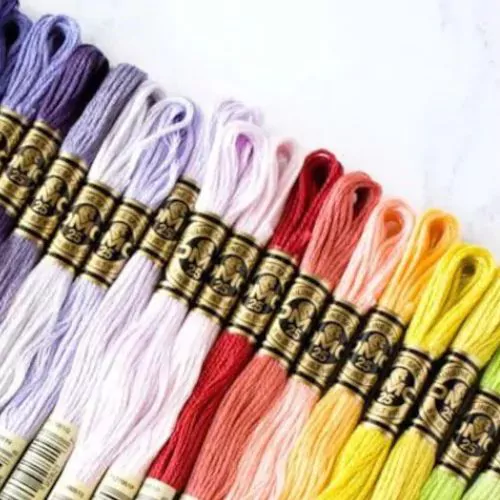
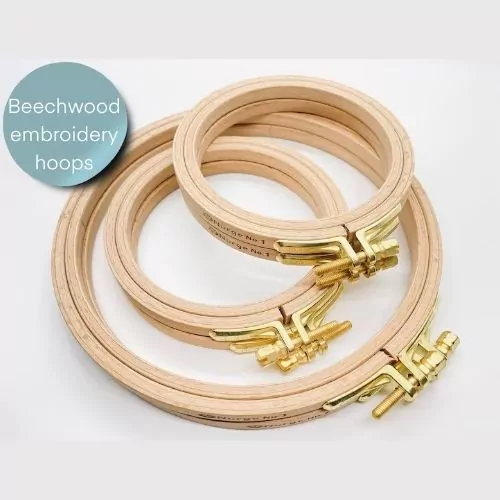
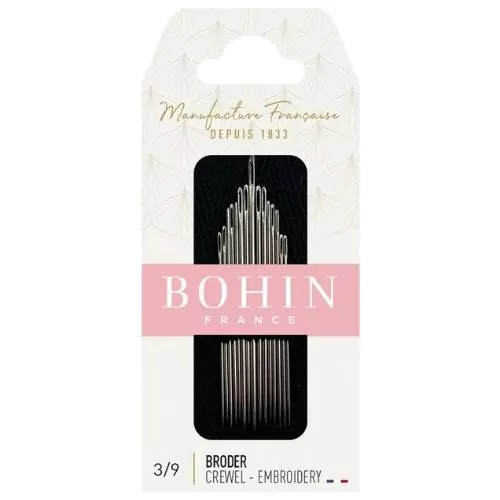
Tools and materials I used for this sampler
Disclaimer. To cover the cost of creating free embroidery patterns and video tutorials for this blog, I do sometimes link to products. Please assume these links are affiliate links. If you choose to buy through my links then THANK YOU – it will make it possible for me to keep doing this.

What’s next?
If you’re in the mood to explore more hand embroidery stitches, check out the Stitches and Techniques page for the list of other fantastic stitches available on my blog. From timeless classics to modern twists, a world of stitches awaits you to explore and master. So, grab your hoop and needle, and let’s stitch our way to creative bliss!
Don’t miss a thing!
Follow me on YouTube, Instagram, Facebook, Flipboard, Telegram, Reddit or Pinterest. On the other hand, you can subscribe to the Practical Embroidery newsletter and get embroidery tips straight to your inbox every week!
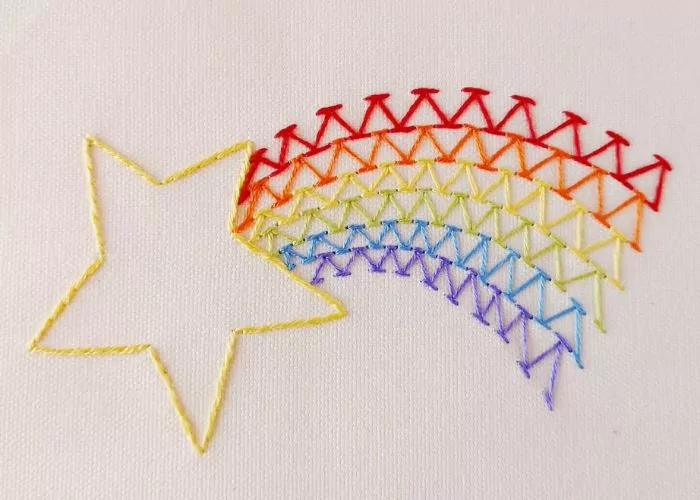
Projects to practice the Chevron stitch
Need More Guidance?
The top 10 hand embroidery stitches to learn is a free online course created for beginners.