Feather Stitch
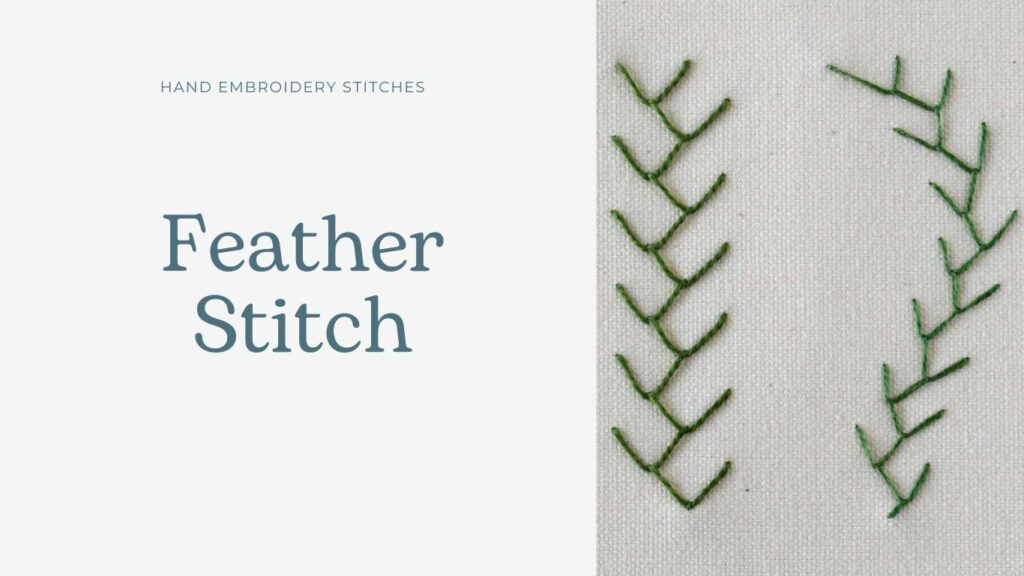
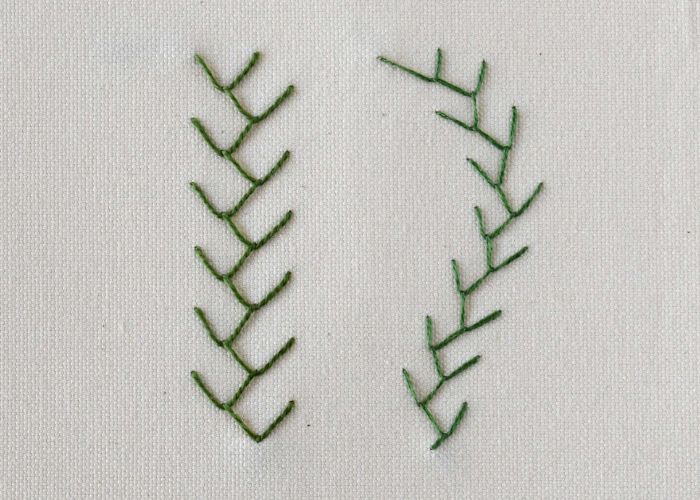
Feather stitch is a decorative surface embroidery stitch created by positioning the loops of Fly stitches one under the other in an offset manner. This technique creates a decorative line that can be straight or curved.
Other names of the Feather Stitch
Feather Stitch has many alternative names, such as Single Coral Stitch, Briar (Brier) stitch, Point Anglaise, and Point D’epine stitch.

Applications of the Feather Stitch
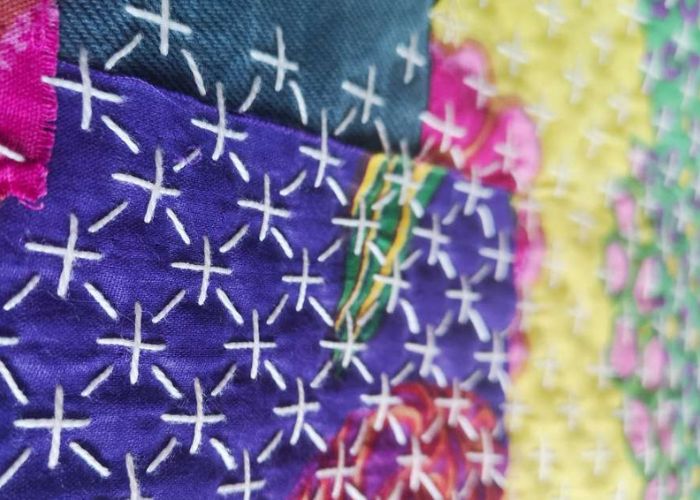
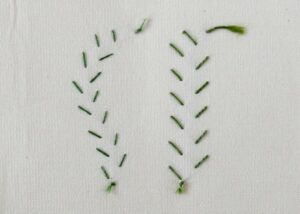
Feather Stitch is a versatile and antique embroidery technique that is used in various styles, from traditional Crewelwork to intricate Stumpwork, Ribbon embroidery, and even Crazy Quilting.
In modern surface embroidery, the Feather stitch technique is used in botanical embroidery for decorative outlines or borders.
For those who love to experiment, try combining Feather Stitch with other decorative techniques like the Detached Chain stitch, French knots, or Bullion knots. This creative fusion can lead to unique and stunning designs, whether you’re creating original plants or elaborate embellishments.
Some variations of the Feather Stitch
- Double Feather Stitch
- Maidenhair Stitch
- Closed Feather Stitch
Learn how to embroider Feather Stitch
Follow the step-by-step tutorial with detailed photos below, and you will learn the Feather Stitch quickly. If you are a visual learner, watch a video lesson in the tutorial or on the Practical Embroidery YouTube channel to learn this hand embroidery technique faster.
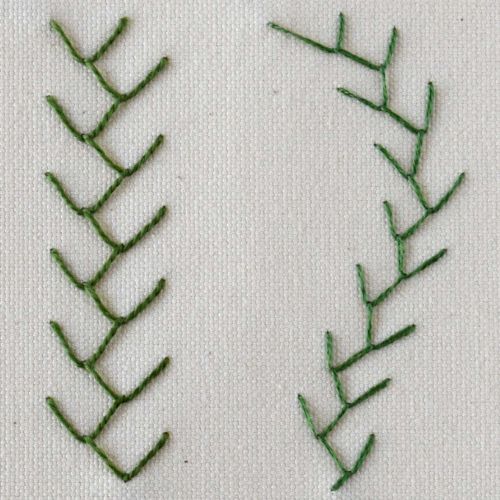
How to embroider Feather Stitch
Step-by-step hand embroidery tutorial
Instructions
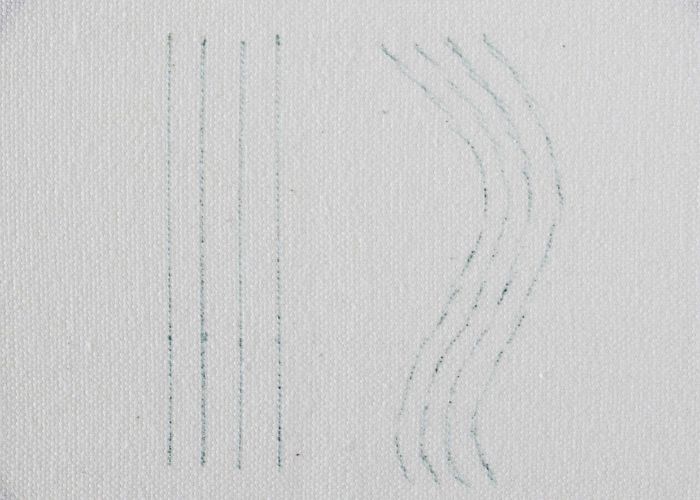
1. Mark four parallel lines on the fabric.
2. Take the needle up on the left top corner and make a stitch to the third line. Leave the loop of the working thread open.
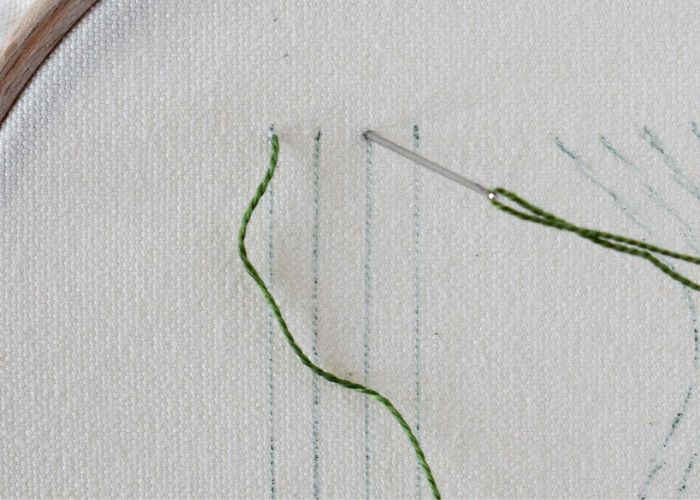
3. Take the needle up on the second line, one stitch below and inside the loop.
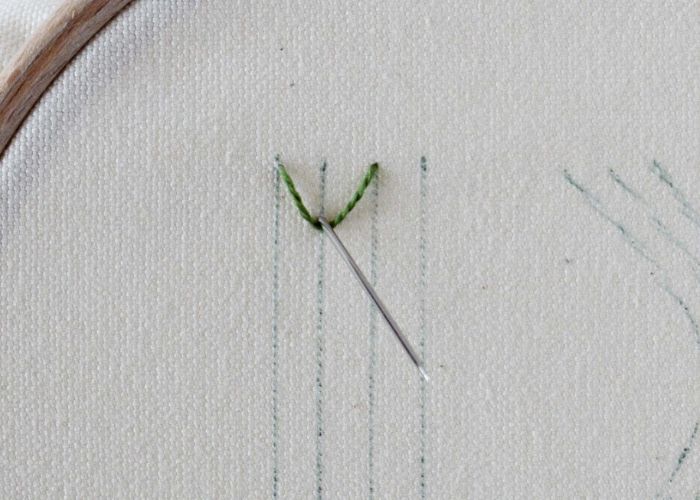
4. Pull the thread to close the loop. Make a stitch to the fourth line. Leave the loop open.
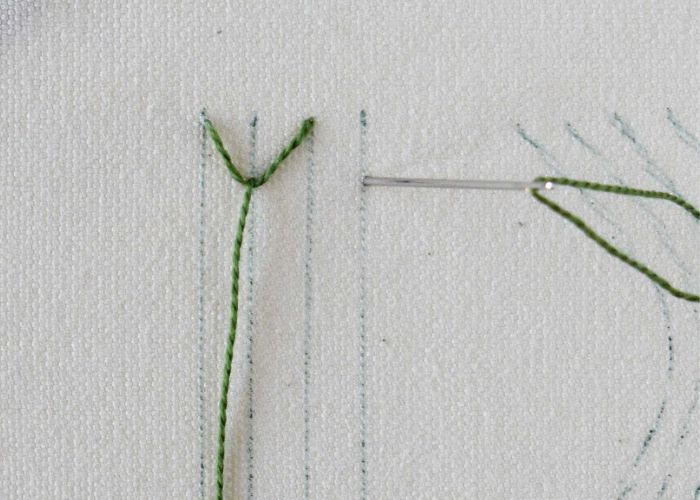
5. Take the needle up on the third mark, one stitch below and inside the loop.
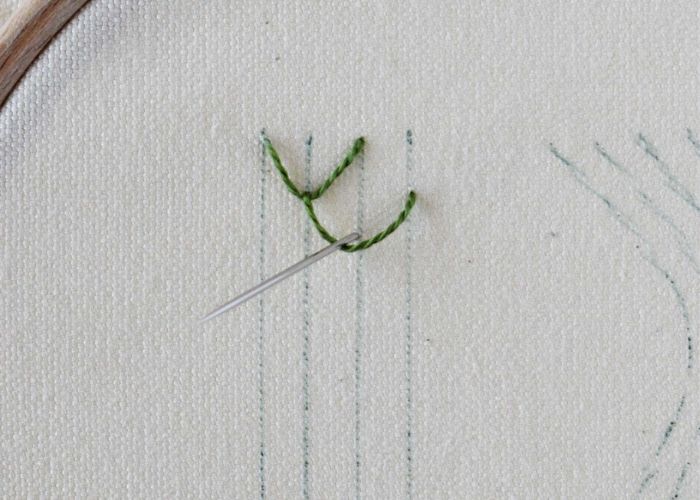
6. Close the loop and make a stitch to the first mark.
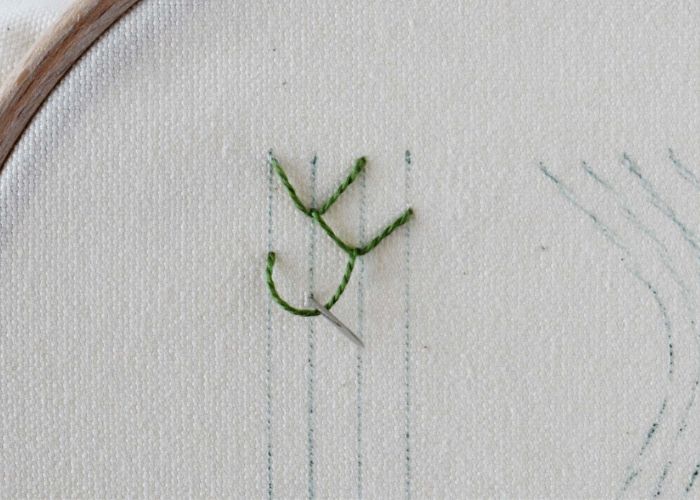
7. Continue adding these offset Fly stitches until the design is done.
Video tutorial
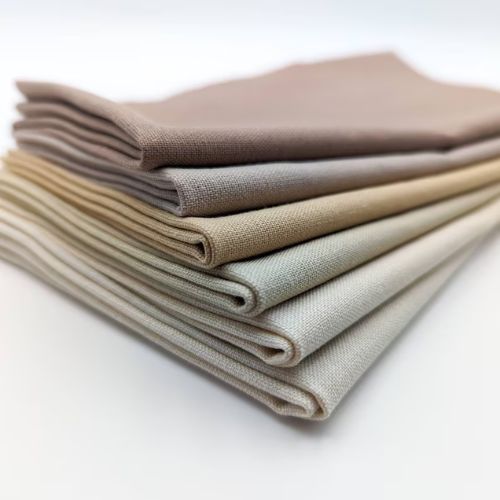
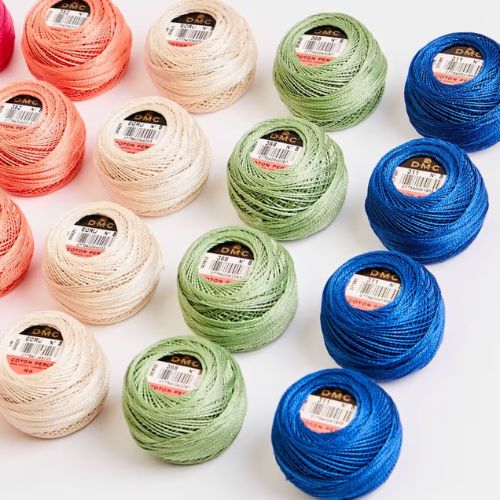
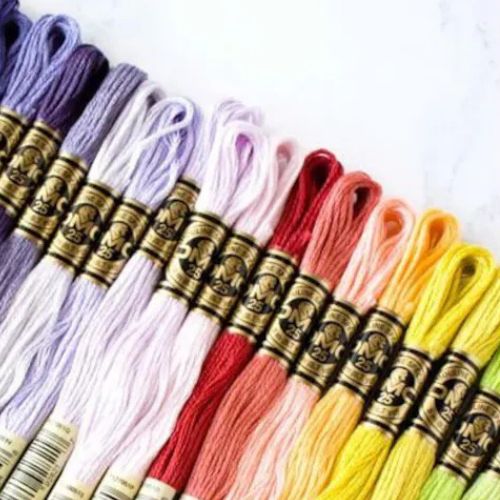
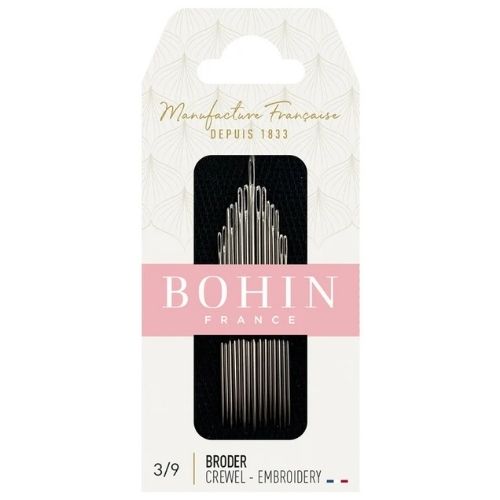
Tools and materials I used for this sampler
Disclaimer. To cover the cost of creating free embroidery patterns and video tutorials for this blog, I do sometimes link to products. Please assume these links are affiliate links. If you choose to buy through my links then THANK YOU – it will make it possible for me to keep doing this.
What’s next?
If you’re in the mood to explore more hand embroidery stitches, check out the Stitches and Techniques page for the list of other fantastic stitches available on my blog. From timeless classics to modern twists, a whole world of stitches is waiting for you to explore and master. So, grab your hoop and needle, and let’s stitch our way to creative bliss!
Don’t miss a thing!
Follow me on YouTube, Instagram, Facebook, and Pinterest. Or why not subscribe to Practical Embroidery newsletter and get embroidery tips straight to your inbox every few weeks?
Projects to practice Feather stitch
Need More Guidance?
The top 10 hand embroidery stitches to learn is a free online course created for beginners.
