Kamal Kadai
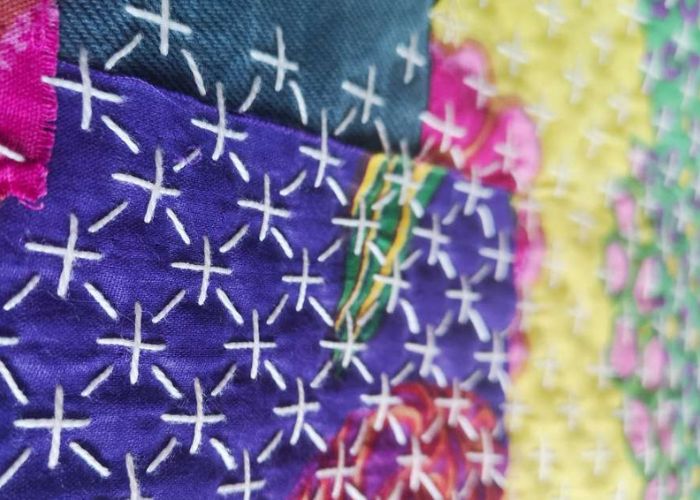
Kamal Kadai embroidery is one of the traditional styles of Indian embroidery. Flowers, leaves, and other botanical shapes are depicted with Woven Trellis Stitch – a hand embroidery technique from the Weaving stitch family.
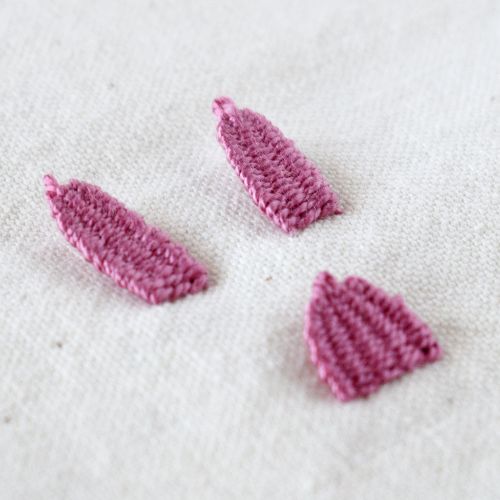
There are several different techniques to position the petals of the flowers. You can make all the petals connected (like I did in my sampler), or position separated petals around the center and embellish it with French Knots or beads.
As a result of the weaving technique, the major part of the thread is visible on the surface of the fabric. On the reverse side, only anchoring stitches will be visible.


Applications of the Kamal Kadai Embroidery
Speaking in general, Kamal Kadai is not an embroidery stitch, but a traditional embroidery style – a way to depict flowers and leaves. Traditional Indian embroidery uses this hand embroidery technique to embellish clothes.
Flowers, made with Kamal Kadai stitch, are often embellished with beads and natural gems and are surrounded with vine embroidery.
More stitches from the Weaving Stitch family
Learn how to embroider Kamal Kadai stitch
Follow the step-by-step tutorial with detailed photos below, and you will learn the Kamal Kadai stitch quickly. If you are a visual learner, watch a video lesson in the tutorial or on the Practical Embroidery YouTube channel to learn this hand embroidery stitch faster.

How to embroider Kamal Kadai
Step-by-step hand embroidery tutorial
1. Firstly, draw the guidelines. I marked a square shape divided into four parts. This will help me stitch equally spaced base stitches.

2. Start with one straight stitch that connects two squares.

3. After that, get back to the surface on the perimeter and stitch one more diagonal stitch that connects the squares.

4. Continue adding equally spaced spokes till both opposite squares are filled.

5. Then, move to the next two squares. Move in the same direction and fill them with spokes.

6. All the stitches will go through the same central point and cross there. Therefore, the spokes, crossing in the middle, will shape a center for the flower.

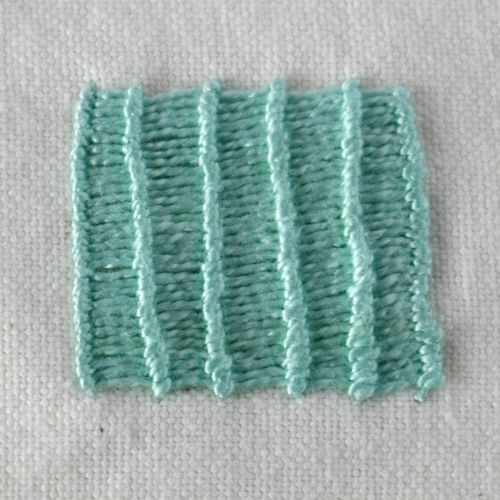
7. After the spokes are done, start weaving the petals. Change the thread color (optional) and take the needle up to the surface at the base of the petal. Firstly, start with the petals that are positioned on the spokes you made first.

8. To start weaving, pass the needle under every second spoke.

9. Then, on the return path, pass the needle under the spokes that were below the needle on the first round.

10. Continue weaving. At the same time, push the woven part down with the needle to maintain the consistent density of the weave.

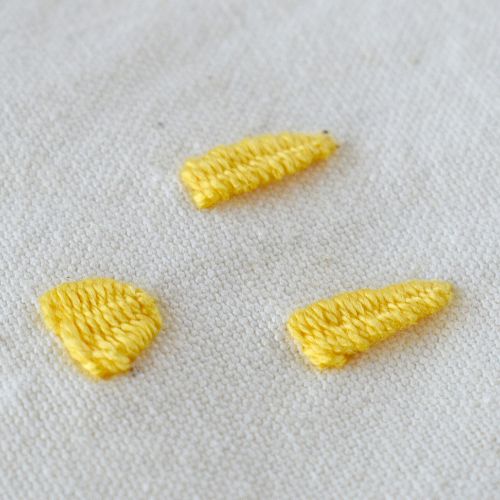
11. At some point, the external spokes will be fully covered with weaving stitches. When this happens, gradually, move on, leaving the external spokes and weaving on the spokes that are still bare.

12. Finally, when all the spokes are covered with a weaving stitch, push the needle to the reverse side of the fabric and secure the thread.

13. After you finish weaving the first two petals, move to the next two. Start weaving the petals positioned on top identically.

14. After you finish the first two petals, weave the third petal and then the last one. This way, you will create a Kamal Kadai flower. Afterwards, you can add vines to finish a floral composition or add more flowers for a richer design.

Video tutorial
Tools and materials I used for this sampler
Disclaimer. To cover the cost of creating free embroidery patterns and video tutorials for this blog, I do sometimes link to products. Please assume these links are affiliate links. If you choose to buy through my links then THANK YOU – it will make it possible for me to keep doing this.


What’s next?
If you’re in the mood to explore more hand embroidery stitches, check out the Stitches and Techniques page for the list of other fantastic stitches available on my blog. From timeless classics to modern twists, a whole world of stitches is waiting for you to explore and master. So, grab your hoop and needle, and let’s stitch our way to creative bliss!
Don’t miss a thing!
Follow me on YouTube, Instagram, Facebook, Flipboard, and Pinterest. Or why not subscribe to Practical Embroidery newsletter and get embroidery tips straight to your inbox every few weeks?
Need More Guidance?
The top 10 hand embroidery stitches to learn is a free online course created for beginners.