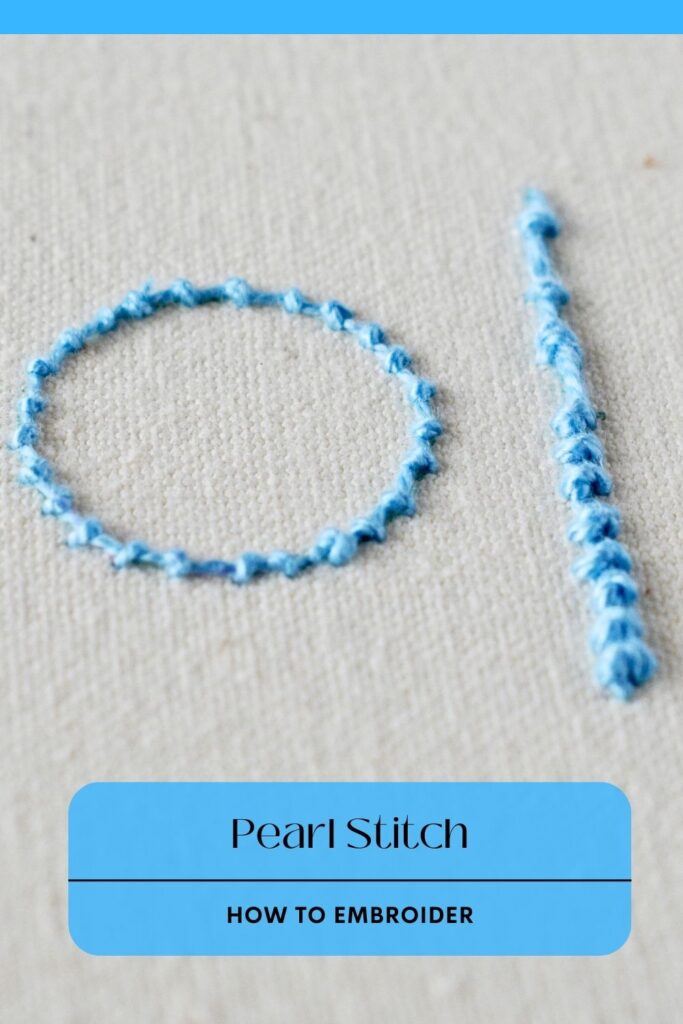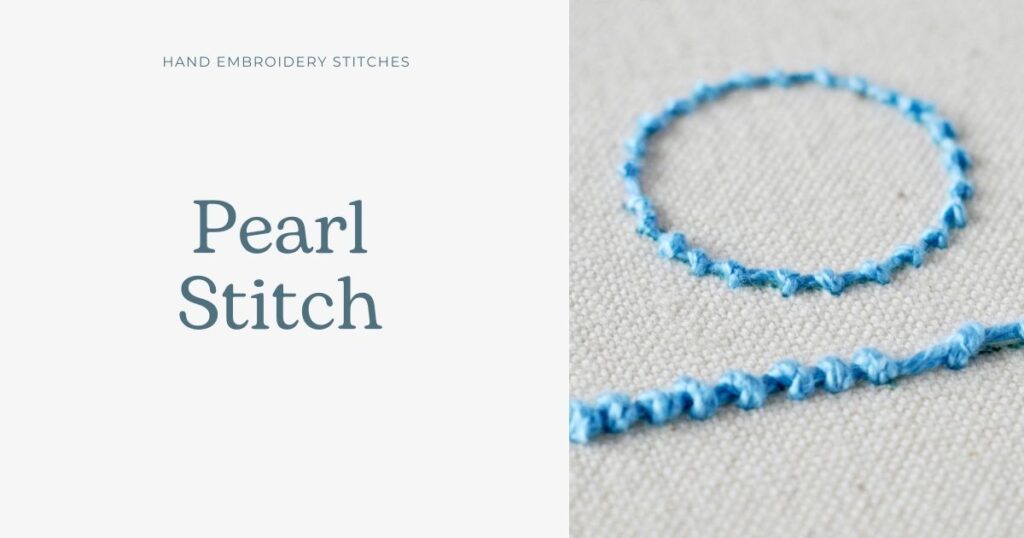
Pearl Stitch
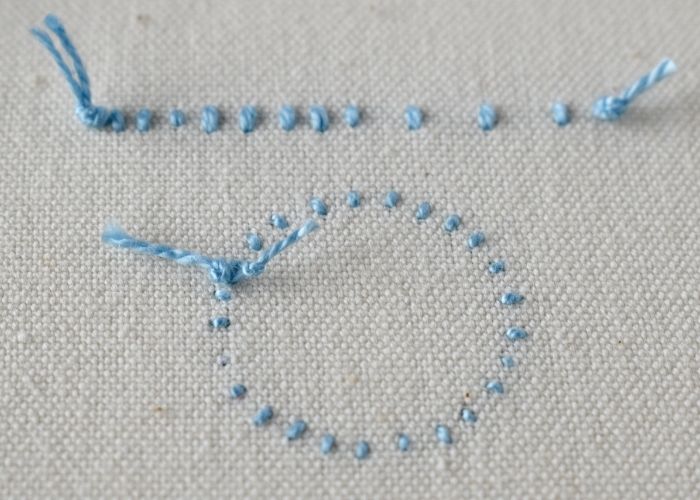
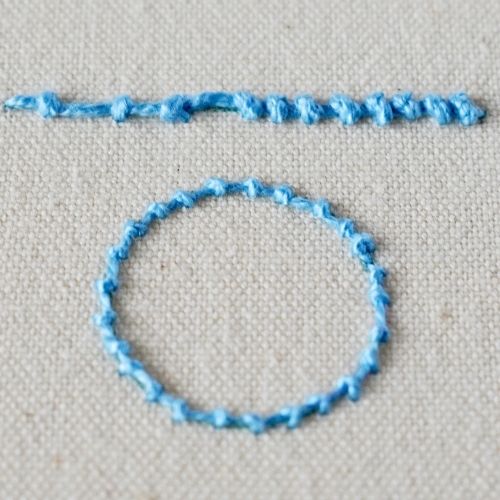
Pearl Stitch is a hand embroidery technique from the family of knots that creates a decorative outline. It consists of a row of small knots that resemble a pearl necklace.
The embroidery method for this stitch is simple, and it works rather quickly.
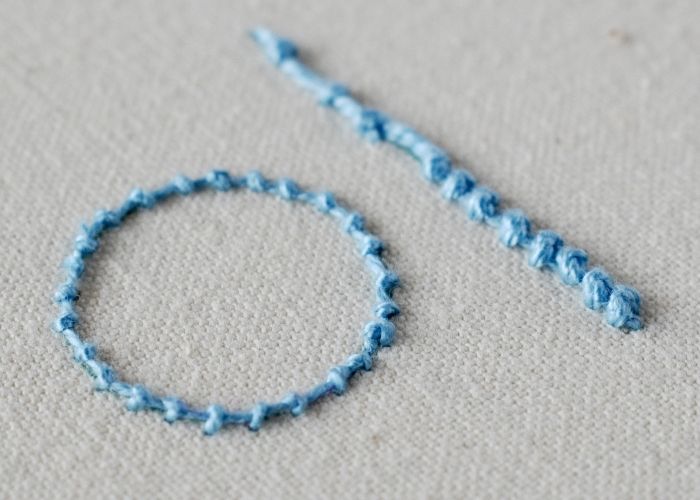
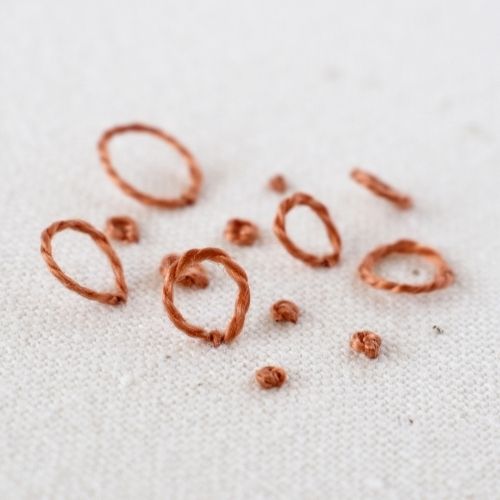
The final look of the stitch will hugely depend on the thread you use to embroider. Thicker, more structural threads will result in bigger, more prominent knots, while softer, thinner threads will produce tiny knots on the line.
In my sampler, I used two strands of pearl cotton thread to embroider the straight line and a single strand to stitch the circle.
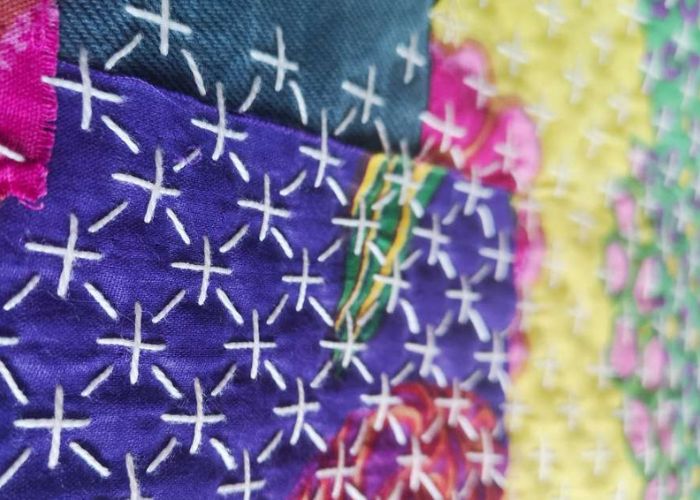
On the reverse side of the fabric, the stitch looks like a line of small vertical stitches.
Applications of the Pearl Stitch
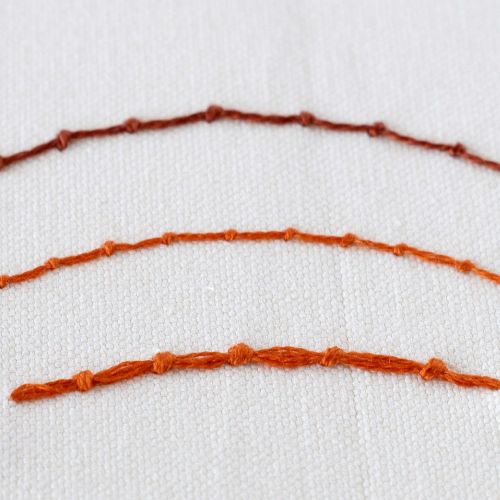
The Pearl Stitch hand embroidery technique is a classical decorative outline stitch you can use to outline shapes in your designs. The stitch bends well and follows curves nicely; therefore, it is easy to use in botanical designs, decorative borders, and garment embellishments.
The stitch is decorative, yet flexible; you can use it for lettering.
Adjust the thread size and knot spacing to achieve different visual results.
More stitches from Stitch family
Learn how to embroider Pearl Stitch
Follow the step-by-step tutorial with detailed photos below, and you will learn the Pearl Stitch quickly. If you are a visual learner, watch a video lesson in the tutorial or on the Practical Embroidery YouTube channel to learn this hand embroidery stitch faster.
How to embroider Pearl Stitch
Step-by-step hand embroidery tutorial
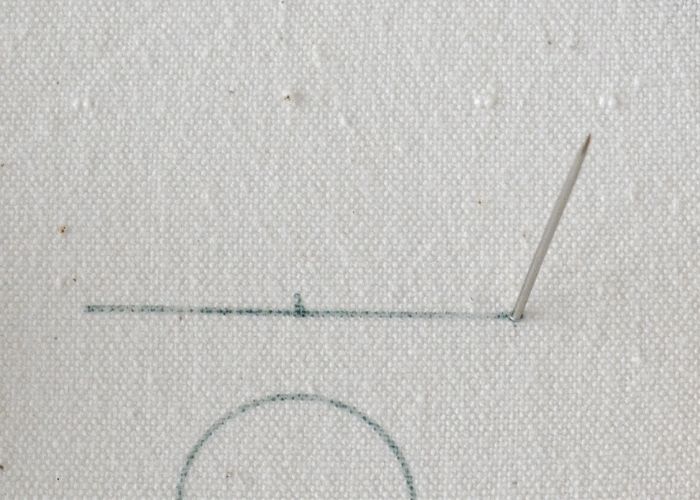
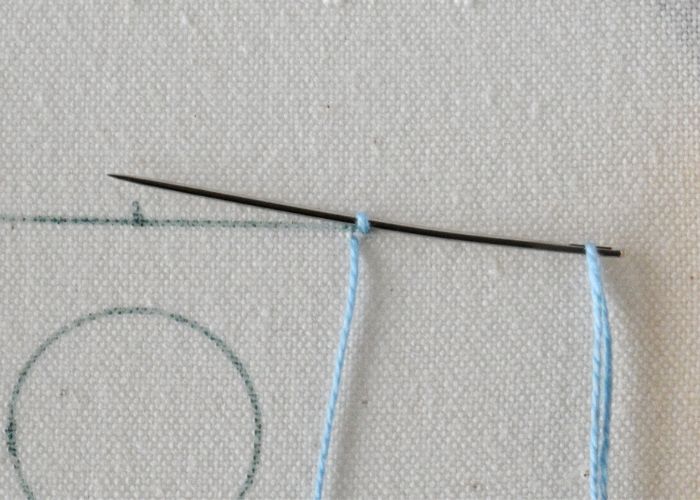
1. Mark the design line. To embroider Pearl Stitch, we will work from right to left. Bring the needle to the surface and pull all the thread through.
2. Make a tiny stitch slightly above the design line. Pull the thread through, but leave the working thread’s loop open.
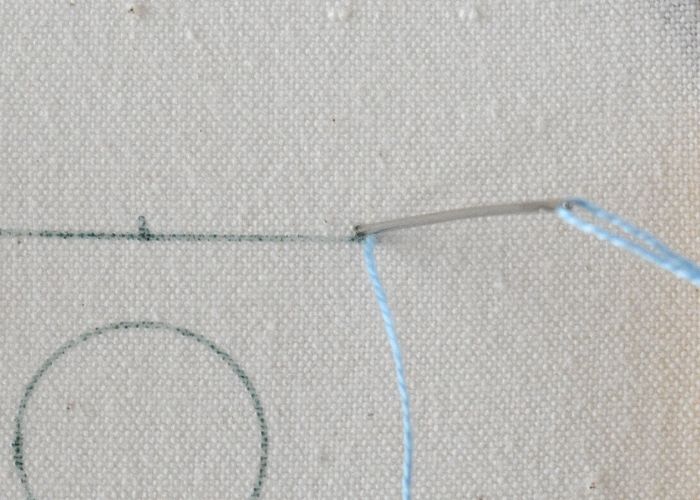
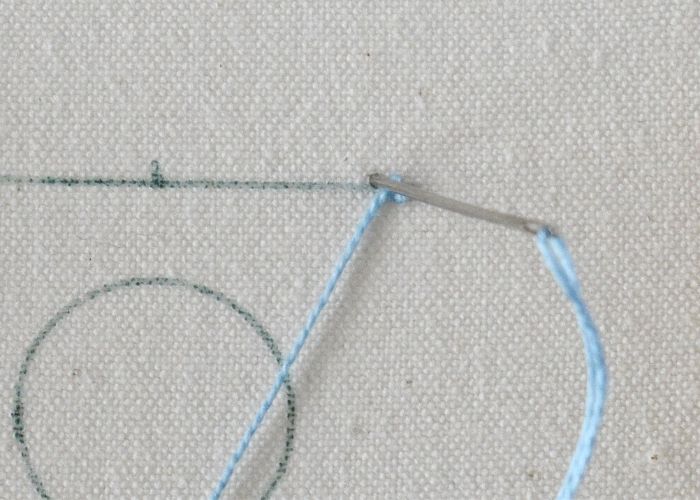
3. Bring the needle back to the surface on the design line, just under the stitch.

4. Pull the thread through and pass the needle inside the loop from right to left.
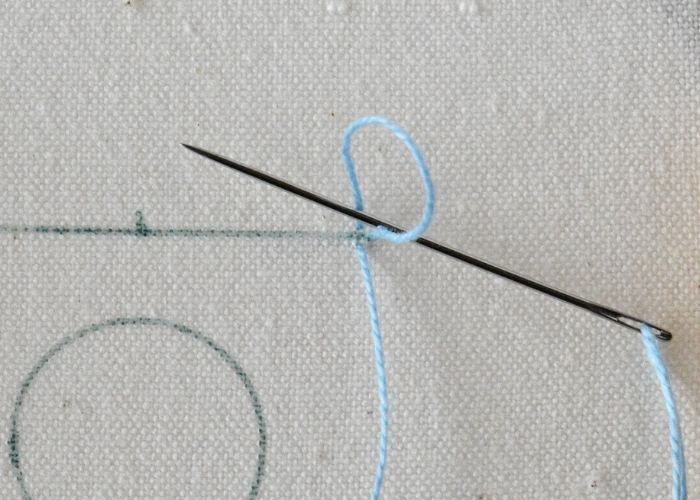
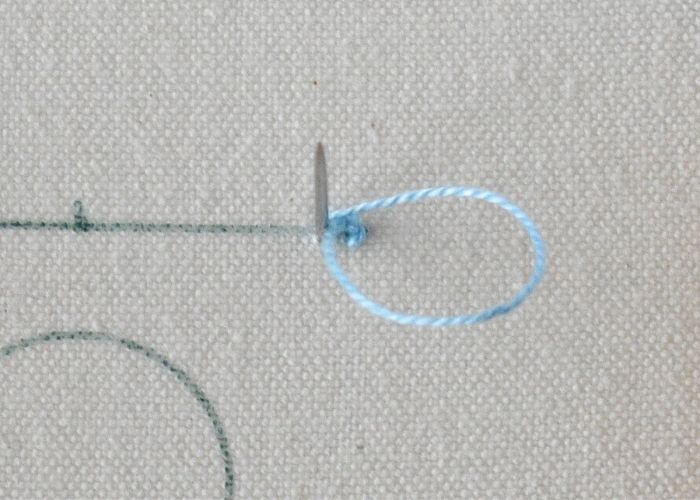
5. Before you pull the needle, pull the thread to tighten the loop around the needle. Then, pull the needle through and tighten the knot.
6. Start the next knot. Push the needle to the surface slightly above the design line, a short distance away from the first knot.
7. Bring the needle to the surface on the design line, leaving the loop open. From here, repeat the steps to embroider the entire line.
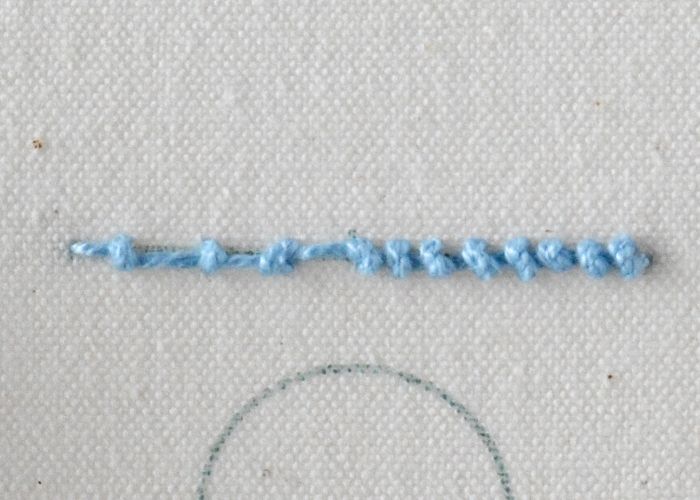
8. Try to vary the distance between the knots and work with different thread sizes to explore all the design possibilities Pearl Stitch offers.
Video tutorial
Tools and materials I used for this sampler
Disclaimer. To cover the cost of creating free embroidery patterns and video tutorials for this blog, I do sometimes link to products. Please assume these links are affiliate links. If you choose to buy through my links then THANK YOU – it will make it possible for me to keep doing this.


What’s next?
If you’re in the mood to explore more hand embroidery stitches, check out the Stitches and Techniques page for the list of other fantastic stitches available on my blog. From basic embroidery stitches to complex and playful variations of classical techniques, a whole world of stitches is waiting for you to explore and master. So, grab your hoop and needle, and let’s stitch together!
Don’t miss a thing!
Follow me on YouTube, Instagram, Facebook, Flipboard, and Pinterest. On the other hand, you can subscribe to the Practical Embroidery newsletter and get embroidery tips straight to your inbox every week!
Need More Guidance?
The top 10 hand embroidery stitches to learn is a free online course created for beginners.