How to Organize Embroidery Floss and Thread: Practical Solutions for Busy Creatives
A fresh skein of embroidery floss is so beautiful and smooth. But anyone who enjoys stitching knows that keeping embroidery floss and thread neat and organized can be challenging. The various shades, textures, and types of thread can quickly become a tangled mess if not stored properly. However, a well-organized system can save you time and frustration and spark creativity by making it easier to find exactly what you need.
In this guide, I’ll explore some simple yet effective ways to organize your embroidery floss, share some savvy tips, and even show you the floss organization system I use for my stash.
Why Organize Embroidery Floss Matters
Before diving into the “how,” it’s essential to understand why organizing embroidery floss is crucial.
Time-saving: With a well-organized floss storage system, you will spend more time creating and less time looking for the correct thread color. Starting your creative break with neatly arranged supplies is not only pleasant but also boosts your productivity.
Prevent damage: Tangled floss can lead to frayed or weakened fibers. By properly storing your embroidery floss, you’re not just reducing the risk of damage, but also showing care for your craft materials, which can prolong the life of your thread.
Spark creativity: A clean and well-organized craft space can inspire creativity. When you see all your colors and textures at a glance, it’s easier to experiment and find new ideas for your next project.
Save money: A well-organized floss with color codes will help you avoid buying the color hues you already have. This not only saves you money but also reduces waste, as you won’t have to cut out and throw away pieces of tangled or damaged floss.
Keep your children and pets safe: If you have small children or pets at home, you must keep your craft supplies organized and in a safe place.
Peace of mind: Order in things leads to order in the mind and calmness. Instead of stressing about tangled floss, reap the benefits of embroidery for your mental health and well-being.
How to organize embroidery floss: Quick guide
Assess Your Floss Collection
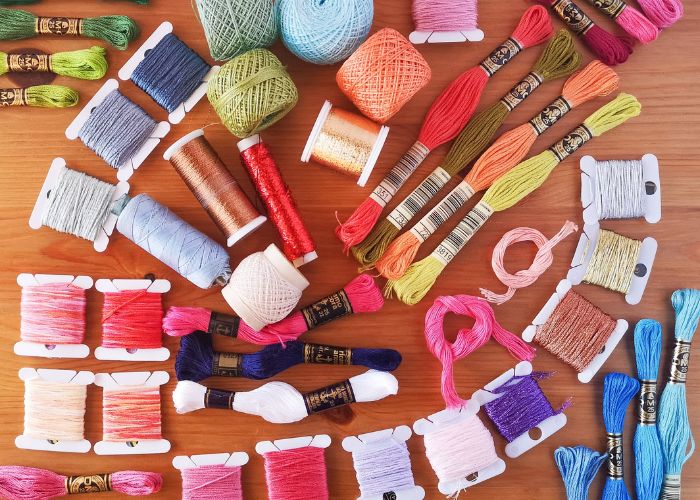
Before you start organizing embroidery floss, it’s essential to know precisely what you’re working with. Gather all your embroidery floss and spread it out in front of you. Take a moment to sort through the skeins and spools to assess your collection.
Ask yourself these questions:
- How many skeins of embroidery floss do you have?
- Is this number going to grow, and how much?
- Do you embroider at home or in your studio or carry your projects when you travel?
- How much do you want to spend on organizing the floss?
- How many different types of thread and floss do you use?
- Do you use the floss of one producer or mix them?
- Do you use threads of one kind per project or combine them?
- Do you have a dedicated working space/ studio?
- Do you want your floss collection on the show or hidden away from sight?
- How much space do you have for floss storage?
This first step helps you determine the storage space you need and the organization system that will suit your collection.
Group your thread and floss
First, you should decide if you will group your floss by:
- Visible color. Grouping your thread by visible color is convenient if you use all types of threads, floss, or yarn in the same project. It’s also convenient if you use embroidery floss from different brands. In this case, it’s better to have all the choices by hand simultaneously.
- Color code number. Grouping by color code number is the best choice if you use one type of floss from one producer. For example, if you use only DMC cotton floss for all of your projects, group your floss by color codes.
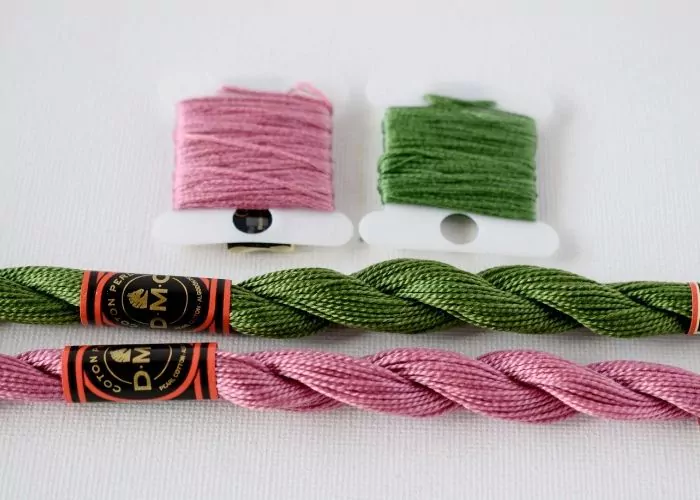
- Thickness. Grouping by thickness is helpful if you use different floss types for various projects and don’t mix them in one embroidery. For example, you can separate cotton floss and pearl cotton.
- Type. Grouping by thread type will be best if you use different threads for different projects. Separate wool from cotton and silk, and you will have a clear choice of threads when deciding on the new project.
- Producer. Grouping by floss producers would be helpful if you have a lot of embroidery floss by different brands. After you separate floss by producer, separate one more time by color codes.
After dividing your floss stash into groups, you will see which storage system would work best for you.
Choose the Right Storage Method
There are several ways to store and organize embroidery floss, and the best method depends on your needs and the size of your stash.
Floss storage systems consist of two main parts:
Part one – how do you want to wind your floss? Do you like to keep your floss in a skein? Or you prefer to wind it on a bobbin?
Part two: Where do you want to keep your floss? In a drawer, box, pegboard, or jar?
Floss winding options
Original skeins
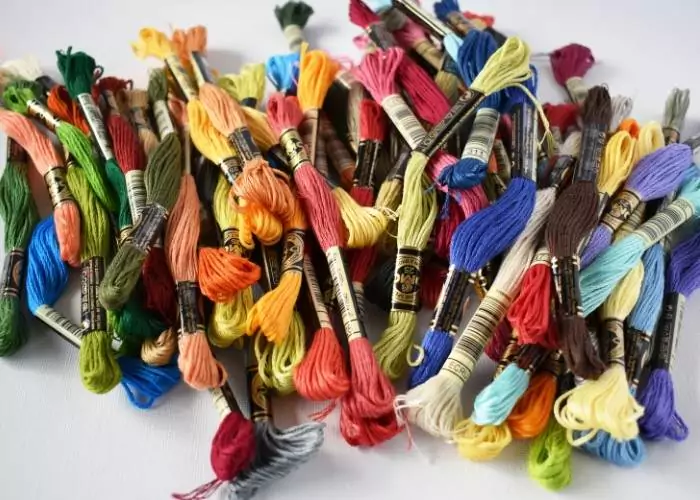
If you like simple solutions, this one’s for you. No braiding, winding, or assembling is needed. Just keep your floss as it is—in the original skein.
If you like this “winding” option, store it in pocket organizers or zip-lock bags. Otherwise, you risk having a big ball of tangled floss.
Bobbins
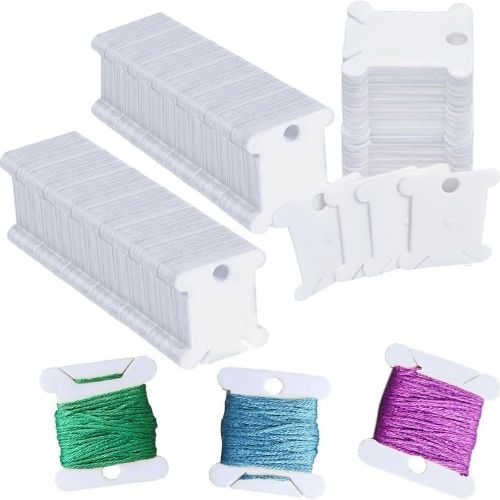
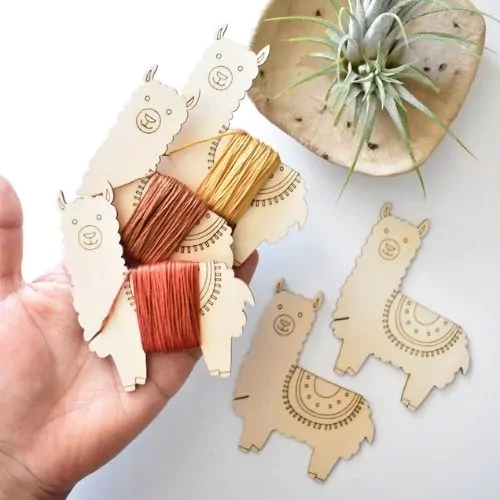
Floss bobbins are a convenient (and my favorite) way to wind embroidery floss. You can buy simple plastic bobbins, cute wooden bobbins in the shape of an animal or flower, or even make them from cardboard.
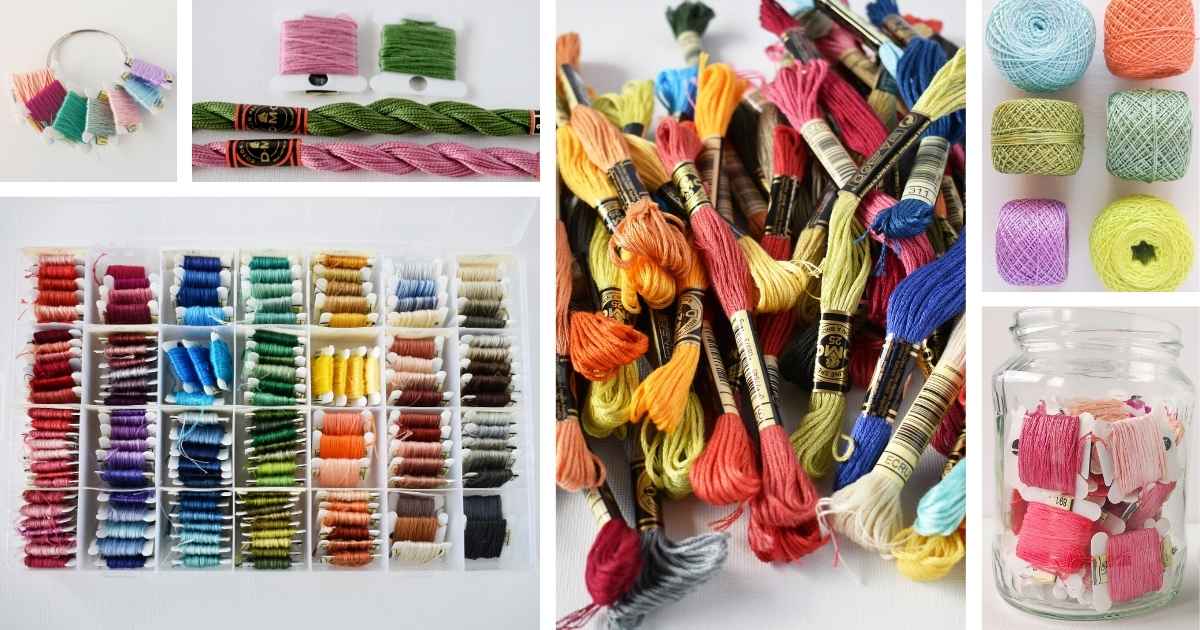
Wind the floss on your chosen bobbins, write the color code, and keep them in the plastic organizer boxes, drawers, organizer pockets, or on a metal ring for traveling.
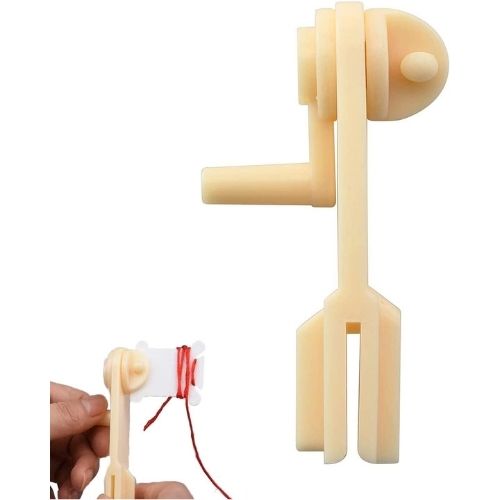
If you want to wind your floss by hand, watch a video tutorial on my YouTube channel – “How to wind embroidery floss on a bobbin.” Otherwise, get an embroidery floss winder for faster results.
Clothespins
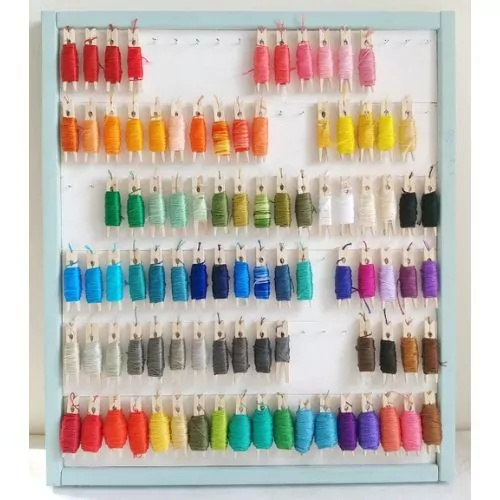
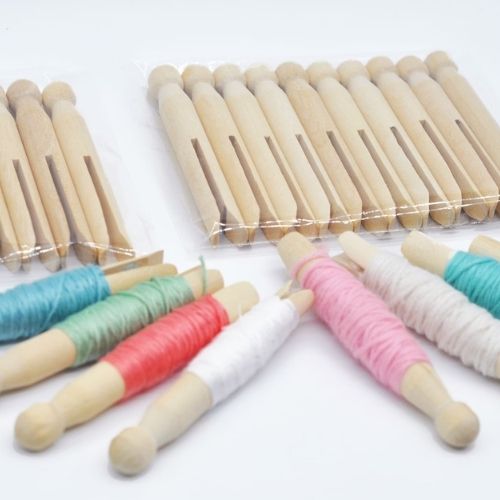
One more simple way to wind the floss is to use wooden clothespins—a simple, cheap, and convenient option. Floss winded on clothespins can be stored in drawers, boxes, display boards, organizer pockets, or even jars.
Check out the Ameroonie design tutorial and make your floss organizer with clothespins.
Craft popsicle stick spools
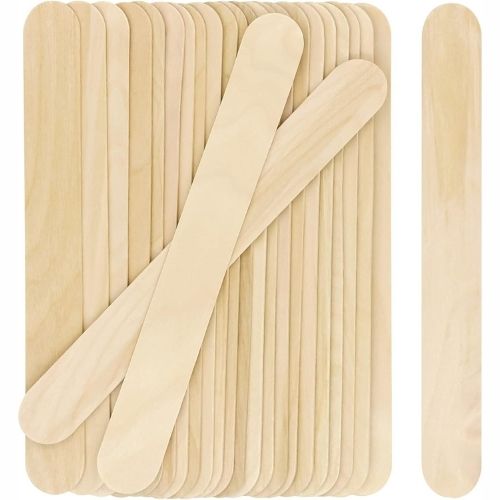
If you decide to wind your floss, you might consider this option, too. You can wind embroidery floss or pearl cotton yarn on craft sticks. Floss winded on craft stitch spools can be stored in drawers, boxes, organizer pockets, metal rings, or jars.
If you want to learn how to use craft stick spools for floss storage, Laura Radniecki has created a simple tutorial on winding floss on craft stick spools.
Wooden dolly pegs
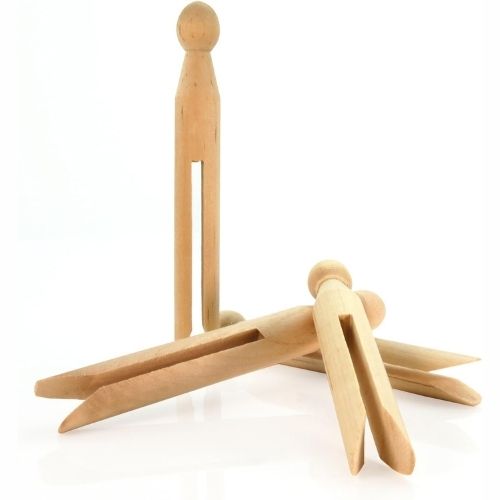
Dolly pegs are an excellent alternative for storing embroidery floss. Simply roll the floss around the peg and store it in a basket, box, or drawer.
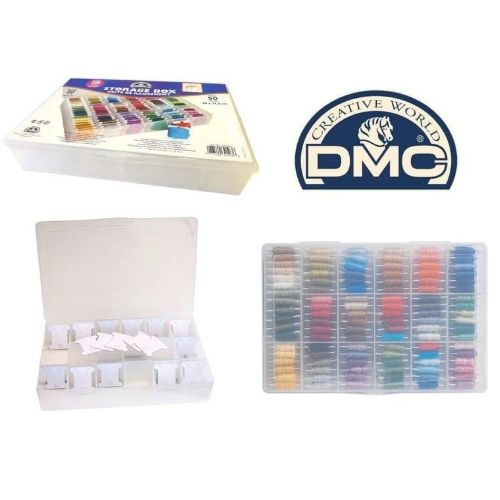
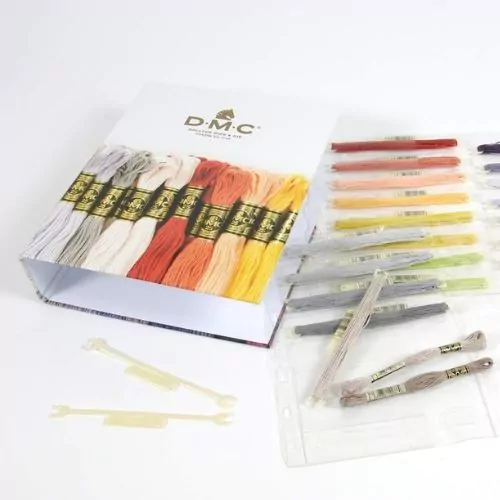
StitchBow system by DMC
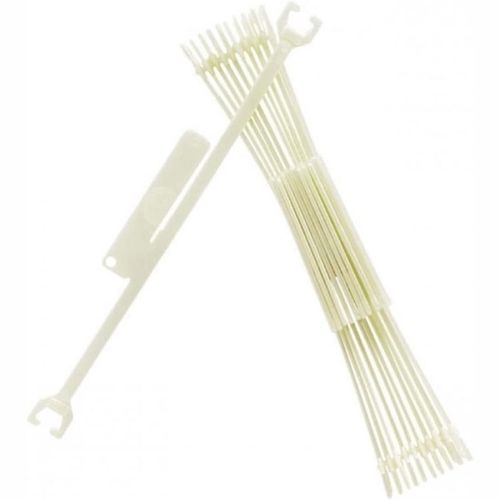
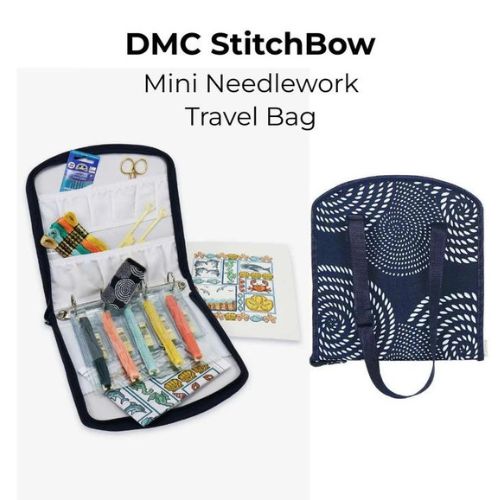
This is an original DMC floss storage system. Bows are made to fit the floss skein, so you don’t need to wind the floss. Binder inserts that fit the bows are also available.
Floss storage options
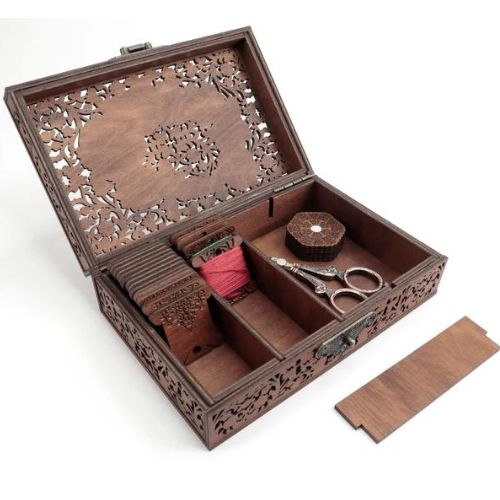
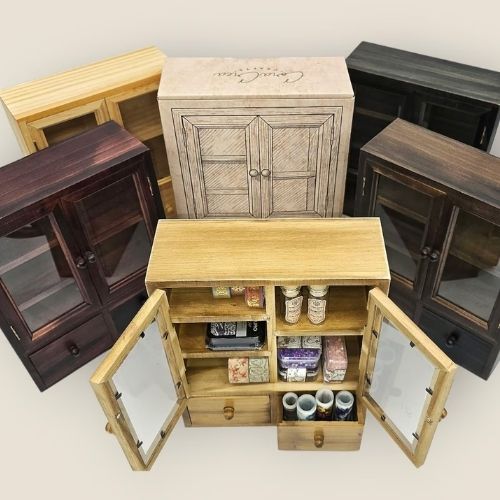
Boxes or drawers
If you have a small amount of floss, you can keep it all in one box or drawer. You can also have more boxes/ drawers for different thread groups. For example, a box/drawer for pink threads, one more for red ones, and the other for blue ones.
Or a box/drawer for cotton floss, one more for pearl cotton, and one more for silk threads.
This storage option works with almost every type of floss winding solution. Bobbins, skeins, Ziploc bags, or project cards can be stored in boxes or drawers.
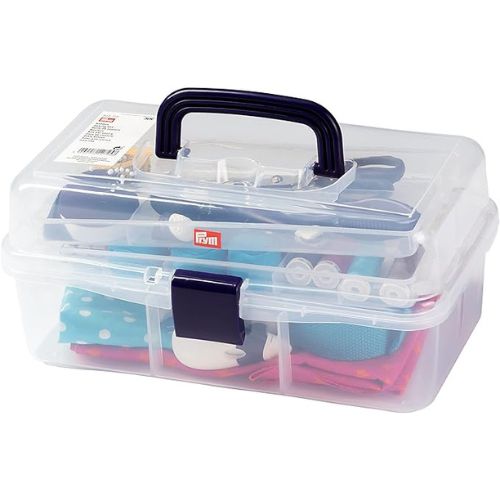
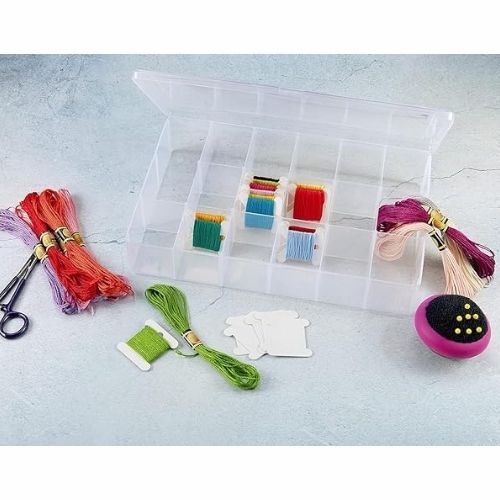
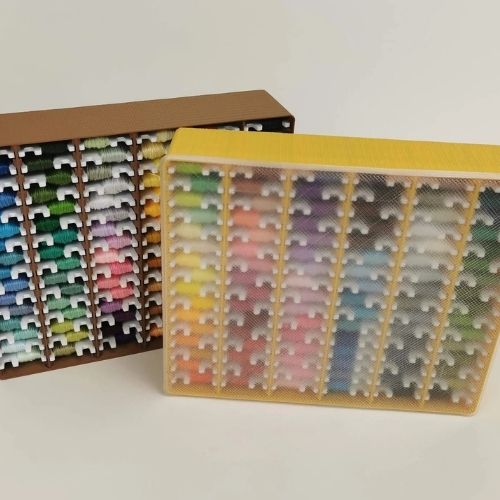
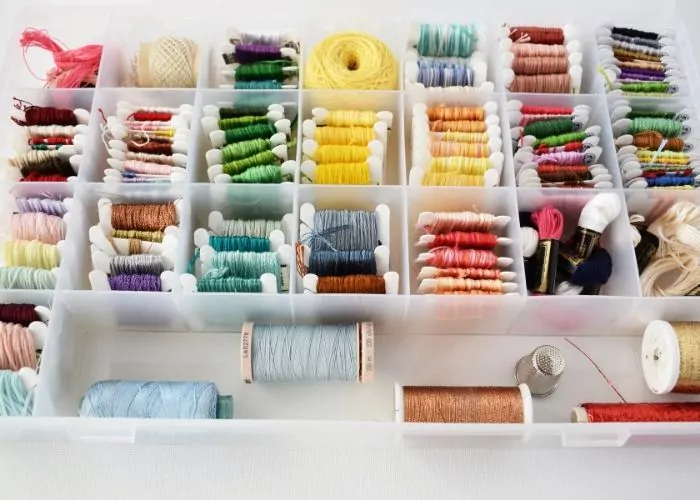
Plastic organizer boxes
This storage system is very convenient for cotton embroidery floss. The organizer boxes are transparent, allowing you to see the color range without opening the box.
This storage system works best if you wind your floss on the bobbins and organize it by color code or visible color.
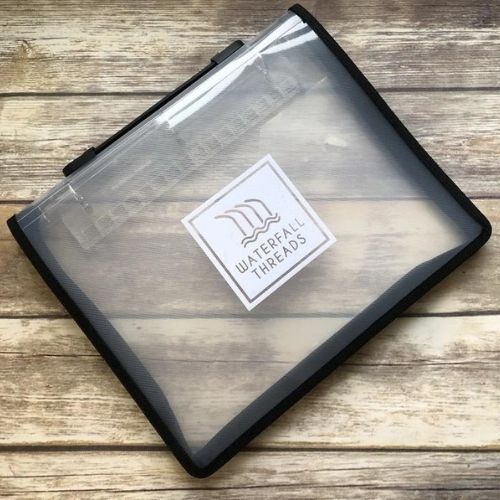
Binders
Binders are the best way to keep your floss on storage cards. You can add as many cards as you need to one binder.
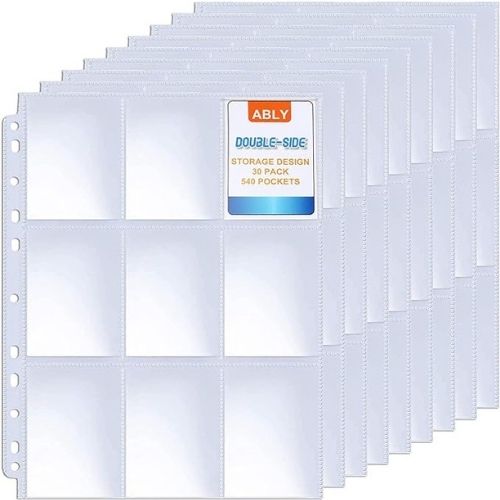
You can also keep pocket organizers in the binder.
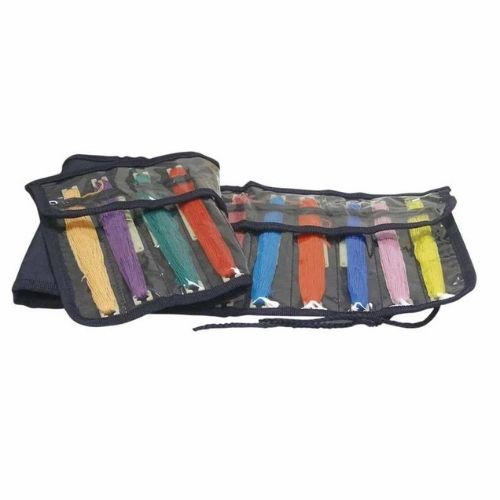
Pocket organizers
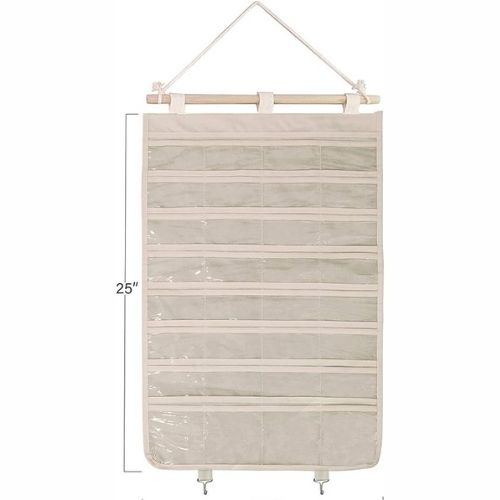
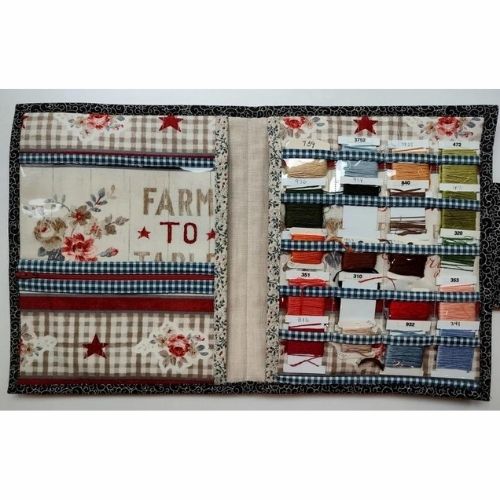
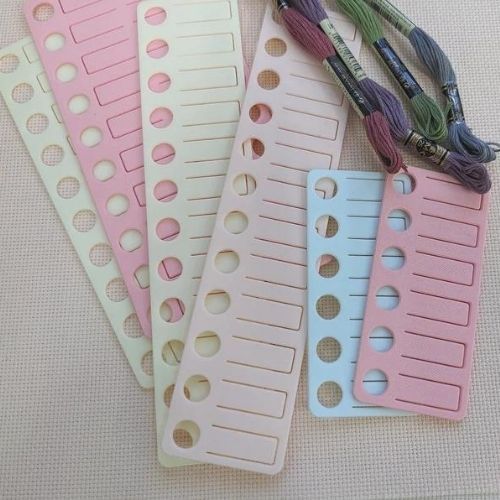
It is a system of small pockets made to fit your floss. The sizes of the “pockets” may vary from a small one to hold a bobbin to a big one (half A4) to accommodate several full skeins of floss. For example, DMC offers pocket organizers made to store floss on stitch bows.
Also, pocket organizers vary in size. You can find a small foldable organizer ready to accommodate 24 bobbins of floss, a large pocket organizer to hang on a wall, or an A4-size page made to fit a binder.
Use pocket organizers to store floss winded on bobbins, stitch bows, braids, or clothespins. You can make your own pocket organizer or choose from the options available on Amazon or Etsy.
Ziplock bags
To organize your floss, you can use small zip-lock bags. Each pack holds one color. Place a full skein and leftover strands in the same bag. Store the bags in boxes or baskets organized by number or color.
Pegboard or display board
If you have a dedicated working space for your crafts, you may consider displaying your floss. Pegboards with floss bobbins or clothespins would make an excellent decoration for your studio.
You can use a pegboard with pegs and hooks or make your own display board from a corkboard.
Keep in mind that this storage solution will not protect your floss from dust and direct sunlight.
Jars
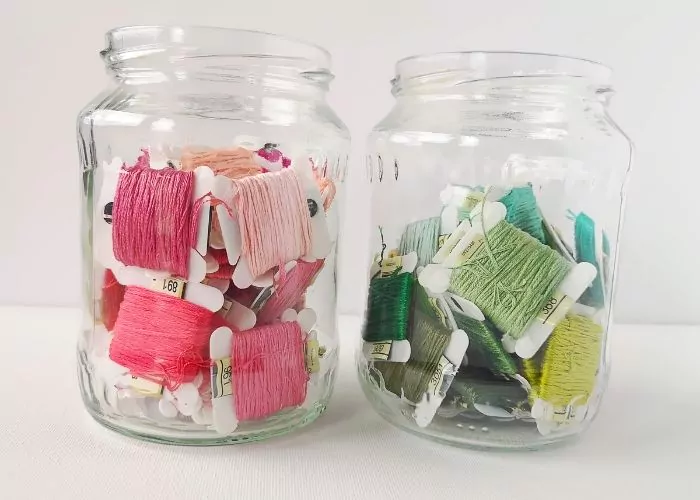
Another beautiful way to display your floss collection is to place bobbins, clothespins, or craft stick spools in the jars. This floss-storing solution will protect your floss from dust and make a nice decoration for your working space.
Metal rings
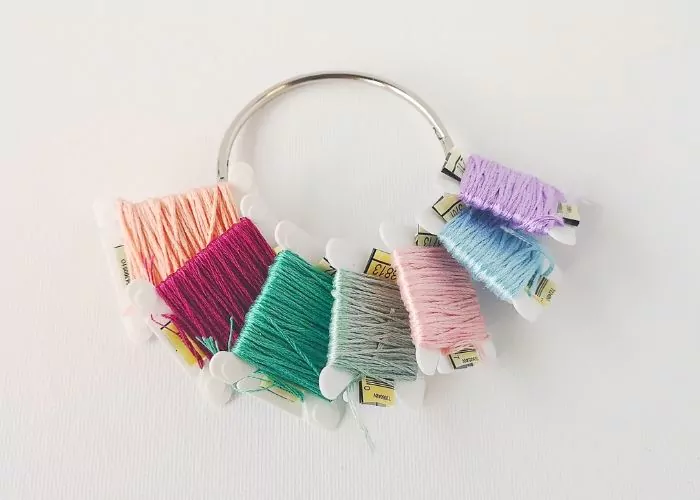
If you have a decently small amount of floss or you need to separate some floss for a project you are working on, use metal rings to hold your floss. If your floss is winded on bobbins, craft sticks, or braided, you can use a metal ring to keep all the floss in one place.
Organizing systems for pre-cut floss
If you use pre-cut embroidery floss, there are several creative ways to store it.
Braiding your embroidery floss
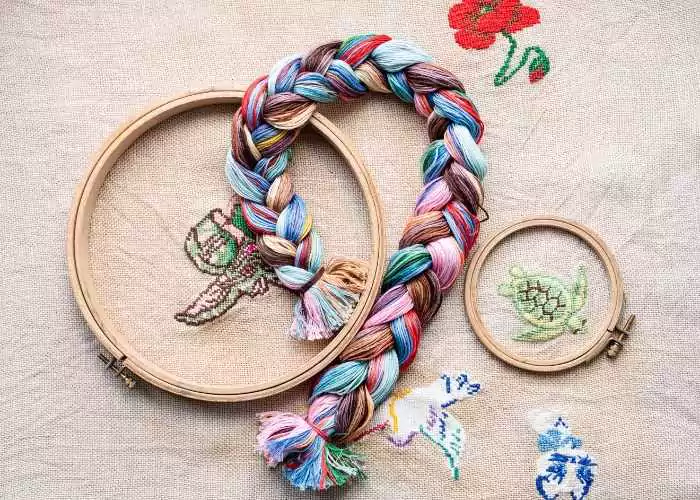
Measure the right length of thread, cut it, place it on the ring, and make a loose braid. Store the rings in plastic bags or binder, or hang them on a pegboard with hooks. You can also keep braided floss in the ziplock bags or pocket organizers.
If you want to try this floss organization method – read a tutorial by Night Quilter.
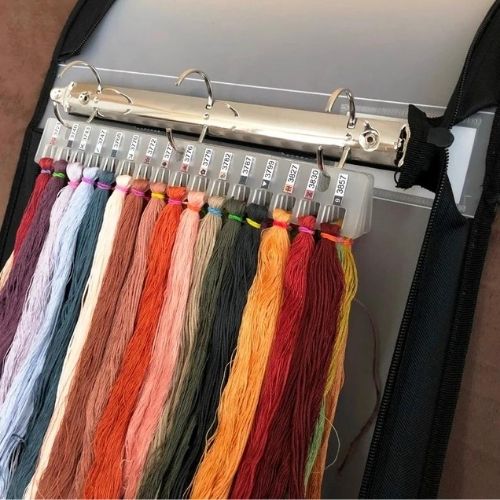
Use thread drops or project cards
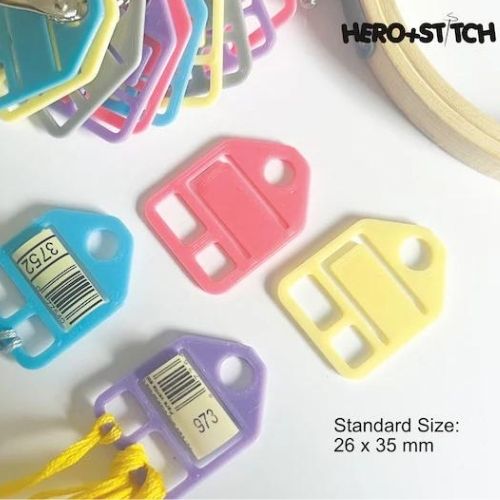
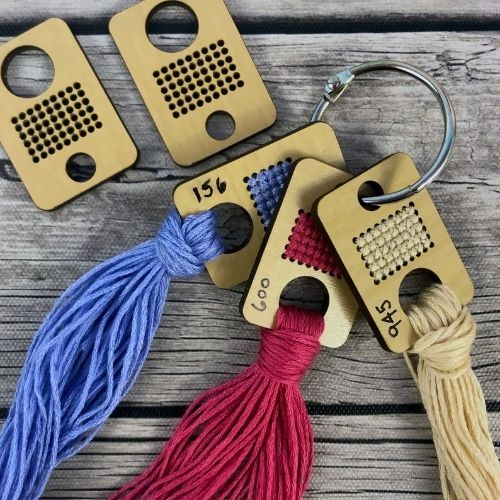
Thread drops are usually made from sturdy cardboard or plastic and have two holes in them—one to hold the floss and the other to hold it on a ring. You can make your thread drops from scratch or buy them.
Project cards are rectangles of stiff cards with holes punched on one side. Each hole is meant for one skein of floss. First, cut the skein into your ideal stitching length. Then, fold the bundle in half and push the folded end through the hole, forming a loop. Pass the cut ends through the loop and pull firmly. Write a color code and the floss brand on the card next to the hole.
These storage systems work well for cotton embroidery floss and are widely used by cross stitchers.
I don’t like this system because you must cut all your floss into pieces of the same length before storing them. I want to decide the length of the thread depending on the project I work on.
How I organize my embroidery floss and threads
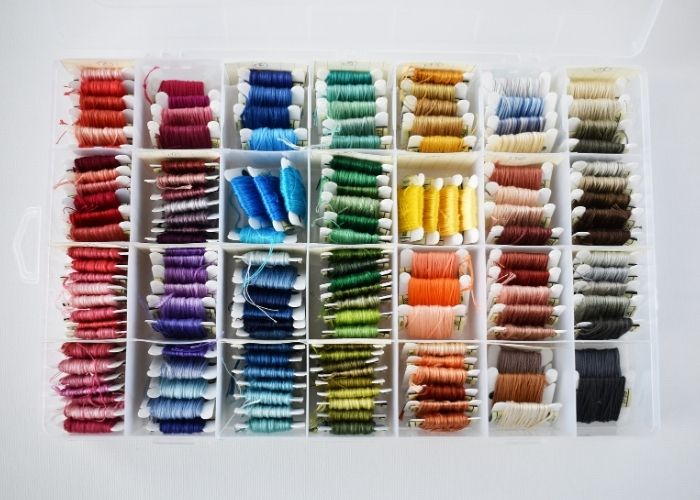
I mostly use DMC embroidery floss, but I also use pearl cotton threads, rayon floss, vintage floss, metallic threads, and even ribbons.
First, I decided to group my floss by type, so I separated all the threads.
Then, I chose the best storage system for each thread type:
- My embroidery cotton floss is winded on plastic bobbins. I keep it in plastic organizer boxes grouped by color codes. When I work on a new project, I put all the colors I need for that project on a metal ring. I like to take my floss with me when we go on holiday, so this storage system is perfect for my needs. Also, I keep a .xls sheet to keep track of all the floss I have in stock.
- I keep all of my pearl cotton in one drawer.
- I have a separate organizer box for metallics, rayon floss, and vintage floss. I take it out when I need some of these threads.
- My ribbons are grouped by width, and I keep them in ziplock bags in one drawer.
With this floss storage system in place, I know what floss and thread I own and where I can quickly find them.
Enjoy Your Craft with Neatly Organized Supplies
Organizing embroidery floss and threads may seem tedious, but it’s worth the effort. By assessing your collection, choosing the proper storage method, and implementing a system that works for you, you can keep your embroidery floss and threads neat, accessible, and ready for your next project. Whether you prefer the compact efficiency of bobbins, the visual appeal of floss drops, or the portability of a binder system, there’s a method that will make your embroidery experience more enjoyable and less frustrating.
Ultimately, organizing your embroidery floss doesn’t just make crafting easier—it enhances the creative process. When everything is in its place, you can focus on the joy of stitching, relax, and make the most of your creative time.
More about hand embroidery tools and materials on this Blog
