Long-Tailed Chain Stitch
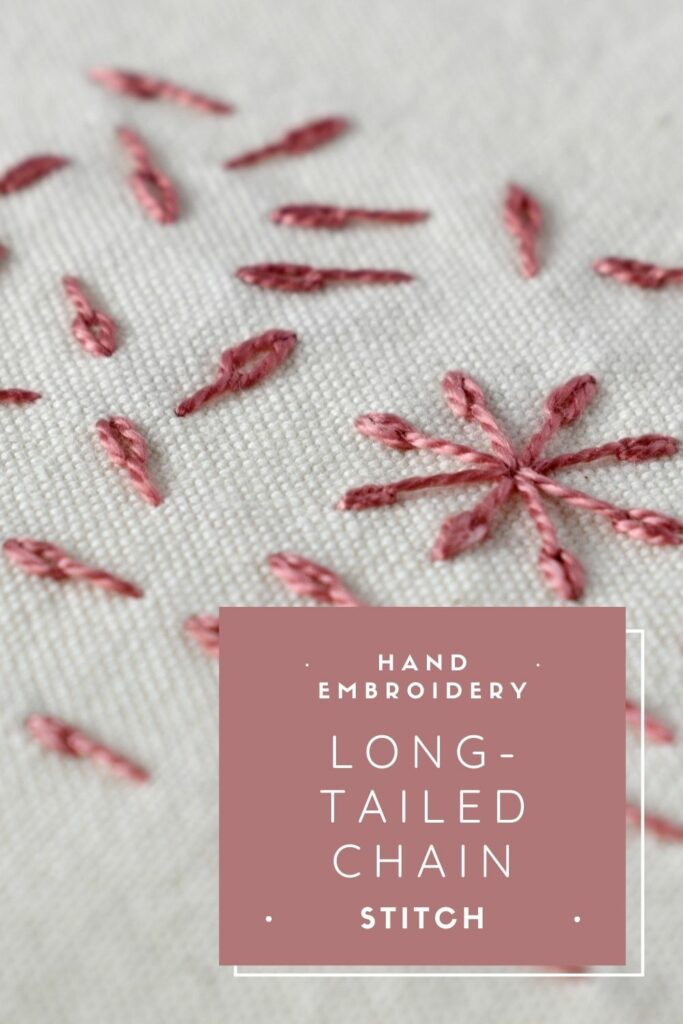
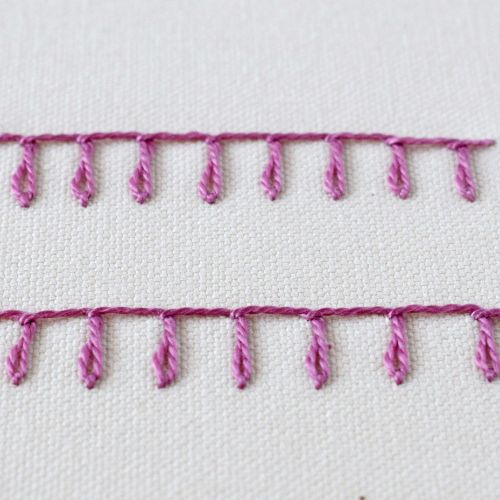
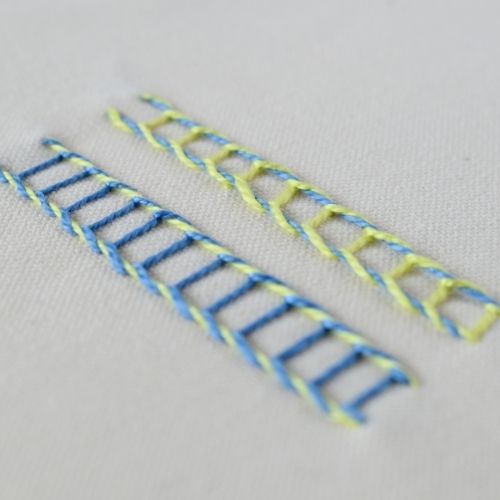
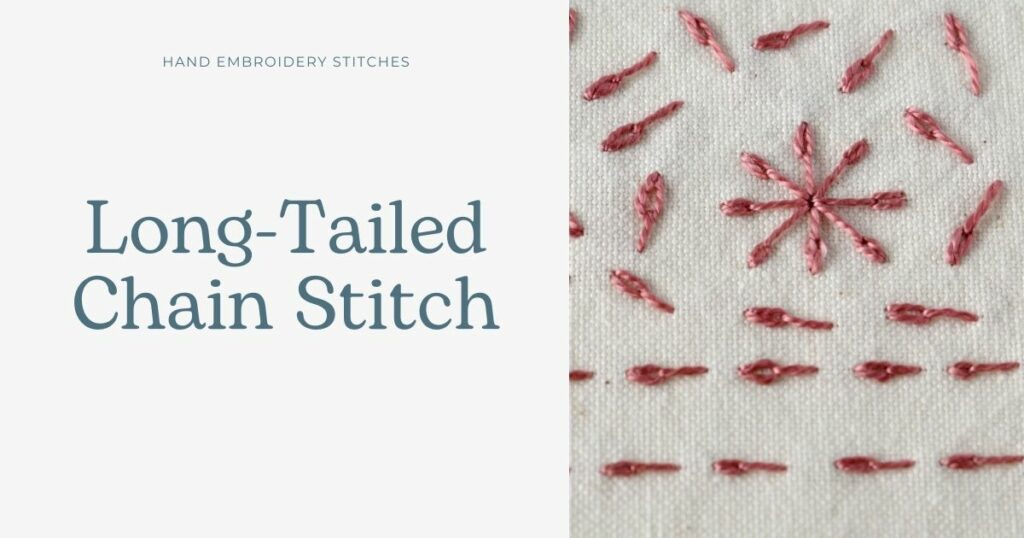
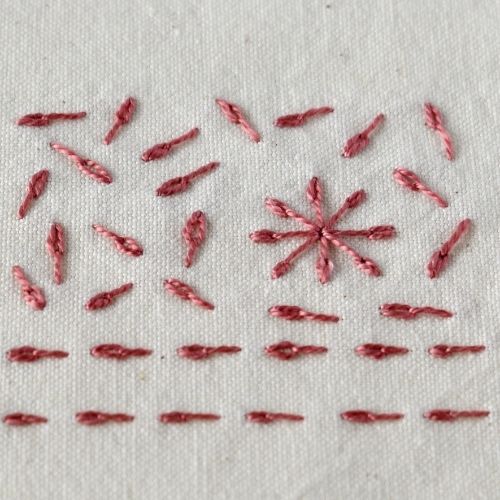
The Long-Tailed Chain Stitch is one of the many variations of the basic Chain Stitch. To make this stitch, we anchor a small detached chain stitch with a long straight stitch – a long tail. In general, the embroidery technique of this stitch is the same as that of the Detached Chain Stitch. The only difference is the length of the anchoring stitch – instead of the tiny anchoring stitch we use a long one.
Meanwhile, on the reverse side, this embroidery technique will look like interrupted Backstitch.
Other names of the Long Tailed Chain Stitch
This embroidery technique has several names. For instance, names like Long-Tailed Daisy Stitch and Long-Tailed Detached Chain Stitch can be used for this embroidery stitch.


Applications of the Long-Tailed Daisy Stitch
Even though this hand embroidery technique is simple to make, it is versatile and has various applications. Therefore, you can use this stitch to fill large areas, make decorative borders, or cluster the stitches to form decorative shapes like flowers or snowflakes.
More stitches from the Chain Stitch family
Learn how to embroider Long Tailed Chain Stitch
Follow the step-by-step tutorial with detailed photos below, and you will learn the Long-Tailed Chain Stitch quickly. In addition, you can watch a video lesson in the tutorial or on the Practical Embroidery YouTube channel in order to learn this hand embroidery stitch faster.
How to embroider Long Tailed Chain Stitch
Step-by-step hand embroidery tutorial
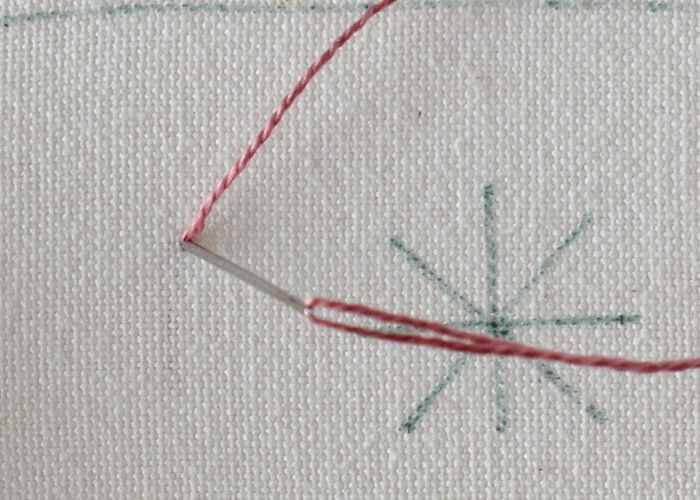
1. To make a single Long-Tailed Detached Chain Stitch, raise the needle to the surface, pull all the thread through, and push the needle back to the same starting point. This will form the loop.
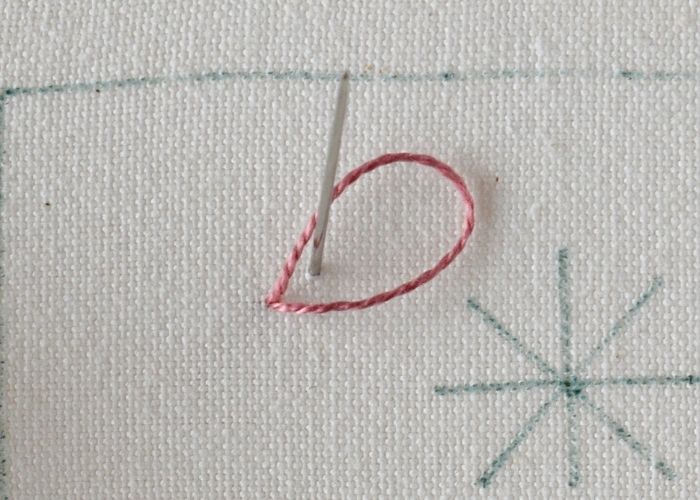
2. Now, take the needle to the surface a small distance from the starting point, inside the loop of the working thread. Pull the thread to tighten the loop and form a chain.
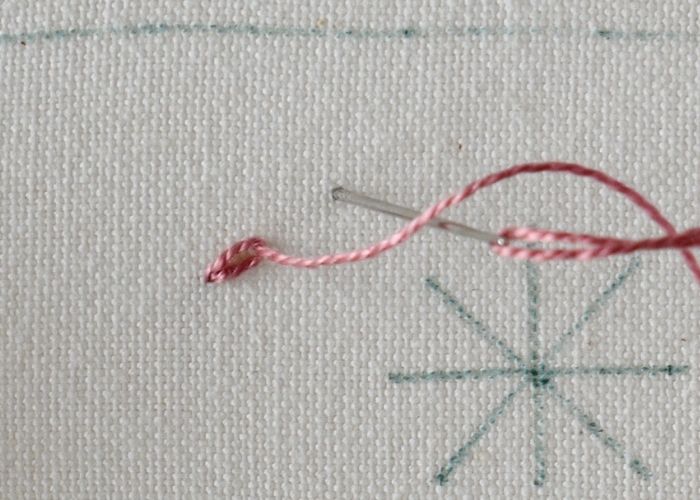
3. Then, make a long, straight anchoring stitch to form a tail of the long-tailed chain stitch.
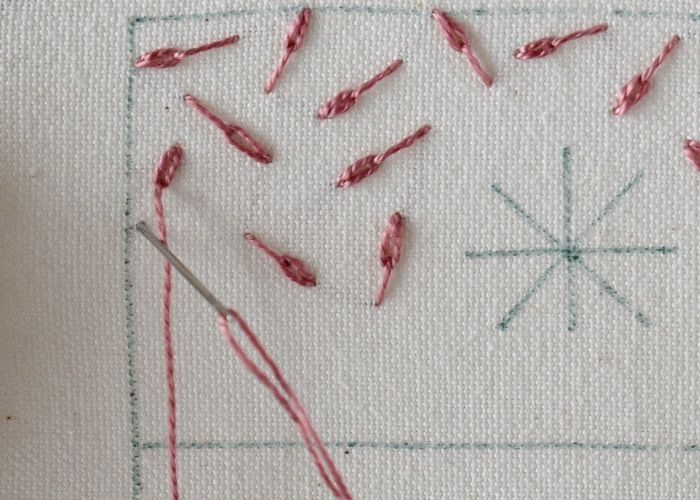
4. You can use this hand embroidery technique for filling. For this purpose, position the stitches at various angles and at your desired density to fill the fabric with a playful surface pattern.
5. If you want to create a flower shape, then position the stitches in a circle with all tails ending at the same point in the center of the figure.
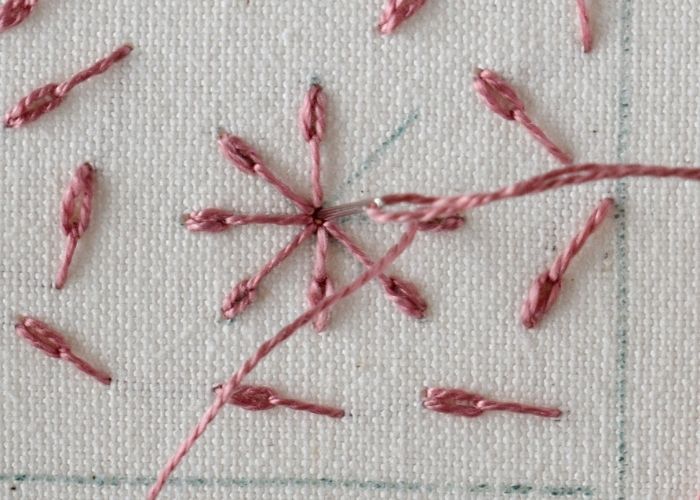
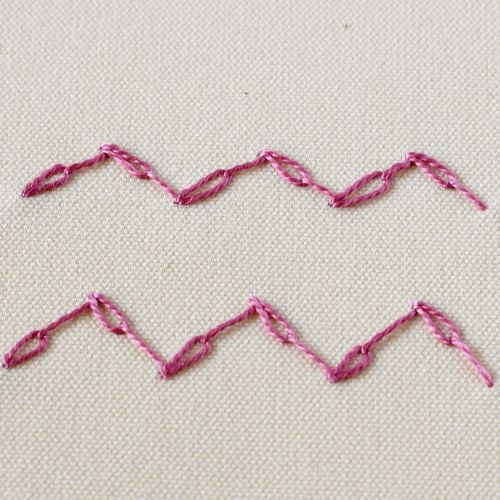
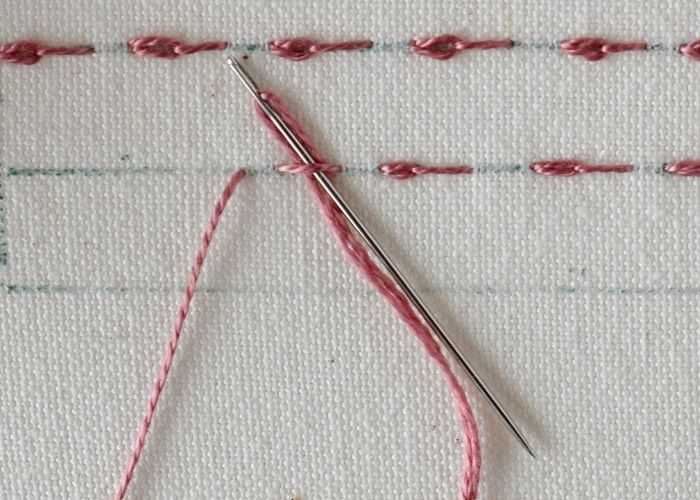
6. Finally, you can make a Long-Tailed Chain Stitch using the technique of a regular chain stitch or the method of Reverse Chain Stitch.
Video tutorial
Tools and materials I used for this sampler
Disclaimer. To cover the cost of creating free embroidery patterns and video tutorials for this blog, I do sometimes link to products. Please assume these links are affiliate links. If you choose to buy through my links then THANK YOU – it will make it possible for me to keep doing this.
What’s next?
If you’re in the mood to explore more hand embroidery stitches, check out the Stitches and Techniques page for the list of other fantastic stitches available on my blog. From timeless classics to modern twists, a whole world of stitches is waiting for you to explore and master. So, grab your hoop and needle, and let’s stitch our way to creative bliss!
Need More Guidance?
The top 10 hand embroidery stitches to learn is a free online course created for beginners.
