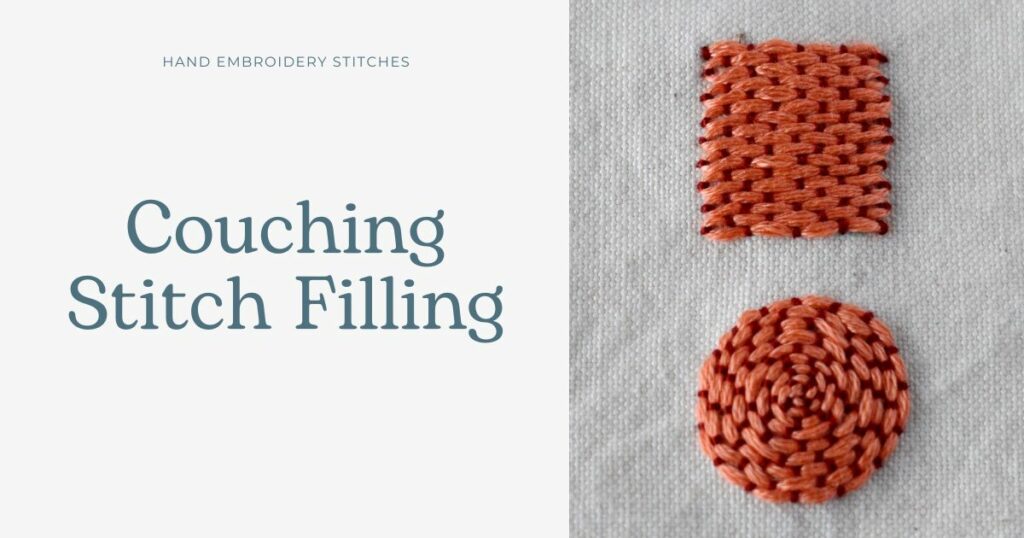
Couching Stitch Filling
Couching Stitch Filling is an embroidery method for filling with a Couching Stitch. This technique is flexible and straightforward to make. You can fill areas of any shape or size with this stitch.
The method is the same as the Couching Stitch: a laid thread is attached to the surface with tiny couching stitches. This time, the thread is laid to cover the surface instead of forming a line.
On the reverse side, only the couching thread is visible, as all the laid thread stays on the surface of the fabric (except the ends secured on the back).
Other names of the stitch
The couching stitch embroidery technique has various names – Basic Couching, Plain Couching, or Simple Couching. Besides that, the Couching technique is also called Laid embroidery, Convent stitch, or Kloster stitch.
Depending on the shape you are filling, this technique can also be called couching in a circle or couching with an angle.

Applications of the Couching Stitch Filling
This hand embroidery technique for filling is widely used in goldwork, Jacobean embroidery, and modern surface embroidery.
You can position couching stitches to create a brick pattern, diagonal lines, or other shapes. For example, the Italian couching technique for goldwork creates patterns by skipping the couching stitches to develop shapes that reflect light differently.
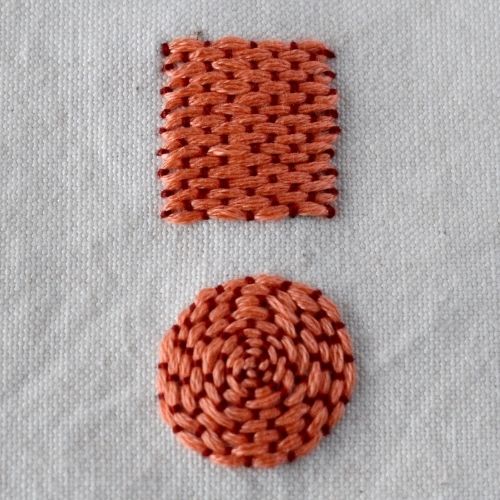
Besides filling extensive areas with Couching Stitch Filling, you can create various shapes – circles, triangles, or squares – depicting flowers, leaves, or other objects with a woven surface.
More stitches from the Couching Stitch family
Learn how to embroider Couching Stitch Filling
Follow the step-by-step tutorial with detailed photos below, and you will learn the Couching Stitch Filling quickly. If you are a visual learner, watch a video lesson in the tutorial or on the Practical Embroidery YouTube channel to learn this hand embroidery stitch faster.
How to embroider Couching Stitch Filling
Step-by-step hand embroidery tutorial
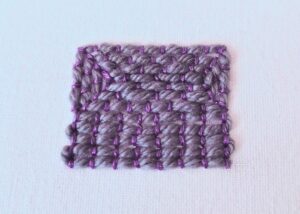
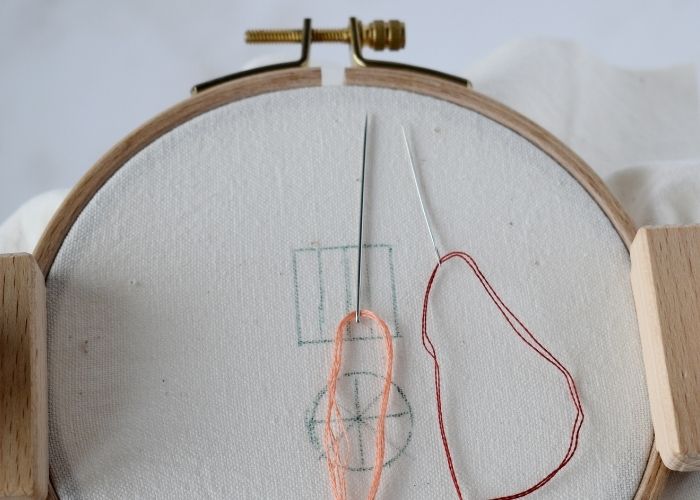
1. First, define the shape or area you want to fill. You can also mark the guiding lines for couching stitches. Prepare two needles: one with a laid thread (I used 6 strands of pink embroidery floss) and the other with a couching thread (I used 2 strands of dark red embroidery floss).
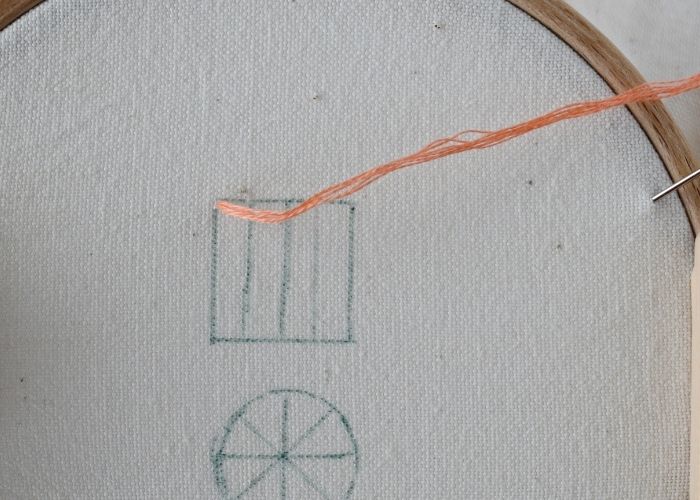
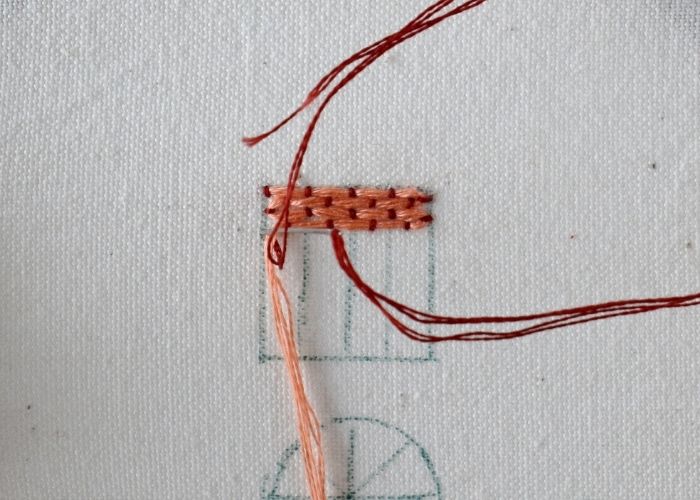
2. Take the needle with a thicker laid thread to the surface. Lay the thread on the edge of the shape you plan to fill.
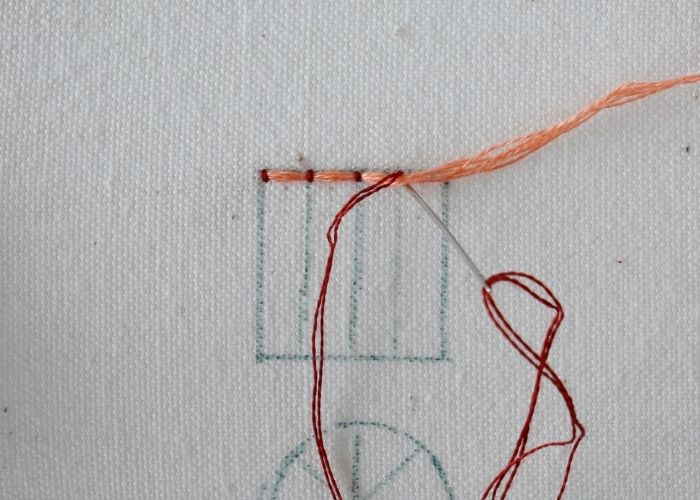
3. Attach the laid thread with tiny vertical couching stitches.
4. At the turning point, make a horizontal couching stitch at the edge of the shape. This will help you shape a nice edge.
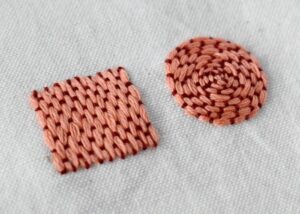
5. You can experiment with various layouts of couching stitches and the distances between them. I couched the laid thread using a brick pattern.
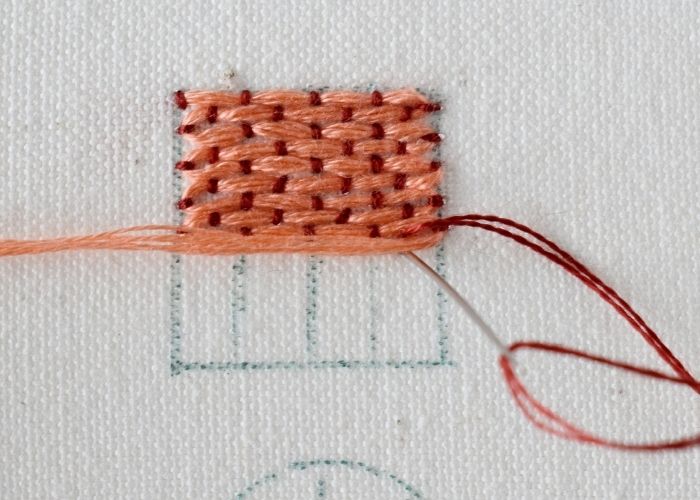
6. Continue adding dense rows of couching stitches till the entire shape or area is filled.
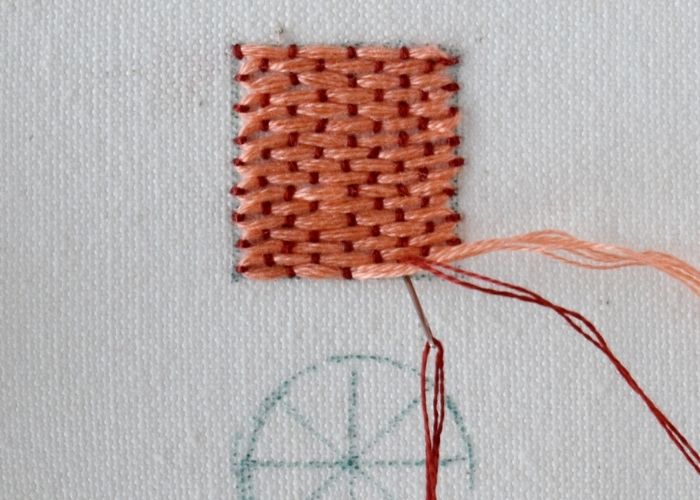
7. Finally, push the needle with a laid thread to the back of the fabric and secure it. If needed, add a final couching stitch to complete the filling.
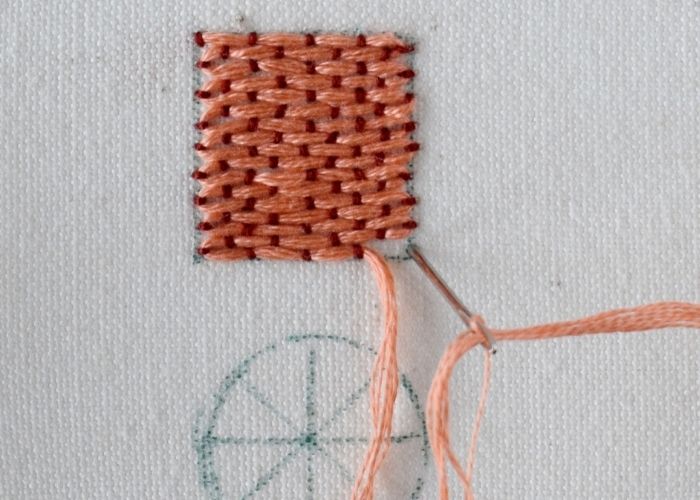
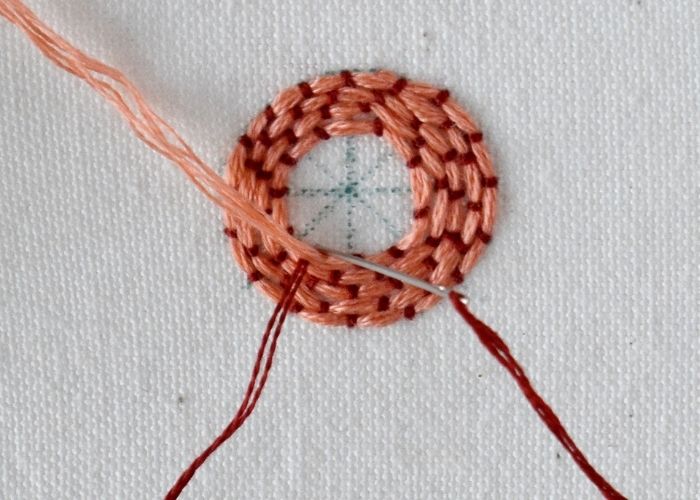
8. If you want to fill a circle or other rounded shape, start at the outer edge and move inwards. Add rows of couching stitches until the shape is filled. You can also start at the center and move outwards, but I tend to distort the shape this way, so I prefer starting at the outer line of the shape.
Video tutorial
Tools and materials I used for this sampler
Disclaimer. To cover the cost of creating free embroidery patterns and video tutorials for this blog, I do sometimes link to products. Please assume these links are affiliate links. If you choose to buy through my links then THANK YOU – it will make it possible for me to keep doing this.


What’s next?
If you’re in the mood to explore more hand embroidery stitches, check out the Stitches and Techniques page for the list of other fantastic stitches available on my blog. From timeless classics to modern twists, a whole world of stitches is waiting for you to explore and master. So, grab your hoop and needle, and let’s stitch our way to creative bliss!
Don’t miss a thing!
Follow me on YouTube, Instagram, Facebook, and Pinterest. Or why not subscribe to Practical Embroidery newsletter and get embroidery tips straight to your inbox every few weeks?
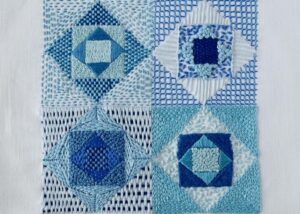
Projects to practice Couching Stitch filling
Need More Guidance?
The top 10 hand embroidery stitches to learn is a free online course created for beginners.