Couching Stitch
Couching Stitch is a hand embroidery technique where one thread attaches another thread (or a group of threads) to the fabric’s surface. The couching thread is often thinner, and the laid thread is thicker. The stitch’s name has French origins and means to lay down (coucher).
Other names of the stitch
The couching technique is also called Basic Couching, Plain Couching, or Simple Couching. Besides that, the Couching stitch can be called Laid embroidery, Convent stitch, or Kloster stitch.


Applications of the Couching Stitch
The couching technique has been used in many parts of the world for centuries. People in Europe, India, Indonesia, Japan, and the Middle East used the Couching technique for embellishing their garments, home textiles, and religious objects.
Couching stitch is indispensable in modern surface embroidery, crewelwork, goldwork, stumpwork, ribbonwork, and other hand embroidery styles and techniques.
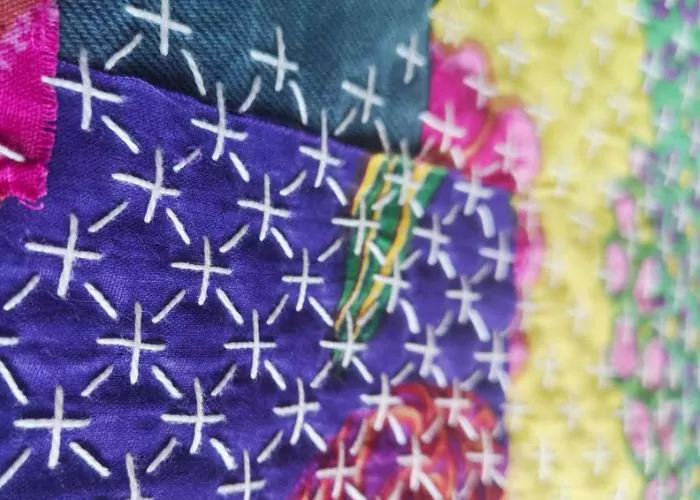
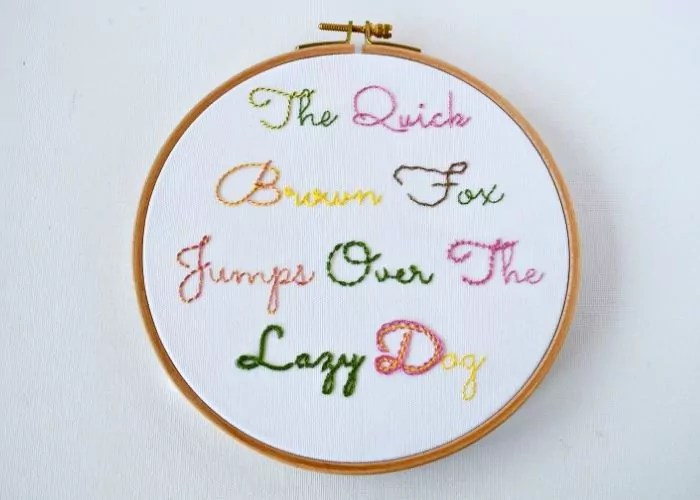
This hand embroidery stitch works on straight lines, curves, and angles. Therefore, Couching technique is an excellent choice for outlines, borders, and lettering. Besides that, you can apply the Couching technique for filling and combine it with other decorative stitches.
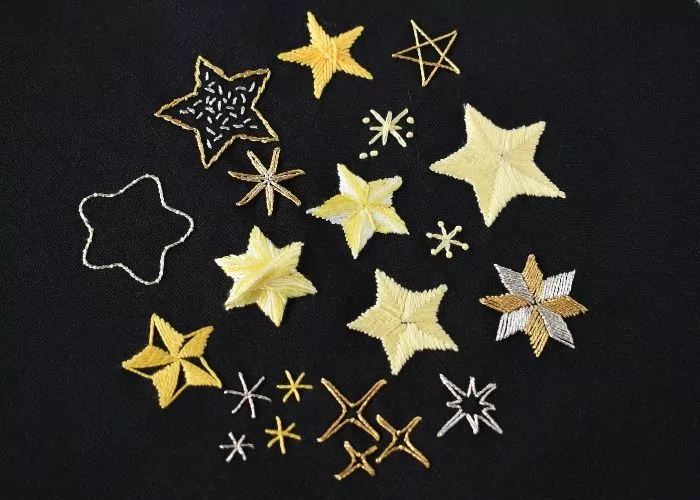
There are many options for combining different laid threads and couching threads. Mix different textures, colors, thicknesses, shear, and materials for various visual effects.
More stitches from the Couching stitch family


How To Embroider Couching Stitch
Step-by-step hand embroidery tutorial
Instructions
1. Mark the shape or line for your Couching Stitch. Take the needle with a laid thread up to the surface.

2. Thread your needle with a couching thread. Take the needle to the surface one stitch away from the starting point on the marked line.

3. Make a tiny vertical stitch and tackle the laid thread to the surface with your couching thread. Pull all the thread to the back side of the fabric.

4. Take the needle up one stitch away on the marked line, make a tiny stitch to anchor the laid thread, and pull the thread to the back.

5. Continue making tiny stitches to secure the laid thread to the surface.

6. After the last couching stitch is done, push the needle of the laid thread to the back of the surface and secure the laid thread on the back.

Video tutorial
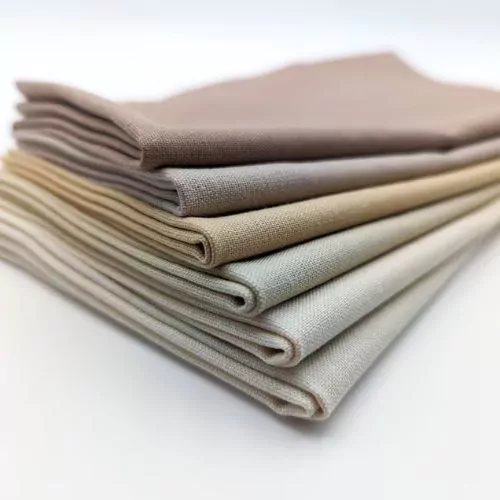
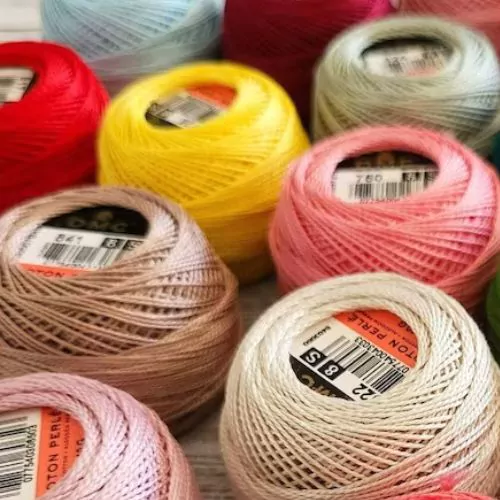
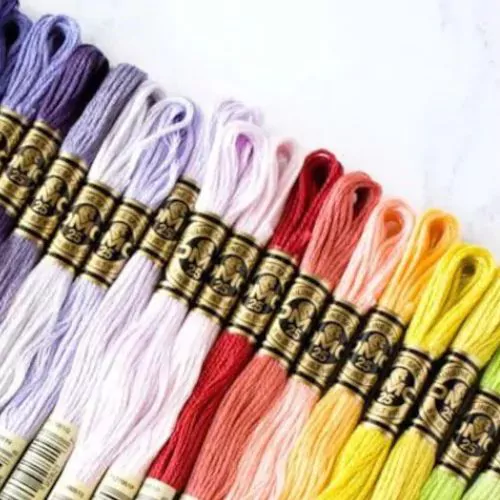
Tools and materials I used for this sampler
Disclaimer. To cover the cost of creating free embroidery patterns and video tutorials for this blog, I do sometimes link to products. Please assume these links are affiliate links. If you choose to buy through my links then THANK YOU – it will make it possible for me to keep doing this.


What’s next?
If you’re in the mood to explore more hand embroidery stitches, check out the Stitches and Techniques page for the list of other fantastic stitches available on my blog. From timeless classics to modern twists, a whole world of stitches is waiting for you to explore and master. So, grab your hoop and needle, and let’s stitch our way to creative bliss!
Don’t miss a thing!
Follow me on YouTube, Instagram, Facebook, Flipboard, Telegram, Reddit or Pinterest. On the other hand, you can subscribe to the Practical Embroidery newsletter and get embroidery tips straight to your inbox every week!
Projects to practice Couching stitch

Need More Guidance?
The top 10 hand embroidery stitches to learn is a free online course created for beginners.