
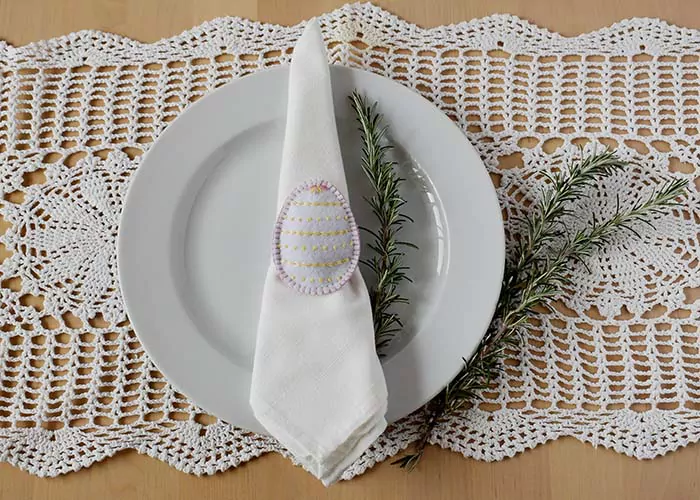
DIY embroidered napkins with an olive branch: Free pattern download and step-by-step hand embroidery tutorial
DIY embroidered napkins are a great addition to your home décor and festive table arrangement for the upcoming Easter celebration.
Colorful paper napkins with Easter eggs, flowers, and bunnies are so yesterday! Single use items for the table decor are not sustainable. They are not a superb choice for your health and wallet and may look cheap.
So, what is a better option? High-quality fabric napkins! They will look great and add a luxurious touch to your table setup. They are an eco-friendly, sustainable, long-term investment into your home decor that will keep on giving for years.

Disclaimer: To cover the cost of creating free embroidery patterns and video tutorials for this blog, I do sometimes link to products. Please assume these links are affiliate links. If you choose to buy through my links then THANK YOU – it will make it possible for me to keep doing this.
Why should you embroider your napkins?
Don’t get me wrong. Simple cloth napkins are great. But who wants greatness when we can have perfection? DIY embroidered napkins are one level up. That’s why:
- One of a kind items are way better than standard ones. Hand embroidery makes any embellished item special and unique.
- You can decorate the napkins to match your home style and your taste.
- You can personalize the napkins with monograms, icons, flowers, or anything that has special meaning to you and your family members.
- If you use napkins daily, each family member can have their personal napkin so you do not mix them up.

Basic information about the fabric napkins
Before making our DIY embroidered napkins with an olive branch, let’s learn some basics about cloth napkins.
Best materials for cloth napkins
Textile napkins are not only a decorative element of the table set up. They have to absorb liquids and clean your hands well. Therefore, you should choose napkins made of natural fibers like linen or cotton. Even weave fabrics with high thread count will be functional and aesthetically pleasing. These natural fabrics come in many colors. Also, you can opt for multicolored fabrics or fabrics with patterns. Learn more about the fabrics in this article: “An in-depth guide to hand embroidery fabrics. Discover what is the best fabric for hand embroidery and why”.
Napkin sizes
The standard size for a dinner napkin is 41-56 cm square (16 to 22 inches square). Lunch napkins are usually 33-36 cm square (13 to 14 inches square). Beverage napkins come in sizes 25×25 cm (10×10 inches), and Cocktail napkins are even smaller, typically 12-15 cm square (5 to 6 inches square). You can learn more about standard napkin sizes in the article on the Homenish.com website.
How to clean, wash, and iron embroidered napkins
Fabric napkins are great for cleaning your hands, and they absorb liquids extremely well but get dirty quickly. The food stains are sometimes very stubborn and are not easy to remove. You can use a stain remover or bleach on your plain cloth napkins, but hand embroidery is fragile art, and you should treat your embroidered napkins with care.
To clean food stains, use natural products like lemon juice and salt. Then, wash them on a delicate cycle in your washing machine. Do not tumble dry, but dry them flat in the sun.
Iron your embroidered napkins from the back side of the embroidery, or use a cotton cloth to cover the stitches.
You can read an in depth guide on How to wash hand embroidery for more tips.
Store-bought VS home-sewn napkins
For this project, you can either buy pre-made napkins or cut your fabric to the desired size and sew your cloth napkins. Both options are great!
Choose pre-made napkins if you already have them at home and want to personalize them by adding some embroidery. Also, you should opt for store-bought napkins if you do not sew or have a sewing machine. Sewing cloth napkins by hand is possible, but it can be tedious.
Some excellent options for pre-made napkins you can embroider:


Sew your cloth napkins at home if you already have a piece of fabric and want to use it. Also, go for this option if you are looking for non-standard-size napkins. It can be hard to find cloth napkins of dimensions that are not conventional.
These fabrics are great for sewing napkins:


How to make your DIY embroidered napkins
Sign up to my email list to download the pattern and follow the tutorial below. If you need additional support with this embroidery project – watch a dedicated video tutorial on the Practical Embroidery YouTube channel.
Note: this tutorial does not include the instructions on sewing napkins. If you need guidance with this task – read the tutorial on the Apple Green Cottage blog or watch a video tutorial by The Crafty Gemini on YouTube.

DIY embroidered napkins with olive branch embroidery
Step-by-step hand embroidery tutorial
Tools and Materials
Tools:
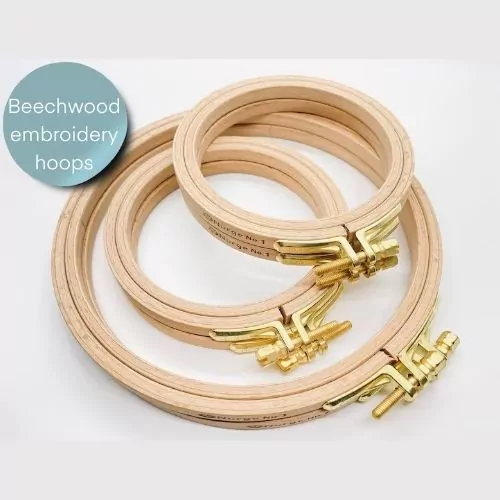
- Hoop.
- Scissors. Fabric shears and small embroidery scissors.
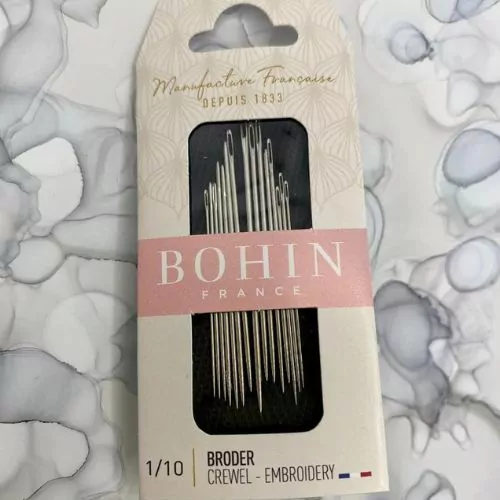
- Embroidery needles.
- Big sharp needle with an eye big enough for your bulky yarn.
- Ruler.
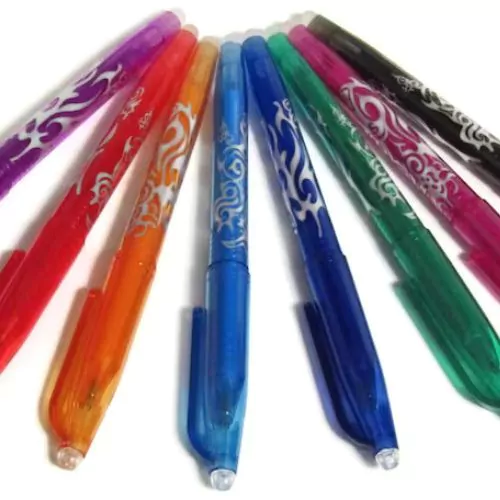
- Friction pen or other tracing tool for pattern transfer.
- Sewing machine (if you choose to sew your napkins).
Materials:
- Fabric for the napkins or blank fabric napkins.
- Green bulky yarn. You can choose cotton yarn, wool yarn, or blended fibers.
- Embroidery floss of a slightly darker shade of green color.
Instructions
- Download the pdf pattern and print a page for pattern transfer. Gather all tools and materials for the project.

2. If you choose to sew your napkins, measure and cut the fabric. Then, measure and mark the edges for the folds of the seams. We will embroider first and sew the edges after.

3. Transfer the pattern to the fabric. Use your favorite pattern transfer method and tool.

4. The pattern starts at the corner of the fabric, so I advise making the first stitches without the hoop. Thread your big needle with a bulky yarn. Do not cut the yarn – use the whole ball.

5. Make a couple of tiny running stitches towards the edge of the fabric and leave a small tail of the yarn hanging on the edge. Remove the needle and put it aside.

6. Thread your embroidery needle with a folded embroidery floss. This method will save you from the ugly knots on the back of the napkin.

7. Make a first stitch and anchor the thread with the loop. Make a couple of couching stitches. Now, you moved away from the edge and can frame the fabric in the hoop.

8. Embroider the outlines of the branch with a Couching stitch. Pull the laid thread gently while anchoring it to the surface to get nice and sharp tips of the leaves.

9. Be careful not to leave loose yarn on the curves.

10. When you finish your couching thread, anchor it under the previously made stitches on the back of the napkin. Do not make knots.

11. To continue with a new thread, use a folded thread method to start stitching.

13. Pull the embroidery thread to the back and park the embroidery needle on the side when the last couching stitch is done. Do not cut the thread. Cut the laid yarn.

14. Thread your big needle, and move the tail of the yarn to the back of the napkin.

15. Secure the yarn on the back side by anchoring it to the couching stitches.

16. Cut the yarn and the embroidery floss.

17. The embroidery part is done. Remove the tracing marks, fold and sew the edges, and iron the finished napkins.

TIPS:
If you embroider ready-made cloth napkins, hide the tail of the laid yarn inside the folds of the edges.
You can substitute the Couching stitch with any other hand embroidery stitch for outlines.
Video Tutorial

Recommended Products
Disclaimer. To cover the cost of creating free embroidery patterns and video tutorials for this blog, I do sometimes link to products. Please assume these links are affiliate links. If you choose to buy through my links then THANK YOU! – it will make it possible for me to keep doing this.

FAQ: Frequently asked questions about DIY embroidered napkins
What fabric is the best to sew fabric napkins?
Choose natural fiber plain weave fabrics with a high thread count. Cotton, linen, and their blends are the best options for their moist absorbing properties and versatility.
Can I buy plain napkins and embroider them?
Sure you can. Choose the cloth napkins you like and embellish them.
How to wash embroidered napkins?
Hand embroidery floss is color-fast and can be washed in a washing machine. Avoid harsh chemicals and bleach. Do not tumble dry your embroidered cloth napkins.
What are the best treads to use to embroider the napkins?
Choose high-quality hand embroidery floss or pearl cotton. These threads are created for embroidery, are color-fast, and can be machine washed. Read the article “Embroidery floss and threads. An in-depth guide to hand embroidery threads, floss, and other types of yarn you can use to embroider” to learn more.
How do you transfer the embroidery design to the napkins?
The pattern transfer method will depend on the color of the napkins you choose and the structure of the fabric. You can opt for the lightbox method or use a water-soluble stabilizer for pattern transfer. More on this topic – in the article “How to transfer embroidery pattern to the fabric.”
How to make the back of embroidered napkins look neat?
Avoid making knots or leaving long jumping threads. Use the folded thread method to start stitching and anchor the threads under previously made stitches. In the article “How to start and end embroidery stitches,” you will find more tips on how to make the back of embroidery look nice and clean.
Over to you

Cloth napkins made from linen or cotton fabrics are the most environmentally friendly choice for your household. Besides that, fabric napkins are more aesthetically pleasing and will save you a lot of money, as you make (or buy) them only once and use them for many years.
Make your own DIY embroidered napkins, and you will create a heirloom piece of home textile. It will elevate your table setup and be worth passing on to the next generations!
Don’t miss a thing!
Follow me on YouTube, Instagram, Facebook, and Pinterest. Or why not subscribe to Practical Embroidery newsletter and get embroidery tips straight to your inbox every week?

