
Floral Spring Felt Ornaments: DIY Tutorial and Free Pattern Download
Spring is around the corner, and five weeks are left till Easter! The right time to read this spring felt ornaments DIY tutorial, download a free pdf pattern, and start making floral ornaments to add some bloom to your home and table décor for Easter celebrations and Spring season!
I like this vivid season and adore crafting decorations to embellish the table and brighten my home. To decorate my Easter tree, I created felt ornaments – Easter bunnies and Easter eggs with daisies. Also, I made matching napkin rings and embroidered napkins for a festive table setup.
This year, I will add some floral spring felt ornaments and embroidered napkins to my Easter embroidery collection. If you want to join me in embroidering and sewing felt flowers, Sign up for my newsletter, download the pattern, and let’s start crafting!


Spring Felt Ornaments DIY Tutorial
Step-by-step hand embroidery tutorial
Materials
- Felt fabric. Choose three contrasting colors that look good together. I chose bright yellow, royal blue, and white felt fabric.
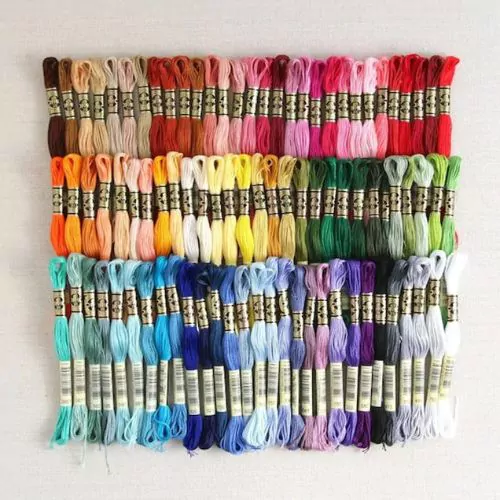
- Embroidery floss. I used DMC embroidery floss #798 Dark Delft Blue and #742 Light Tangerine, matching my felt fabric colors.
- Stuffing material.
- A piece of satin ribbon. I used a blue 0,5 cm wide ribbon.
- Wooden bead.
Tools
- Scissors. Craft scissors for cutting the paper and felt fabric and small sharp embroidery scissors.
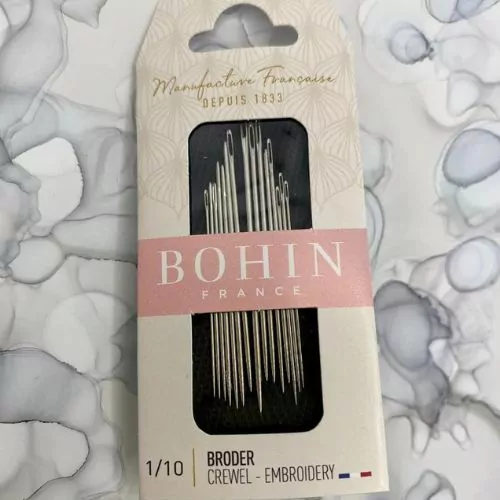
- Embroidery needle.
- Sharp needle with a wide hole to accommodate the ribbon.
- Some pins.
Instructions
1. Download a PDF pattern and print a page with a design. Gather all tools and materials from the list.

2. Cut out three shapes of flowers from the paper.

3. Pin the biggest floral piece on the white felt fabric and cut it out. You can also outline the shape of the flower with a friction pen and cut it out following the traced pattern. Cut out two pieces.

4. Cut out the medium flower. You will need two pieces of this shape.

5. Finally, cut out two pieces of small circles.

6. Assemble two flowers. Place the biggest flower, add the smaller flower in the center, and then add a yellow circle. Pin the pieces together.

7. Start embroidering the center of the flower. Embroider Pistil Stitch to secure the pieces of felt fabric together. After a couple of stitches, remove the pin. Make some short pistil stitches around the central circle.

8. Now add some longer pistils between the short Pistil Stitches.

9. Fill the center of the flower with French Knots.

10. Repeat the Pistil Stitches and French knots on the second piece of the floral decoration.

11. Secure the edge of the blue flower with Blanket Stitch.

12. Sew around the edge of the blue flower of the second piece.

13. After embellishing both flowers, place them one above the other with decorated sides facing outwards. Sew the pieces together with a Blanket Stitch.

14. When you are about to finish sewing the pieces together, leave the gap and fill the ornament with stuffing. First, fill the petals, and then fill the center of the flower. Push the filling into the ornament using a pencil or other non-sharp long object.

15. Close the gap and finish sewing the felt ornament.

16. To add a ribbon with a wooden bead, cut it at a sharp angle and thread it into a needle. Pass the needle through both layers of the felt ornament.

17. Place the wooden bead on top for decoration.

18. Alternatively, you can place a bamboo stick inside the flower. This will allow you to place it into a vase with other flowers instead of hanging it on the branch.

Video tutorial
Recommended Products
Disclaimer. To cover the cost of creating free embroidery patterns and video tutorials for this blog, I do sometimes link to products. Please assume these links are affiliate links. If you choose to buy through my links then THANK YOU! – it will make it possible for me to keep doing this.


FAQ: Frequently asked questions about making DIY felt ornaments
What kind of felt do you use for ornaments?
You can choose to work with different felt fabrics. They vary in price and color choices. Opt for high-quality craft felt or wool blends:
– Wool felt
– Wool blend felt
– Acrylic felt fabric
What is the best stuffing for felt ornaments?
There are several options of stuffing materials you could use to fill your ornaments:
– Wool filler for stuffing
– Cluster stuffing fibers
– Polyester fiber fill
– Small pieces of cut-off materials and thread ends that you accumulated
What stitches do you use for sewing DIY spring felt ornaments?
My favorite stitch for sewing all felt decorations is a Blanket stitch for sewing. Also, you can use a simple Whip Stitch (aka Overcast Stitch).
Can I use a sewing machine to sew the floral decorations?
Yes, you can. Embroider the pistils in the center of the ornament by hand and then – sew it with a sewing machine. Leave the gap for filling. Then, fill the ornament and close the gap. You can use a zig-zag stitch for sewing.
Personalize spring felt ornaments

This spring felt ornaments DIY project is straightforward and beginner-friendly. But at the same time, it’s highly versatile. You can personalize these felt decorations to fit your home and your taste. Try these ideas:
- Change the colors: use pastel tones, black and white, or monocolored options.
- Play with the size: Adjust your printer settings and print the pattern at 80% to make flowers smaller or at 120% to make them bigger.
- Make them shine: Add some beads or sequins to decorate the centers of the flowers.
- Add contrast: Choose contrasting color threads for sewing the pieces of the flowers together.
- Decorate your home: Hang them on the Easter tree, pin them to the curtains, add a bamboo stick, and place them in the vase with flowers, or add these felt flowers to the egg basket.
Over to You
So, what do you think of this DIY floral spring felt ornaments project? Will you give it a try and decorate your home for the Easter celebrations with felt flowers?
There are so many options for personalizing this project and various options for using the ornaments that it would be a pity not to try them out!

Don’t miss a thing!
Follow me on YouTube, Instagram, Facebook, Flipboard, Telegram, Reddit or Pinterest. On the other hand, you can subscribe to the Practical Embroidery newsletter and get embroidery tips straight to your inbox every week!
More Easter and Spring projects and ideas


