Hand embroidered Easter napkin rings DIY tutorial
Learn How To Embroider And Sew Easter Napkin Rings From Felt. Free Pattern Download Included
Spring is in the air. Nature is waking up after a winter sleep, and Easter is approaching. Time to start planning your home decor for the upcoming celebration!
I will reuse my Bunnies and Easter egg felt decorations to hang on the branches. But I needed extra decor for the table setup, so I made some napkin rings with decorated Eggs to adorn my table.
Would you like to make some too? Download a free pdf pattern and follow this DIY tutorial to create original Easter decor for your table.

Easter Napkin Rings From Felt
Step-by-step hand embroidery tutorial
Tools and Materials
Tools:
- Embroidery needle.
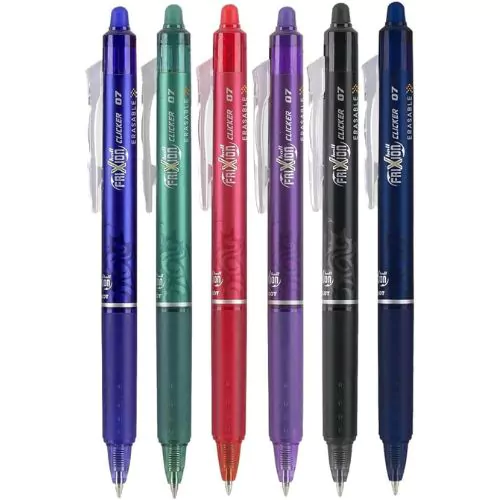
- Pattern transferring tools. I used a friction pen for pattern transfer. It will go out with the iron heat when the project is finished.
- Embroidery hoop. Any size of the hoop will work. Mine is 20 cm in diameter.
- Scissors – paper scissors, fabric shears to cut the material, and small embroidery scissors or snips to cut the thread.
- A couple of pins.
- A ruler.
Materials:
- Fabric: You will need 30×30 cm of white felt material to make six Easter napkin rings.
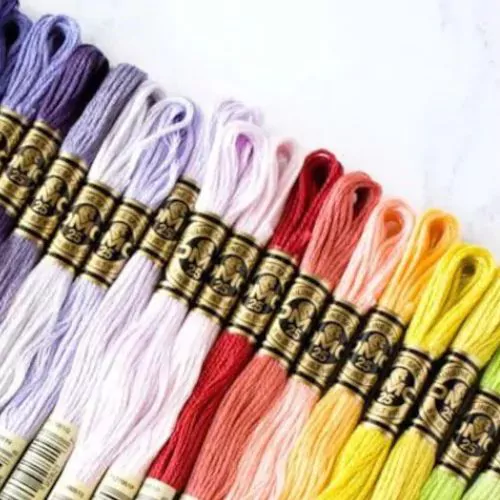
- Embroidery floss. I used DMC Embroidery floss: Light dusty rose (#3354) and Very light topaz (#727). You can use different contrasting colors and change the thread and colors to your liking.
- Some toy stuffing or cotton balls.
Instructions
- Download the pdf pattern and print it for pattern transfer. Gather all tools and materials for the project.

2. Cut out the shape of the egg pattern.

3. Transfer the pattern to the fabric. Place the egg pattern on the fabric and draw the outlines on your felt material. You will need 12 Egg shapes to make six napkin holders. Measure and draw six rectangles of 2,5 x 9 cm. Use a ruler.

4. Transfer the embroidery lines onto six shapes. Leave the rest empty. To trace the lines for embroidery, cut away the top shape of the pattern, place it on one of the shapes to embroider, and draw the line. Repeat on all six eggs.

5. Now, cut away one more piece of the pattern and transfer the second line for embroidery on the same six eggs.

6. Repeat these steps with all the lines on the pattern.

7. Frame the fabric with the egg shapes to embroider into the hoop. Adjust the cloth and tighten the tension screw.
8. Embroider the flowers. Mark a dot in the top middle part of the egg shape. Make three petals of the Lazy Daisy stitch starting at the dot marked. Use two strands of DMC #3354 embroidery floss.

9. Now add two more petals between the ones you made with pink thread. Use two strands of DMC #727 embroidery floss. Repeat this step on all six eggs.
Note. We will cut out the shapes of the eggs after the embroidery is done, so do not leave jumping threads between the forms.

10. On the lines in the Stitch guide marked with blue, embroider equally distanced French knots. Use two strands of Yellow DMC #727 embroidery floss. Repeat this step on all six eggs.

11. On the lines in the stitch guide marked with yellow, embroider a Running stitch. Use two strands of Pink DMC #3354 embroidery floss. Leave 0,5 cm distance from the border.

12. Add double threading with two strands of Yellow DMC 727 embroidery floss. Repeat this step on all six eggs.

13. Cut out all 12 shapes of the eggs. Iron them to remove tracing marks made with a friction pen. If you use a water-soluble pen, remove tracing marks with a wet sponge or wash them. Remember that the felt material might shrink if the iron’s temperature is too hot.
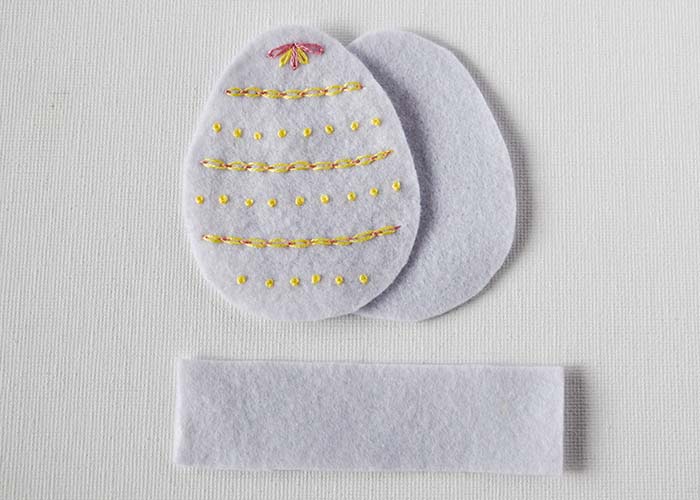
14. Sandwich 3 parts of the napkin holder – the embroidered part on top, the blank egg shape under, and a rectangular stripe on the back of the figure. Use two pins to attach the stripe to the egg shape and one more pin in the center to hold all the parts together while you sew them.

15. Sew around the shape of the egg with Blanket stitch. Use two strands of Pink DMC #3354 embroidery floss. Start sewing 0,5 cm under the point where the stripe is attached to the egg and finish after you sew the second side of the stripe. Do not cut the thread, but leave the bottom of the shape open.

16. Put some toy stuffing inside the egg through the open part at the bottom of the egg. It will give some volume to the napkin holder and prevent the egg from folding when placing the napkin inside the ring.

17. After the stuffing is placed inside the egg, close the hole with a pin. Finish sewing around the shape of the egg. Anchor the last blanket stitch to the first and hide the thread between the shape layers.

Video Tutorial
Tools and materials I used for this project
Disclaimer. To cover the cost of creating free embroidery patterns and video tutorials for this blog, I do sometimes link to products. Please assume these links are affiliate links. If you choose to buy through my links then THANK YOU – it will make it possible for me to keep doing this.


Set Up Your Table!

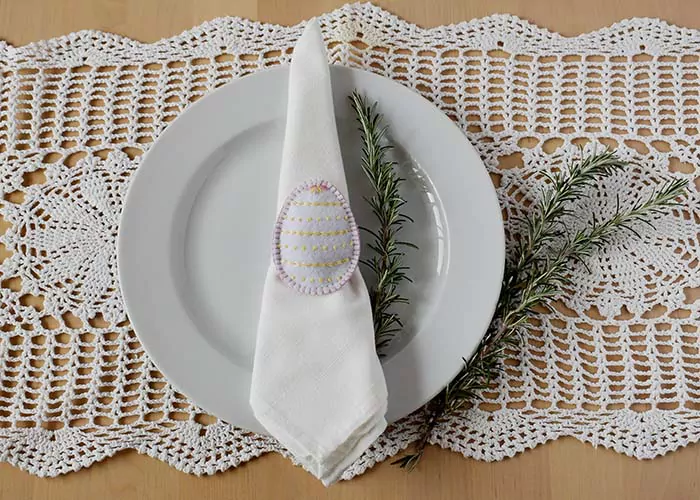
Your Easter napkin rigs are ready!
Fold your napkins and place them inside the rings. Add some greenery to decorate and set your table for a festive lunch or dinner.
I’m sure your guests will appreciate the original table decor!
More Easter embroidery inspiration on this Blog

Easter Embroidery Designs: Hand Embroidery Patterns and Kits To Inspire All Skill Levels

Floral Spring Felt Ornaments: DIY Tutorial and Free Pattern Download

DIY embroidered napkins with an olive branch: Free pattern download and step-by-step hand embroidery tutorial
