
Easter Egg with daisies felt decoration
DIY Easter egg felt decoration Embroidery And Sewing Tutorial With Free Pattern Download
Easter is coming!
I like to decorate my home for upcoming Easter celebrations. Easter egg felt decorations are one of my favorite decor elements that I hang on the tree branch in the vase. You can use the dried branch or pick a fresh tree branch and make it sprout at home. I have used these Easter egg felt decorations for years now. And every year, I get a lot of compliments for the original and sustainable decor! After the season ends, I keep them in a fabric bag in a drawer until the following spring.

Would you like to make these decorations to decorate your Easter tree or make a special gift for your friends and family? Download a free PDF pattern and follow the tutorial below.

Easter egg felt decoration With Daisies
Step-by-step hand embroidery tutorial
Tools and Materials
Tools:
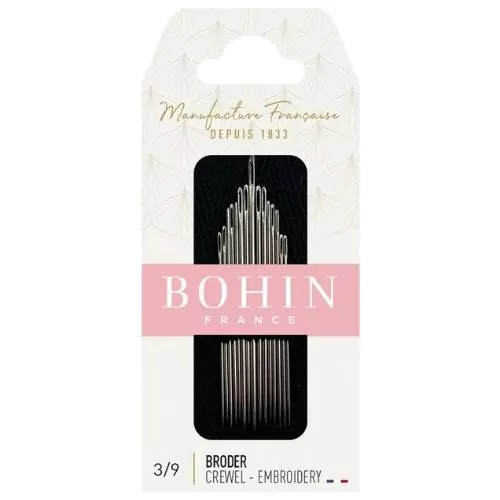
- Embroidery needle. I recommend using needle No. 8 for two strands of embroidery floss.
- Sharp big needle, big enough to accommodate a ribbon.
- Paper scissors, fabric shears to cut the felt, and embroidery scissors for the floss.
- A couple of pins.
- Friction pen for pattern transfer.
Materials:
- White felt fabric, 8 x 12 cm (3,2 x 5 inches).
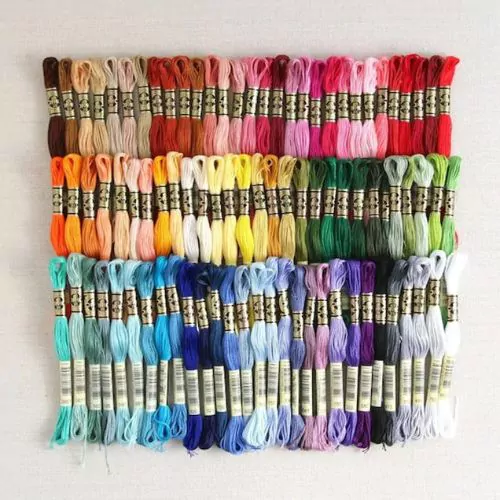
- Embroidery floss. I use DMC cotton floss. You will find the color codes of my suggested color combinations under the printable pattern.
- White sewing thread.
- Ribbon – 30 cm (12 inches).
- Wooden or plastic bead with a large hole that accommodates a ribbon.
- Some stuffing material (polyester stuffing, cotton, or similar).
Instructions
- Download the pdf pattern and print it for pattern transfer. Gather all tools and materials for the project.

2. Cut out the shape of the egg pattern.
3. With a large sharp needle, make holes in the dots that mark the center of the flower.

4. Place the model on the felt material and trace a shape around it. Use friction pen. Through the spots that you made, mark the center of each Daisy. Turn the pattern (you need a mirror shape for the second part of the egg) and repeat the steps.

5. Embroider French knots on every dot you have transferred. Repeat on the second shape of the egg.
Note. Do not make jumping threads between the shapes. We will cut them out after the embroidery is finished.

6. Embroider the petals. First, embroider four Detached Chain stitches at an angle of 90 degrees around the French knot.

7. Then, add four more petals between the ones you made.

8. Repeat on the second shape of the egg.

9. Add some additional Detached chain stitches with the green thread – the leaves.

10. Assemble the egg ornament. Cut out from the felt both parts of the Egg with embroidered Daisies. Remove the tracing marks. Friction pen marks are easy to remove with a hot hairdryer or an iron. Put both parts together with the embroidery facing outside and sew them with a Blanket stitch. Use the white sewing thread

11. At the bottom, leave a hole for stuffing. Put the stuffing material inside the Egg and finish sewing. Secure the last stitch under the first and hide the thread between the layers.

12. Add a ribbon. Thread a ribbon into the large sharp needle and pass it through the felt material at the top of the Egg.

13. Put a wooden bead on top.

Recommended Products
Disclaimer. To cover the cost of creating free embroidery patterns and video tutorials for this blog, I do sometimes link to products. Please assume these links are affiliate links. If you choose to buy through my links then THANK YOU! – it will make it possible for me to keep doing this.


Your Easter Egg Decoration Is Ready!
Make several felt decorations with embroidery of different colors and decorate your Easter tree. Add some Floral spring felt ornaments and you are ready to celebrate!

More Easter projects on this Blog

Easter Embroidery Patterns: Celebrate Spring with These Charming Designs

Hand embroidered Easter napkin rings DIY tutorial
