
How to make hand embroidered cards + Free PDF pattern for Mother’s Day or Birthday card
In the fast-paced world of mass-produced goods and digital communications, hand embroidery offers a delightful escape. It’s a unique way to infuse your greetings with a personal touch and heartfelt warmth. Hand embroidered cards are not just a beautiful blend of traditional craft and contemporary design, they are tangible tokens of affection that can be cherished for years. Whether you’re planning to celebrate Mother’s Day, a birthday, or any special occasion, the joy of creating a hand embroidered card is unparalleled.

This DIY tutorial is your passport to the world of hand embroidered cards. It will guide you through the delightful process of creating unique cards for any occasion. I’ve also included a free PDF pattern with a floral motif designed for a Mother’s Day or birthday card as a gift to my readers. This pattern is not just beginner-friendly, it’s a canvas for your creativity. You can add your own unique flair and personalization, making each card a true reflection of your artistic spirit. And remember, you can use the same embroidery technique to embroider your own hand-drawn motif.

How to make hand embroidered cards
Step-by-step embroidery on paper tutorial
Tools and Materials
Tools:
- Scissors.
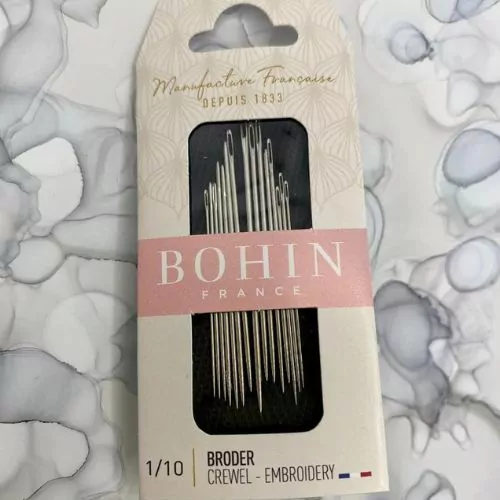
- Embroidery needles.
- Pins.
- Alcohol brush markers or other coloring medium.
Materials:
- Paper card.
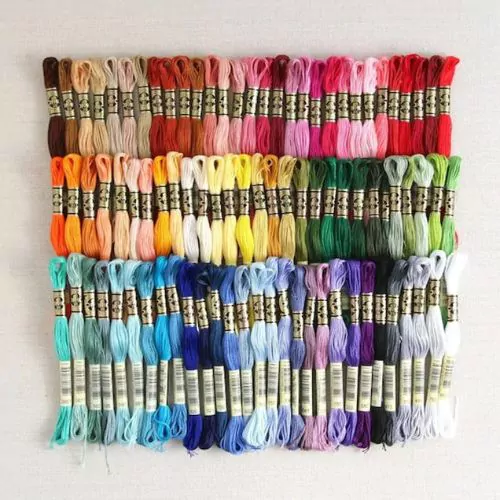
- Black embroidery floss – DMC #310.
Instructions
- Before we begin, let’s gather all the tools and materials you’ll need for this project. You’ll need a paper card, embroidery floss, pens, scissors, a needle, and a pin. Don’t forget to download the PDF pattern as well.

2. Measure and cut the pattern to the same size as your card. Make sure the flower is positioned in the center.

3. Position the flower pattern over the card on the cardboard or foam board and pin it with some pins on the angles.

4. Poke the holes along the pattern line to position your future stitches. Start with angles and crossing points and distribute the holes evenly.
5. Remove the pattern. Now, you can see the flower outlined with holes for the stitches.
6. Color your flower. I chose bright colors and used alcohol-based markers. You can opt for different mediums, such as watercolors, colored pencils, or other types of markers.

7. To start stitching, use a folded thread method. This involves folding your thread in half and threading the needle through the folded end, creating a loop. This method helps avoid knots.

8. Embroider the outlines of the flower with a Backstitch.

9. Add French Knots to make decorative pistils.

9. To finish stitching, anchor the thread under the previous stitches. This means inserting the needle under a few stitches on the backside of your work before cutting the thread. This will secure your stitches and prevent them from coming loose.
10. Outline the flower and the leaves.

11. To embroider the veins of the leaves, use a single strand of black embroidery floss. To start stitching with a single thread, anchor it under the previous stitches.

12. Write your message inside and send the card!

TIPS:
To keep the back of your hand embroidered cards neat and beautiful, read the article “How to start and end embroidery stitches.” You will learn various techniques for starting and ending stitching without knots.
Video Tutorial

Recommended Products
Disclaimer. To cover the cost of creating free embroidery patterns and video tutorials for this blog, I do sometimes link to products. Please assume these links are affiliate links. If you choose to buy through my links then THANK YOU! – it will make it possible for me to keep doing this.


Over to you
With its rich history and versatility, hand embroidery has been a beloved craft for generations. By incorporating it into card making, you not only revive this age-old tradition but also create a platform for your artistic expression. Whether you are new to this craft or an experienced embroiderer looking for new projects, this DIY card-making tutorial will equip you with everything you need to start creating exquisite, handcrafted cards. These cards, made with love and care, are sure to be treasured by your loved ones, making them feel truly special and appreciated.
Don’t miss a thing!
Follow me on YouTube, Instagram, Facebook, and Pinterest. Or why not subscribe to Practical Embroidery newsletter and get embroidery tips straight to your inbox every week?


