Heavy Chain Stitch
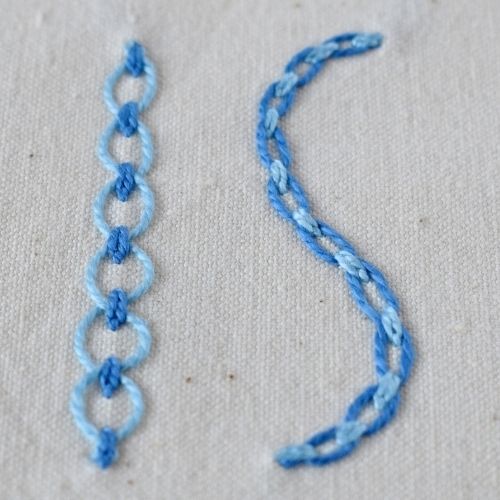
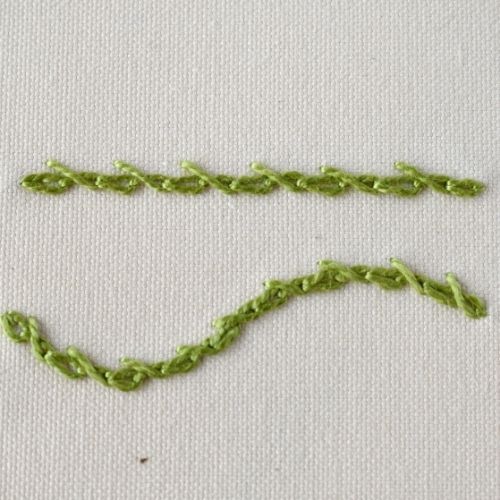
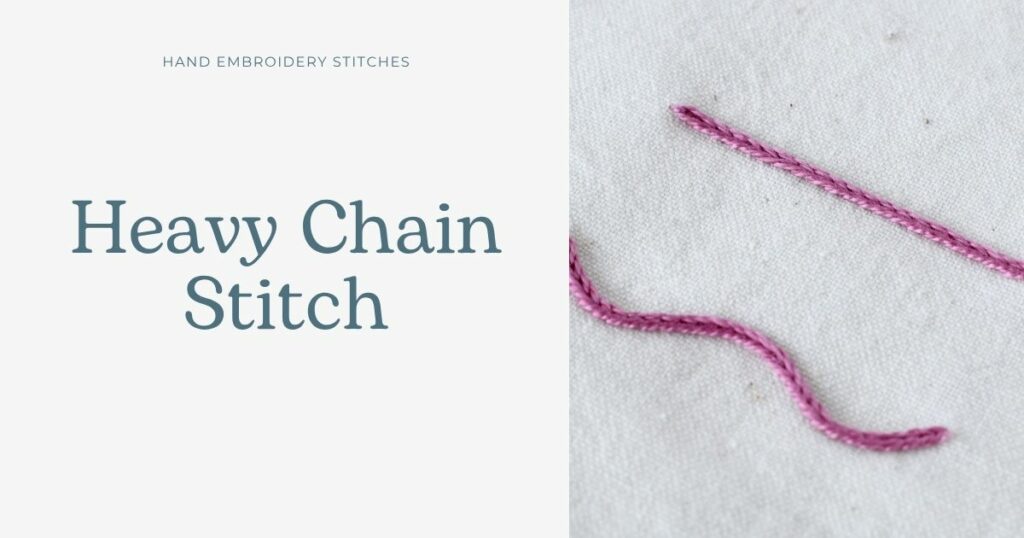
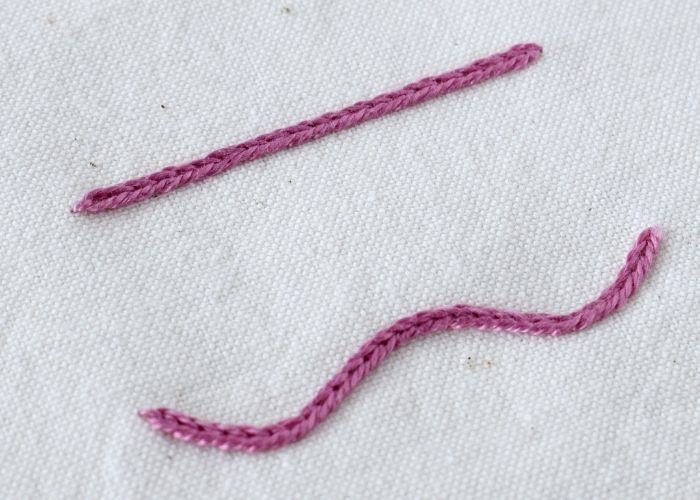
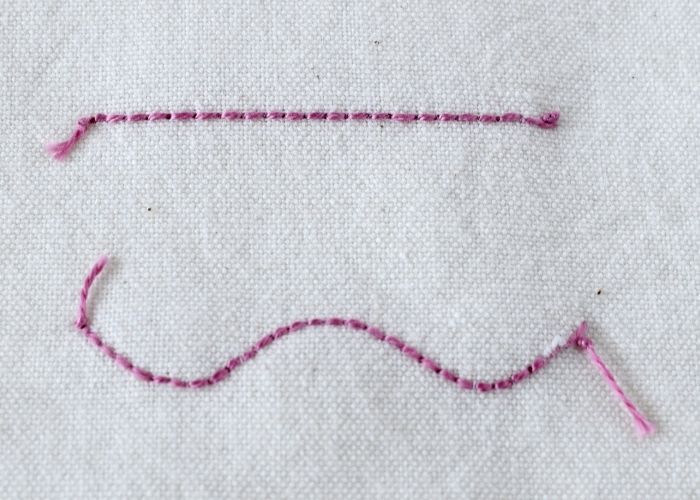
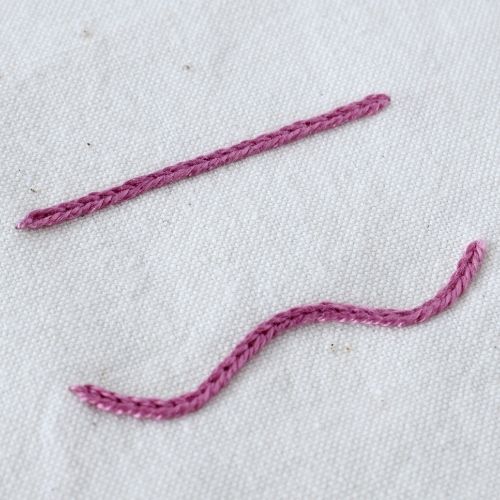
Heavy Chain Stich is one of the countless variations of the Chain Stitch. This embroidery technique results in a raised, braided rope.
To embroider a Heavy Chain Stitch, we use the technique of the Reverse Chain Stitch, but in this case, the needle is passed not under the previous stitch but under the stitch before it. This results in a braided look, making every stitch double in volume.
On the reverse side of the fabric, this stitch resembles a Backstitch, executed with tiny stitches.
Other names of the stitch
Heavy Chain Stitch is also called Braid Stitch or Broad Chain Stitch.
Applications of the Heavy Chain Stitch
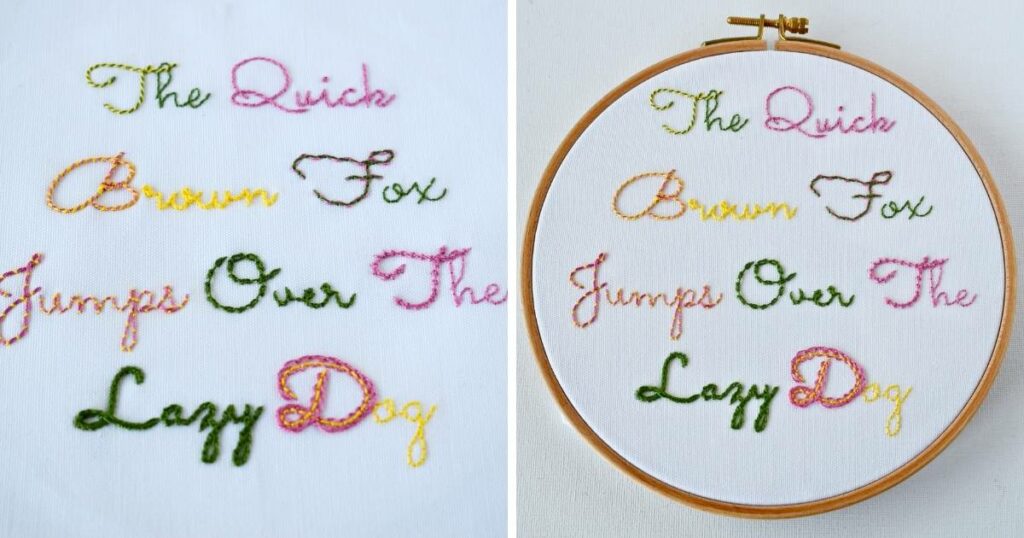
The decorative raised look of this technique works great for heavier outlines, ornamental borders, or lettering. You can use it in botanical embroidery, crazy quilting projects, or any surface embroidery project. It looks especially lovely in monograms and lettering.
This stitch will look great on straight and wavy lines and takes curves well. However, it is pretty challenging to create nice and sharp angles with this technique, so keep this in mind when choosing this stitch for your projects.
More stitches from the Chain Stitch family
Learn how to embroider Heavy Chain Stitch
Follow the step-by-step tutorial with detailed photos below, and you will learn the Heavy Chain Stitch quickly. If you are a visual learner, watch a video lesson in the tutorial or on the Practical Embroidery YouTube channel to learn this hand embroidery stitch faster.
How to embroider Heavy Chain Stitch
Step-by-step hand embroidery tutorial
1. Mark the guiding line for the stitch. Start with a tiny anchoring stitch on the left end of the line.
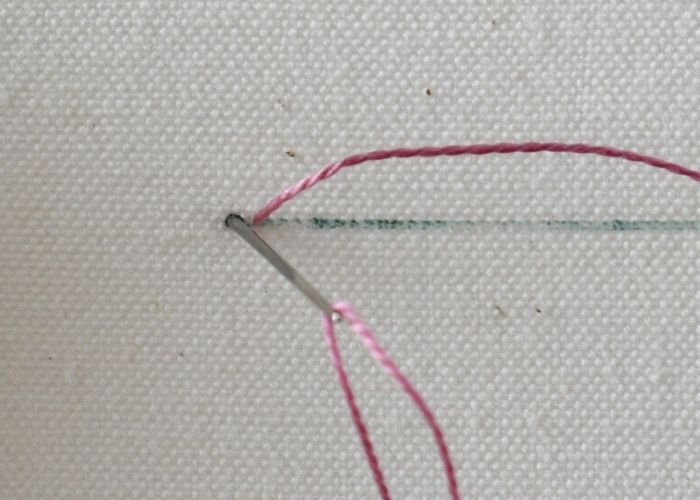
2. Create the first reverse chain stitch. Take the needle to the surface one stitch away on the line and pass the needle under the anchoring stitch. Use the back of the needle to avoid snagging the thread or piercing the fabric. Push the needle back to the starting point to finish the chain.
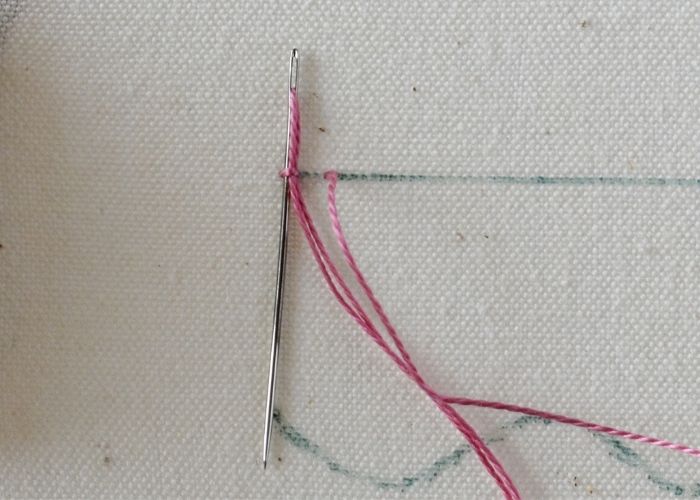
3. One more time, take the needle to the surface, one stitch away on the marking line, and pass the needle under the same anchoring stitch. Close the loop.
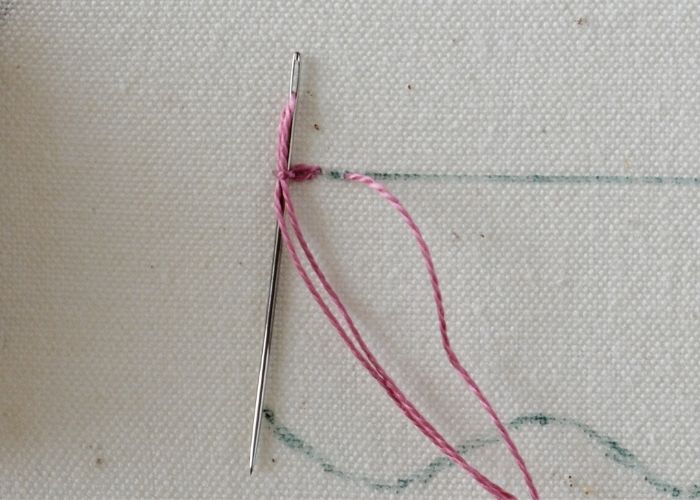
4. Take the needle to the surface one stitch away on the line. This time, pass the needle under the stitch before the last one. Close the chain.
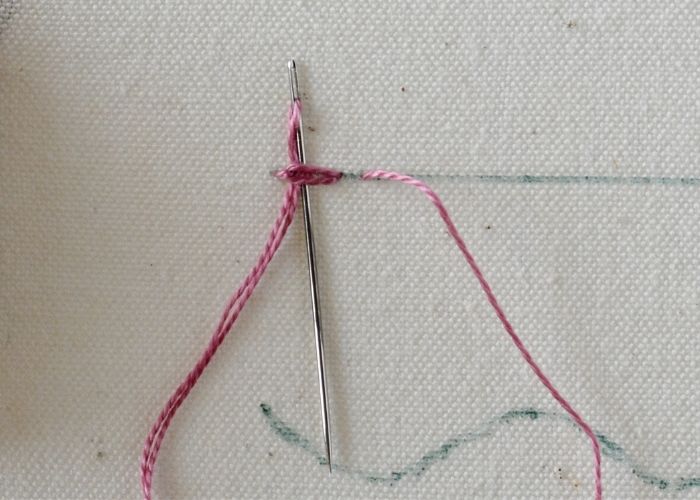
5. Now, repeat these steps – make a new stitch and pass the needle under the stitch before the last one. Embroider the entire line following these steps.
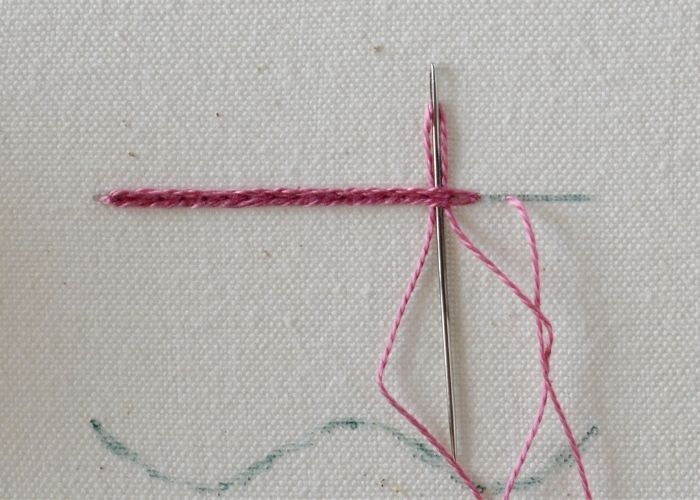
6. When the line is finished, secure the last stitch on the back side of the fabric.
Video tutorial
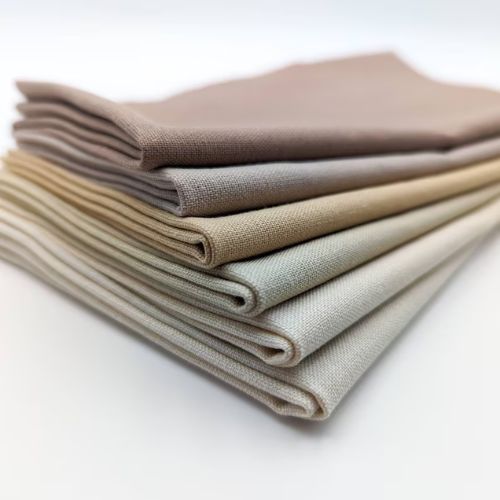
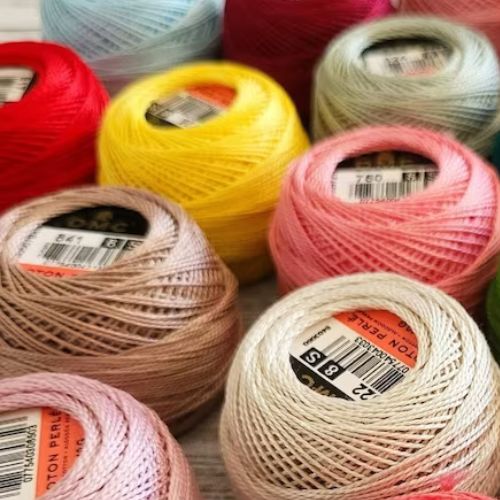
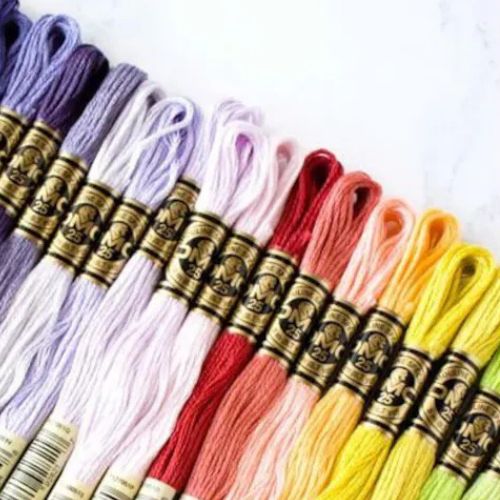
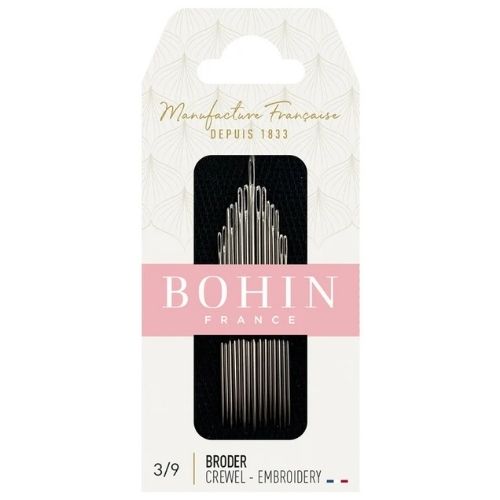
Tools and materials I used for this sampler
Disclaimer. To cover the cost of creating free embroidery patterns and video tutorials for this blog, I do sometimes link to products. Please assume these links are affiliate links. If you choose to buy through my links then THANK YOU – it will make it possible for me to keep doing this.
What’s next?
If you’re in the mood to explore more hand embroidery stitches, check out the Stitches and Techniques page for the list of other fantastic stitches available on my blog. From timeless classics to modern twists, a whole world of stitches is waiting for you to explore and master. So, grab your hoop and needle, and let’s stitch our way to creative bliss!
Don’t miss a thing!
Follow me on YouTube, Instagram, Facebook, Flipboard, and Pinterest. Or why not subscribe to Practical Embroidery newsletter and get embroidery tips straight to your inbox every few weeks?
Need More Guidance?
The top 10 hand embroidery stitches to learn is a free online course created for beginners.
