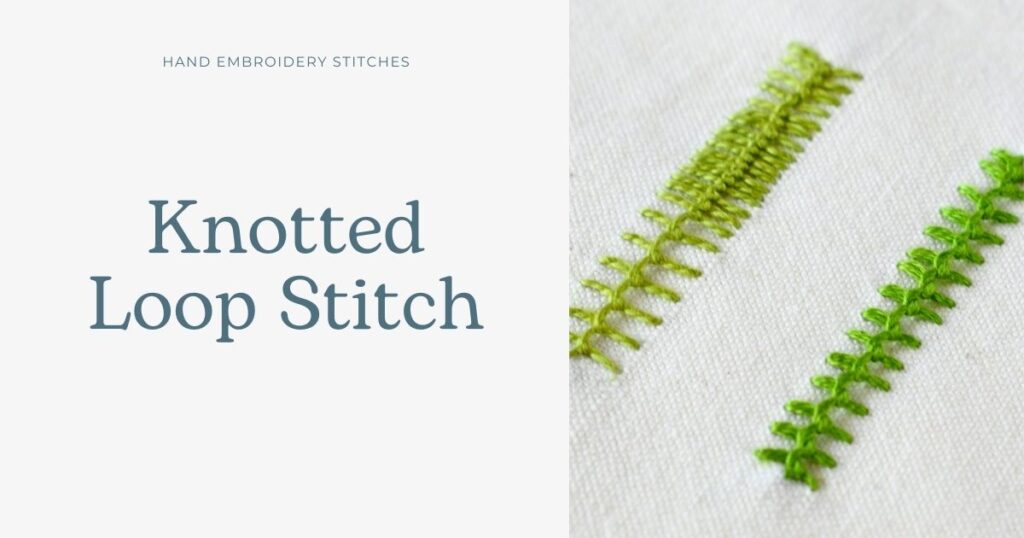
Knotted Loop Stitch
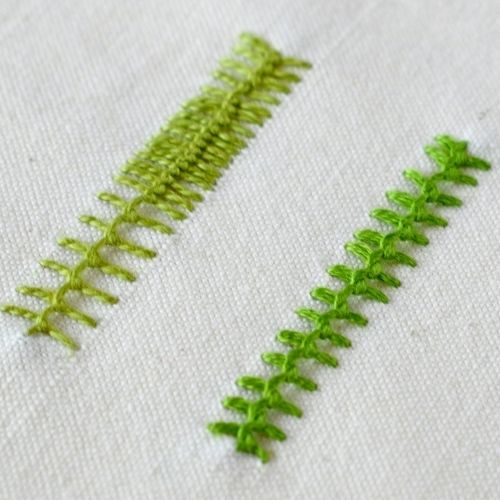
Knotted Loop Stitch is a decorative hand embroidery technique perfect for borders and bands. This looped stitch is worked between two parallel lines, creating a band with a central raised line.
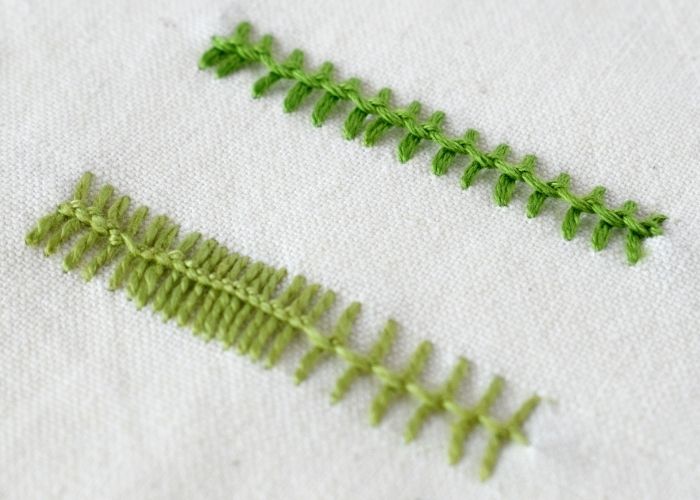
Different threads used to embroider this band will yield visually distinct results. In my sampler, the top line is stitched with six strands of embroidery floss, while the second band is made with pearl cotton thread.
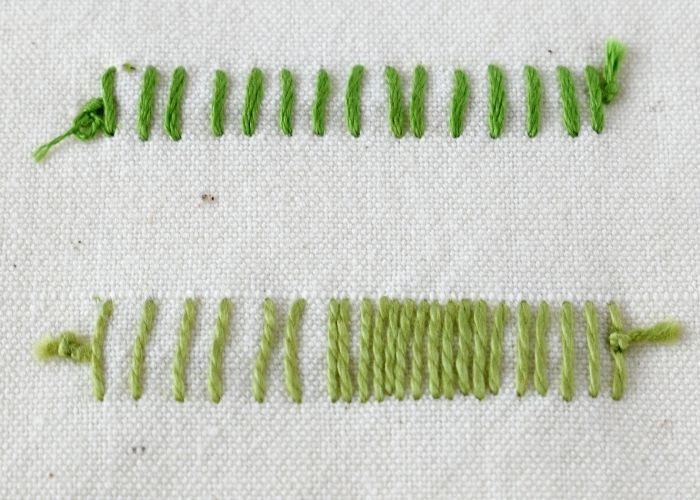
On the reverse side of the Knotted Loops Stitch, you will see a row of vertical straight stitches.
Other names of the Knotted Loop Stitch
Alternative names for this decorative band include Centipede stitch, Loop stitch, and Double Buttonhole stitch.
Applications of the Knotted Loop Stitch
This decorative hand embroidery technique is mostly used to stitch decorative bands. But the possibilities Knotted Loop Stitch offers vary from airy filling to botanical elements like leaves and branches to wavy decorative bands and borders.
Traditionally, the Knotted Loop Stitch is stitched between two parallel straight lines, maintaining a consistent stitch spacing. To mix things up, try changing the density of the stitches, adjusting the distance between the lines, or embroidering it on the curved bands.
Other stitches from the family of Knots
Learn how to embroider Knotted Loop Stitch
Follow the step-by-step tutorial with detailed photos below, and you will learn the Knotted Loop Stitch quickly. If you are a visual learner, watch a video lesson in the tutorial or on the Practical Embroidery YouTube channel to learn this hand embroidery stitch faster.
How to embroider Knotted Loop Stitch
Step-by-step hand embroidery tutorial
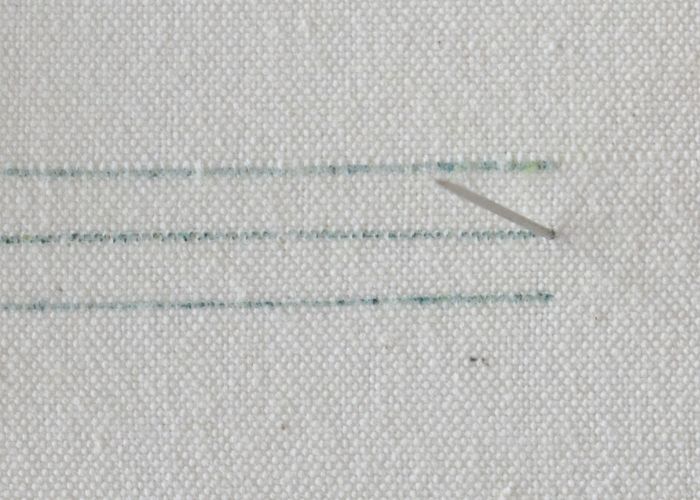
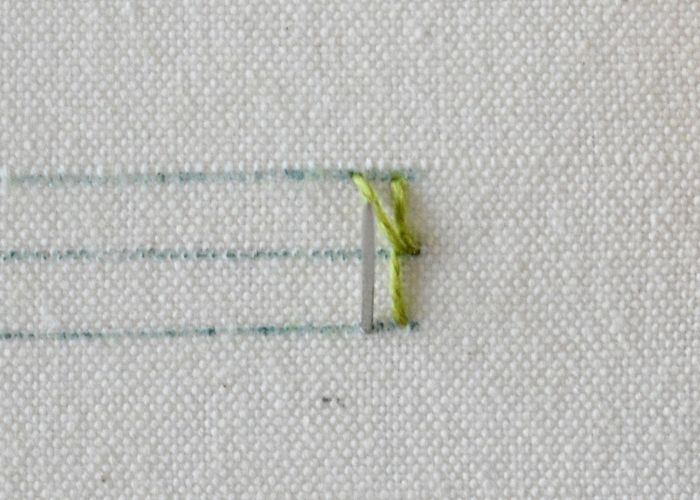
1. To embroider the Knotted Loop Stitch, mark two parallel lines that will define the width of the decorative band. You can also add a center line for guidance. You will be stitching from right to left. Bring the needle to the surface on the middle line.
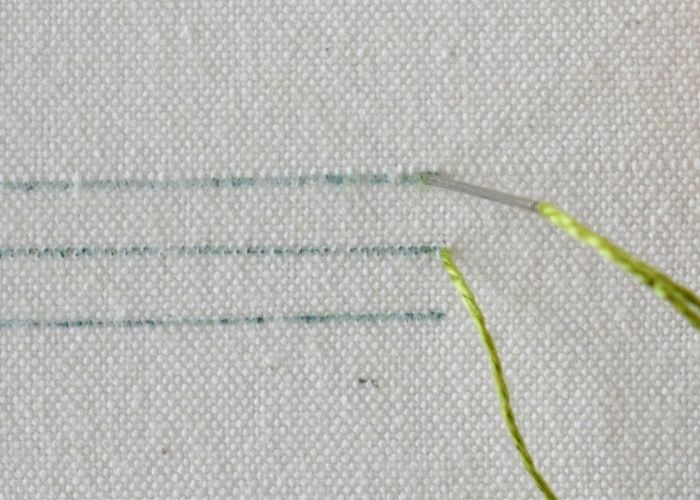
2. Make a stitch to the top line. Pull the thread through to the back.
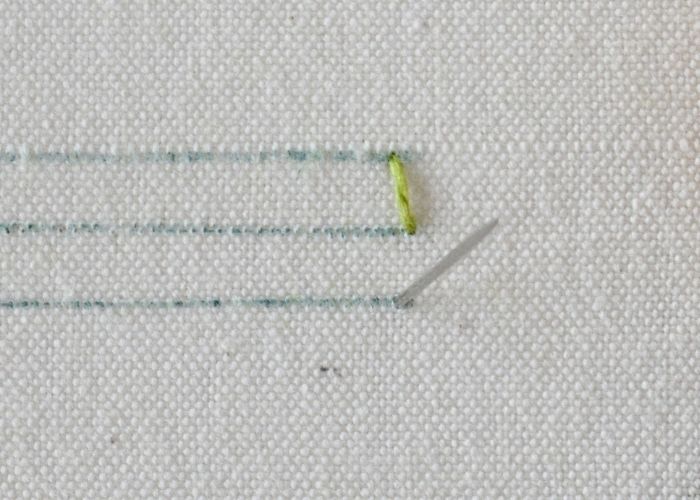
3. Bring the needle back to the surface on the lower mark.
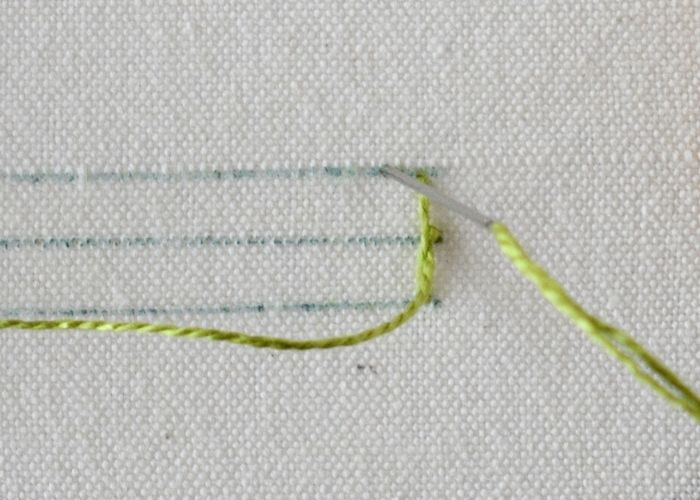
4. Pass the needle under the first stitch you make from right to left, and over the working thread. Pull the thread through.

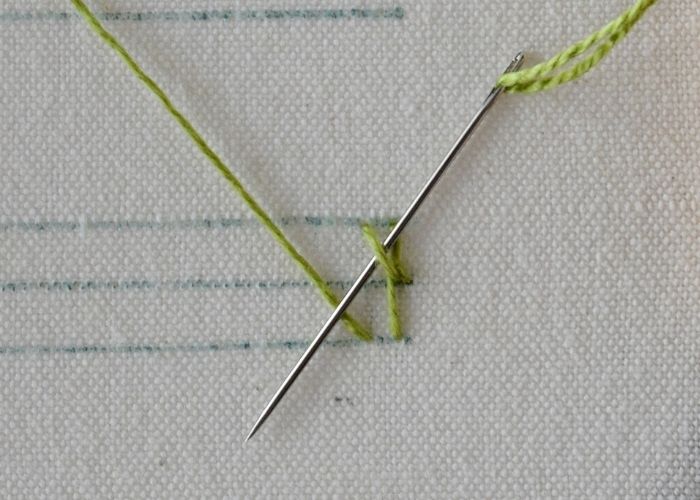
5. Push the needle into the fabric on the upper marked line.
6. Bring the needle back up on the lower mark.
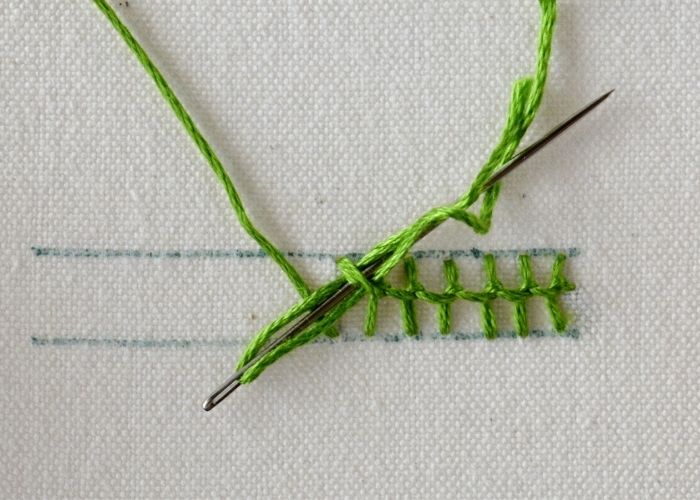
7. And repeat the lacing from right to left and over the working thread. Note how varying thread and stitch densities can alter the final look of the Knotted Loop Stitch.
8. Continue looping the stitches until the entire band is stitched. You can use the back side of the needle for easier lacing.
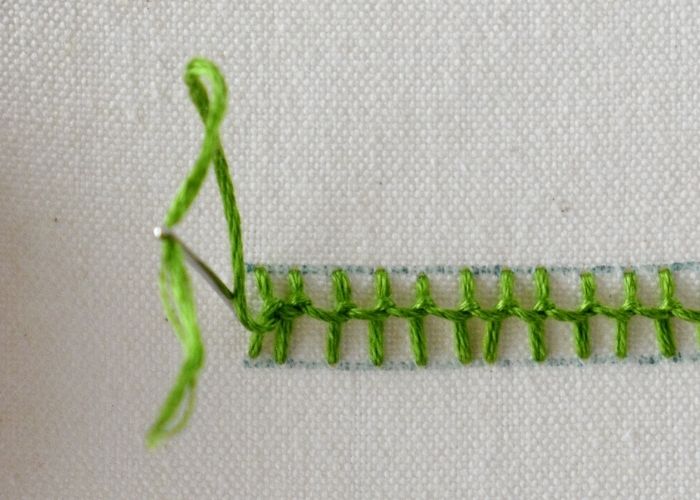
9. To secure the stitch, push the needle back into the fabric at the central mark and secure it on the back.
Video tutorial
Tools and materials I used for this sampler
Disclaimer. To cover the cost of creating free embroidery patterns and video tutorials for this blog, I do sometimes link to products. Please assume these links are affiliate links. If you choose to buy through my links then THANK YOU – it will make it possible for me to keep doing this.


What’s next?
If you’re in the mood to explore more hand embroidery stitches, check out the Stitches and Techniques page for the list of other fantastic stitches available on my blog. From basic embroidery stitches to complex and playful variations of classical techniques, a whole world of stitches is waiting for you to explore and master. So, grab your hoop and needle, and let’s stitch together!
Don’t miss a thing!
Follow me on YouTube, Instagram, Facebook, Flipboard, and Pinterest. On the other hand, you can subscribe to the Practical Embroidery newsletter and get embroidery tips straight to your inbox every week!
Need More Guidance?
The top 10 hand embroidery stitches to learn is a free online course created for beginners.