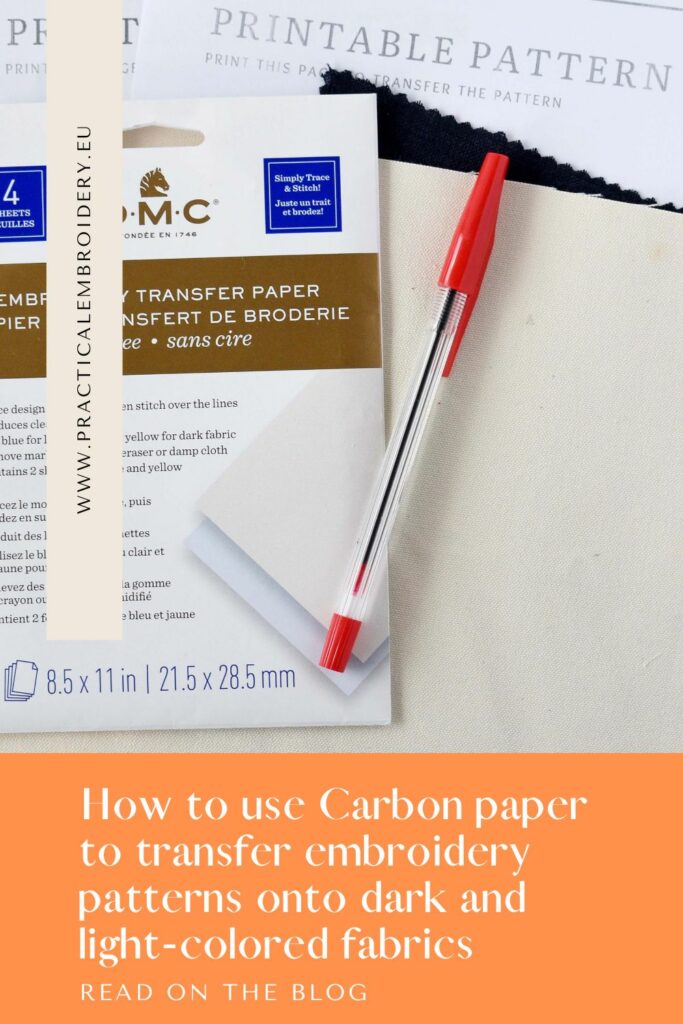
How to use carbon paper to transfer embroidery patterns onto dark and light-colored fabrics
Embroidery is a relaxing craft that allows you to slow down and disconnect while creating. But before you can jump into the fun part – stitching, you need to transfer your embroidery pattern onto the fabric. One of the most effective ways to do this is using carbon paper or pattern transfer paper. Whether working with dark or light-colored fabrics, carbon paper can make the process seamless and efficient. In this guide, I’ll demonstrate how to use carbon paper to transfer embroidery patterns, providing detailed steps, tips, and insights.
What is Carbon Paper?
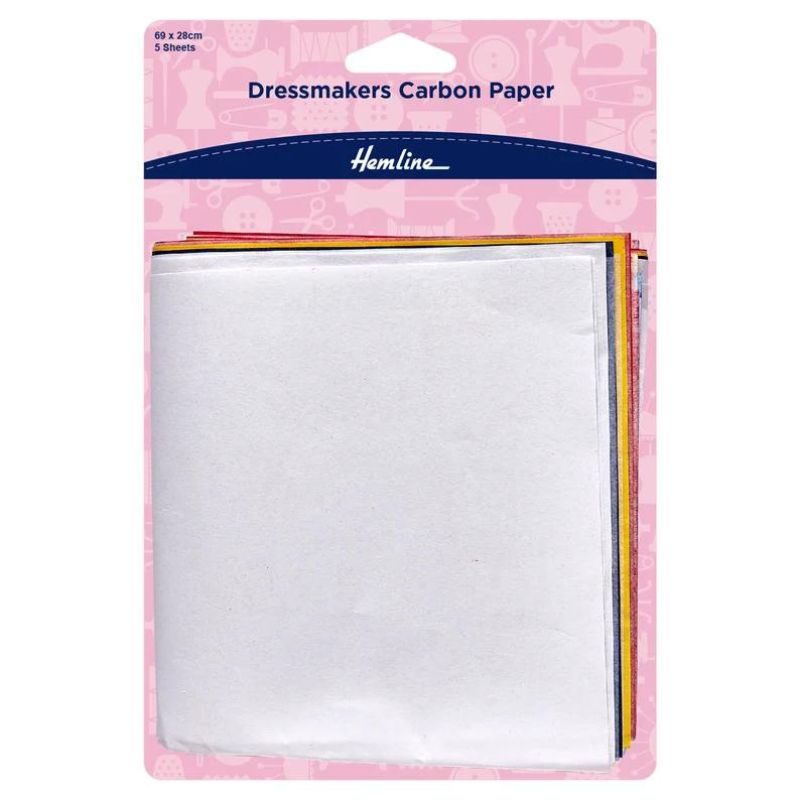
Carbon paper is a thin sheet coated on one side with a mixture of wax and pigment, which can transfer the pigment onto another surface with pressure. Initially used for making duplicate copies of typed or written documents, carbon paper has found a new lease of life in various crafts, including hand embroidery.
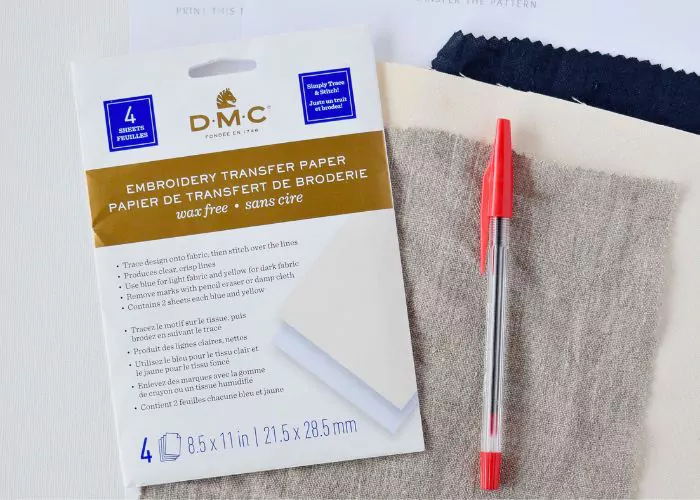
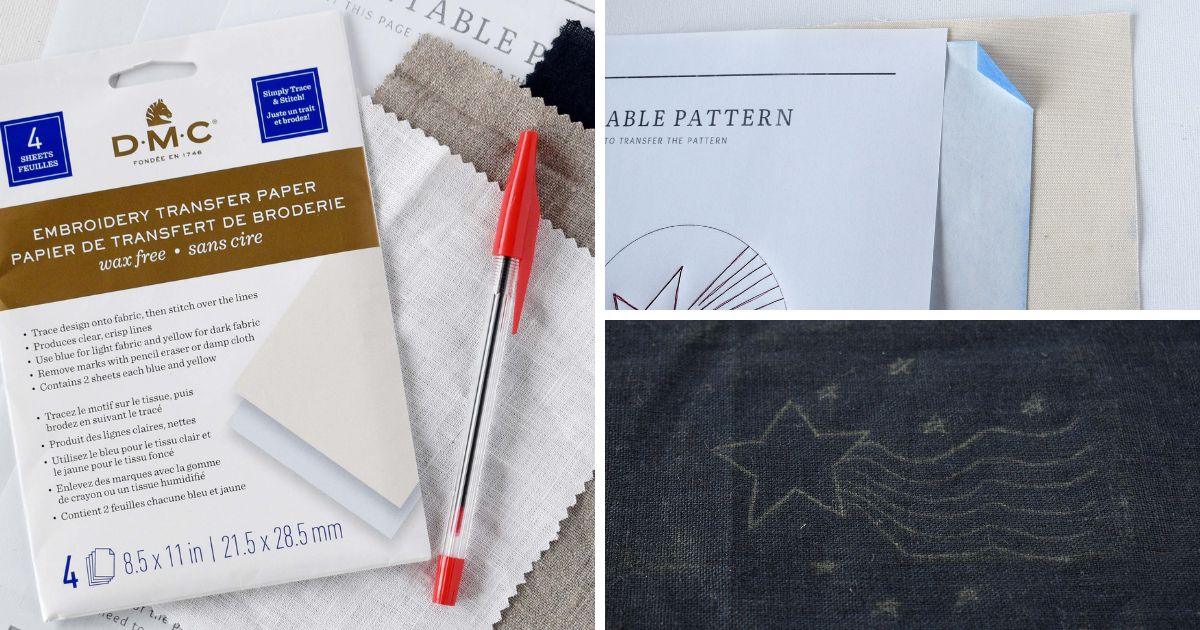
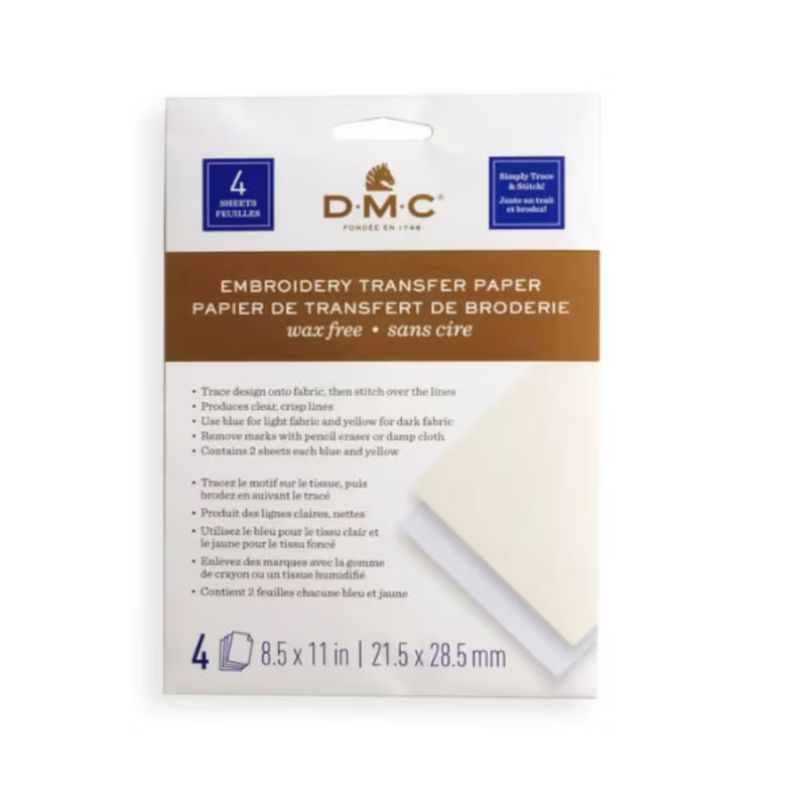
In this article, I will use the terms carbon paper, dressmaker paper, and pattern transfer paper interchangeably, but keep in mind that there is a difference. Basic carbon paper and dressmakers’ carbon paper or embroidery transfer paper are different. Carbon paper used for duplicating documents is made with wax, which might be hard to remove from the fabric. On the other hand, dressmakers’ carbon paper or embroidery transfer paper is made with no wax and with pigment that is easy to clean. Therefore, the tracing marks of pattern transfer paper are easier to remove.
Why Use Carbon Paper for Embroidery Patterns?
Using carbon paper to transfer embroidery patterns is an excellent method for many reasons:
- Precision: It allows for the precise tracing of intricate designs.
- Versatility: Works on both dark and light fabrics.
- Simplicity: Easy to use without needing advanced tools or techniques.
- Reusability: The same piece of carbon paper can often be used multiple times.
- Affordability: The pattern transfer paper is not expensive and reusable; therefore, the price of one copy is meager.
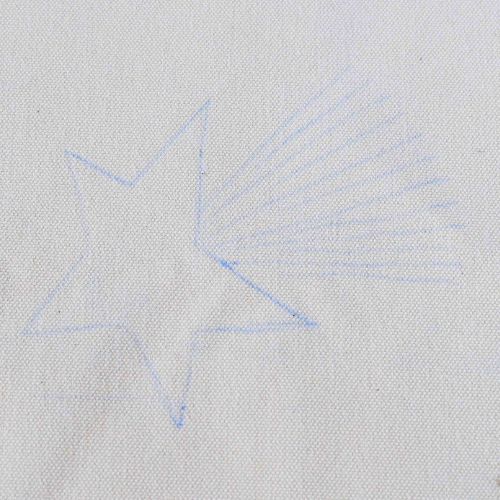
Transferring Patterns onto Light-Colored Fabric
Step-by-step guide
1. Lay out your fabric on a hard, flat surface. Ensure it’s smooth and wrinkle-free. Secure it in place with tape if needed.
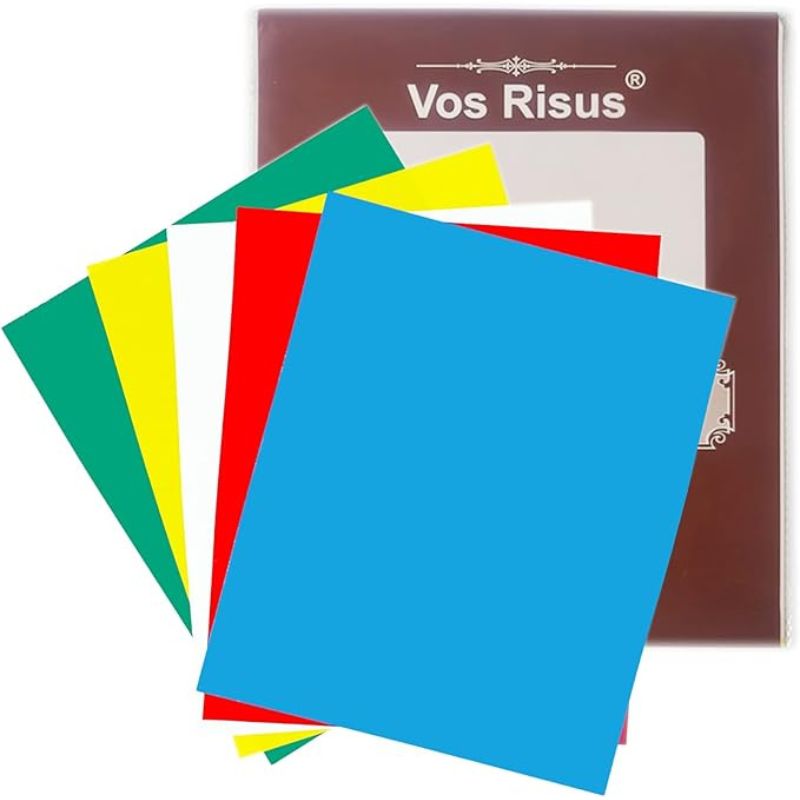
2. Use dark-colored carbon paper (black, blue, or green) for light fabrics. This ensures that the pattern will be visible on the light-colored background.
3. Place the pattern transfer paper with the carbon side facing down onto the fabric. Ensure it’s positioned where you want the pattern to appear.
4. Place your embroidery pattern on top of the carbon paper. Align it carefully to ensure the design will be transferred precisely where you want it on the fabric.
5. Tape the pattern and carbon paper in place. This prevents any shifting during tracing and can be essential for transferring extensive or very detailed designs.
6. Using your tracing tool, carefully trace over the lines of the embroidery pattern. Apply enough pressure to transfer the carbon onto the fabric, but be careful not to tear the paper.
7. Gently lift one corner of the carbon paper to check if the design has transferred to the fabric. If it looks good, remove the transfer paper and pattern. If not, realign and trace again.

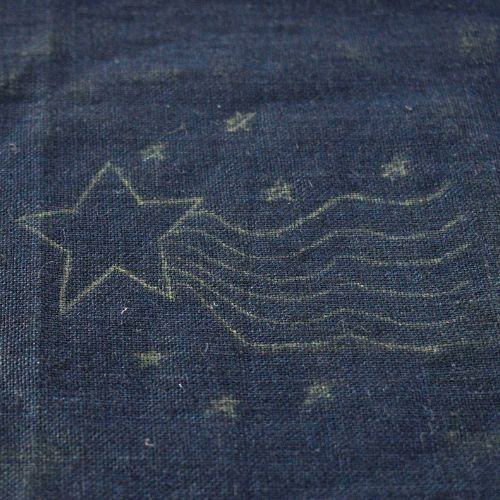
Transferring Embroidery designs onto Dark-Colored Fabric
Step-by-step guide
1. As with light-colored fabric, start by laying out your dark fabric on a hard, flat surface. Ensure it’s smooth and wrinkle-free.
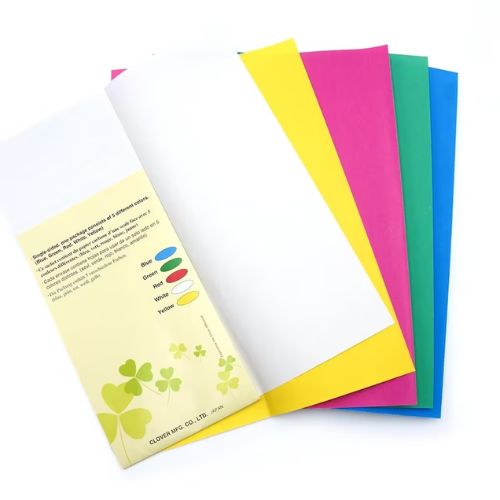
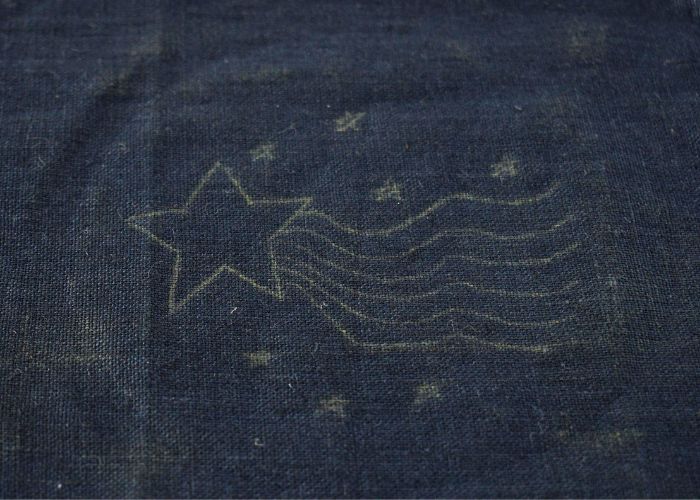
2. For dark fabrics, use light-colored carbon paper (white or yellow). This ensures that the pattern will be visible on the dark background.
3. Place the carbon paper with the carbon side facing down onto the fabric.
4. Place your embroidery pattern on top of the carbon paper. Align it carefully to ensure the design will be transferred precisely where you want it on the fabric.
5. Tape the pattern and carbon paper in place to prevent shifting.
6. Using your tracing tool, carefully trace over the lines of the embroidery pattern. Apply enough pressure to transfer the carbon onto the fabric.
7. Gently lift one corner of the carbon paper to check if the design has transferred to the fabric. If it looks good, remove the carbon paper and pattern. If not, realign and trace again.
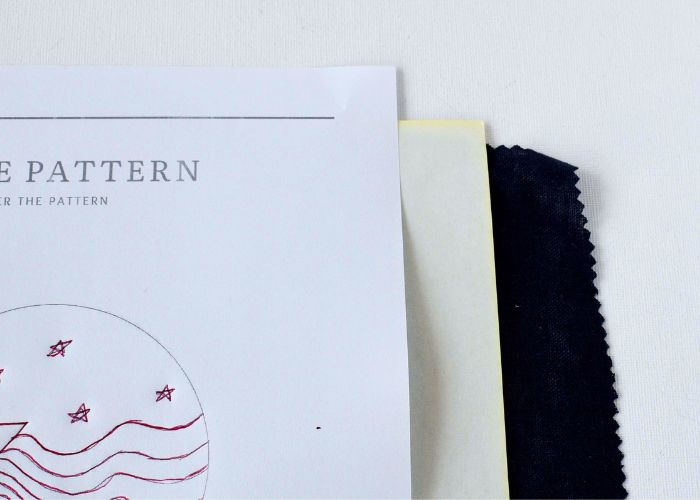
Video Tutorial
Watch a video tutorial “Pattern tracing with Embroidery transfer paper to dark and light-colored fabrics” on the Practical Embroidery YouTube channel for more visual guiding.
Tips and Tricks
- Test First: Always test the carbon paper on a scrap piece of fabric to ensure it transfers well and is visible.
- Use an Embroidery Hoop: If you have difficulty keeping the fabric taut, an embroidery hoop can help hold it in tension while you trace. If you use the hoop, you will trace the pattern on the inner side of the hoop, so adjust the side of the fabric accordingly.
- Reuse Carbon Paper: Carbon paper can often be reused multiple times before the pigment wears off.
- Choose the Right Color: Use dark carbon paper for light-colored fabrics and light-colored carbon paper for dark fabrics. Test various colors of transfer paper to see which works best.

Frequently asked questions about carbon paper and how to transfer embroidery patterns using it
Can I use carbon paper on all types of fabric?
Carbon paper works on most fabric types, but results may vary depending on the texture and thickness. Transferring the pattern to fabrics with high pile and a lot of texture can be tricky and require other methods. Always test on a scrap piece first.
How do I remove transfer marks after embroidering?
Tracing marks can be removed with a rubber eraser. Also, carbon lines are usually washed out with regular laundering. If not, gently rubbing with a damp cloth or fabric-safe cleaners can help. Always test the cleaner on a small, inconspicuous area of the fabric first to ensure it doesn’t cause any damage.
Can I reuse the same piece of carbon paper more than once?
Yes, carbon paper and embroidery transfer paper can be reused multiple times until the pigment wears off.
What tracing tool should I use?
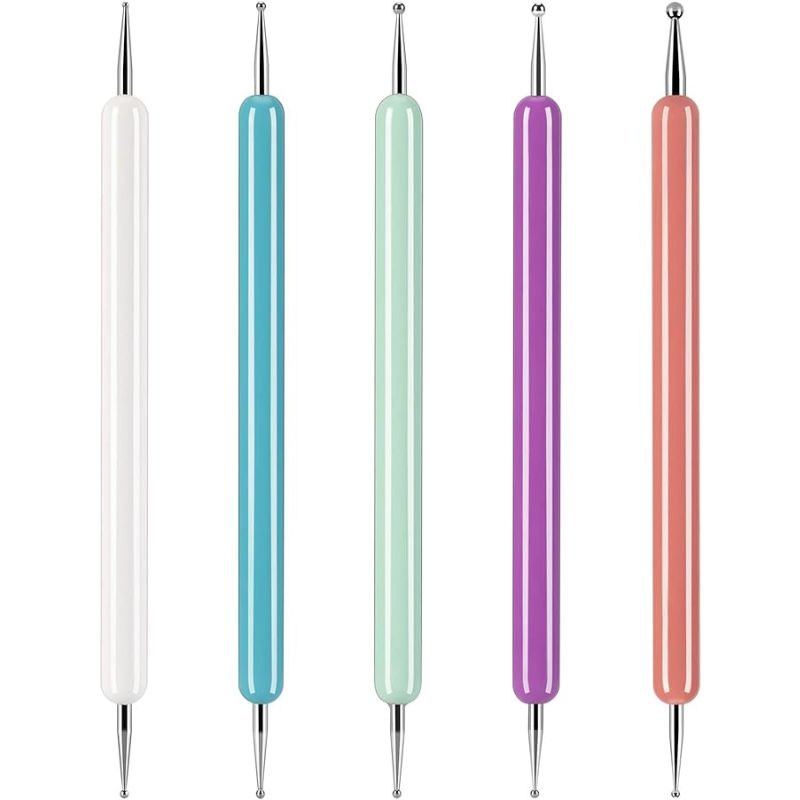
You can use a stylus, a ballpoint pen (without with or without ink), or a blunt pencil. The key is to apply enough pressure without tearing the paper. Using a ballpoint pen with ink can help you manage all the pattern details, as you can see which parts of the design are already outlined.
Is carbon paper safe to use on delicate fabrics?
Pattern transfer paper and dressmakers’ paper are generally safe, as they were created to be used on fabrics. However, it is a good practice to test the paper on a small, inconspicuous area first to ensure it doesn’t damage the fabric. This reassurance should make you feel secure and at ease when using carbon paper on delicate fabrics.
Are there other ways to transfer the pattern?
The carbon paper method is one of many ways to transfer the design to the fabric. Read “How To Trace Pattern on Fabric: Five Methods For Fast And Easy Embroidery Pattern Transfer” to learn about the alternative pattern tracing options.
Over to you
Transferring embroidery patterns using carbon paper or embroidery transfer paper is a practical, straightforward method suitable for both dark and light-colored fabrics. By following the steps outlined above and understanding how to use carbon paper effectively, you can streamline the process of transferring embroidery patterns, making your crafting experience more enjoyable and productive.
Don’t miss a thing!
Follow me on YouTube, Instagram, Facebook, Flipboard, Telegram and Pinterest. On the other hand, you can subscribe to the Practical Embroidery newsletter and get embroidery tips straight to your inbox every week!
