
Mini Embroidery Hoops: How to choose the best tiny hoop and how to use them
If you’re a budding stitcher with a love for all things mini, you’re in for a treat. Let’s explore the world of mini embroidery hoops together!
These tiny frames open a world of creative possibilities, allowing you to craft charming projects that pack a punch without overwhelming your stitching space. Whether you’re new to embroidery or an experienced stitcher looking for a fun and refreshing challenge, mini hoops are a delightful addition to your drawer of embroidery supplies.
Why choose Mini Embroidery Hoops?
Mini hoop embroidery is a delightful way to explore creativity on a smaller canvas. The best part? These tiny hoops are perfect for beginners! If you’ve hesitated to start larger projects, mini hoops offer a less intimidating entry point. You can experiment with various stitches, patterns, and color combinations without committing to a more significant undertaking.
On the other hand, experienced stitchers can challenge themselves with detailed small patterns and embroider with one strand of embroidery floss for a more elaborate look.

Getting Started with Mini Hoops
Before diving into stitching, let’s talk about mini hoops and how to choose the best one for your project.
Mini hoops, Miniature hoops, or Tiny hoops are made to display tiny embroidery pieces. They come in all shapes and sizes – round hoops, ovals, square-shaped, star-shaped, hexagons, or heart-shaped hoops. You can also come upon the hoops with the bunny years or in the bird’s shape.
It is important to note that these small hoops are not created for embroidery but for displaying it.
Usually, the mini hoop is made from wood, but you can also find plastic or metal ones.
The constructions of the mini hoops vary. Some hoops have three parts: the outer ring, the inner wooden piece, and the outer wooden piece, which is a bit bigger and is designed to cover the back, and a mini bolt and a screw for tightening. Other hoops are made of two parts and do not have a tightening screw.
Things to keep in mind when choosing a mini-hoop
- What is the size of your embroidery? The sizes of the mini hoops vary from 1 inch to 2,5 inches (2,5 cm – 6 cm). Choose the size that fits your embroidery the best.
- What is the shape of your embroidery? Is it oval, round, or square? Choose the mini hoop accordingly.
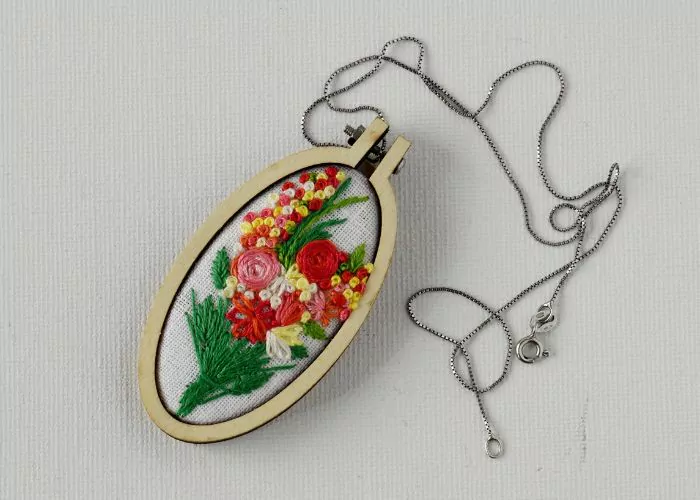
- What is the final purpose of the embroidered piece framed in a mini hoop? Miniature hoops are fabulous for making mini brooches, keyrings, pendants, earrings, or Christmas tree ornaments. Some mini hoops are created to become pendants, and others are keyrings, so getting a tiny hoop suitable for your project goals makes sense.
- The construction of the mini hoop. Small frames with a screw mechanism will allow you to manage the tension of the embroidery better. On the other hand, the mini hoops with no tension mechanism usually look better.
Some options for the mini embroidery hoops I recommend:


How To Frame Embroidery With A Mini Hoop
Step-By-Step Guide
Tools and Materials
Tools:
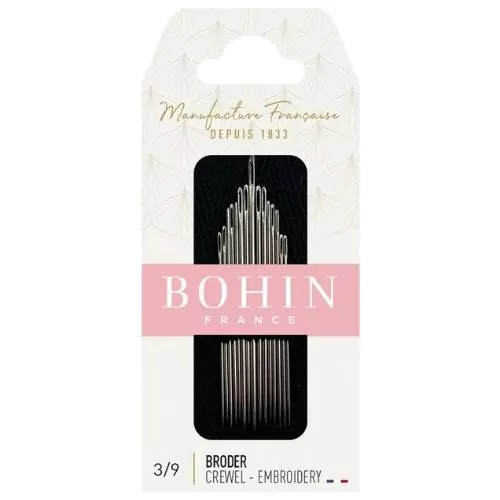
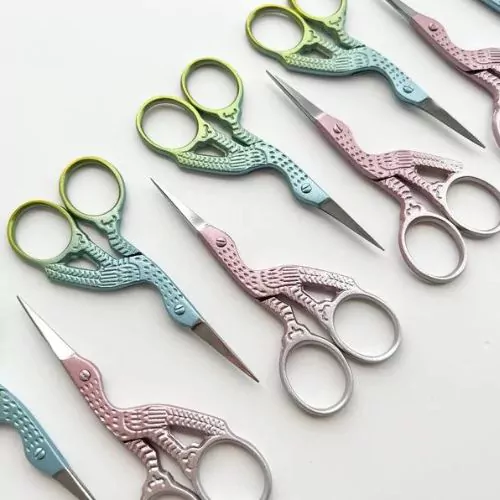
- Small sharp embroidery scissors
- A needle
Materials:
- Your embroidery. Wash and iron your embroidery to remove tracing marks before framing it
- Mini hoop that fits the embroidery by size and shape
- Piece of felt fabric
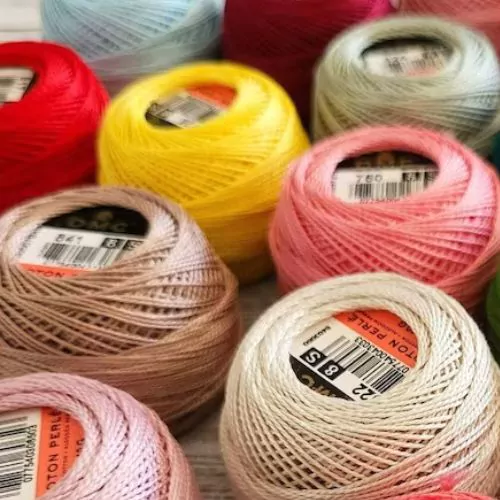
- Robust thread like pearl cotton
- Fabric or Craft glue
Instructions
- Gather all the tools and materials you will need for the project.

2. Prepare the inner wooden part. Mark the shape of this smaller oval on the felt fabric and cut it out.

3. Glue the felt part to the wooden oval. This extra layer will make the edges look smoother. Besides that, the embroidery will slip less, making working with such a small object easier.

4. Place the inner part of the mini-hoop above the embroidery with a felt side looking towards the embroidery. Center it and mark 0,3-04 inches (0,7 – 1 cm) around. Cut out the embroidery.

5. Sew with a Running stitch around the whole shape. I used a pearl cotton thread, but you can use a robust sewing thread or any other durable thread.

6. Place the inner part of the mini-hoop above the embroidery. Draw the threads from the running stitch to gather the fabric, with backing pieces inside. Tighten the knot.

7. Make additional stitches to secure the material gathered around the wooden back piece.

8. Place the piece with embroidery inside the mini-hoop and tighten the screw.

9. Glue the bigger wooden piece to cover the back of the mini-hoop. You can use clothespins or sewing clips to hold both pieces together while the glue hardens.

10. Your mini hoop DIY project is done! You can turn it into a keychain or a necklace or hang it on your bag as a charm.
Video Tutorial
Recommended Products
Disclaimer. To cover the cost of creating free embroidery patterns and video tutorials for this blog, I do sometimes link to products. Please assume these links are affiliate links. If you choose to buy through my links then THANK YOU! – it will make it possible for me to keep doing this.


Mini Hoop DIY Projects for Your Inspiration
Mini Florals
Bring the beauty of nature into your embroidery with mini floral designs. Create dainty blossoms, leaves, and stems using basic stitches like the Lazy daisy stitch, Whipped spider wheel, Fishbone stitch, and French knots.
Miniature Animals & Creatures
Craft adorable animal characters for mini hoops. From cute cats to bees and butterflies, you can bring any creature to life with just a few stitches and a splash of imagination.
It took me less than 30 minutes to embroider this tiny snake.

Sentimental Keepsakes
Mini hoops are perfect for preserving sentimental memories. Embroider initials, dates, or special symbols that hold significance to you or your loved ones. These personalized tiny hoops make heartfelt gifts that will be cherished forever.
If you want to make a hand-embroidered keychain for Father’s Day, check out the step-by-step tutorial I wrote for Creative Fabrica. And for a mini-hoop pendant with hearts – check out the article “Mini Hoop Pendant Tutorial + Free Heart Embroidery Pattern: Create Stunning Gifts!” on this blog.


Final Thoughts
Mini hoop embroidery opens up a world of creativity in a compact form. Whether you are an embroidery beginner or a seasoned stitcher, these tiny hoops offer a wonderful canvas to express your artistic flair. So, gather your supplies, and let your imagination run wild!
Don’t miss a thing!
Follow me on YouTube, Instagram, Facebook, Flipboard, Telegram, Reddit or Pinterest. On the other hand, you can subscribe to the Practical Embroidery newsletter and get embroidery tips straight to your inbox every week!
More about tools and materials on this Blog

Embroidery Resource Guide: Suppliers, Communities, and Online Platforms

Hand Embroidery Accessories Every Stitcher Will Love: Cute, Clever & Useful

Gifts for embroiderers: The ultimate guide to choosing the perfect present
More DIY tutorials on this Blog


De petits motifs pour les cadres en bois ronds de 1 à 2,5 po (prêt à utiliser) sont très difficiles à trouver. Fleurs – Noël – etc…
Croyez-vous que vous pourriez faire un dossier pour être capable d’utiliser ces petits dessins concentrés par thème sur une feuille 8 1/2 x 11 imprimable.
J’aimerais bien utiliser ces mini cadres que j’ai acheté.
Merci à vous.
Such a nice idea! I’ll work on that, thank you!