Fishbone embroidery stitch
Fishbone embroidery stitch is a charming stitch that is a staple in my stitch library. The Fishbone stitch, with its origins lost in the mists of time, has been a mainstay in the embroidery world for centuries. Its popularity can be attributed to its simplicity and elegance.
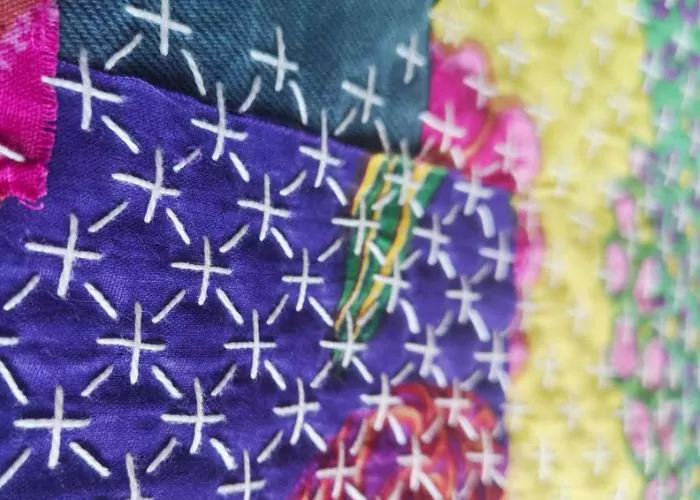
Its name is derived from the stitch’s resemblance to the skeleton of a fish, with a central spine and slanted ‘bones’ on either side. It’s not just about the aesthetics; the Fishbone stitch is incredibly versatile. Whether you’re looking to fill in leaf designs or add a textured, dimensional aspect to your creative stitching, this hand embroidery stitch is an excellent choice.
Alternative Names for this embroidery technique
The Fishbone stitch is known by a few different names around the globe, sometimes referred to as the ‘Herringbone Leaf Stitch’ or ‘Leaf Stitch.’ Note that these alternative names are incorrect, as they refer to other embroidery techniques. Regardless of the name, the technique remains a beloved method for creating leaf-like shapes with a natural, organic feel.


Applications of the Stitch
From fashion to home décor to textile art, the Fishbone embroidery stitch has various applications. Its leafy structure makes it ideal for floral designs, and its texture adds depth to any piece. Fishbone stitch embroidered in a row will create a gorgeous border design for home textiles or garments.
How to embroider Fishbone stitch
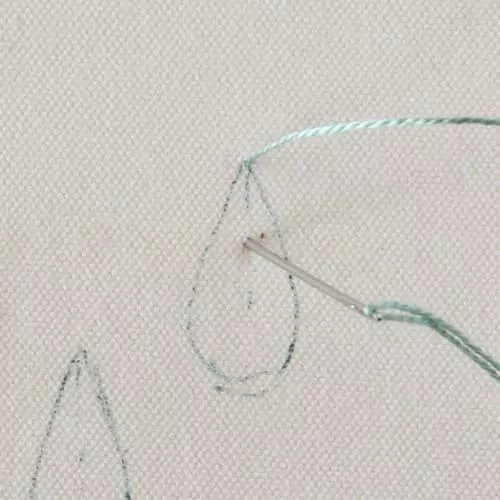

- Start by drawing a leaf shape or a square bar with two parallel lines. Choose the shape that fits your stitching pattern.
- Mark a central line of the shape.
- Bring your needle up at the tip and insert it on the central line, creating the central spine.
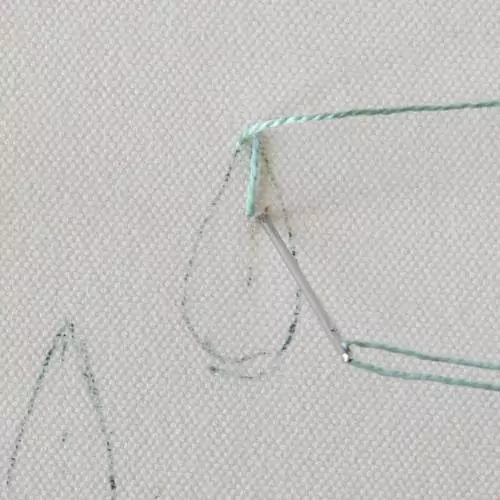
- Bring your needle up a little to the left of the centerline, then cross over and insert it just right of the spine, angling your stitch downwards.
- Repeat on the opposite side, alternating from left to right, gradually working your way down the spine.
- Keep your stitches tight, but not so tight that the fabric puckers. This will ensure a smooth, flat finish.
- Finish your last stitches, adjusting their length according to the shape you are embroidering.
Other stitches from the Fishbone stitch family
- Raised Fishbone Stitch
- Flat Stitch
- Basket Stitch
Video tutorial
If you are a visual learner, watch a video tutorial below or on the Practical Embroidery YouTube channel. In this video, you’ll find easy-to-follow, step-by-step instructions that will have you creating the Fishbone embroidery stitch like a pro in no time.

What’s next?
If you’re in the mood to explore more hand embroidery stitches, check out the Stitches and Techniques page for the list of other fantastic stitches available on my blog. From timeless classics to modern twists, a whole world of stitches is waiting for you to explore and master. So, grab your hoop and needle, and let’s stitch our way to creative bliss!
Need More Guidance?
The top 10 hand embroidery stitches to learn is a free online course created for beginners.