Whipped spider wheel embroidery stitch
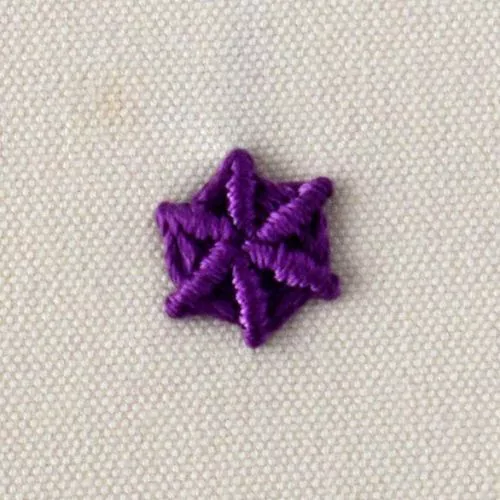
The Whipped spider wheel is a composite stitch from the Weaving stitch family. To embroider this decorative stitch, you must stitch the foundation of Straight stitches, creating a spoked-wheel design. Then, you will need to whip a thread around each spoke. This creates a textural ribbed pattern.
The number of spokes can vary from 3 to any number you need to fill the circle. You can embroider a whipped wheel over an odd or even number of spokes.
This stitch will form a simple spoked wheel on the back of the fabric. All the whipping stitches will stay on the front side.
The diameter of the stitch will depend on the length of the spokes. And the structure and how much raised the stitch – on the thread you choose for your embroidery. I embroidered a Whipped spider wheel with one strand of Pearl cotton (light colored) and six strands of embroidery floss (darker color) for this sampler.


Other names of the stitch
You can find this hand embroidery stitch called English wheel, Ribbed wheel, Whipped wheel, English rosette, Spider wheel, Wagon wheel, Spider web stitch, and Backstitch spider’s web.

Applications of the Whipped Spider Wheel stitch
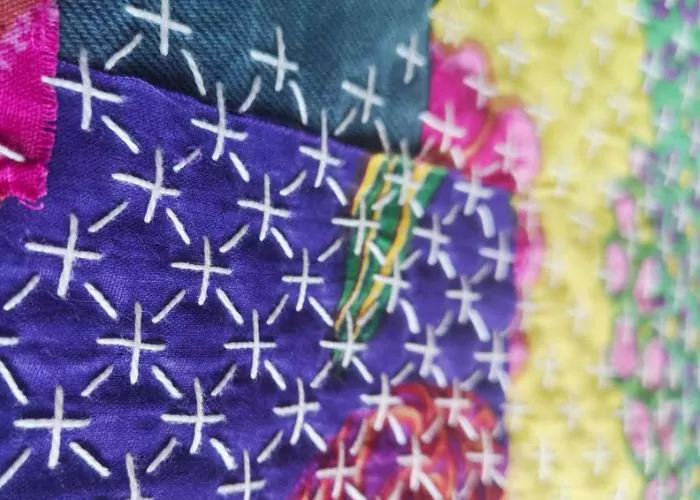
This hand embroidery stitch is very decorative and will find its place in your embroidery lexicon. Use it for botanical embroideries to depict the flowers or as a round geometrical form in abstract pieces. Include this stitch as a part of the repetitive decorative border.
If you want to use this stitch for mending, it will work great for covering stains or small holes.
More stitches from the Weaving Stitch family
- Weaving stitch
- Woven wheel
- Kamal Kadai
Learn how to embroider the Whipped spider wheel stitch
Follow the step-by-step tutorial with detailed photos below, and you will learn the Whipped wheel stitch in no time. If you are a visual learner, watch a video lesson in the tutorial or on the Practical Embroidery YouTube channel to learn this hand embroidery stitch faster.
How to embroider Whipped Spider Wheel Stitch
Step-by-step hand embroidery tutorial
Instructions
1. Mark a round shape with a center. Take the needle up at the center and stitch towards the circle’s outline. Pull all the thread to the backside.
2. Take the needle up in the center and make one more straight stitch towards the outline. Repeat these Straight stitches to form a spoked wheel. Make as many spokes as you need and distribute them evenly.

3. Take the needle up at the center and start whipping. At this point, you can change the needle to the blunt needle. If you do not have a blunt cross-stitch needle, you can use the back of the needle to avoid snagging the thread or the fabric.
4. Pass the needle under the first spoke. Pull the thread to form the first whipping stitch.

5. Pass the needle under the first and the second spoke. Pull the thread to tighten the whipping stitch.

6. Pass the needle under the second, and the third spoke. Pull the thread to tighten the whipping stitch.

7. Pass the needle under the third, and the fourth spoke. Pull the thread to tighten the whipping stitch.

8. Repeat these whipping stitches until all the spokes are wrapped with the thread.

9. Pass the needle to the back of the fabric and secure it.

Video tutorial

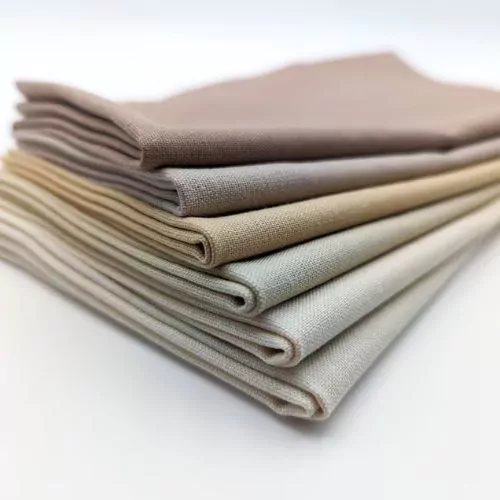
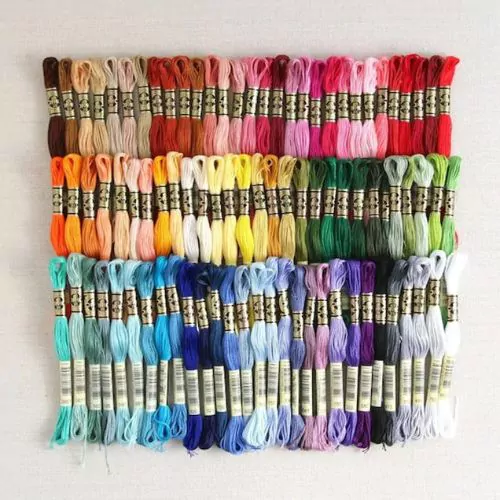
Tools and materials I used for this sampler
Disclaimer. To cover the cost of creating free embroidery patterns and video tutorials for this blog, I do sometimes link to products. Please assume these links are affiliate links. If you choose to buy through my links then THANK YOU – it will make it possible for me to keep doing this.

What’s next?
If you’re in the mood to explore more hand embroidery stitches, check out the Stitches and Techniques page for the list of other fantastic stitches available on my blog. From timeless classics to modern twists, a whole world of stitches is waiting for you to explore and master. So, grab your hoop and needle, and let’s stitch our way to creative bliss!
Don’t miss a thing!
Follow me on Instagram, Facebook, and Pinterest. Or why not subscribe to Practical Embroidery and get embroidery tips straight to your inbox every few weeks?
Need More Guidance?
The top 10 hand embroidery stitches to learn is a free online course created for beginners.