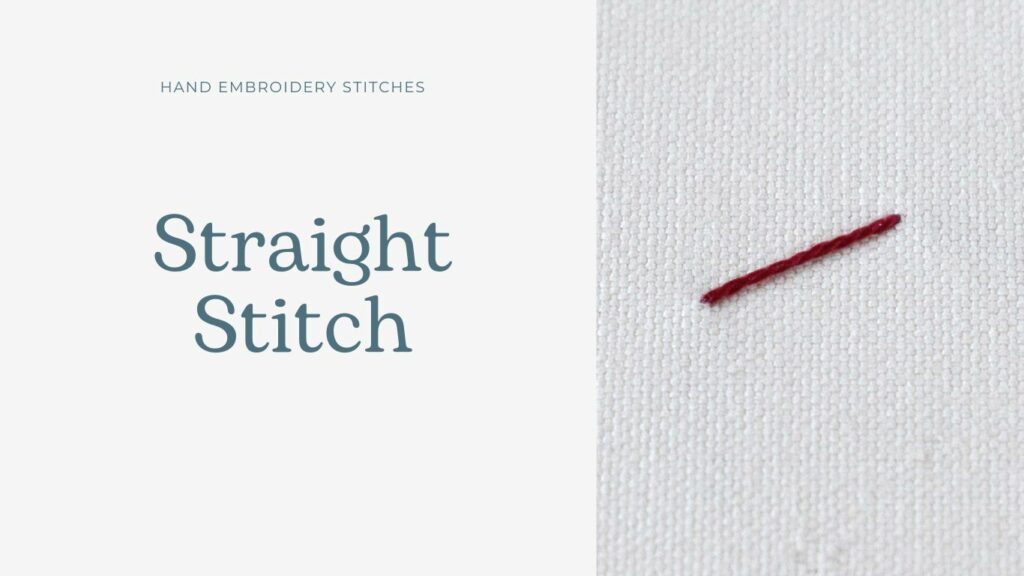
Straight stitch embroidery
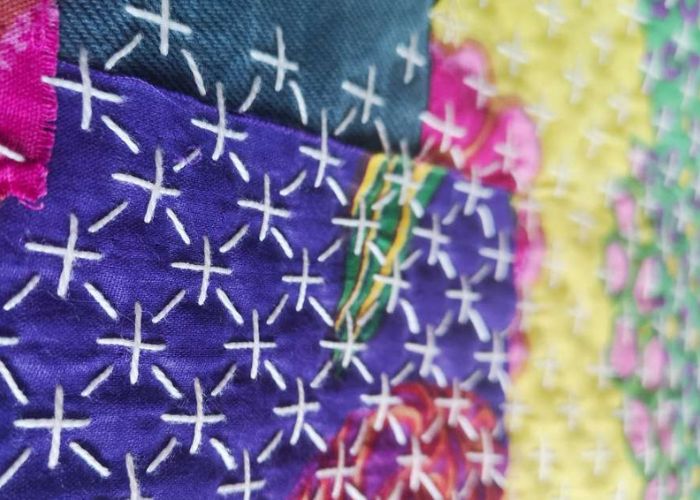
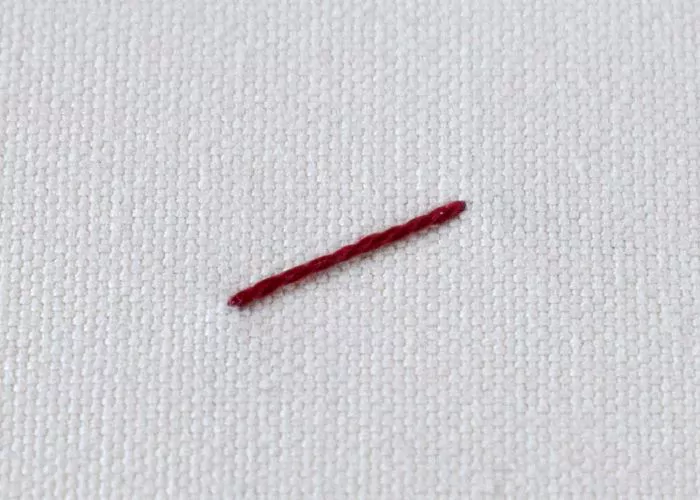
Straight Stitch Hand Embroidery, often considered the backbone of hand embroidery, is as simple as it sounds. It involves pulling the needle up through the fabric and then back down a short distance away. Despite its simplicity, it’s incredibly versatile and forms the foundation of many complex stitches and designs.
Other names of the stitch
You can find a Straight stitch named a Single Satin stitch or a Stroke stitch. If the Straight stitches are grouped in a linear manner, they will become a Running stitch. Instead, if you sprinkle Straight stitches to fill in the shape, this filling technique will be called a Seed stitch.
Applications of the Straight stitch
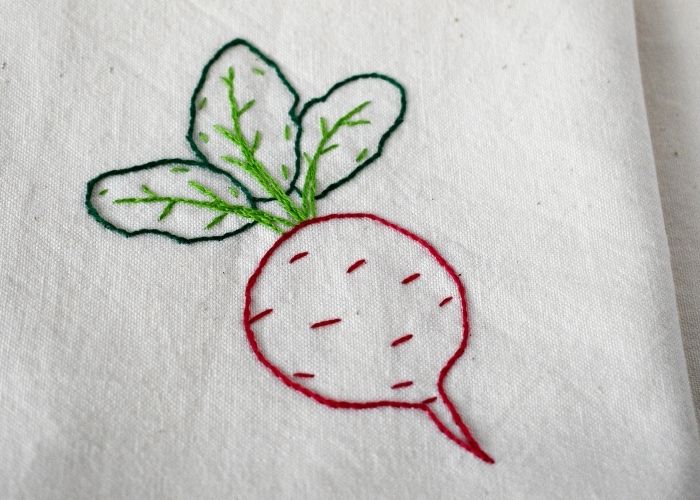
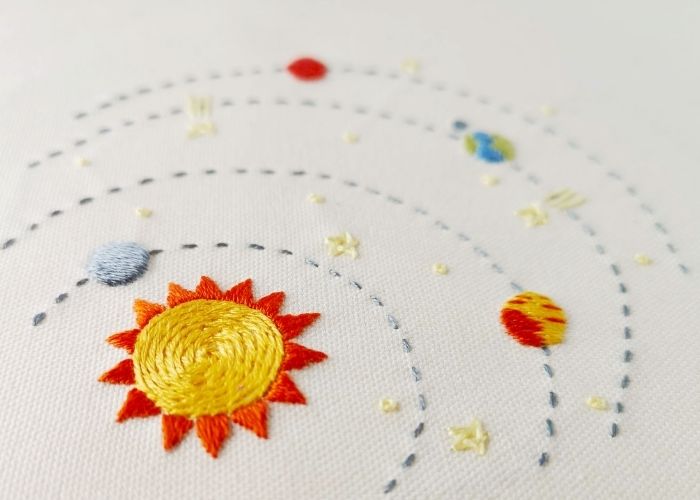
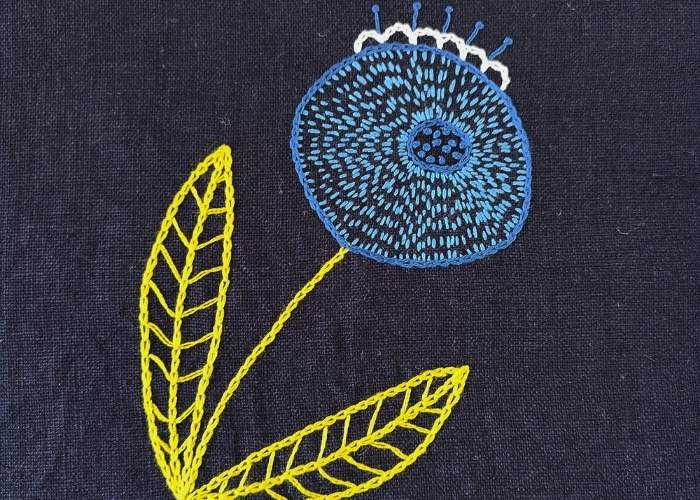
- Groups of single Straight stitches, worked using thread, ribbon, yarn, or any combination of fibers, can create various textures, mimicking anything from animal fur to grass.
- Single Straight stitches can work as a part of other stitches. For example, you must make one Straight stitch to start a Reverse chain stitch.
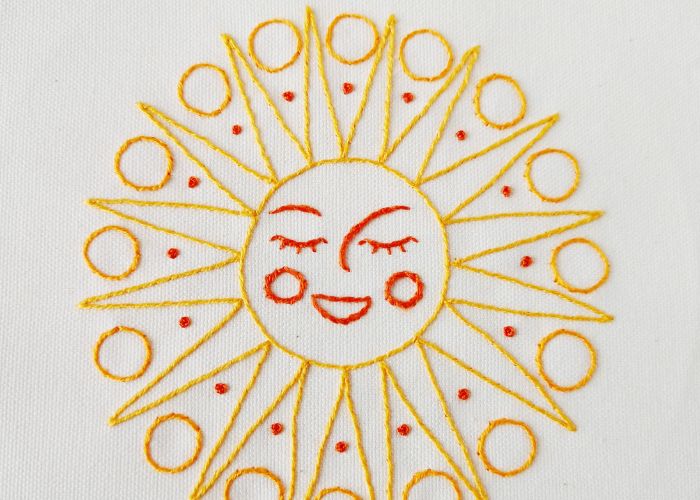
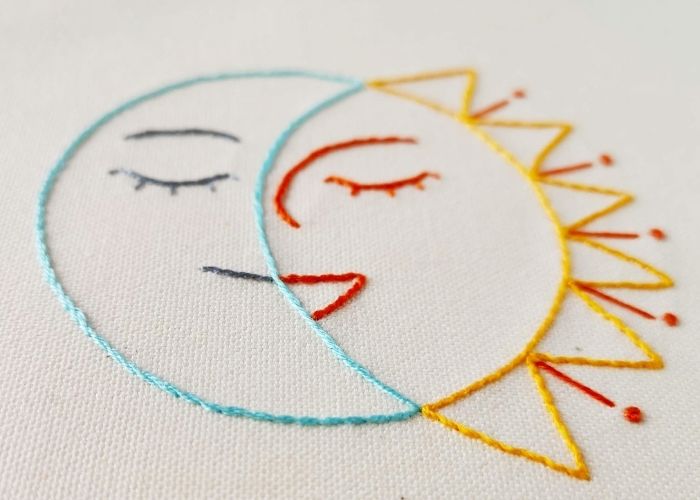
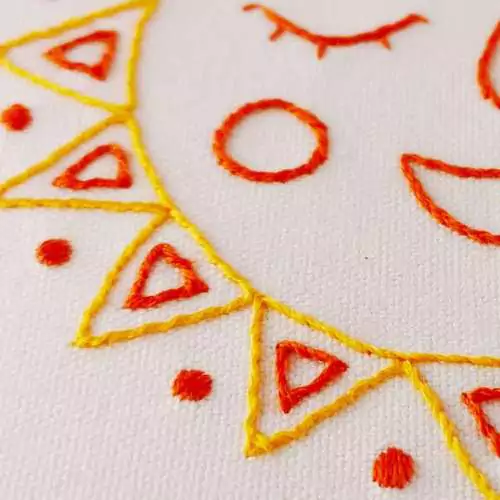
- Straight stitches are often used to add small decorative details to the pattern. Tiny stitches can depict a smile, whiskers, or eyelashes. Any small detail will look great with this stitch.
More stitches from the Straight stitch family
Learn how to embroider Straight Stitch
Follow the step-by-step tutorial with detailed photos below, and you will learn the Straight Stitch quickly. If you are a visual learner, watch a video lesson in the tutorial or on the Practical Embroidery YouTube channel to learn this hand embroidery stitch faster.
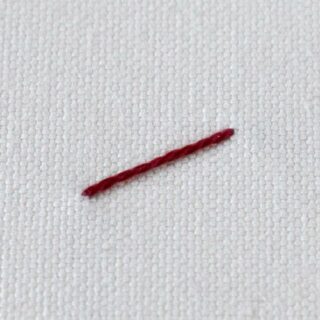
How to embroider Straight Stitch
Step-by-step hand embroidery tutorial
Instructions
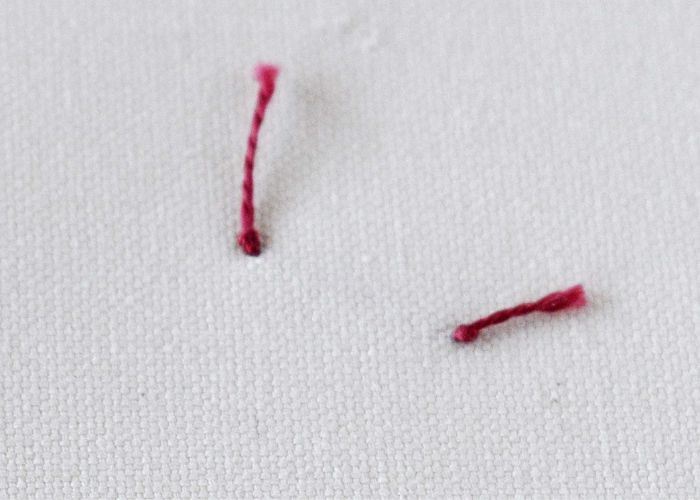
1. Make the knot and take the needle up to the fabric’s surface.
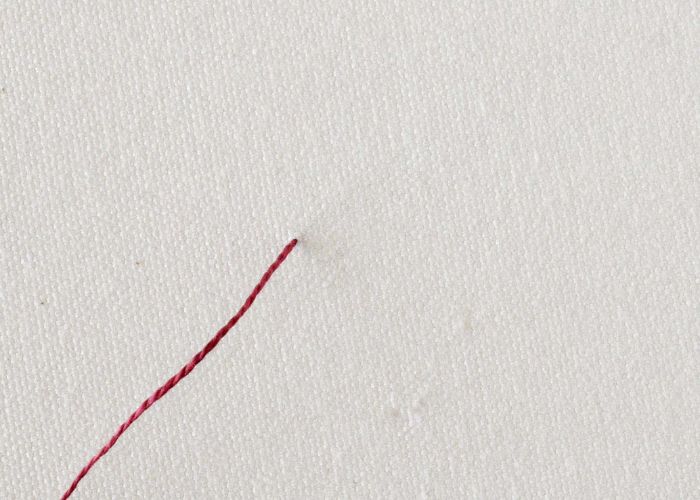
2. Make a stitch of the desired length.
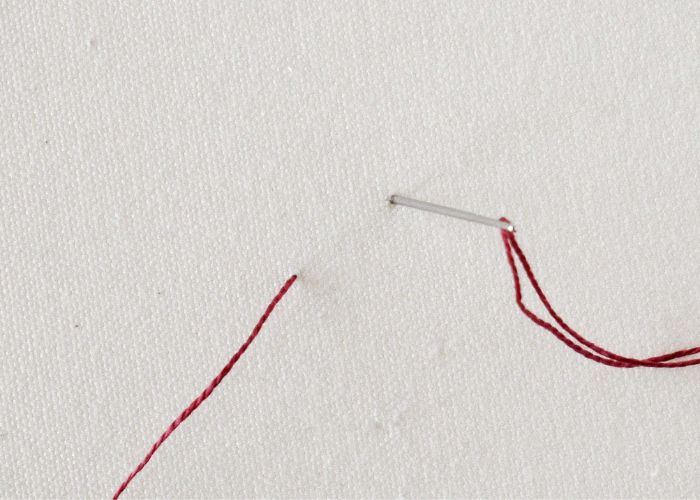
3. Pull all the thread down to the back of the fabric.

4. Tie the knot on the back to secure the stitch.

Video tutorial
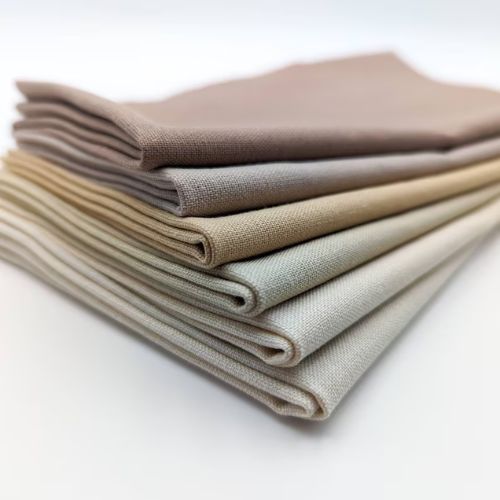
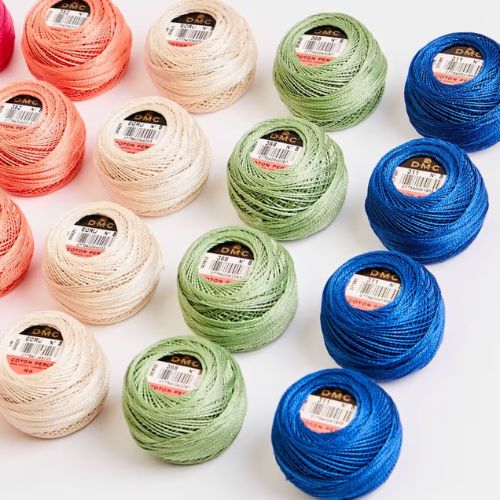
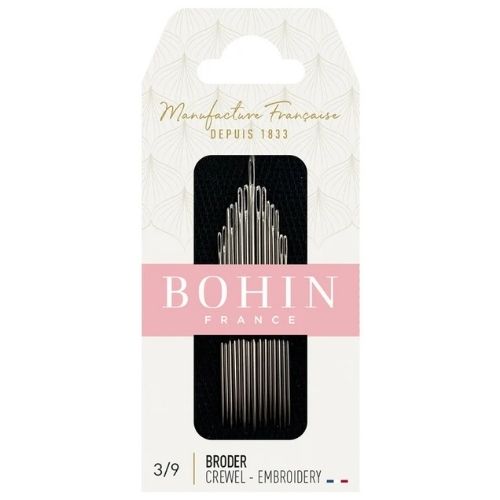
Tools and materials I used for this sampler
Disclaimer. To cover the cost of creating free embroidery patterns and video tutorials for this blog, I do sometimes link to products. Please assume these links are affiliate links. If you choose to buy through my links then THANK YOU – it will make it possible for me to keep doing this.
What’s next?
If you’re in the mood to explore more hand embroidery stitches, check out the Stitches and Techniques page for the list of other fantastic stitches available on my blog. From timeless classics to modern twists, a whole world of stitches is waiting for you to explore and master. So, grab your hoop and needle, and let’s stitch our way to creative bliss!
Don’t miss a thing!
Follow me on YouTube, Instagram, Facebook, and Pinterest. Or why not subscribe to Practical Embroidery newsletter and get embroidery tips straight to your inbox every few weeks?
Projects to practice Straight Stitch
Need More Guidance?
The top 10 hand embroidery stitches to learn is a free online course created for beginners.
