Woven Star Stitch
Embroidery, a craft rich in history and diversity, offers many stitches, each with its own beauty and complexity. The Woven Star Stitch stands out as a particularly enchanting option.
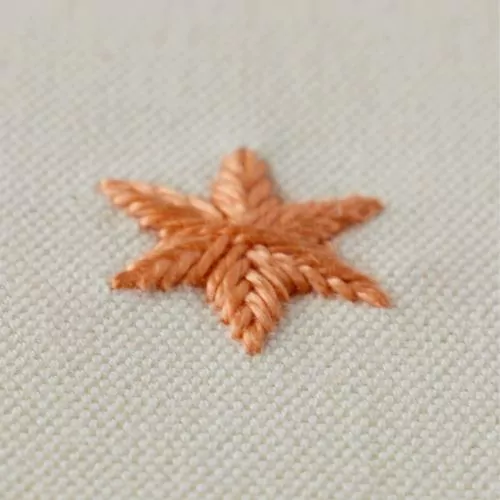
It’s a decorative stitch that creates a star-like pattern on the fabric. The process involves laying down foundation stitches in a star shape. Then, we add more straight stitches in a particular order to create a raised, textured star.
You can choose a simple one-layer look or an elaborated dimensional star.
Applications of the Woven Star Stitch
Why choose this hand embroidery stitch for your embroidery projects? Its appeal lies in its versatility and aesthetic. It can add a touch of elegance to any piece, whether you’re embellishing garments, creating wall art, or personalizing household items. It’s also relatively easy to learn, making it accessible to embroiderers of all skill levels.
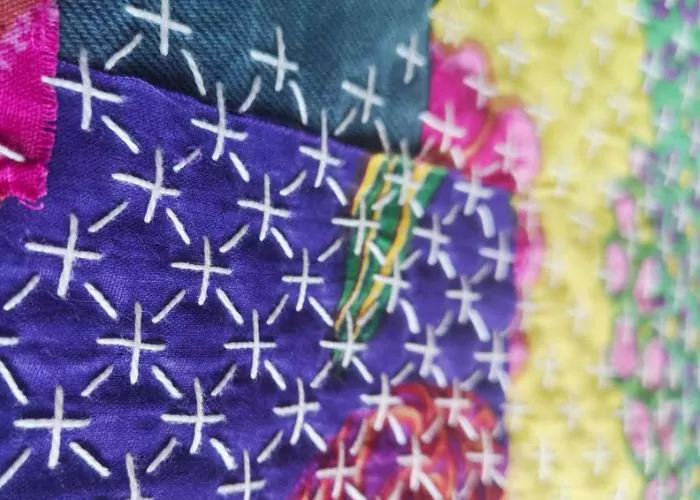
Besides this stitch’s gorgeous decorative effect, it’s a handy stitch for mending projects. It can hide minor stains and holes in the garments and embellish them simultaneously.


Tips for Perfecting the Woven Star Stitch
While the stitch is not overly complicated, a few tips can help you master it:
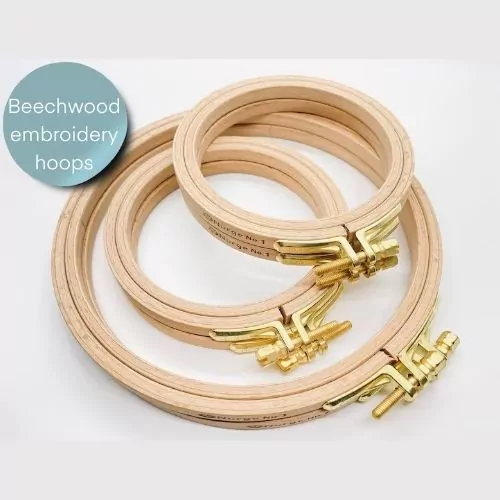
- Tension is Key: Maintaining consistent tension while working is crucial for a neat appearance. Use a high-quality embroidery hoop, and do not pull the stitches too much.
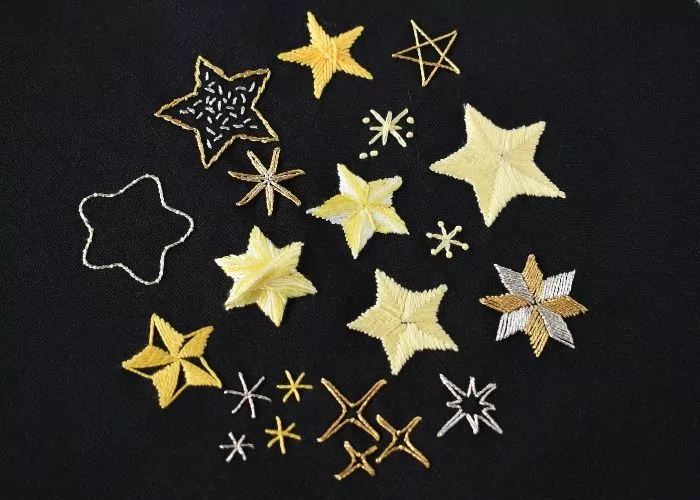
- Size Variations: Experiment with different star sizes by altering the foundation stitches’ length.
- Shape Variations. You can embroider six or five-pointed stars with the same stitch. In both cases, it is important to space the starting marks perfectly.
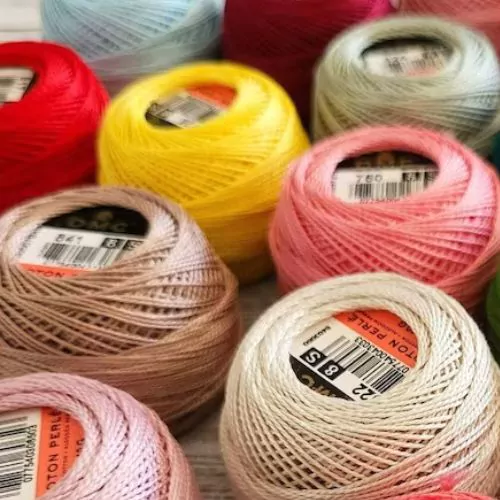
- Texture Play: Different embroidery threads will create various visual effects. Try to embroider this stitch with Pearl cotton, metallic threads, stranded embroidery cotton, or wool, and you will see how many opportunities this simple stitch can offer.
More stitches from the Straight stitch family:
Learn how to embroider Woven Star Stitch
Follow the step-by-step tutorial with detailed photos below, and you will learn the Woven Star Stitch in no time. If you are a visual learner, watch a video lesson in the tutorial or on the Practical Embroidery YouTube channel to learn this hand embroidery stitch faster.
How to embroider Woven Star Stitch
Step-by-step hand embroidery tutorial
Instructions
1. Mark five (or six) dots spaced equally in a circle.
2. Take the needle up on the first dot and make a straight stitch to the third dot.

3. Take the needle up at the second mark and make a straight stitch to the fourth.

4. Take the needle at the third mark and make a straight stitch to the fifth dot.

5. Take the needle at the fourth mark and make a straight stitch to the first dot.

6. Take the needle up at the fifth mark and make a straight stitch to the second mark. Pass the needle under the first stitch.

7. If you want an outline of the star – stop here. Secure the thread on the back and cut it.

8. For a Filled Woven Star, continue adding straight stitches. I worked this star as a six-pointed star. Take the needle up to the left of the first stitch.

9. Make a straight stitch parallel to the first stitch of the first round. Take the needle down under the thread of the first stitch.

10. Now, take the needle up to the left of the stitch on the second mark and make a stitch.

11. Repeat the stitches in this sequence to make a second round of the stitches.

12. Make one more round of straight stitches. Stitches will become shorter as you move towards the center of the star.

13. You will have to make more rounds for bigger stars. Bulkier threads will require fewer rounds to fill an entire shape.

14. Make a final round of straight stitches. Take the needle to the back and secure the thread.

Video tutorial
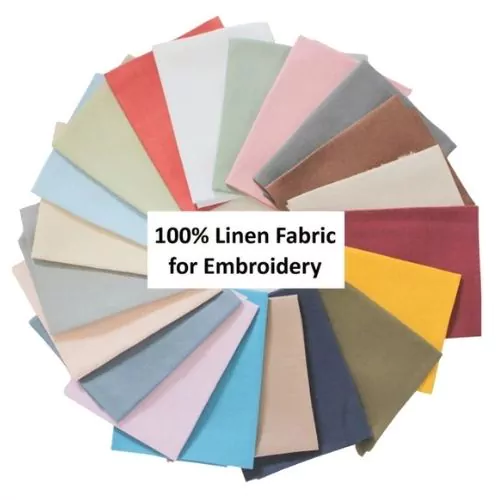
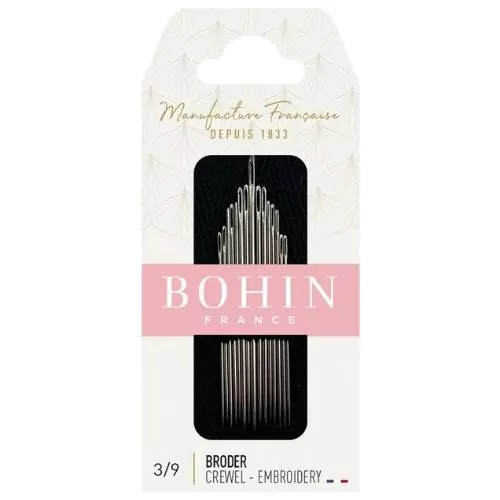
Tools and materials I used for this sampler
Disclaimer. To cover the cost of creating free embroidery patterns and video tutorials for this blog, I do sometimes link to products. Please assume these links are affiliate links. If you choose to buy through my links then THANK YOU – it will make it possible for me to keep doing this.

What’s next?
If you’re in the mood to explore more hand embroidery stitches, check out the Stitches and Techniques page for the list of other fantastic stitches available on my blog. From timeless classics to modern twists, a whole world of stitches is waiting for you to explore and master. So, grab your hoop and needle, and let’s stitch our way to creative bliss!
Don’t miss a thing!
Follow me on Instagram, Facebook, and Pinterest. Or why not subscribe to Practical Embroidery and get embroidery tips straight to your inbox every few weeks?
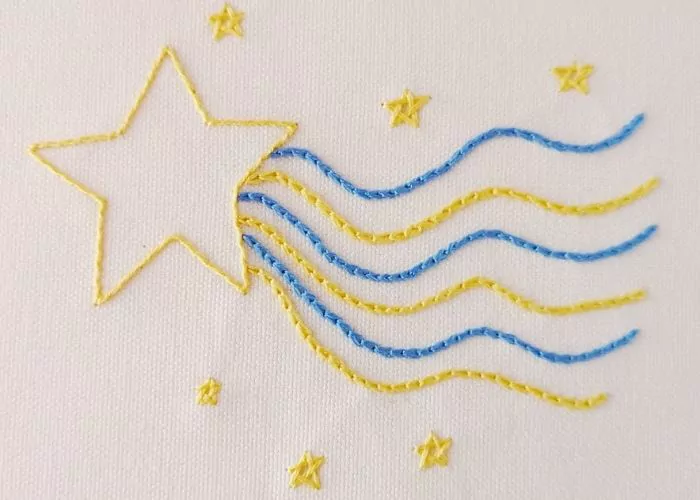
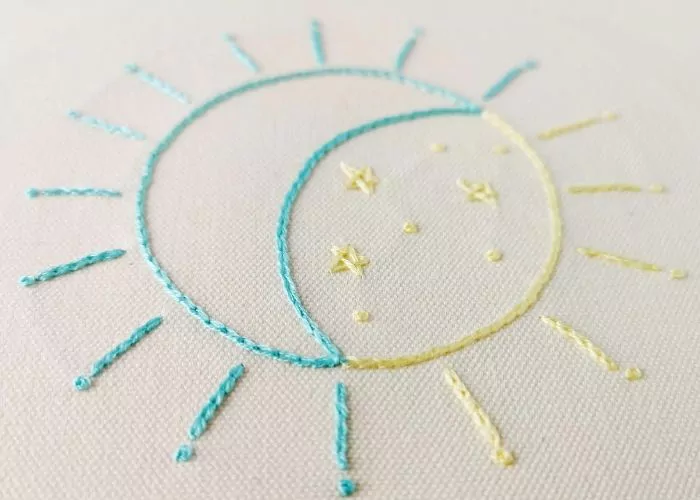
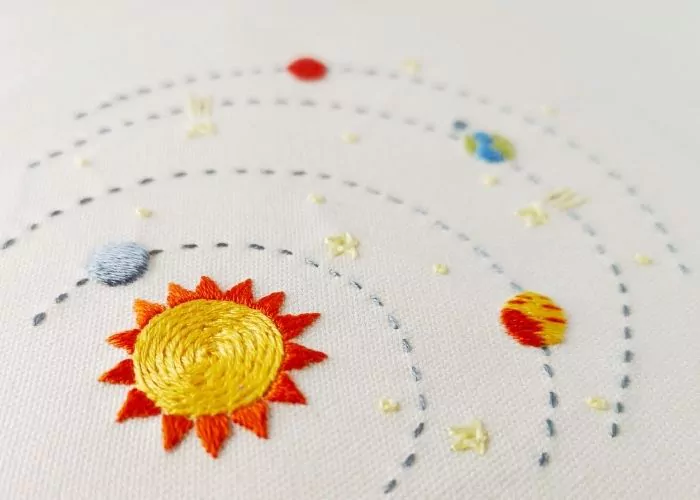
Projects to practice Woven Star stitch


Need More Guidance?
The top 10 hand embroidery stitches to learn is a free online course created for beginners.