
Handmade Christmas decorations: step-by-step guide and free pdf pattern download
Create A Unique Christmas Home Decor From Felt Or Recycled Fabrics Now!
For me, Christmas equals creation. I adore handmade Christmas decorations, gifts, greeting cards, and homemade food. I like to create and decorate, and also to receive handmade gifts.
And it’s even better if I can make these DIY Christmas decorations from recycled materials!

In this tutorial, I will show you how to embroider and sew handmade Christmas decorations. This tree ornament will be a great home decor accent and a wonderful gift for your loved ones.

Handmade Christmas decorations
How to make ornaments from felt or recycled fabrics: Step-by-step guide
Tools and Materials to make DIY Christmas decorations
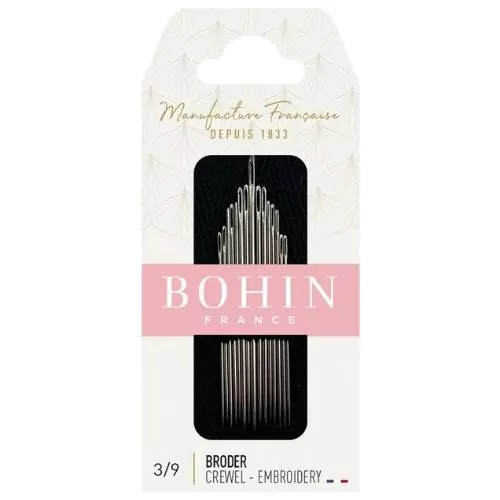
- Embroidery needle, big enough to accommodate your chosen thread.
- Sharp big needle, big enough to accommodate a ribbon.
- Scissors. Shears for the fabric and small, sharp embroidery scissors or snips.
- Some pins.
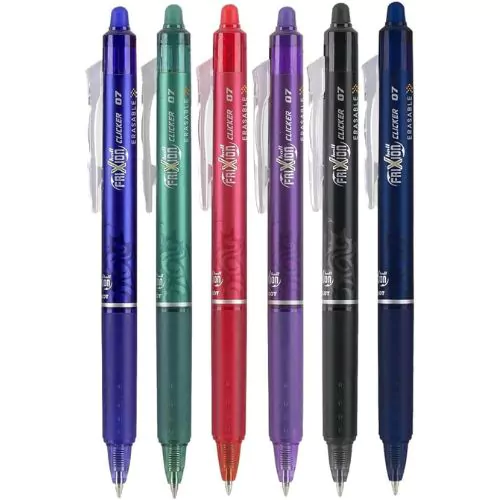
- Pencil, friction pen, or other tool for pattern transfer.
- Brown felt fabric or some old knitwear (I used an old wool sweater, that’s why my decoration does not look like a gingerbread cookie. It is more like a chocolate one :))
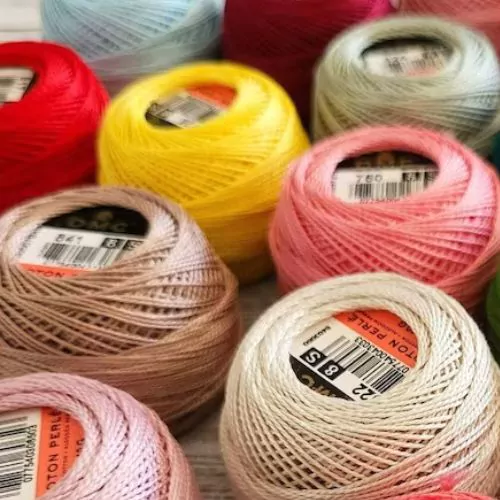
- Some white yarn. Knitting yarn or pearl cotton will do.
- Ribbon or cord for hanging ~30 cm (12 inches).
- Toy stuffing (polyester filling or cotton wool).
- Wooden or plastic bead with a large hole, big enough to accommodate a ribbon.
Embroidery instructions
1. Download and print the pattern.
2. Cut out the paper House shape from a printed pattern. Place the model on the felt material, pin it, and cut it out. Don’t trace the embroidery pattern, as it will be almost impossible if you use knitwear fabric. Instead, draw the shapes by hand with a white marker or chalk. The forms are simple, so it will be easy! If your material is light-colored, use a water-soluble pen.
As an alternative, you can use a water-soluble stabilizer for the pattern transfer. Learn more about this method in the article “The Ultimate Guide to Water Soluble Stabilizers for Hand Embroidery“.

3. For this handmade Christmas decorations project, you will use these hand embroidery stitches:
- Backstitch for outlining the door and a window.
- Chain stitch to embroider the wreath.
- Fly stitch to make snow on the roof.
- Straight stitch to make snowflakes.
- Blanket stitch to sew pieces together.

4. After all the stitching is done, remove the tracing marks from the embroidered shape. If you used a Friction pen, you would quickly remove the tracing with a hot hairdryer or an iron. Water-soluble pen marks will be canceled with a wet wipe. The chalk pen is cleaned rapidly with some rubbing.
How to sew handmade Christmas decorations
1. Put both parts together and sew them with a Blanket stitch, using the white yarn (the same as you used for embroidery). At the bottom, leave a hole for stuffing.

2. Stuff the toy filling (or cotton wool) in the gap until the decoration is padded but not too firm. Then, finish sewing and close the hole.
3. Thread a ribbon into the large, sharp needle and pass it through the felt material at the top of the house-shaped ornament.
4. Finally, put a wooden bead on top.

Recommended Products
Disclaimer. To cover the cost of creating free embroidery patterns and video tutorials for this blog, I do sometimes link to products. Please assume these links are affiliate links. If you choose to buy through my links, then THANK YOU! – it will make it possible for me to keep doing this.


Your Handmade Christmas Decoration Is Ready!

Make more of these and decorate your Christmas tree or attach them to the gifts you will make!
Want to create ornaments of different shapes? Check out these ornament-making tutorials:
- Felt Embroidered Christmas Ornaments: PDF Pattern & DIY Tutorial
- DIY Christmas ornaments with wreath embroidery
Don’t miss a thing!
Follow me on YouTube, Instagram, Facebook, Flipboard, Telegram, Reddit or Pinterest. On the other hand, you can subscribe to the Practical Embroidery newsletter and get embroidery tips straight to your inbox every week!
More Christmas decor ideas on this Blog

Hand Embroidery Gift Ideas to Make for Christmas: Inspiration, Patterns and Tutorials

Christmas Embroidery Ideas for Every Skill Level

Christmas hand embroidery designs to stitch: 15 Enchanting Christmas hand embroidery patterns to stitch
