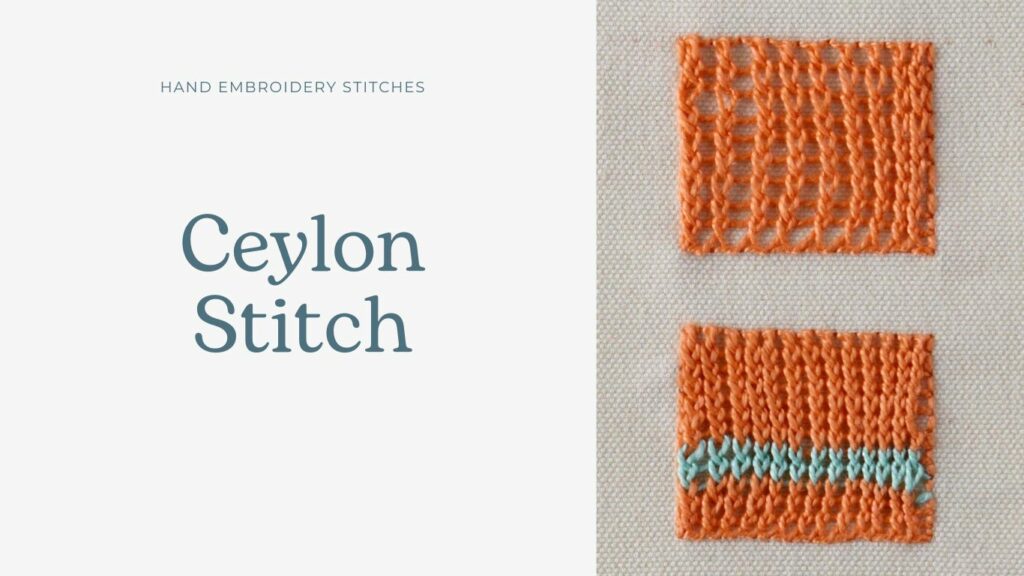
Ceylon Stitch
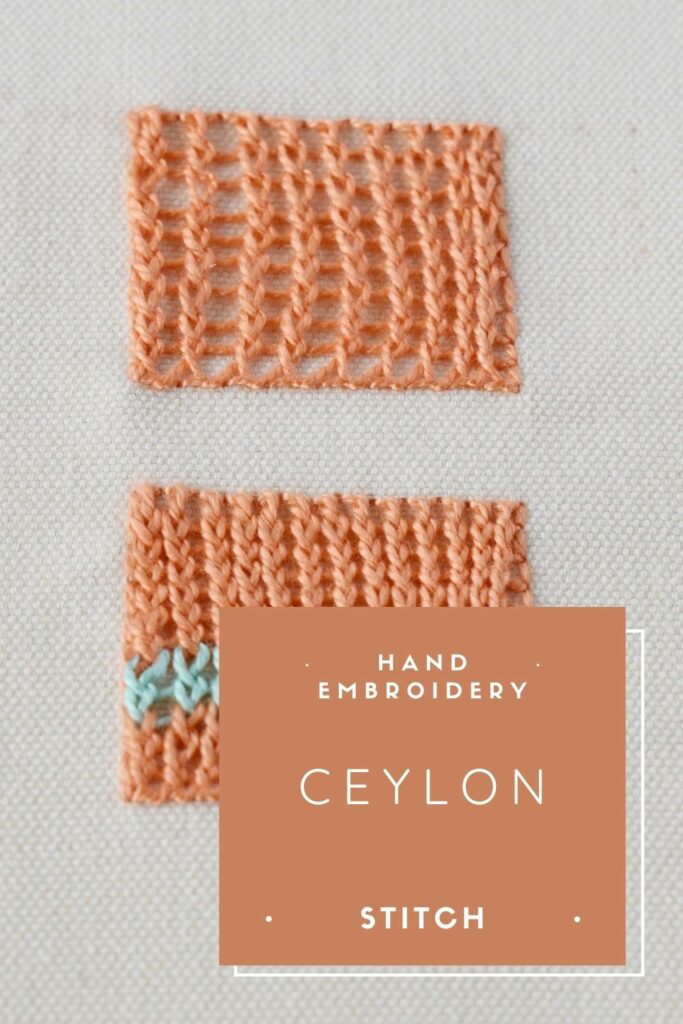
Ceylon Stitch is a hand embroidery technique for filling that imitates knitwear. It is a form of needle lacing with antique origins. Ceylon Stitch forms an independent layer of laced fabric made with embroidery thread anchored to the fabric at the shape’s edges.
Other names of the Ceylon Stitch
Cross-knit loop stitch is another name for this hand embroidery technique.
Applications of the Ceylon Stitch
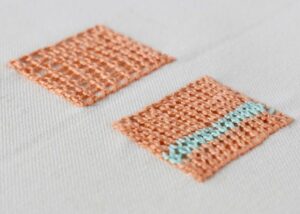
The Ceylon stitch is perfect for filling in surface embroidery, fully covering the ground fabric and creating an additional layer of textural stitches. Use it to depict sweaters, carpets, or other knitted or woven household objects. The versatility of this technique is widely used in surface embroidery and Stumpwork.
Learn how to embroider Ceylon Stitch
Embroidering the Ceylon Stitch may seem daunting at first, but fear not. With this step-by-step tutorial and detailed photos, you’ll be mastering this technique in no time. And if you’re a visual learner, I’ve got you covered with a video lesson on the Practical Embroidery YouTube channel.
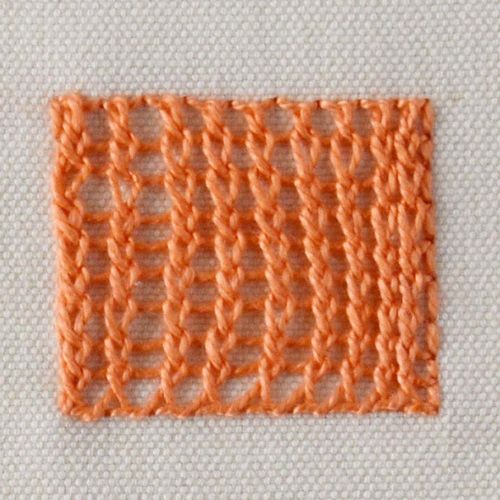
How to embroider Ceylon Stitch
Step-by-step hand embroidery tutorial
Instructions
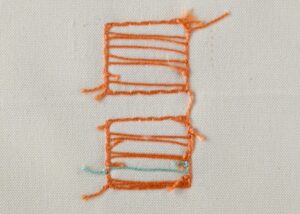
1. Mark the shape you want to fill with a Ceylon stitch and outline it with tiny Backstitch stitches. These stitches will serve as anchors and guiding lines for your filling.
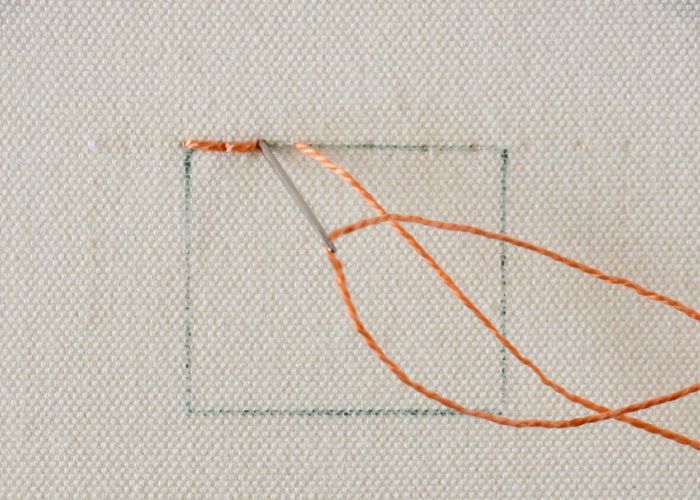
2. Take the needle up between the first and the second Backstitch on the top left corner.
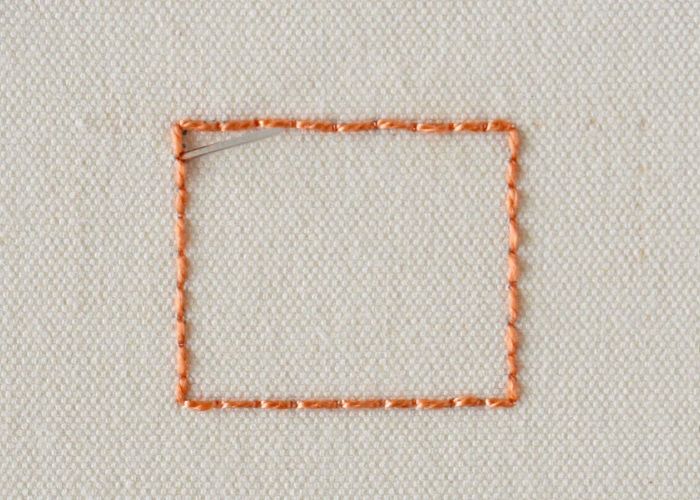
3. Pass the needle under the first Backstitch from the top downwards to form the first loop.
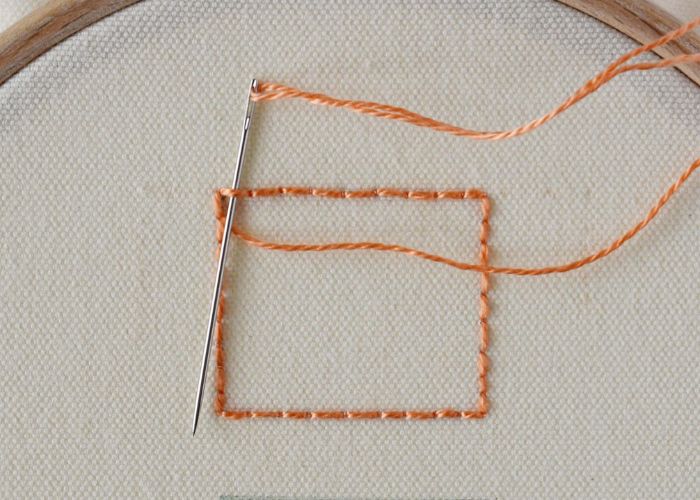
4. Now, pass it under the second anchoring stitch.
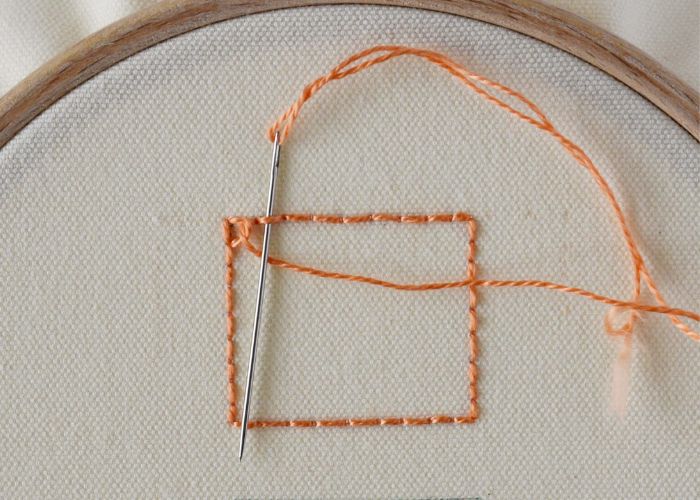
5. Make the loops under each Backstitch on the top outline and take the needle down between the first and second Backstitch on the right side.
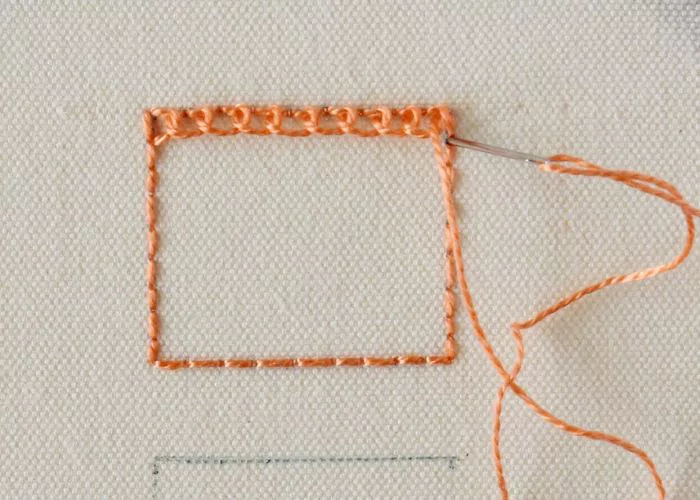
6. Take the needle to the surface between the second and third Backstitch on the left.
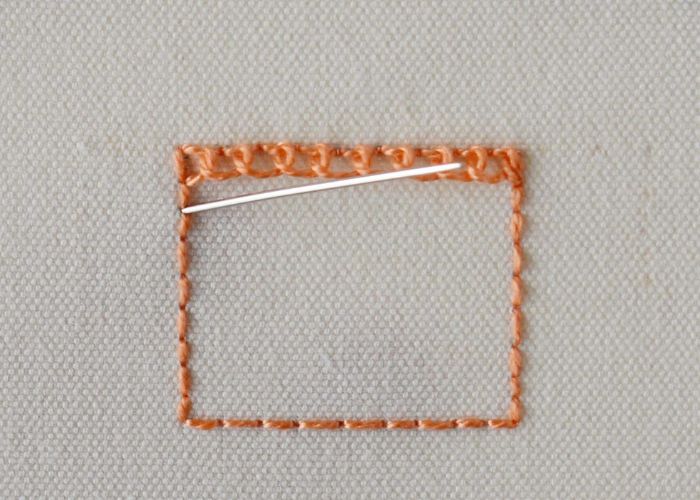
7. Pass the needle under the crossing threads of the first loop of the first row.
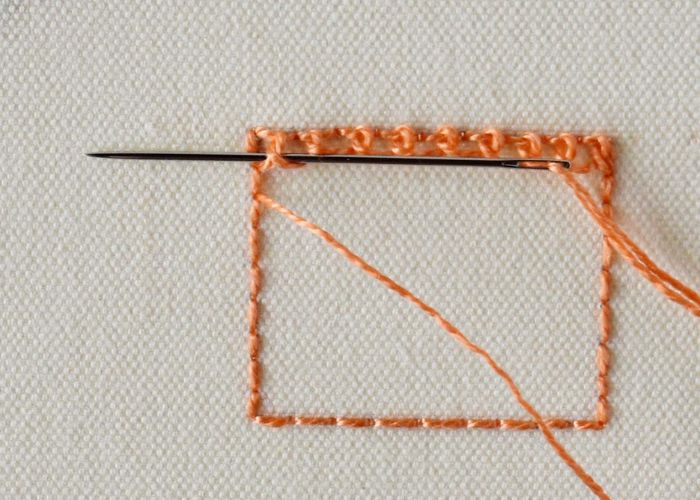
8. Pass the needle under the second loop. Repeat until there is a new loop under each loop from the previous row.
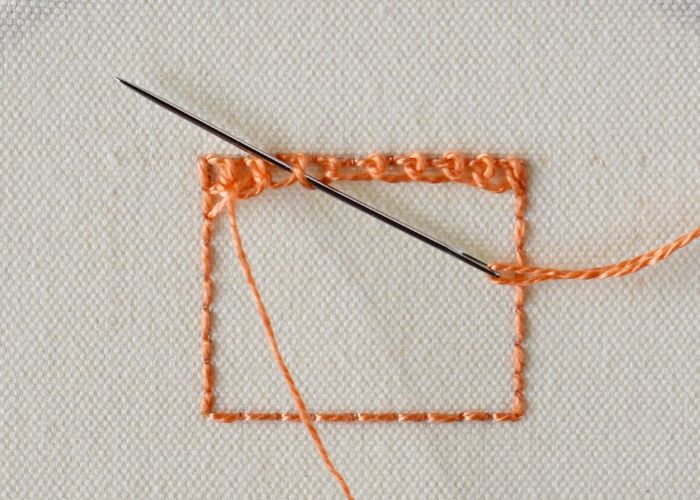
9. Add as many rows of the loops as your design requires. You can change the color of the thread from row to row.
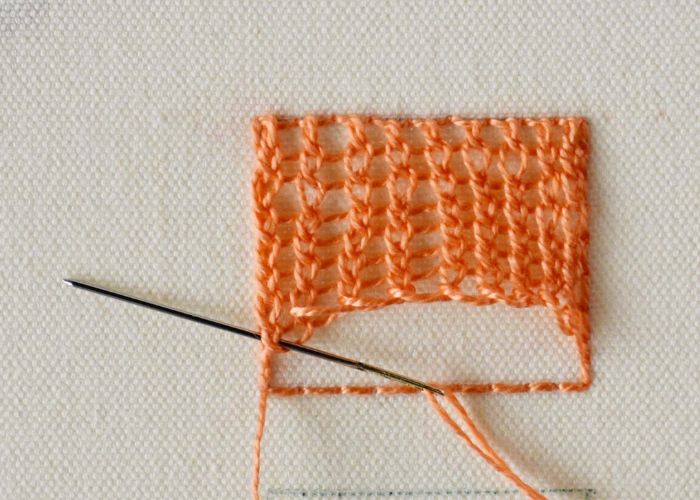
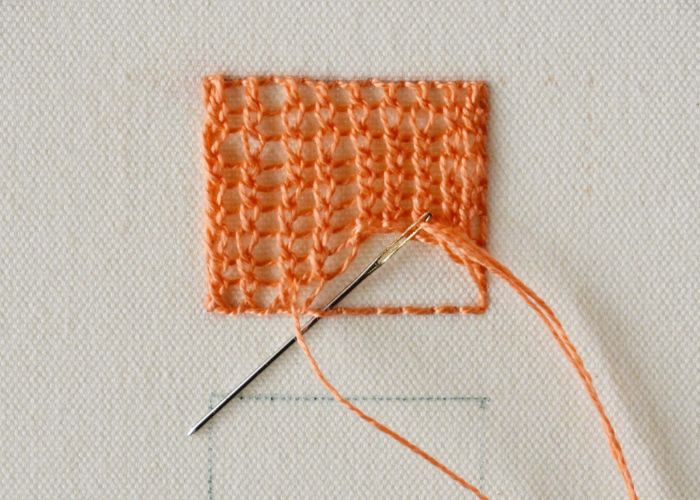
10. When you make the last row of the loops, anchor them to the bottom line of the Backstitch outline. Pass the needle under the stitch from the top downwards and continue to the next loop.
Video tutorial
Tools and materials I used for this sampler
Disclaimer. To cover the cost of creating free embroidery patterns and video tutorials for this blog, I do sometimes link to products. Please assume these links are affiliate links. If you choose to buy through my links then THANK YOU – it will make it possible for me to keep doing this.
What’s next?
If you’re in the mood to explore more hand embroidery stitches, check out the Stitches and Techniques page for the list of other fantastic stitches available on my blog. From timeless classics to modern twists, a whole world of stitches is waiting for you to explore and master. So, grab your hoop and needle, and let’s stitch our way to creative bliss!
Don’t miss a thing!
Follow me on YouTube, Instagram, Facebook, and Pinterest. Or why not subscribe to Practical Embroidery newsletter and get embroidery tips straight to your inbox every few weeks?
Need More Guidance?
The top 10 hand embroidery stitches to learn is a free online course created for beginners.
