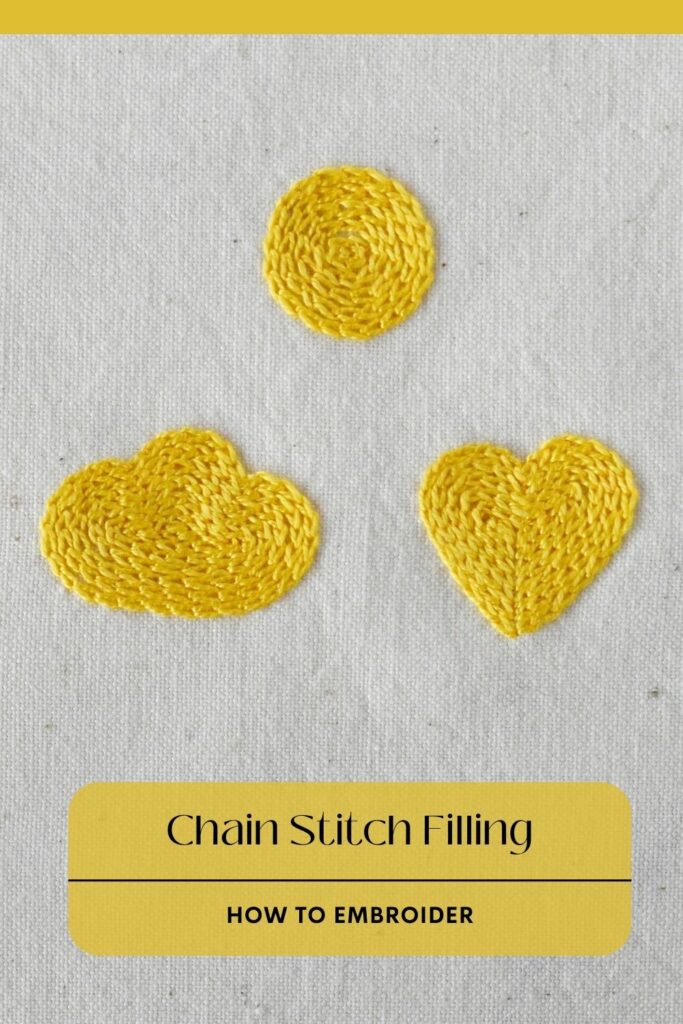
Chain Stitch Filling
Chain Stitch filling is a hand embroidery technique where we use a regular Chain Stitch or a reverse Chain Stitch to fill large areas.
This filling technique is versatile and easy to implement. It can be applied to any shape and form, resulting in beautiful textural filling with a dynamic surface.
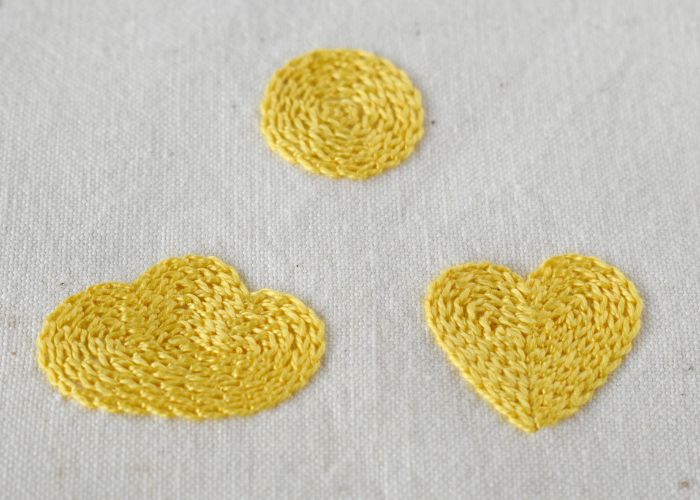
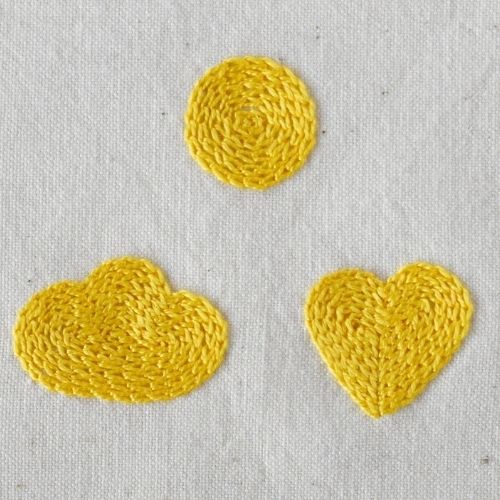
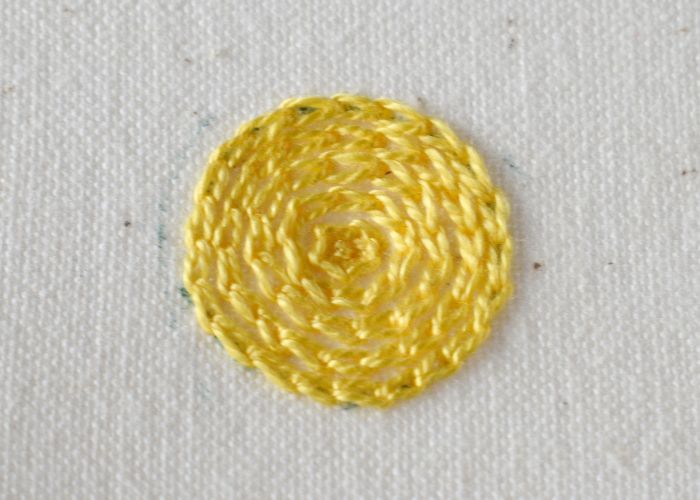
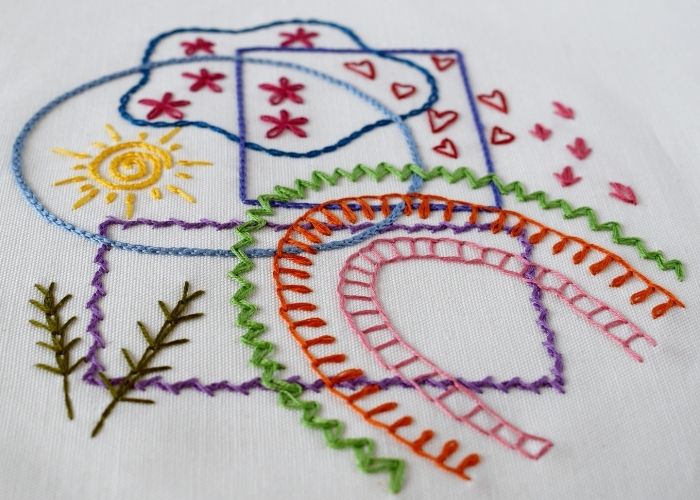
I used a Chain Stitch to embroider a circle, heart, and irregular cloud shape in my sampler.
On the reverse side of the fabric, this embroidery technique for filling will result in rows of straight stitches that look like Backstitch.
Other names of the stitch
Besides the Chain Stitch filling, this technique can be called the Tambour filling stitch and the Point de chainette.

Applications of the Chain Stitch filling
Chain Stitch is a perfect technique to fill large and small areas. This embroidery method offers so many possibilities that the final results can be very different. Here are some options for coverage with Chain stitch:
- Fill in circles.
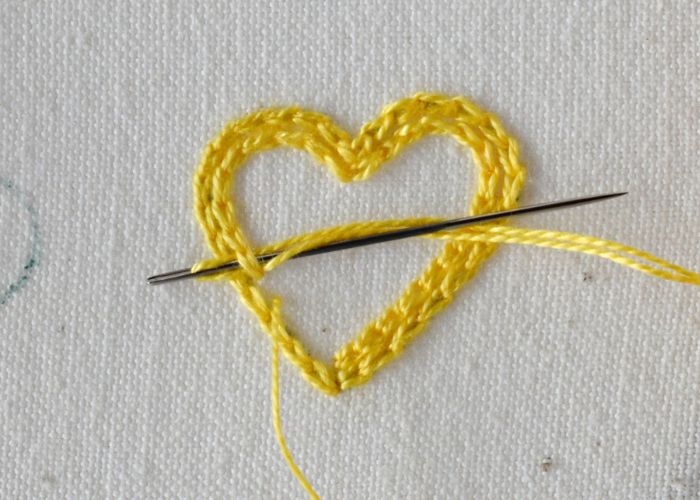
- Circle filling with a change of direction (like I did for the heart shape).
- Coverage with horizontal lines (same direction or changing directions).
- Making vertical lines to fill the shape.
- Creating swirls and waves inside the shape to add texture and depth.
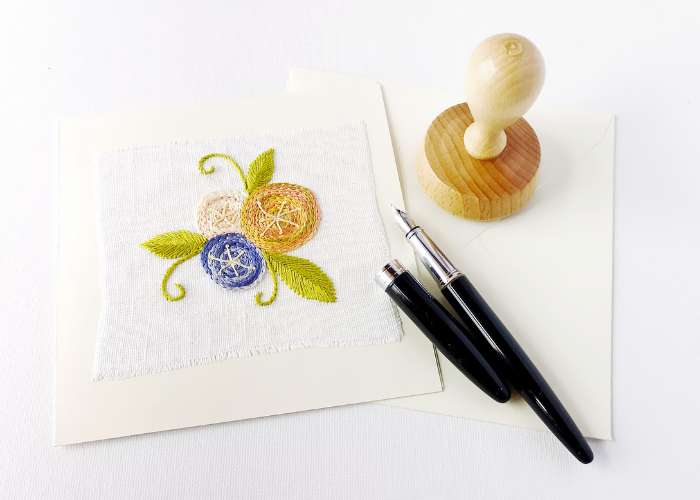
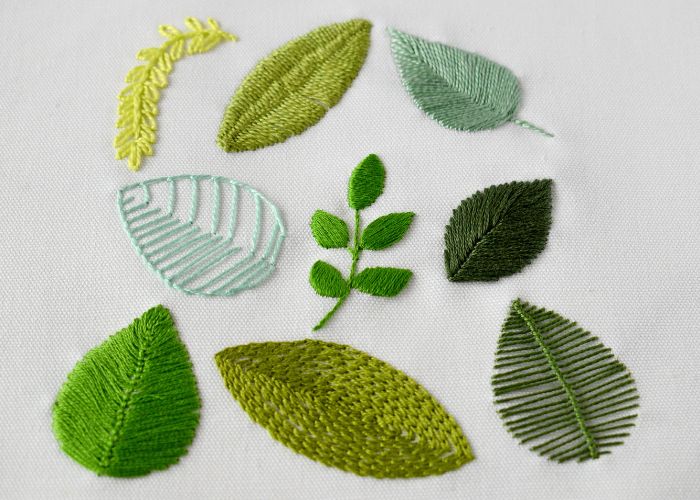
You can use the Chain Stitch fill technique for any surface embroidery project and fill various objects with textural stitches – from leaves and berries to sweaters and carpets.
More stitches from Stitch family
Learn how to embroider Chain Stitch filling
Follow the step-by-step tutorial with detailed photos below, and you will learn the Chain Stitch filling quickly. If you are a visual learner, watch a video lesson in the tutorial or on the Practical Embroidery YouTube channel to learn this hand embroidery stitch faster.
How to embroider Chain Stitch filling
Step-by-step hand embroidery tutorial
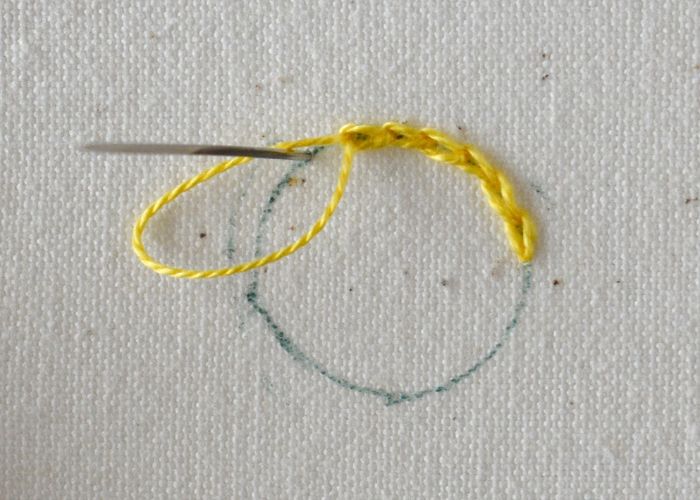
1. Define the shape you want to fill with Chain Stitch. Embroider the outline of the shape with a Chain Stitch.
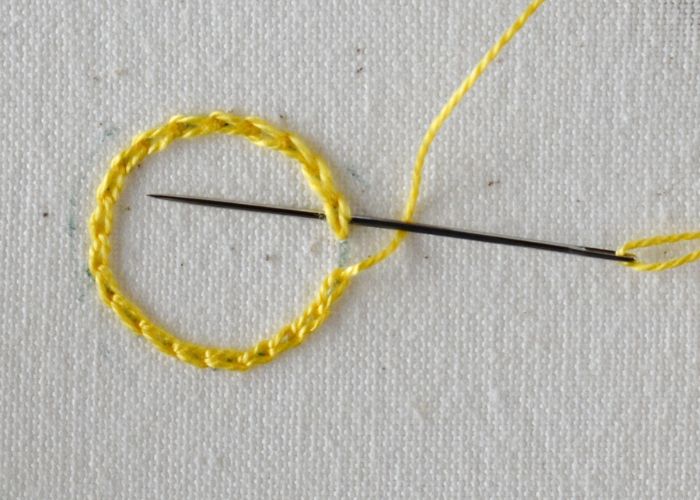
2. Carefully connect the starting and finishing stitches so the starting point is invisible.
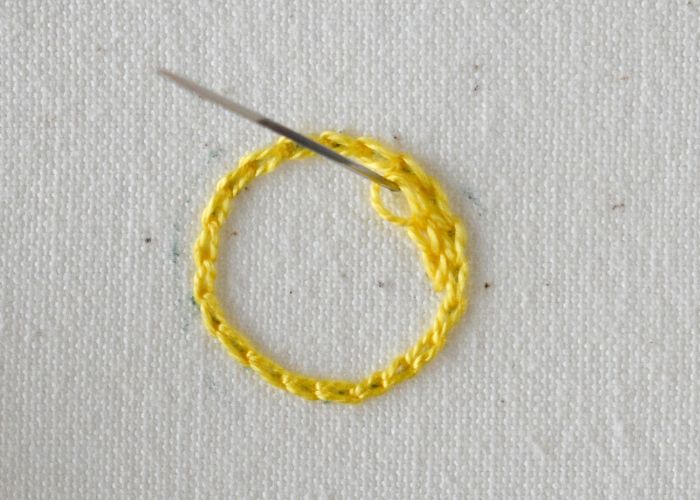
3. Add one more row of Chain Stitch close to the previous one to make a dense filling.
4. Keep adding one row after another till the entire shape is filled with rows of Chain Stitch.
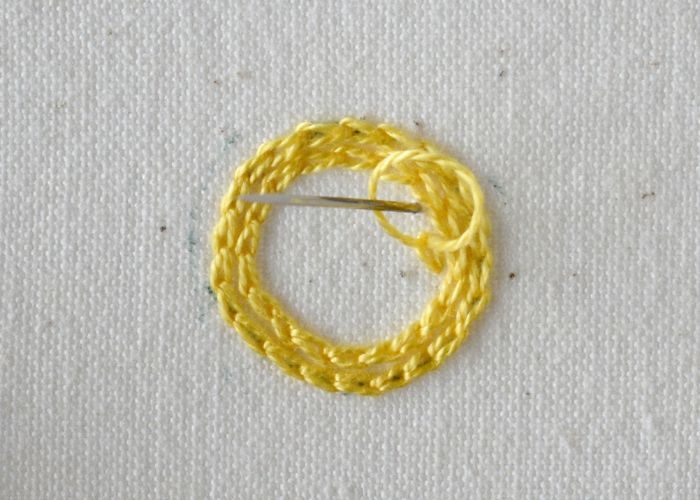
5. Add a single Chain Stitch in the center of the shape to cover the final piece of fabric felt in the center.
6. If you want to fill the two-sided shape like this heart, you can use a regular Chain Stitch on one side of the shape.
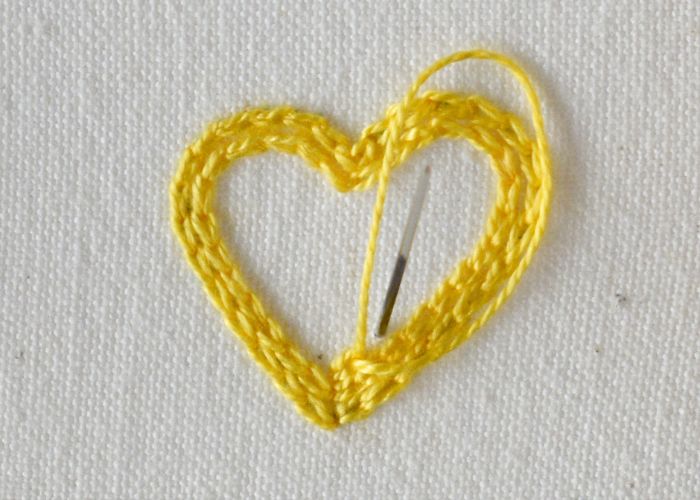
7. Then, switch to the reverse Chain stitch on the opposite side of the shape.
8. To embroider irregular shapes like this cloud, fill it with dense rows of Chain Stitch. Finish with a couple of stitches in the center.

Video tutorial
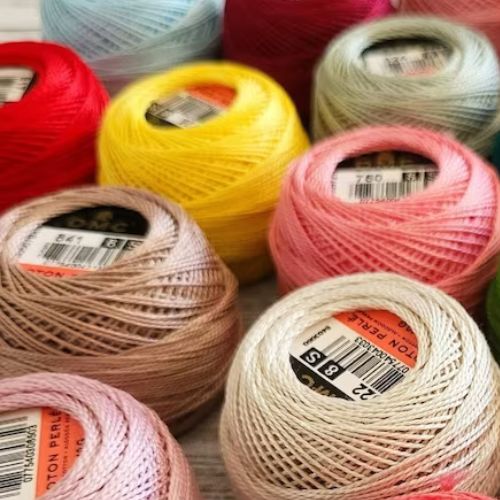
Tools and materials I used for this sampler
Disclaimer. To cover the cost of creating free embroidery patterns and video tutorials for this blog, I do sometimes link to products. Please assume these links are affiliate links. If you choose to buy through my links then THANK YOU – it will make it possible for me to keep doing this.


What’s next?
If you’re in the mood to explore more hand embroidery stitches, check out the Stitches and Techniques page for the list of other fantastic stitches available on my blog. From timeless classics to modern twists, a whole world of stitches is waiting for you to explore and master. So, grab your hoop and needle, and let’s stitch our way to creative bliss!
Don’t miss a thing!
Follow me on YouTube, Instagram, Facebook, and Pinterest. Or why not subscribe to Practical Embroidery newsletter and get embroidery tips straight to your inbox every few weeks?
Projects to practice Chain Stitch Filling
Need More Guidance?
The top 10 hand embroidery stitches to learn is a free online course created for beginners.