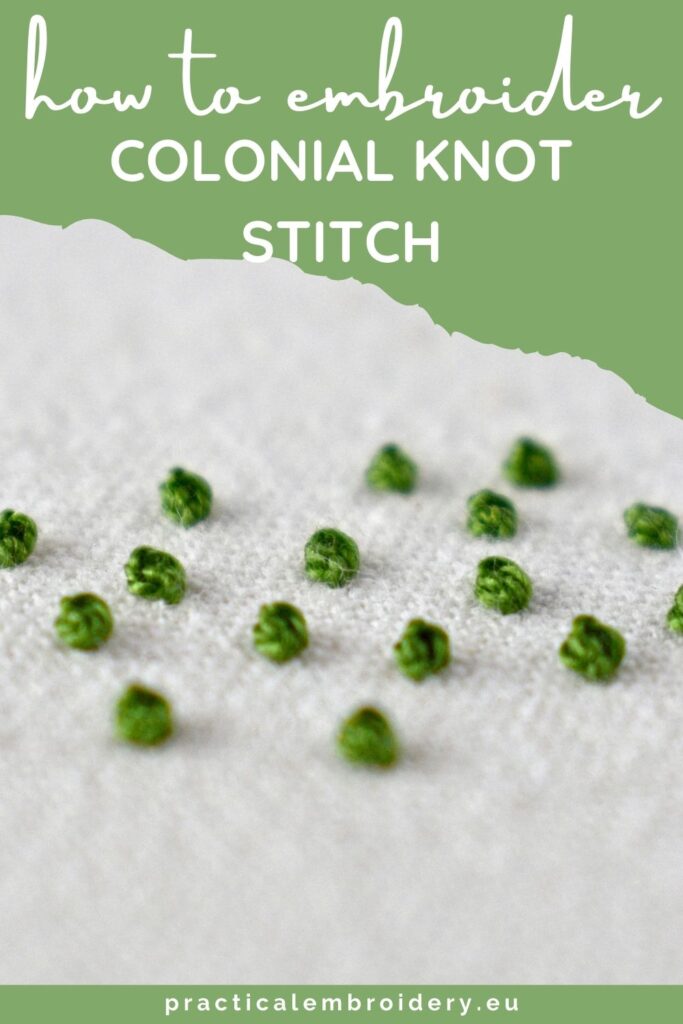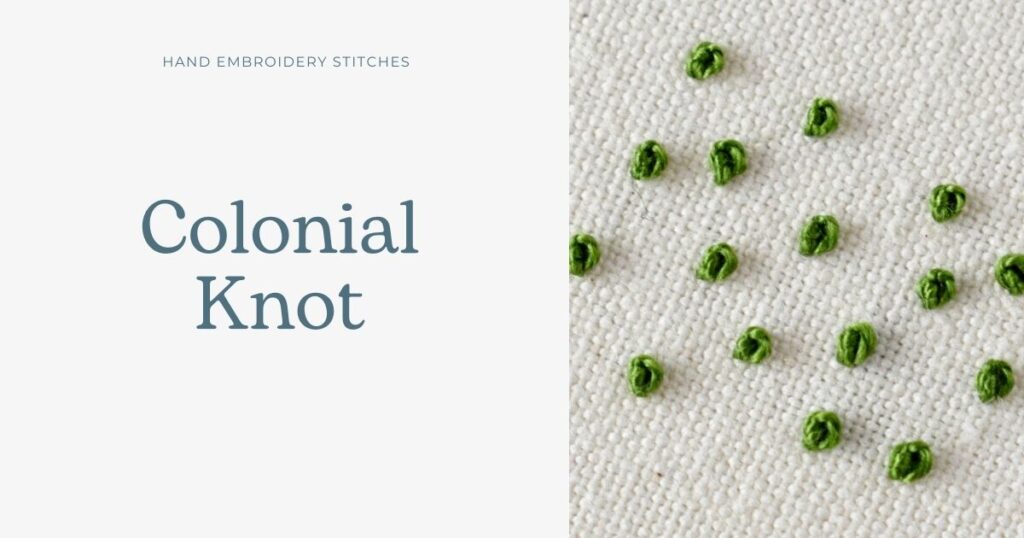
Colonial Knot Stitch
Colonial Knot is a decorative hand embroidery stitch – one of the surface knots used in needlework. These knots are considered a variation of French Knots. This technique emerged in early American (Colonial-era) embroidery as a sturdier alternative to a French Knot.
To make this embroidery stitch, the thread is twisted around the needle in a specific order that resembles an 8 to form a decorative knot. The Colonial Knot is a bit tighter and sturdier than the French knot. Also, you will need fewer threads to make the same number of Colonial knots, as this stitch uses less floss.
I address all the differences between these two stitches in the article “French and Colonial Knots Explained: Hand Embroidery Beginner’s Guide” on this Blog.
Other names of the Colonial Knot
Alternative names for this embroidery technique are Candlewicking knot and Figure of eight stitch.
Applications of the Colonial Knot Stitch
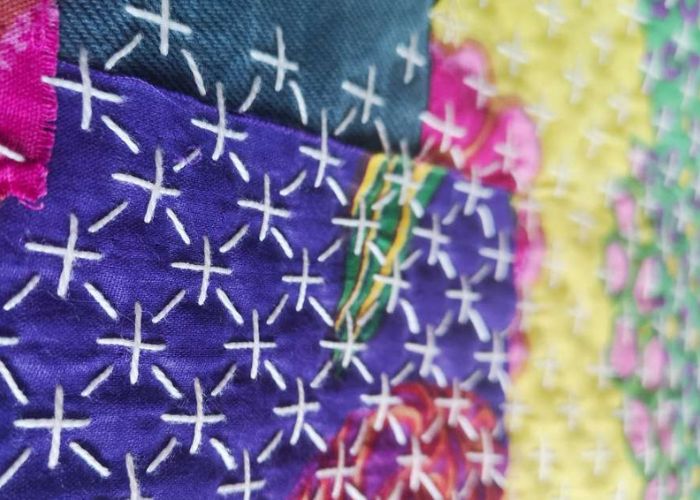
Traditionally, Colonial Knots are used in Candlewicking embroidery – a Whitework technique.
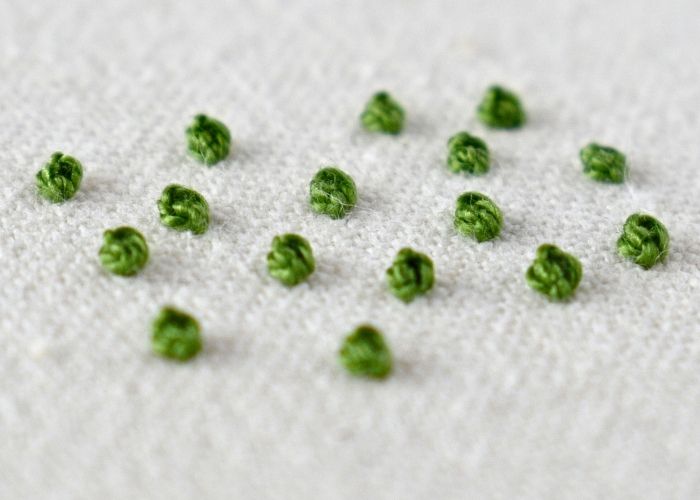
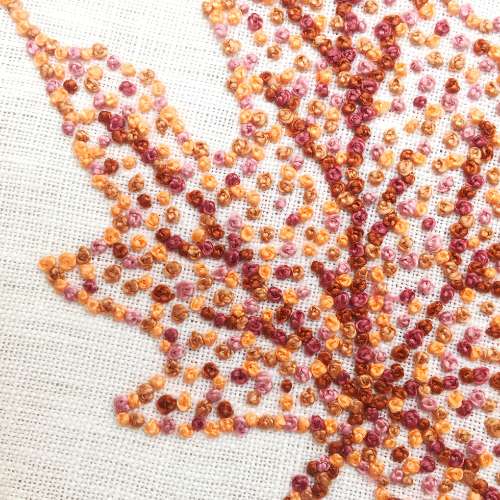
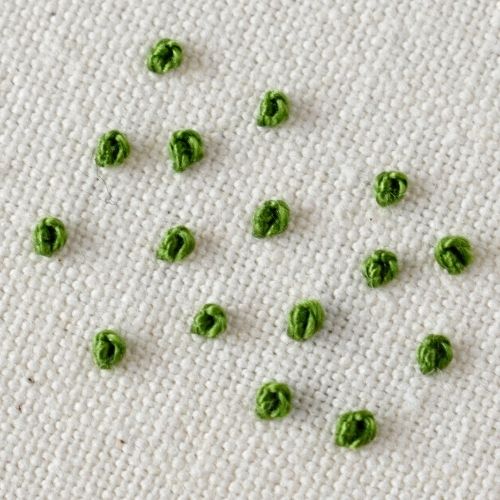
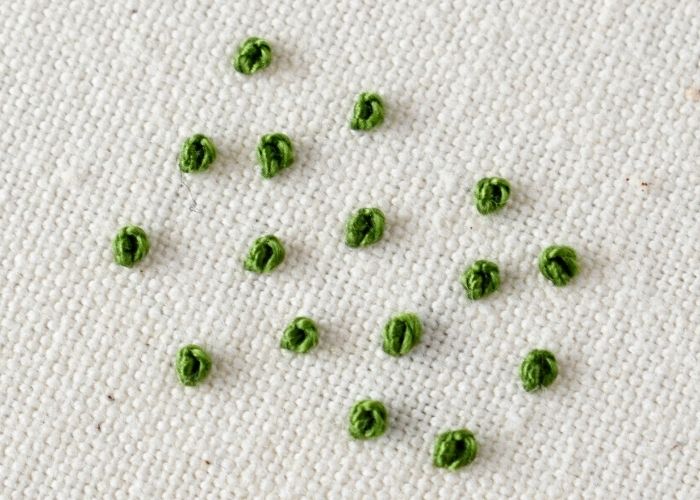
Colonial knots work great as decorative stitches in the floral designs – for densely filled centers or single dotted accents.
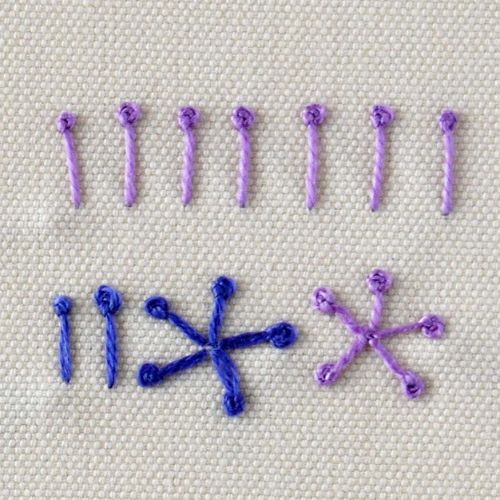
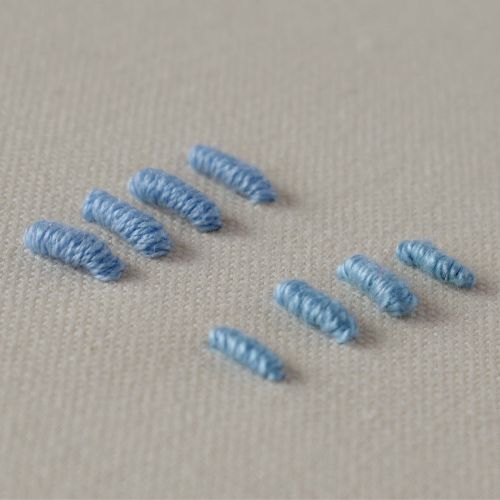
Just like with French Knots, you can use this technique for textured or powdered fillings or to secure sequins on the fabric. Besides that, you can add Colonial knots into composite stitches or borders.
More stitches from the Knots family
Learn how to embroider Colonial Knot stitch
Follow the step-by-step tutorial with detailed photos below, and you will learn the Colonial Knot quickly. If you are a visual learner, watch a video lesson in the tutorial or on the Practical Embroidery YouTube channel to learn this hand embroidery stitch faster.
How to embroider Colonial Knot
Step-by-step hand embroidery tutorial
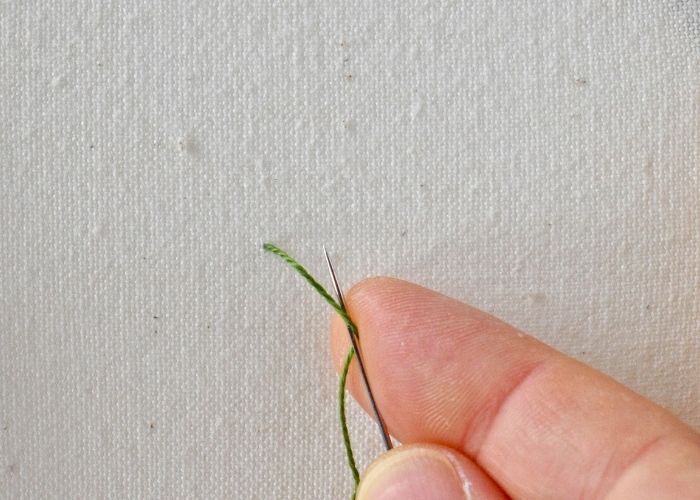
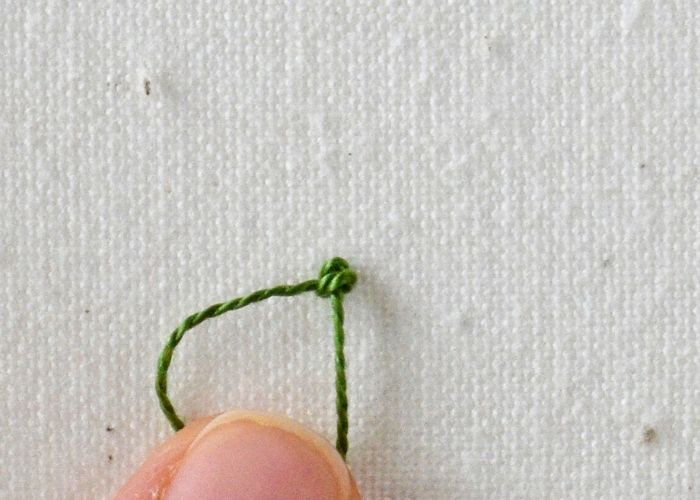
1. To make a Colonial Knot stich, you will have to use both hands. Push the needle with a thread to the surface, then pull it through. Hold your needle in one hand and keep the working thread under tension with the other. Pass the needle under the working thread.
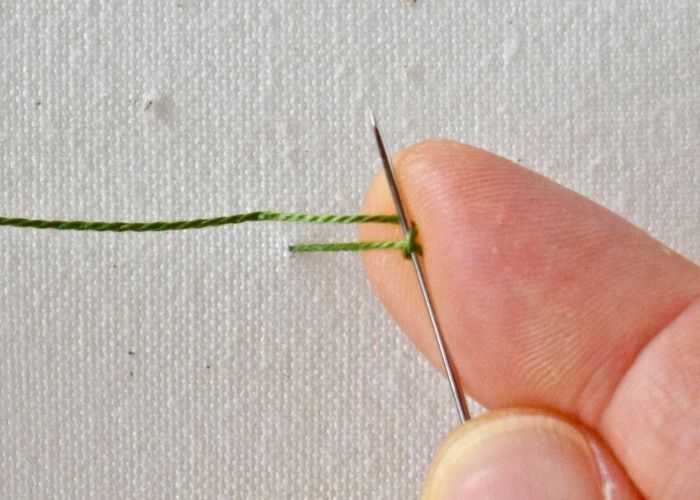
2. Wrap the working thread around the tip of the needle. The wrapping will look like number 8.
3. Push the needle back into the fabric close to the spot it came out. Keep the working thread in tension.
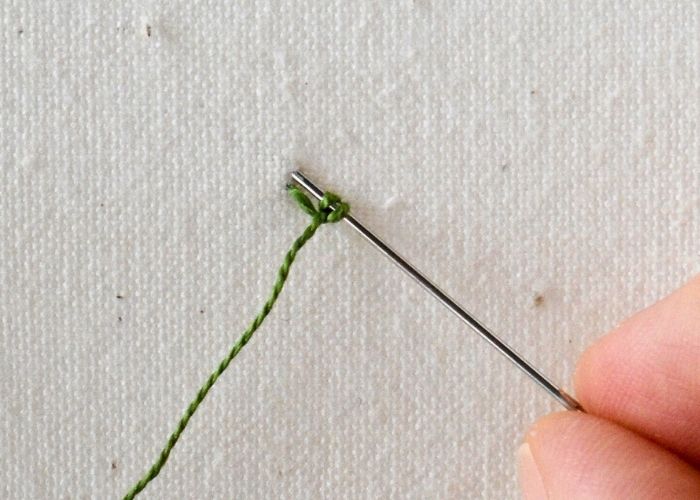
4. Pull the thread to form a sturdy knot and push the needle through.
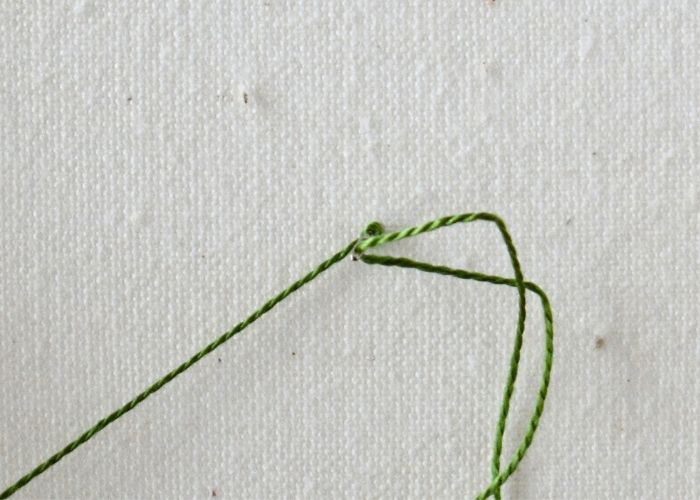
5. Keep the working thread in tension till the last moment. This will prevent the thread from tangling.
6. Repeat the steps to make as many Colonial Knots as your design requires.
Video tutorial
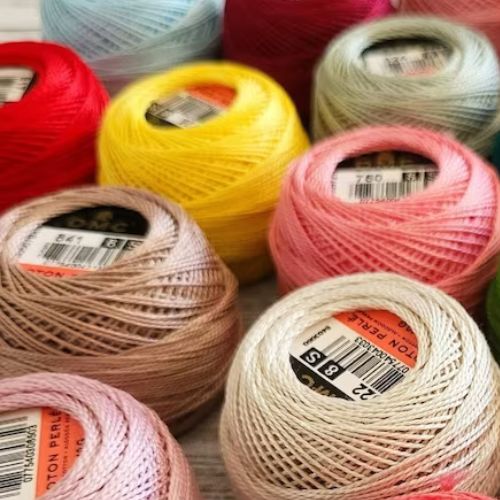
Tools and materials I used for this sampler
Disclaimer. To cover the cost of creating free embroidery patterns and video tutorials for this blog, I do sometimes link to products. Please assume these links are affiliate links. If you choose to buy through my links then THANK YOU – it will make it possible for me to keep doing this.


What’s next?
If you’re in the mood to explore more hand embroidery stitches, check out the Stitches and Techniques page for the list of other fantastic stitches available on my blog. From basic embroidery stitches to complex and playful variations of classical techniques, a whole world of stitches is waiting for you to explore and master. So, grab your hoop and needle, and let’s stitch together!
Don’t miss a thing!
Follow me on YouTube, Instagram, Facebook, Flipboard, and Pinterest. On the other hand, you can subscribe to the Practical Embroidery newsletter and get embroidery tips straight to your inbox every week!
Need More Guidance?
The top 10 hand embroidery stitches to learn is a free online course created for beginners.