Bullion knot stitch
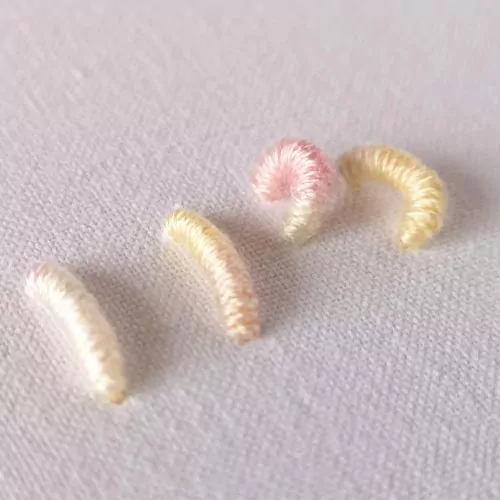
Bullion Knot is a decorative hand embroidery technique from the knot stitch family. We wrap a thread around the working needle to embroider this stitch. The stitches may vary in length and form bulky knots or longer caterpillar shapes.
Other names of the stitch
Various embroidery artists and authors use different names to call this stitch: Bullion stitch, Coil stitch, Grub knot, Porto Rico rose, Post stitch, Worm stitch, Caterpillar stitch, Knot stitch, Roll stitch, and Brazilian standard cast-on stitch.

Applications of the Bullion knot
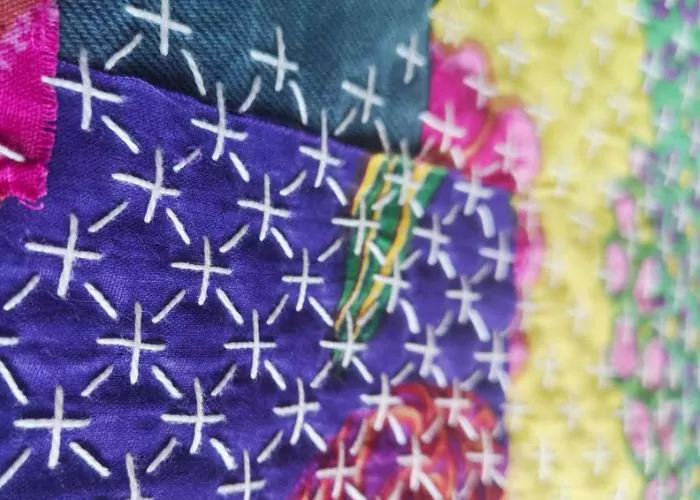
Bullion stitch is a very decorative stitch and has vast application options. In botanical designs, we use Bullion knots to depict flowers, leaves, and berries. Besides that, bullion knots are often a part of composite stitches, border decor, and decorative edging. This dimensional stitch creates an engaging surface if we use this hand embroidery technique for filling.
This stitch is indispensable in Brazilian embroidery, Stumpwork, Italian cutwork, English embroidery, and modern surface embroidery.
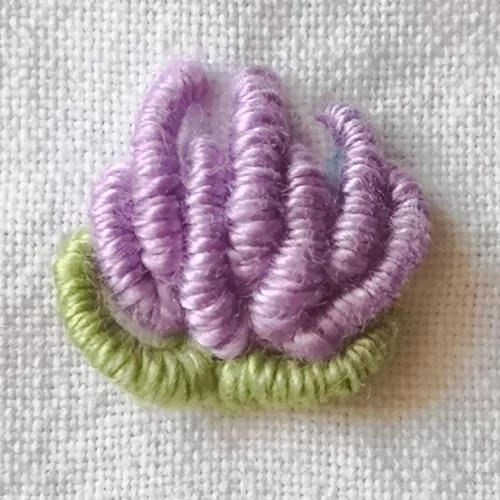
Read the article “Six Bullion stitch flowers. Step-by-step hand embroidery guide” on this blog to learn how to embroider six types of flowers: Daisy, Rose, Fan flower, Lavender, Forget Me Not, and Clover with only one stitch – Bullion Knot.
Embroidery tips
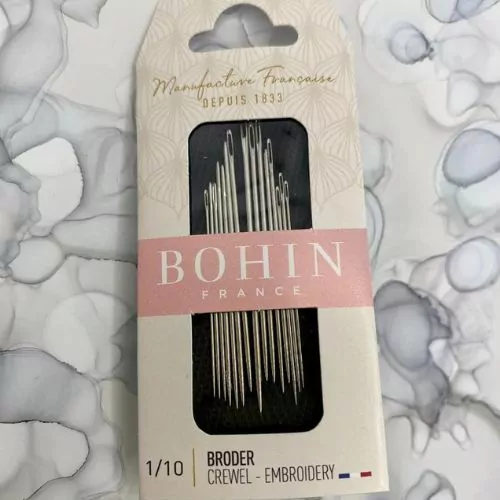
- Choose a proper needle. It can be frustrating to embroider this knot with a standard embroidery needle. If you find it hard to pull the needle through the wraps, change your needle to a Milliner needle (aka straw or sewing needle). These needles have long, straight shafts, and pulling them through the wraps of the thread is easier.
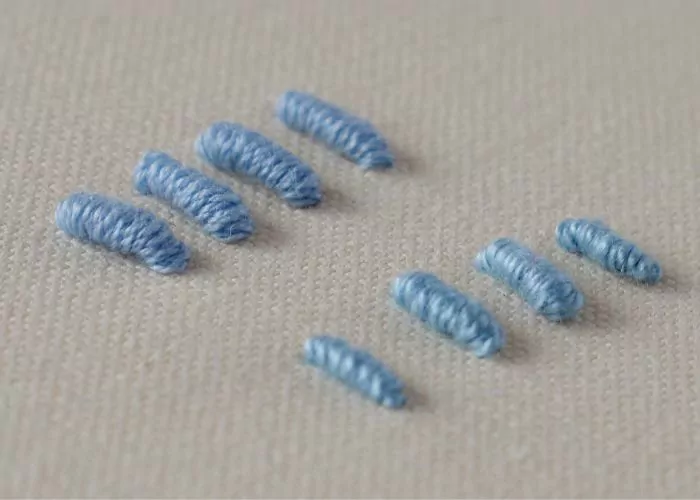
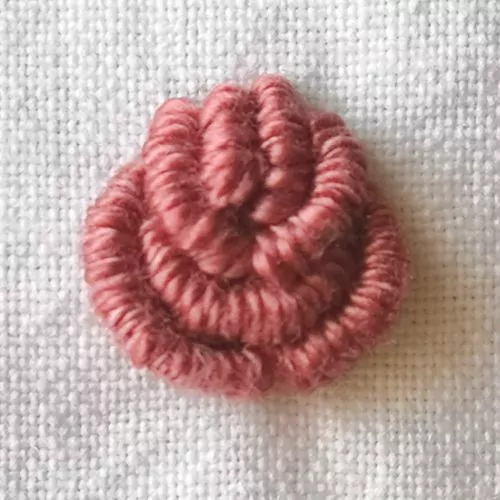
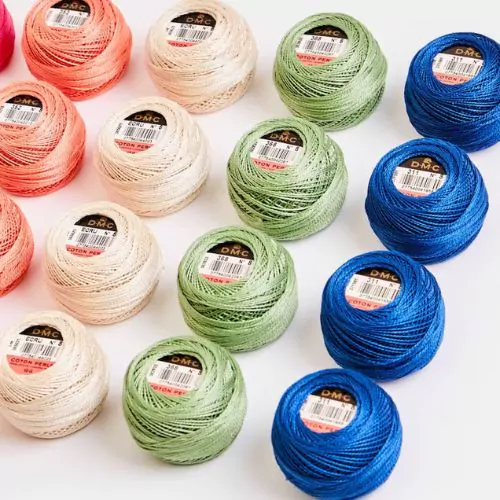
- Try embroidering this stitch with different embroidery threads. You will see how many different looks one stitch can have! I used a single pearl cotton thread and all six strands of DMC embroidery floss in my blue sampler. Pink and lilac flowers are made with pearl cotton and two strands of DMC embroidery floss.
- Change the number of wraps. The more thread you wrap around the needle, the more dimensional stitch you get. Light pink bullion knots are made with various numbers of wraps.
- Work this embroidery stitch with both hands. Hold wrapped floss tight with one hand while you pull the thread with another one. Leave it only when the stitch is tight and in its place.
- Wrap the thread around the needle in the clockwise direction. The bullion comes out smoother, and the wraps look nicer.
More stitches from the Knot stitch family
Learn how to embroider Bullion Knot Stitch
Follow the step-by-step tutorial with detailed photos below, and you will learn the Bullion Stitch quickly. If you are a visual learner, watch a video lesson in the tutorial or on the Practical Embroidery YouTube channel to learn this hand embroidery stitch faster.

How to embroider Bullion knot stitch
Step-by-step hand embroidery tutorial
Instructions
1. Take the needle up at the starting point of the stitch.
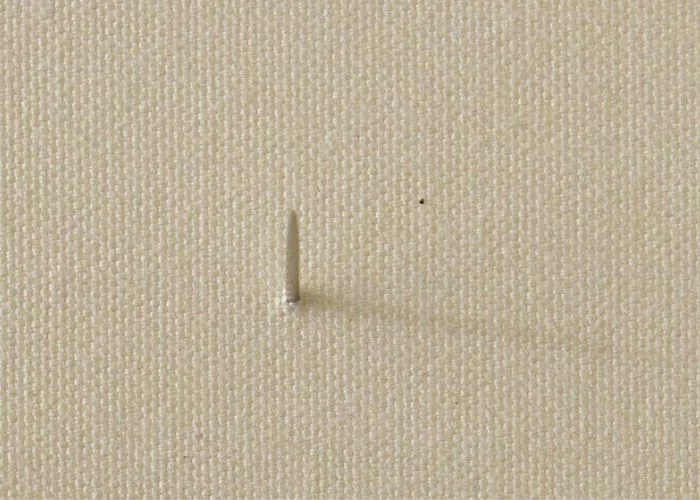
2. Make a straight stitch. The length of this stitch will define the size of the Bullion knot. Do not pull the thread to the back side of the fabric, but leave a generous loop of the working thread on the surface.
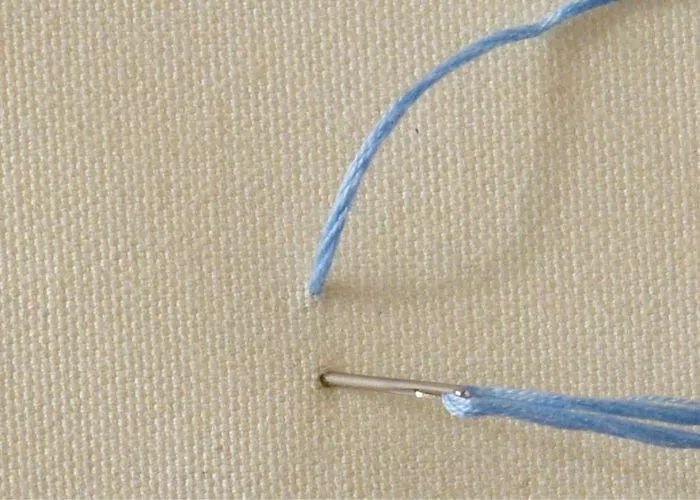
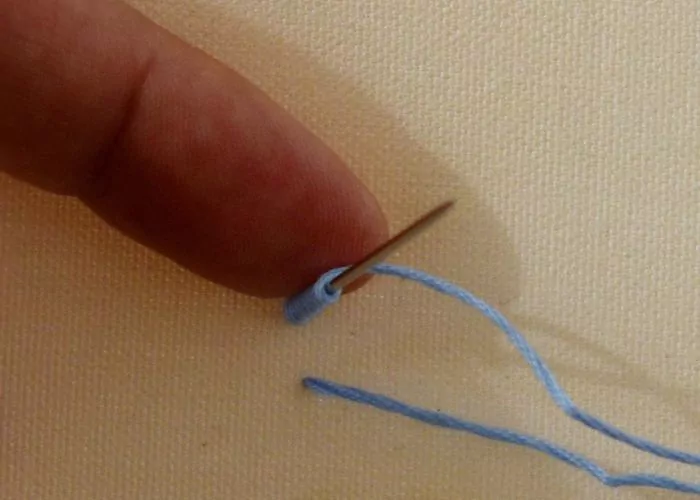
3. Take the needle up at the starting point. Do not pull the needle out of the fabric.
4. Wrap the thread of the loop around the needle. Push the spiral down to the base of the stitch and keep the tension of the thread. Adjust the spiral length to be the same as the straight stitch you made.
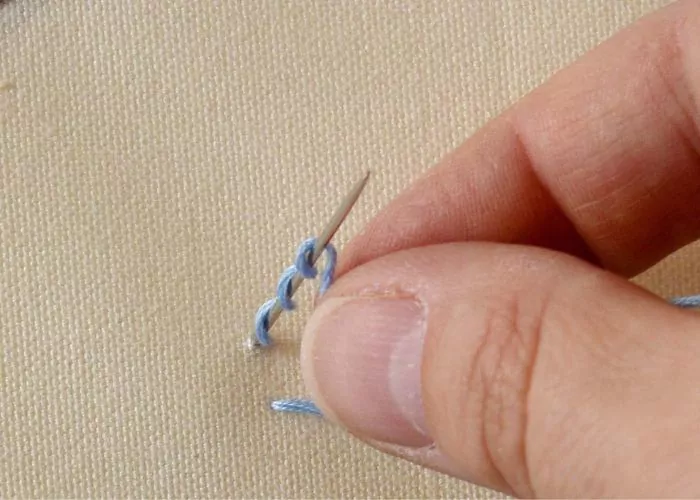
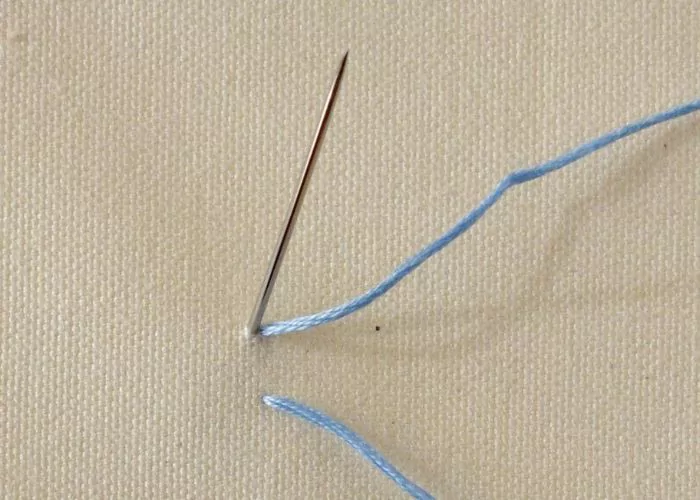
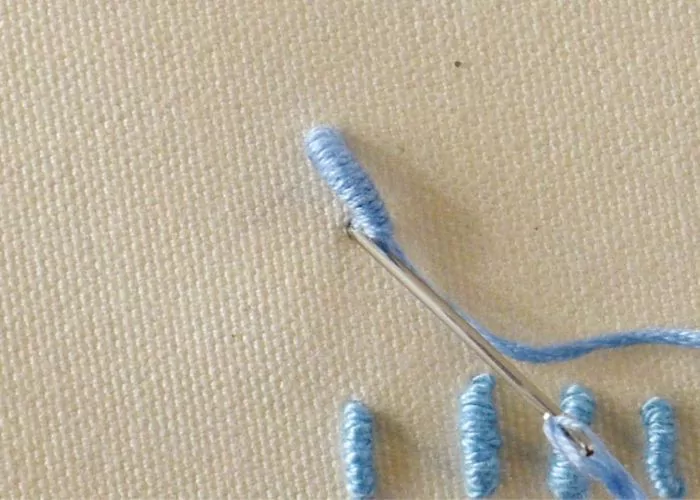
5. With two fingers of the left hand, hold the wrapped thread and, at the same time, pull the needle with the thread through the wraps. Wait to let the spiral until all the thread is on the front side.
6. Take the needle down at the second point of the straight stitch and secure it, or make another stitch.
Video tutorial

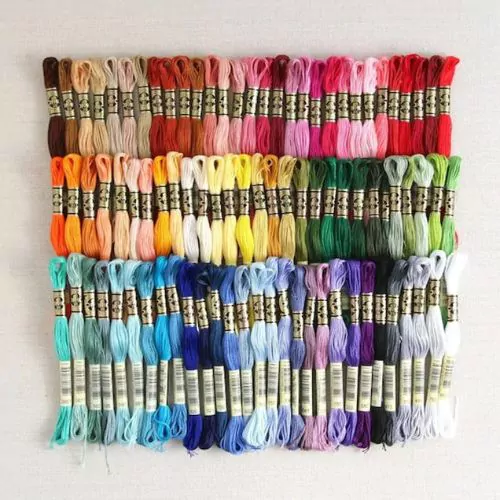
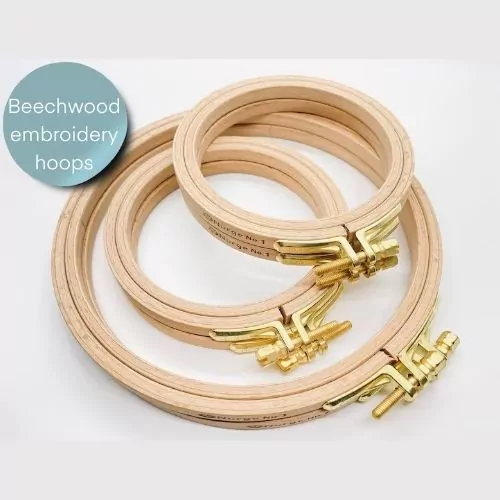
Tools and materials I used for this sampler
Disclaimer. To cover the cost of creating free embroidery patterns and video tutorials for this blog, I do sometimes link to products. Please assume these links are affiliate links. If you choose to buy through my links then THANK YOU – it will make it possible for me to keep doing this.

What’s next?
If you’re in the mood to explore more hand embroidery stitches, check out the Stitches and Techniques page for the list of other fantastic stitches available on my blog. From timeless classics to modern twists, a whole world of stitches is waiting for you to explore and master. So, grab your hoop and needle, and let’s stitch our way to creative bliss!
Don’t miss a thing!
Follow me on Instagram, Facebook, and Pinterest. Or why not subscribe to Practical Embroidery and get embroidery tips straight to your inbox every few weeks?
Need More Guidance?
The top 10 hand embroidery stitches to learn is a free online course created for beginners.