
Six Bullion stitch flowers
Step-by-step hand embroidery guide
Everyone knows bullion knot roses, right? Bullion Stitch Flowers is famous for his romantic florals! But these are not the only flowers we can embroider with bullion knots. Bullion stitch is a versatile and fun hand embroidery technique that we can use to embroider various floral motives to embellish our clothes, home textiles, or botanical embroidery art.
In this hand embroidery tutorial, I demonstrate how to embroider six types of flowers: Daisy, Rose, Fan flower, Lavender, Forget Me Not, and Clover.
Video tutorial
If you are a visual learner, head to my YouTube channel and watch a video tutorial first.
Disclaimer: To cover the cost of creating free embroidery patterns and video tutorials for this blog, I do sometimes link to products. Please assume these links are affiliate links. If you choose to buy through my links then THANK YOU – it will make it possible for me to keep doing this.
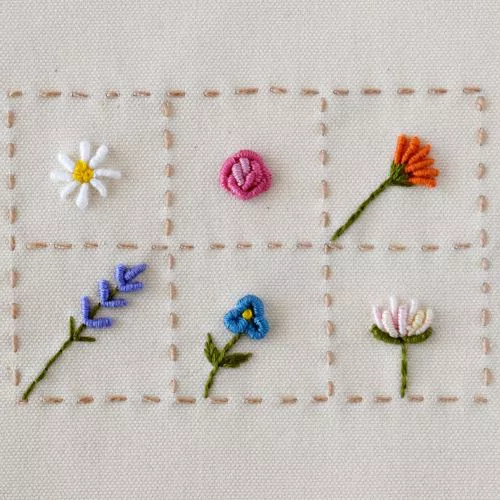
The sampler of Six bullion stitch flowers
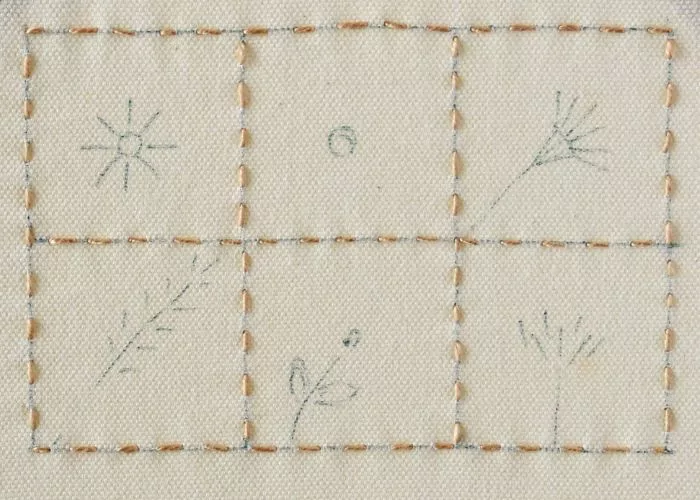
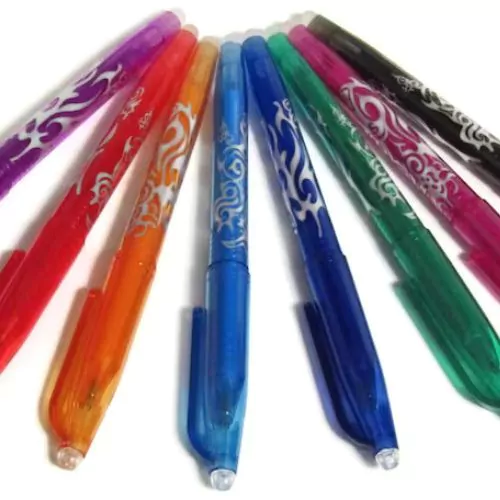
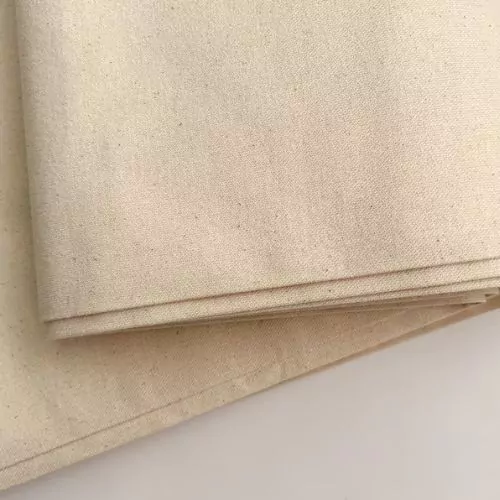
I embroidered this sampler of six floral motives on an off-white cotton canvas. With a friction pen I marked six 3 x 3 cm squares (1.2 x 1.2 inches) and embroidered the outlines of the squares with a running stitch.
I did not use any pattern for these flowers. The motives are simple, and you can make a rough sketch directly onto the fabric. Use a friction or water-soluble pen, as they are easy to remove.
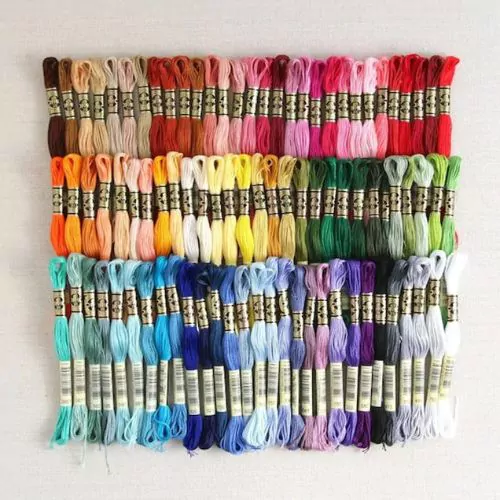
I used three strands of DMC embroidery floss to embroider all six bullion stitch flowers. The color codes are in the description of each flower. Switch the colors and the number of strands of the floss according to your design.
Before you start embroidering Bullion stitch flowers
Bullion knot stitch is one of the stitches some artists love and others hate. Most newbies fear it because it looks complicated.
Don’t be afraid to try this stitch; practice a little more, and you will surely embroider gorgeous blooms with Bullion knots. Here are some tips that will help you master the stitch a bit faster:
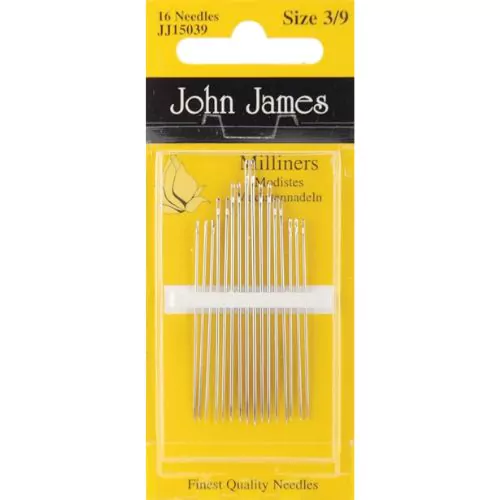
- Choose a proper needle. It can be frustrating to embroider this stitch with a standard embroidery needle. If you find it hard to pull the needle through the wraps, change your needle to a Milliner needle (aka straw or sewing needle). These needles have long, straight shafts, and pulling them through the wraps of the thread is easier.
- Work this embroidery stitch with both hands. Hold wrapped floss tight with one hand while you pull the thread with another one. Leave it only when the stitch is tight and in its place.
- Wrap the thread around the needle in the clockwise direction. The bullion comes out smoother, and the wraps look nicer.
- Try embroidering this stitch with different embroidery threads. You will see how many different looks one stitch can have! Also, you will notice that some threads will work better for this stitch than others. I avoid making Bullion knots with metallic threads and rayon floss. On the other hand, Pearl cotton and standard stranded cotton floss are excellent choices for this stitch.
- Change the number of wraps. The more thread you wrap around the needle, the more dimensional stitch you get. I wrapped my thread 20 times to make these blue Forget Me Not flowers!
Six bullion stitch flowers
Step-by-step hand embroidery tutorial
Bullion stitch Daisy
To embroider this simple flower, mark the center and the number of petals you want to embroider.
1. Start with the petals.
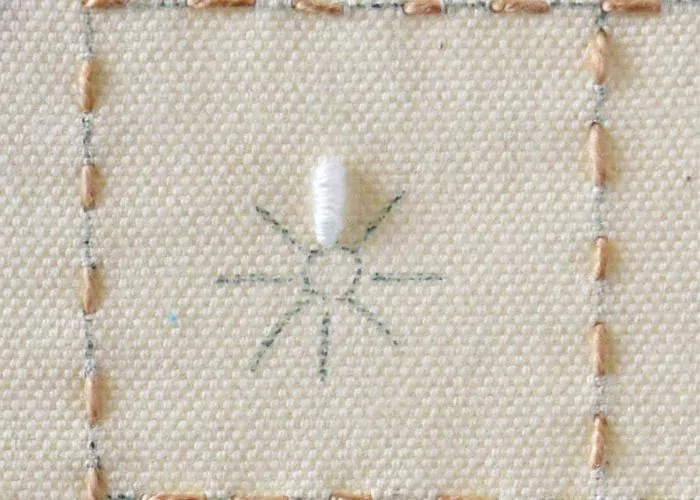
2. Make bullion knots for each petal.
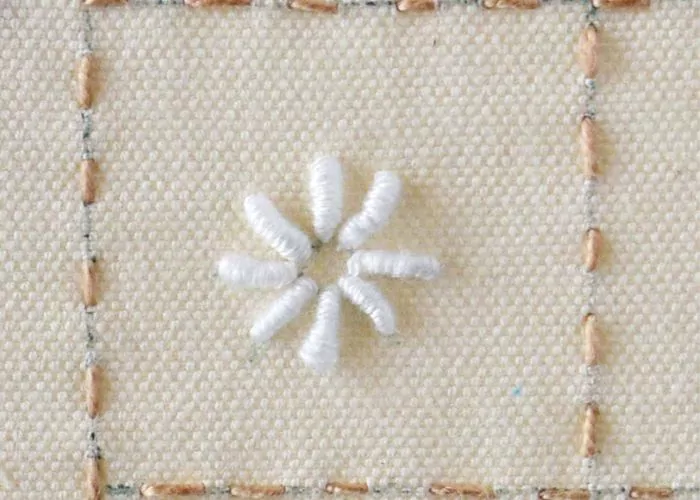
3. Then – fill the center of the flower with French Knots.
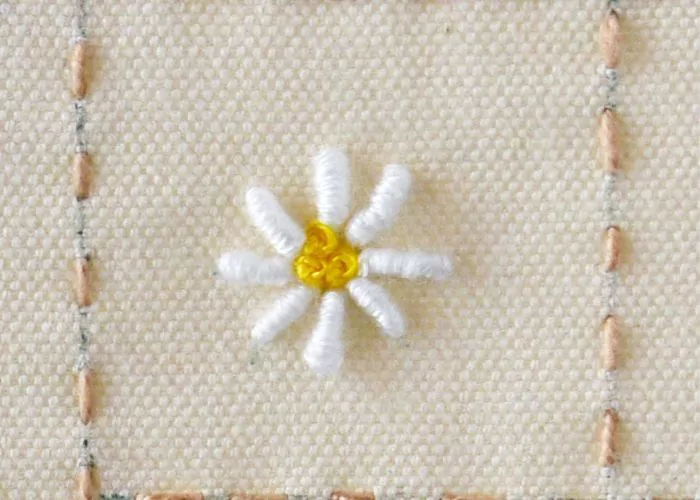
I used a white and yellow embroidery floss by DMC (#Blanc and #444 Dark Lemon) to embroider this Daisy.
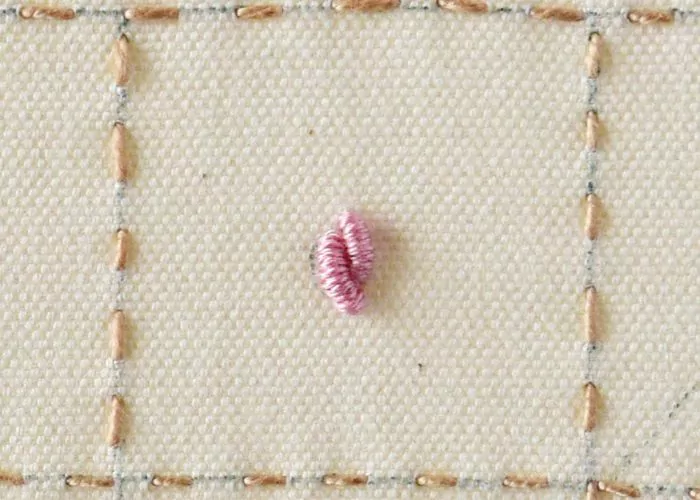
Bullion Rose
You will need two shades of pink embroidery floss to embroider a classic bullion knot rose flower.
1. Start with two central Bullion Knots, embroidering them with a lighter floss shade.
2. Then, add external petals with a darker shade of the floss.
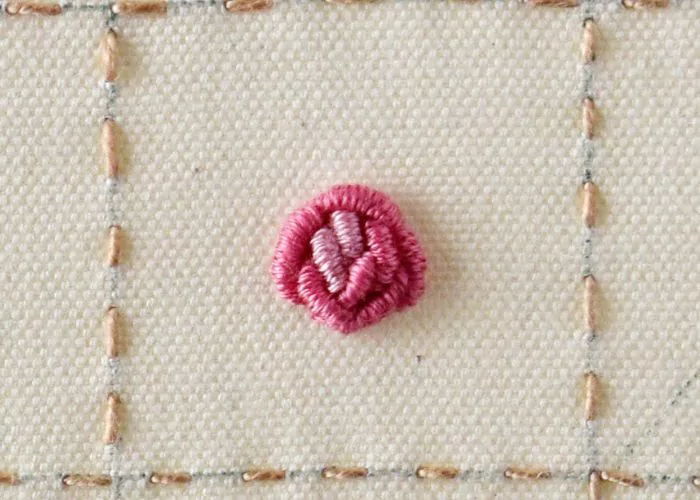
I used these shades of pink DMC embroidery floss: #3354 Light Dusty Rose and #899 Mild Rose.
Fan Flower
Position Bullion Knot stitches in a fan shape to embroider this floral motive.
1. Start with the central petal and then add the petals on both sides. The stitches almost touch at the base and are more open at the top.
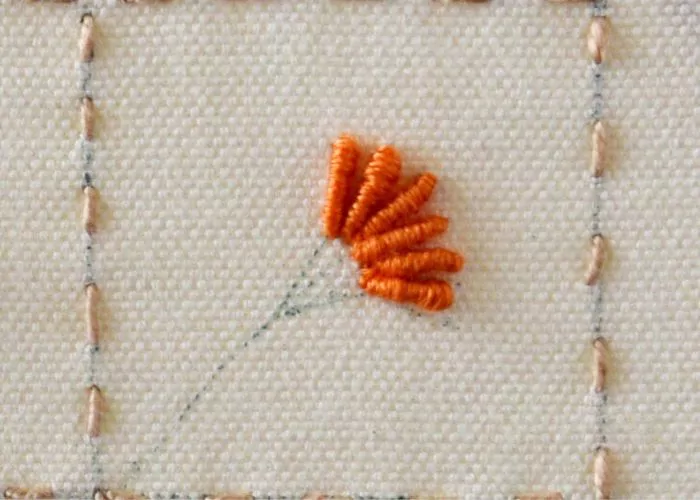
2. After the Bullion stitches are positioned, embroider the stem. Make some Straight Stitches to form the base of the flower. Then, embroider the stem of the flower with a Split Backstitch.
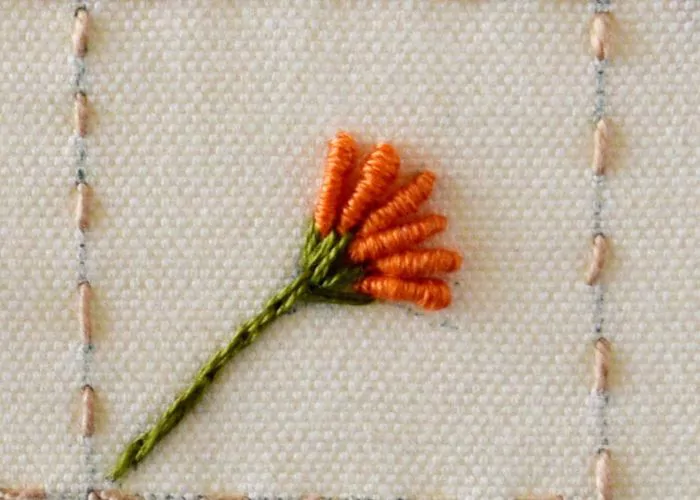
To embroider this orange Fan flower, I used orange and green embroidery floss by DMC – #721 Mild Orange Spice and #580 Dark Moss Green.
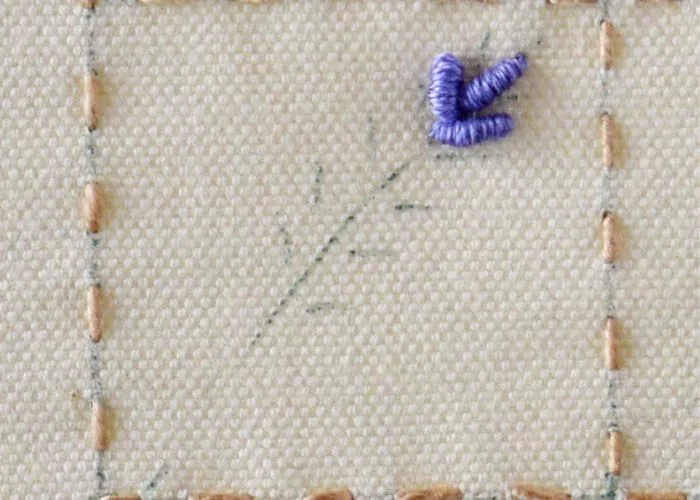
Bullion Knot Lavender
A lavender branch is another floral motif you can easily embroider with Bullion Knot stitches.
1. To form the top of the lavender flower, embroider three bullion knots joined at the bottom.
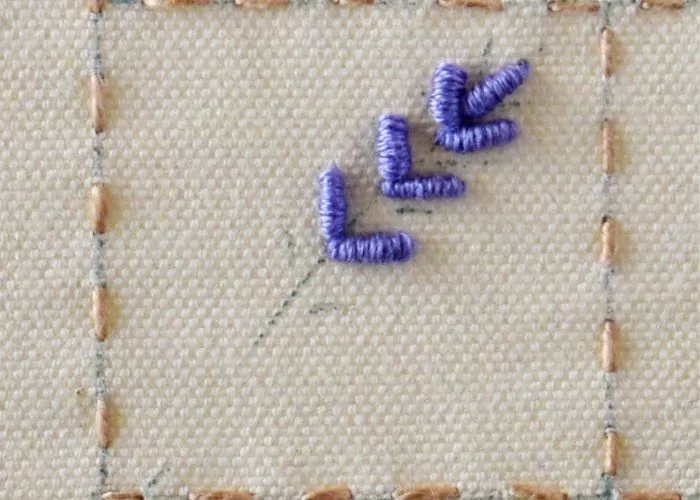
2. Then, add slated Bullion stitches on both sides of the branch.
3. Finally, use a Backstitch to embroider the branch and add some green leaves. You can use Straight stitches or more bullions for the leaves.
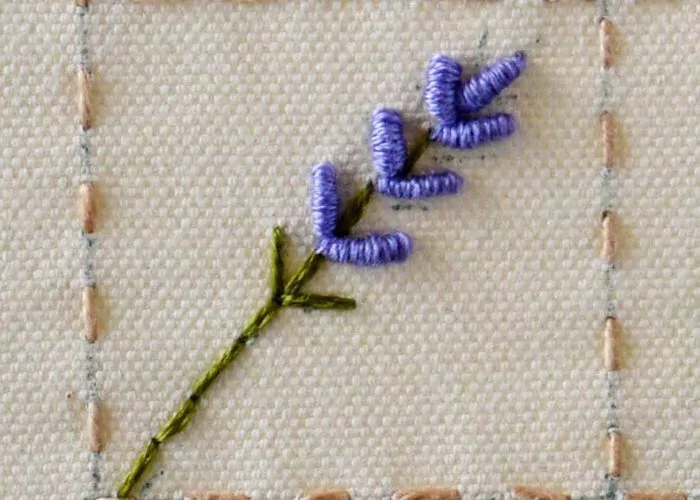
To embroider my Lavender branch, I used DMC embroidery floss in the colors #155 Mild Dark Blue Violet and #580 Dark Moss Green.
Forget Me Not flower
This tiny and delicate blue flower is one more floral design you can embroider with Bullion knots. Mark the position of the blossom’s center and the stem with a couple of leaves.
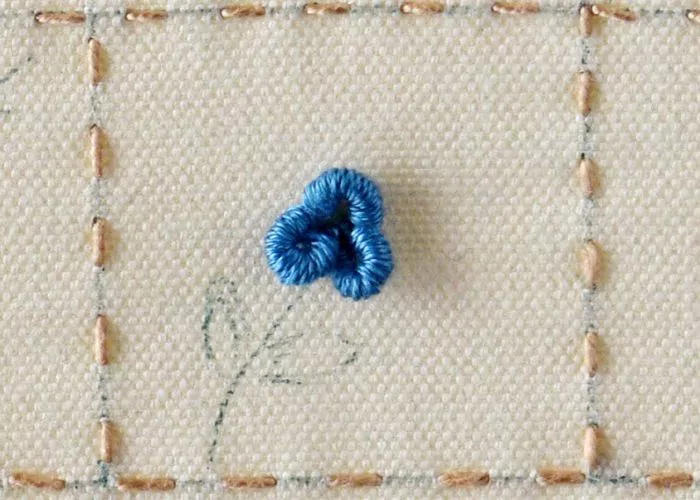
1. Start with one Bullion knot. The distance between the starting point of the stitch and the end is very short, but we make a lot of wraps to form a long bullion. I wrapped my thread 20 times to make one petal. Pull the thread and create a significantly raised bullion.
2. Make two more raised bullions of the same size and position them in a circle.
3. Add one French Knot in the center.

4. Embroider the stem of the flower with a Stem Stitch. Then, add the leaves with the Fishbone Stitch.
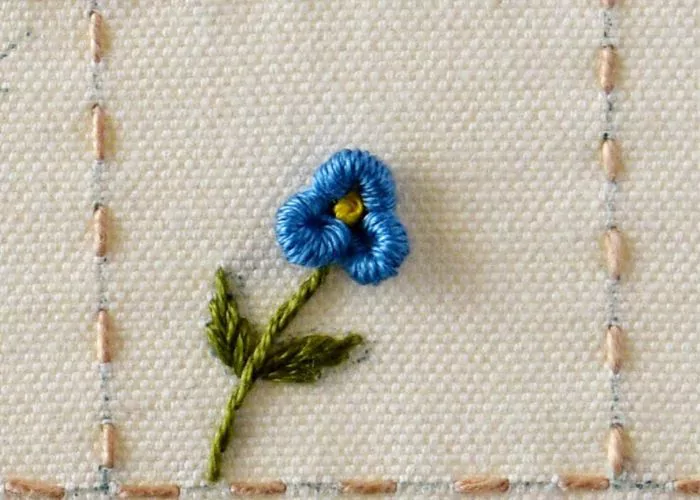
I used Md Wedgewood (#3760), Dark Lemon (#444), and Dark Moss Green (#580) DMC embroidery floss to embroider this Forget Me Not flower.
Bullion Knot Clover flower
The last floral motive of my sampler is a Clover flower.
1. To embroider this floweret, start with three vertical Bullion knots. Then, add four more stitches, but position them halfway between the previously made ones.
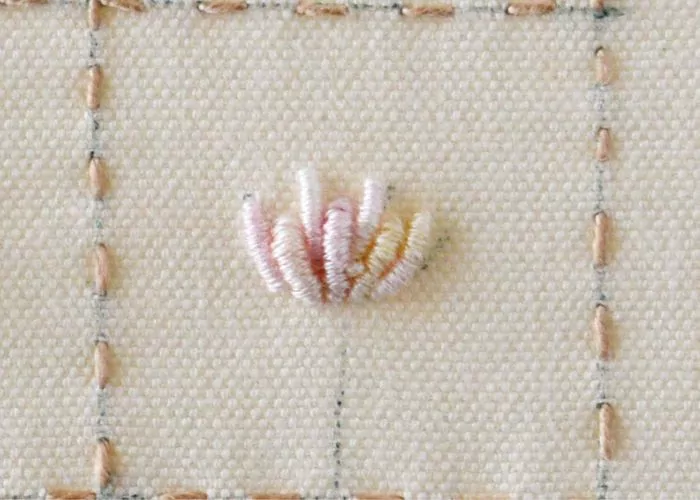
2. Add two more bullion knots with the green embroidery floss to finish this arrangement. Finally, embroider the stem of the clover with a Stem stitch.

I used DMC embroidery floss for this flower: color variations #4160 (variegated light pink and yellow floss) and #580 Dark Moss Green.
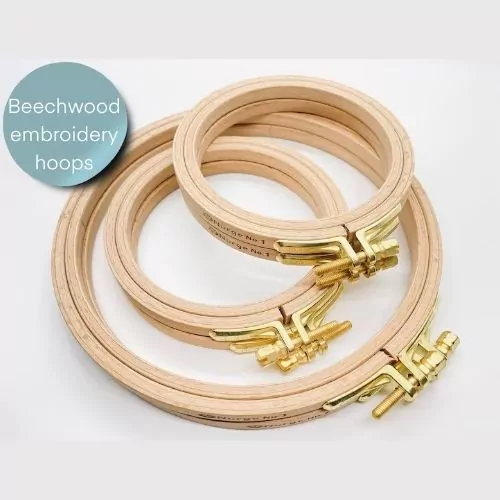
Recommended Products
Disclaimer. To cover the cost of creating free embroidery patterns and video tutorials for this blog, I do sometimes link to products. Please assume these links are affiliate links. If you choose to buy through my links then THANK YOU! – it will make it possible for me to keep doing this.

Over to you

Creating and embroidering this Bullion stitch flower sampler was a lot of fun. It’s an excellent exercise to master this capricious stitch. At the same time, practicing gave me so many creative ideas for using these small floral motives—from embellishing my garments to adding some floral arrangements to my kitchen textiles.
Bullion knot stitch is an excellent technique for embroidering various blooms and florals. I hope you will have fun stitching this sampler as I did and have some inspirational moments!
Don’t miss a thing!
Follow me on YouTube, Instagram, Facebook, Flipboard, Telegram, Reddit or Pinterest. On the other hand, you can subscribe to the Practical Embroidery newsletter and get embroidery tips straight to your inbox every week!
Unfortunately I need early next week. Maybe we’ll postpone until next year’s programs. Many thanks! Kris
My Smkcking Group (Charles River Smockers, Wellesley MA, USA) would like to use this as a program. Do you have PDF instructions I could purchase? Many thanks Kris
Hi, Kris,
Thank you for the interest. I’m working on transforming some of my tutorials into downloadable PDF’s and the first ones will be available next month.
I will add this tutorial to the list, so it will be available too.
I will send you the link as soon as it is available.
Tatjana