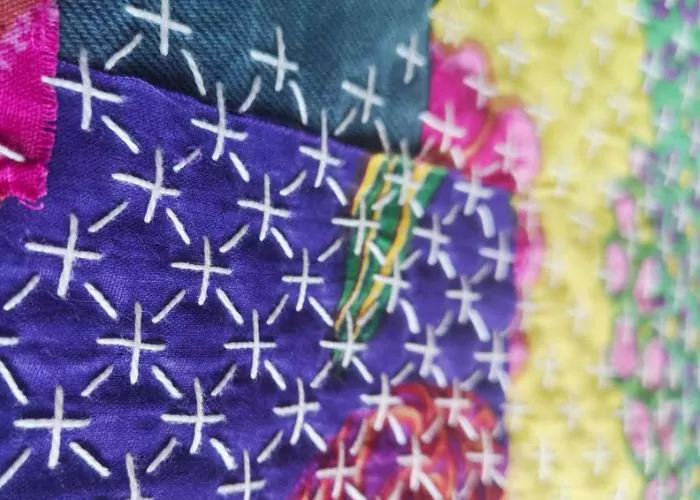
Crossed Fly Stitch Filling
The Crossed Fly Stitch filling embroidery technique is one way to use Fly Stitches for filling. The rows of short-tailed Fly Stitches are positioned one above the other to form a net-like pattern that resembles Trellis Stitch in a single color.
Other names of the stitch
The stitch is often also called Fly Stitch filling.


Applications of the Crossed Fly Stitch filling
This surface embroidery stitch is an excellent option for filling vast areas. It is simple and relatively fast to make. The decorative surface that resembles diamonds is a gorgeous option for background patterns.
You can also combine this filler stitch with other decorative stitches to form more elaborate patterns—place a French knot or a Lazy Daisy flower in the center of each diamond, and you will have a rich decorative surface design.
More stitches from the Fly Stitch family
- Anklet Stitch
- Closed Fly Stitch
- Whipped Fly Stitch
Learn how to embroider Crossed Fly Stitch filling
Follow the step-by-step tutorial with detailed photos below, and you will quickly learn the Crossed Fly Stitch filling technique. If you are a visual learner, watch a video lesson in the tutorial or on the Practical Embroidery YouTube channel to learn how to do this hand embroidery stitch.

How to embroider Crossed Fly Stitch filling
Step-by-step hand embroidery tutorial
Instructions
1. Mark the grid for the filling. Mine is 1×1 cm.
2. Make one Fly Stitch in the top left corner of the shape.

3. Fill the first row with Fly Stitches of the same size that touch each other at the top.

4. Start working the line below the first one. Make a Fly Stitch that is mirrored to the stitch from the previous row. The anchor stitch of this Fly Stitch overlaps with the stitch from the top line.

5. Repeat mirrored stitches to fill the second row.
6. The third row is the same as the first one. The top points of the “V” of the Fly stitch are made in the same hole as the points of the previous mirrored row.

7. The fourth line is the same as the second one.
8. Repeat filling the rows in this manner until all the figure is filled.

Video tutorial
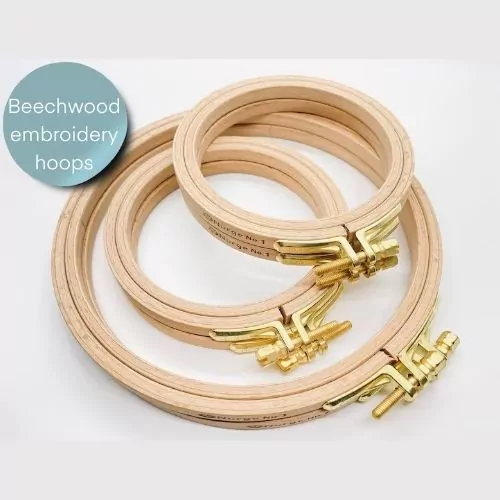
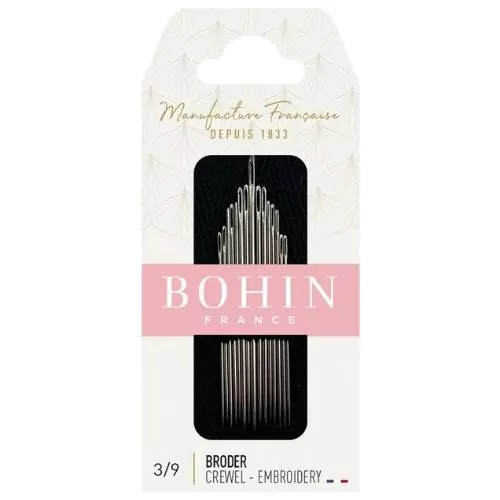
Tools and materials I used for this sampler
Disclaimer. To cover the cost of creating free embroidery patterns and video tutorials for this blog, I do sometimes link to products. Please assume these links are affiliate links. If you choose to buy through my links then THANK YOU – it will make it possible for me to keep doing this.

What’s next?
If you’re in the mood to explore more hand embroidery stitches, check out the Stitches and Techniques page for the list of other fantastic stitches available on my blog. From timeless classics to modern twists, a whole world of stitches is waiting for you to explore and master. Decorative stitches, techniques for filling and outlines, borders or mending – all in one place!
Don’t miss a thing!
Follow me on YouTube, Instagram, Facebook, Flipboard, Telegram, Reddit or Pinterest. On the other hand, you can subscribe to the Practical Embroidery newsletter and get embroidery tips straight to your inbox every week!
Need More Guidance?
The top 10 hand embroidery stitches to learn is a free online course created for beginners.