Four-Legged Knot
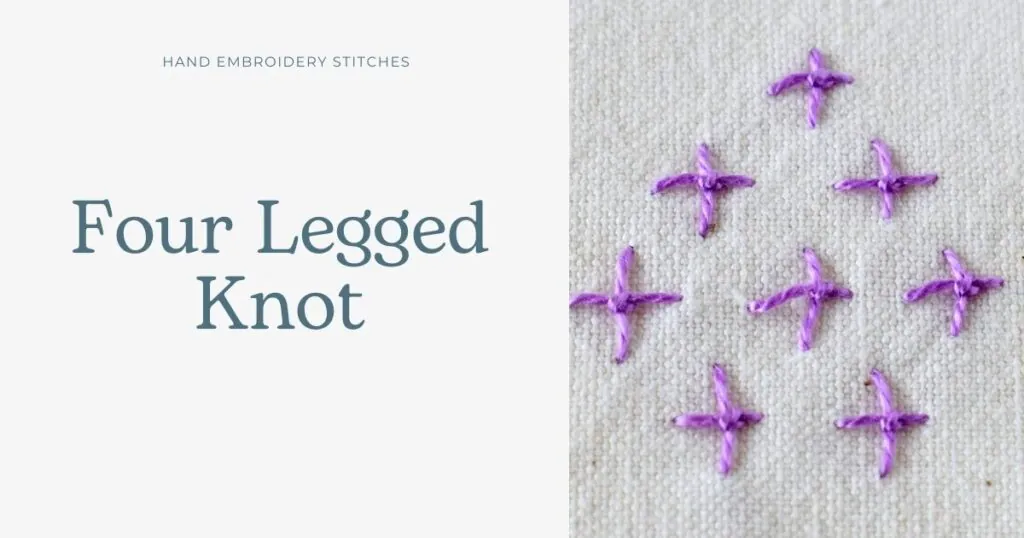
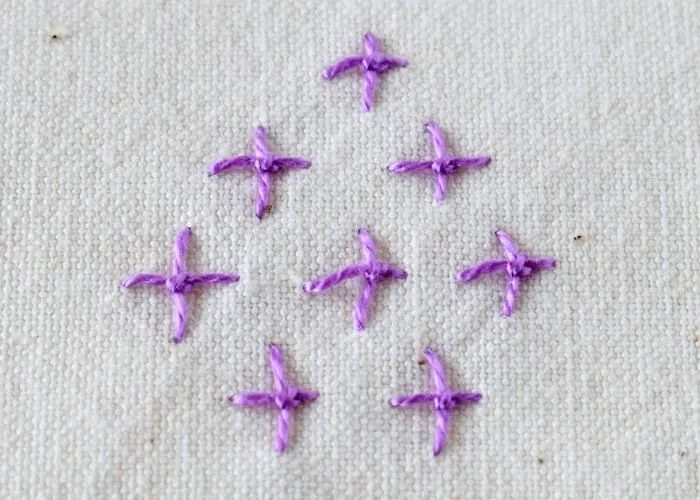
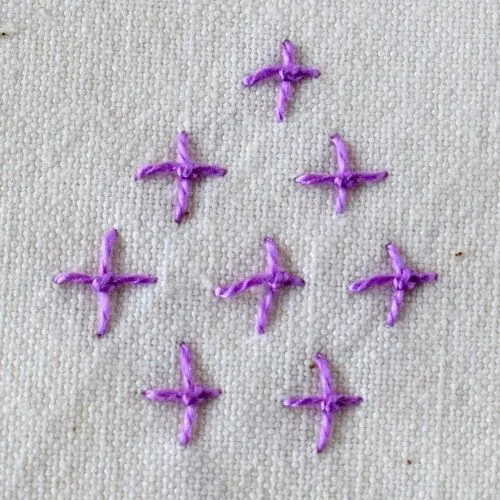
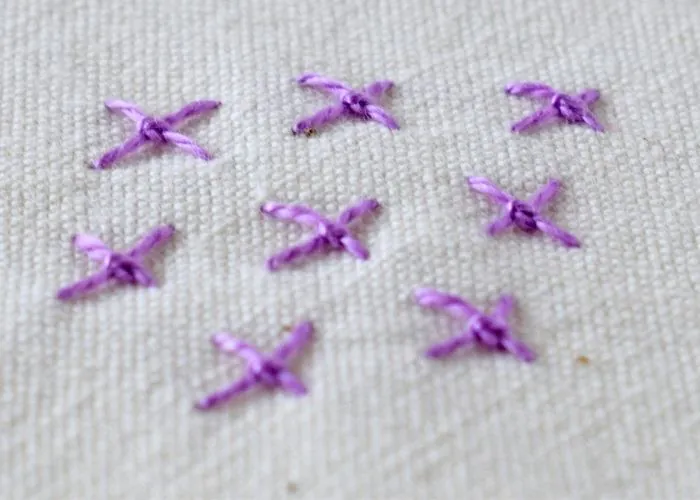
Four-Legged Knot is a standalone decorative hand embroidery stitch from the knot stitch family. It looks like a plus sign with a knot in the middle.
To make this decorative stitch, you will make a straight stitch. Then you will add a second stitch, knotted over the first.
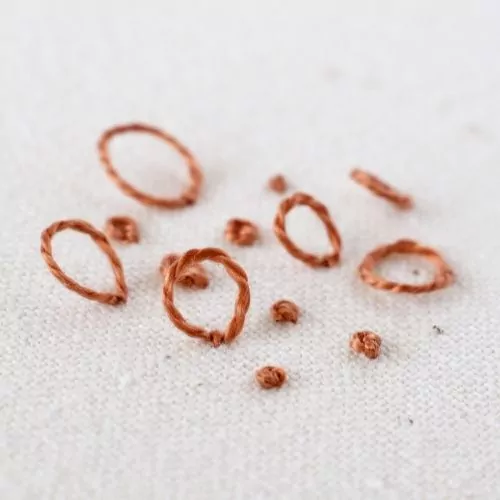
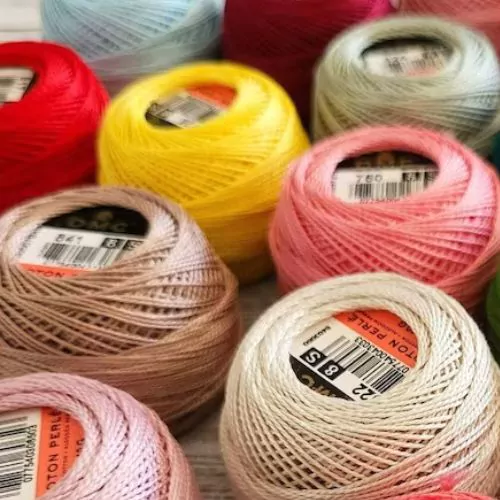
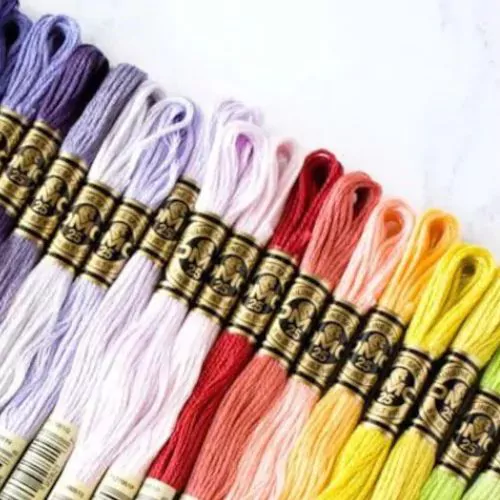
The visual appeal of the stitch will vary heavily depending on the thread you use to embroider it. Stiffer, bulkier threads will form a larger, more defined knot in the center, while knots embroidered with softer, thinner threads will have a smaller knot.
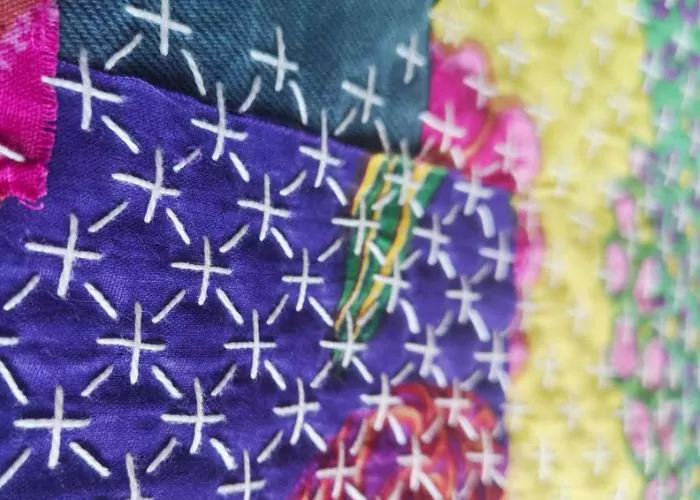
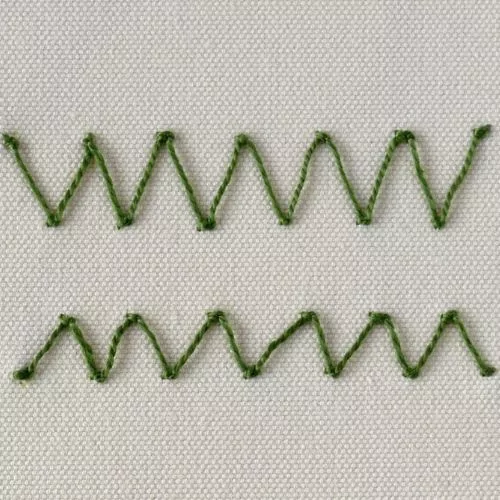
On the reverse side, the stitch looks like a diagonal stitch, with starting and ending knots on the sides, or jumping threads towards the other stitches, if you make filling with Four-Legged Knots.

Applications of the Four-Legged Knot
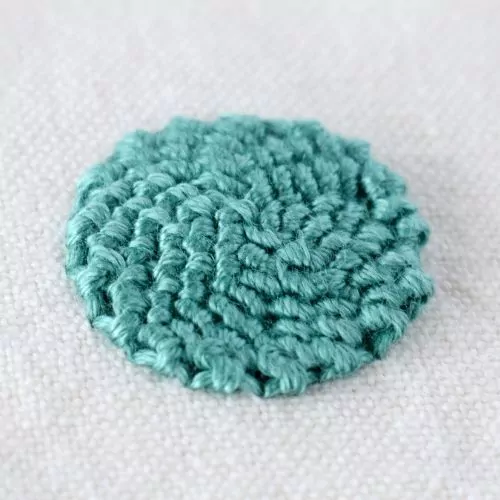
Four-Legged Knot is a detached decorative stitch that you can use as a standalone element or for powdered filling. The positioning of the knots when filling can vary from evenly spaced knots stitched in lines to randomly positioned Four-Legged Knots turned at different angles.
More stitches from the knot stitch family
Learn how to embroider Four-Legged Knot
Follow the step-by-step tutorial with detailed photos below, and you will learn the Four-Legged Knot quickly. If you are a visual learner, watch a video lesson in the tutorial or on the Practical Embroidery YouTube channel to learn this hand embroidery stitch faster.
How to embroider Four-Legged Knot
Step-by-step hand embroidery tutorial
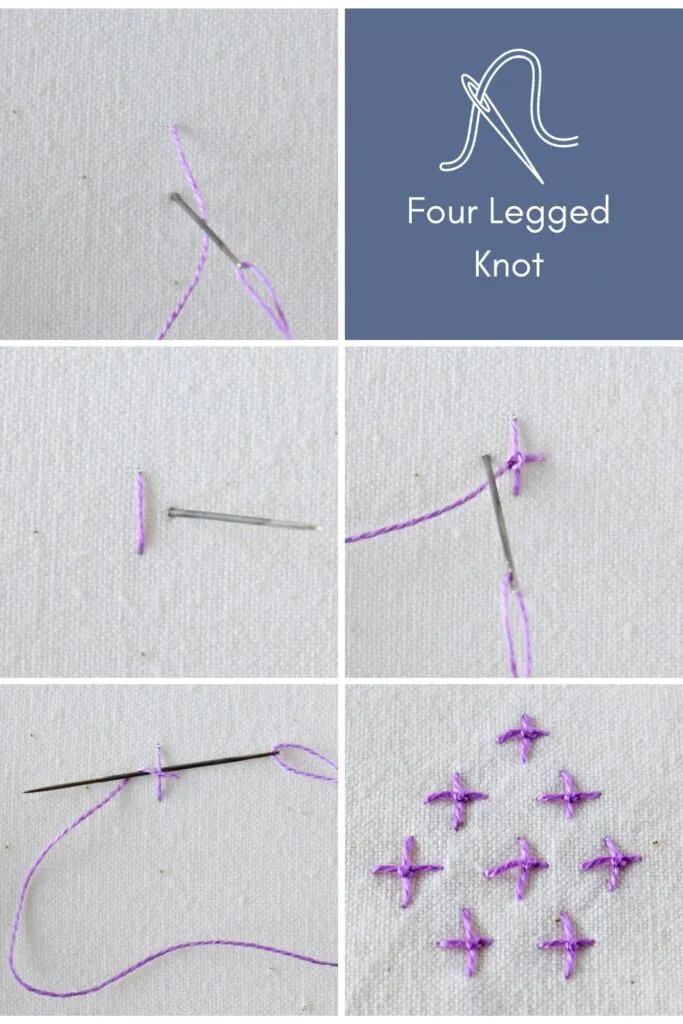
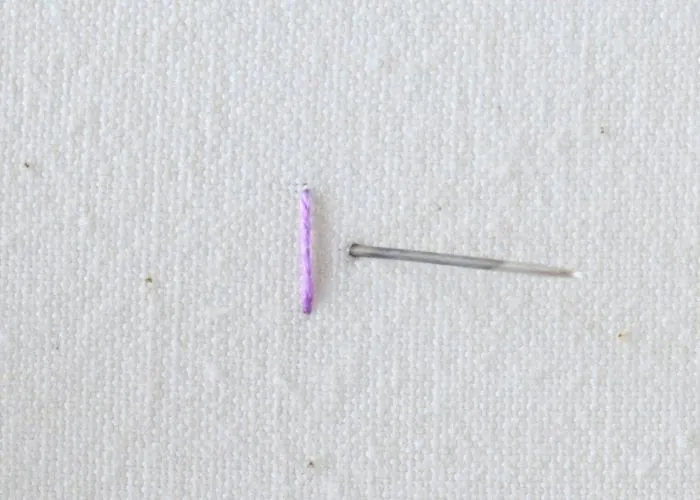
1. Decide on the position of the Four-Legged Knot you want to embroider and make a straight vertical stitch.
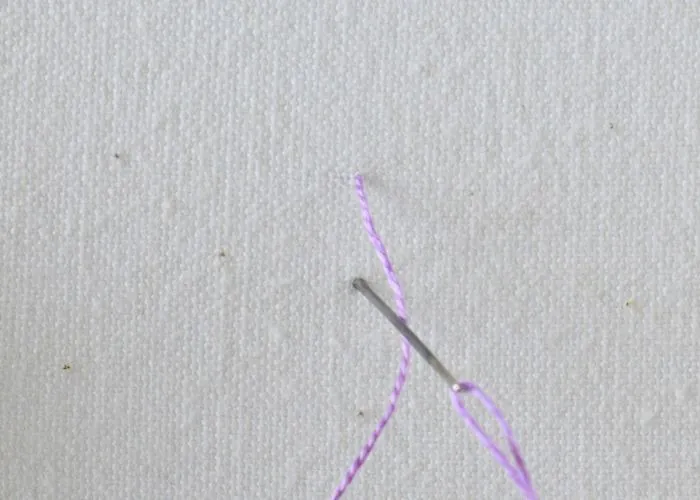
2. Pull the thread to the back and push the needle to the surface on the right side.
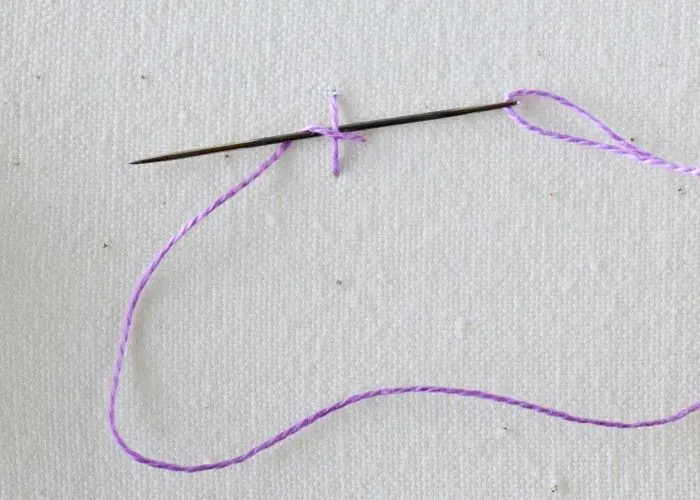
3. Lay your working thread over the vertical stitch. Pass the needle under the stitch and inside the loop you created by throwing the thread over.
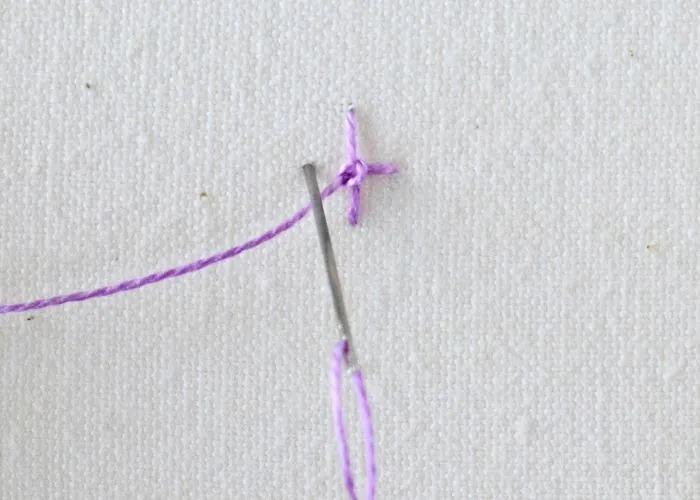
4. Pull the thread to tighten the loop and create the Four-Legged Knot. Keep the thread in tension till the last moment, or lock the position of the knot with the needle while you pull. This assistance of the tension will help your knots lie nicely on the surface. Push the needle to the back on the left side.
5. Add more knots to create powdered filling.
Video tutorial of Four-Legged Knot
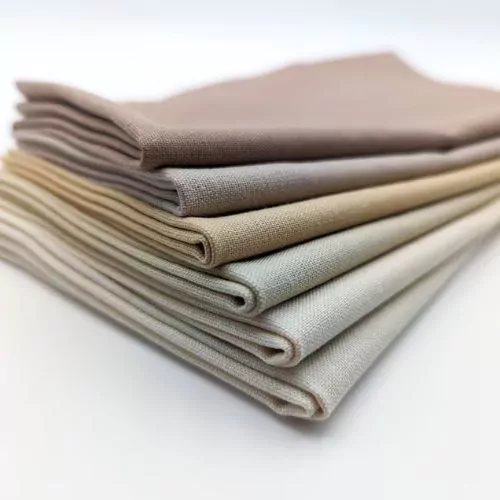
Tools and materials I used for this sampler
Disclaimer. To cover the cost of creating free embroidery patterns and video tutorials for this blog, I do sometimes link to products. Please assume these links are affiliate links. If you choose to buy through my links then THANK YOU – it will make it possible for me to keep doing this.

What’s next?
If you’re in the mood to explore more hand embroidery stitches, check out the Stitches and Techniques page for the list of other fantastic stitches available on my blog. From basic embroidery stitches to complex and playful variations of classical techniques, a whole world of stitches is waiting for you to explore and master. So, grab your hoop and needle, and let’s stitch together!
Don’t miss a thing!
Follow me on YouTube, Instagram, Facebook, Flipboard, and Pinterest. On the other hand, you can subscribe to the Practical Embroidery newsletter and get embroidery tips straight to your inbox every week!
Need More Guidance?
The top 10 hand embroidery stitches to learn is a free online course created for beginners.