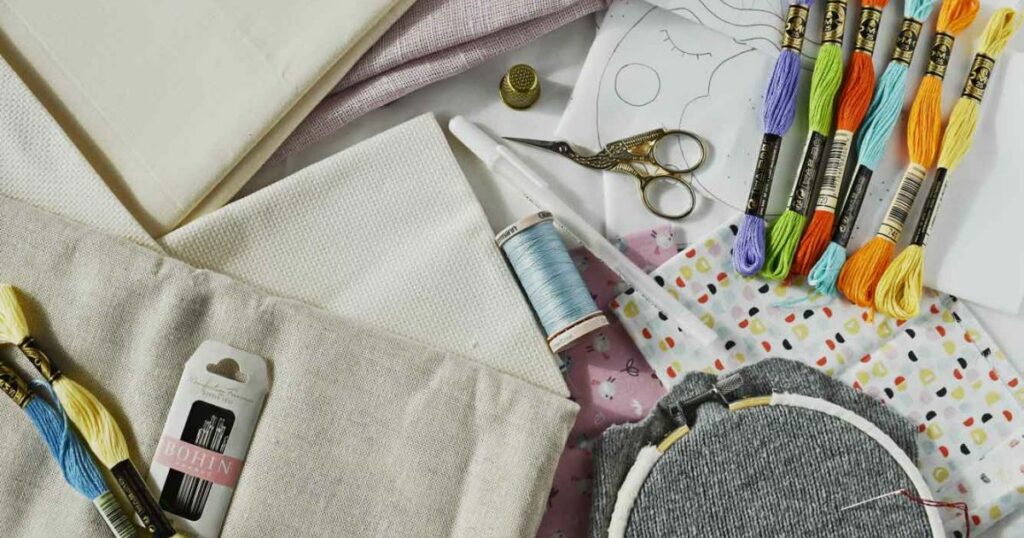
How to organize embroidery needles: Needle organization tips and storage ideas
Hand embroidery enthusiasts know the importance of organizing embroidery tools and materials well. A well-structured system ensures efficiency and reduces frustration during projects.
This short guide on how to organize embroidery needles will outline detailed steps and share handy tips and products that will help you organize embroidery needles effectively.
The reasons why you should organize your hand embroidery needles
Tool organization is not the most fun part of the crafting process. Still, it is necessary if we want to have more creative freedom and better-organized stitching sessions. So, before diving into HOW, let’s see WHY you should organize your needles.
- It saves time. When your needles are organized by type, size, and project use, you’ll save time that could be spent stitching!
- It protects your projects. Using the wrong or damaged needle can harm your fabric or snag the thread.
- It improves safety. No one likes the surprise of stepping on a misplaced needle, and an organized storage system reduces the risk of lost needles hiding in your workspace.
- It extends needle life. Properly storing needles prevents them from dulling or bending, ensuring they last longer.
How to organize embroidery needles
If the above reasons convince you to organize your embroidery needles, let’s see how you can make it fast and effectively!
Gather and sort all embroidery needles
Check your current storage areas, including embroidery kits, WIPs, drawers, and workspaces. Ensure all needles, including loose ones, are collected.
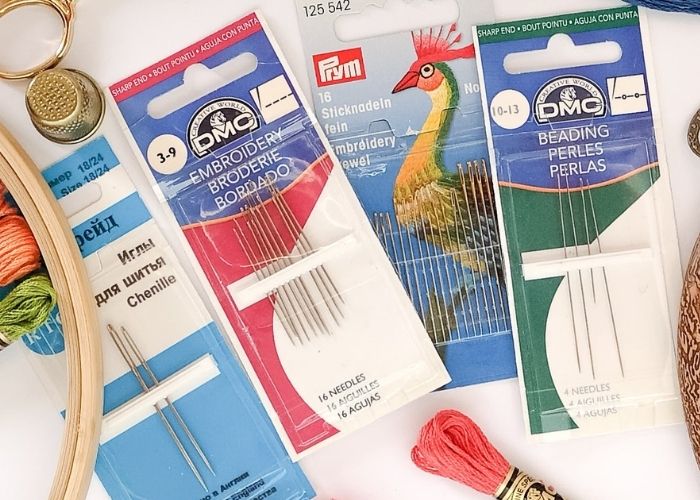
When all the needles are in one place, sort them by type. Needles come in various types and sizes, from sharps to tapestry needles. Start by sorting them into categories based on their use. Consider having sections for:
- Embroidery needles, aka Crewel needles (for floss and thread)
- Tapestry needles (blunt needles for cross-stitch and whipping)
- Beading needles (for delicate beadwork)
- Straw needles, aka Milliner needles (for French knots and hand sewing)
- Darning needles (for mending knitwear)
This makes it easy to grab the right tool, depending on the project you’re working on.
Need help determining which needle does what? Read the article “Hand Embroidery Needles and All You Need to Know to Choose the Right One” for clarity.
Clean and inspect the needles
Examine needles for rust, bent tips, or dull points. Discard any damaged ones to avoid ruining your fabric.
Clean needles glide smoothly through the fabric, reducing the risk of snagging or staining. Use a soft cloth to clean needles and remove dust or oils. For fine needles, use a slightly damp cloth to avoid accidental bending.
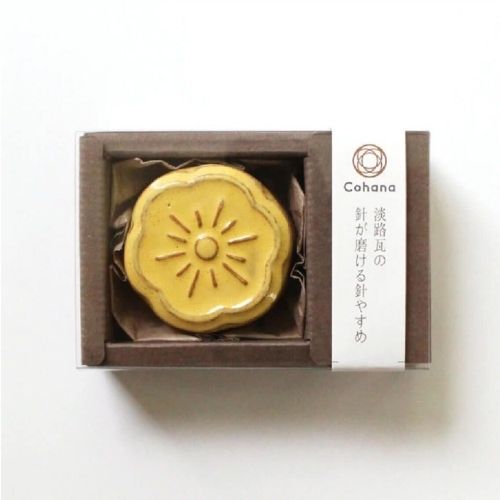
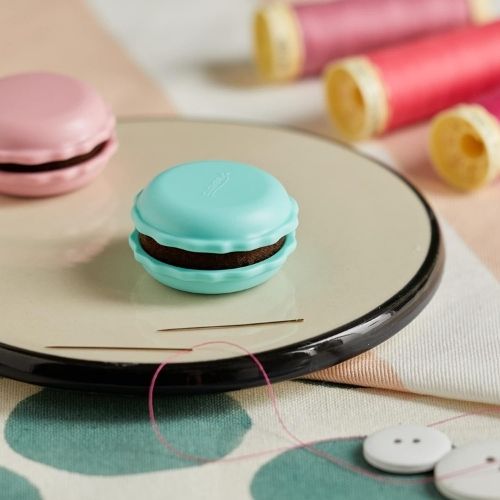
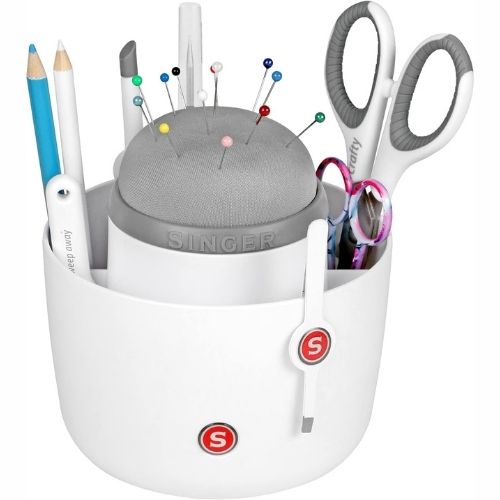
If your needle is not bent or rusty but is dull, use a needle sharpener to save the needle and make it as sharp as it was out of the package. These needle sharpeners are a cute and functional addition to your needle storage solution:
Choose an organizational method
Now that you know how many and what kind of needles you have, it’s time to choose the organizational method that will work best for you. An appropriate storage method will protect the needles and make retrieval seamless and convenient.
We all have different working spaces, habits, and needs. Therefore, the best way to organize embroidery needles will be different for each of us. You may skip selecting a new method if you already have a preferred needle organization method.
Below, I share my favorite method how to organize embroidery needles. It works for me, but if you need to modify it, go ahead and optimize it to fit your needs.
A needle book or a pincushion for fast access
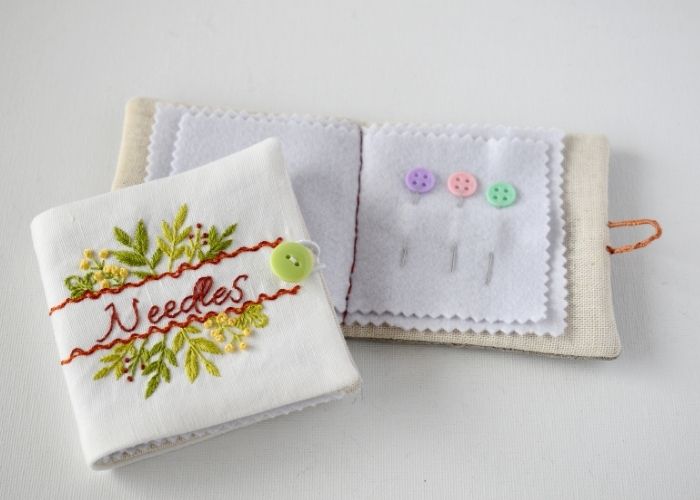
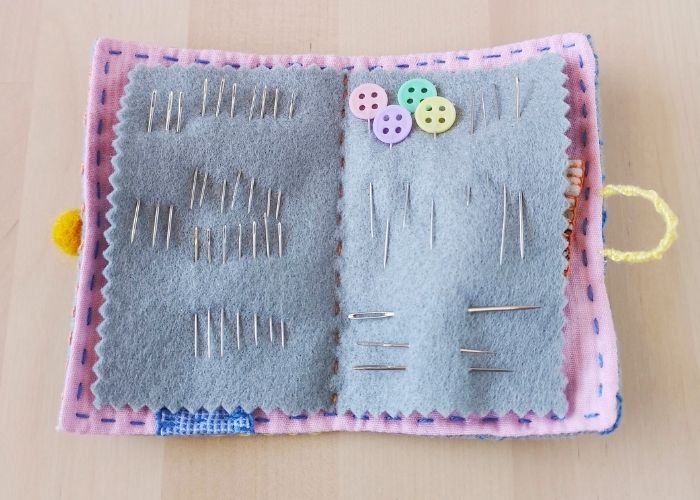
My favorite place to keep the needles I use the most in one easily accessible place – my needle book. It’s more convenient than a pin cushion, as I want to take my embroidery projects when we travel. I keep one embroidery needle of each size in my needle book. Also, I keep a couple of blunts, sewing needles in several sizes, some pins, and a beading needle in my needle book.
If you wish to sew and embroider a needlebook, the “Hand embroidered needle book tutorial: Free embroidery pattern and easy step-by-step guide” will help you with each step of this work.
Label and store the rest of the needles in a safe place
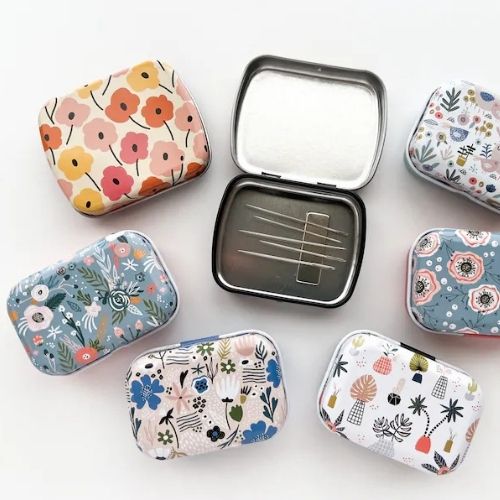
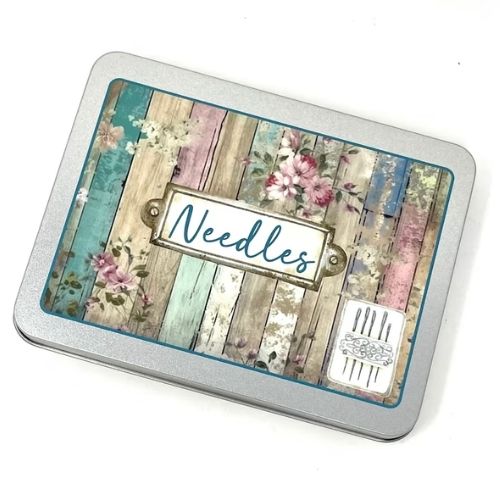
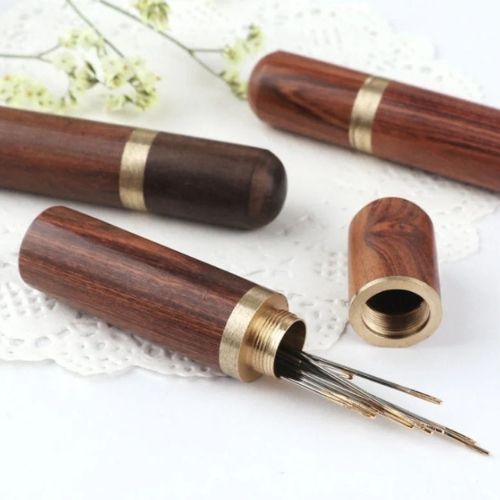
Once sorted, place the rest of your needles, which you do not use daily, in labeled compartments, magnetic boxes, or needle cases.
I store my needles in their original packages in a drawer. I have some discovery packs, glass tubes, small plastic boxes, and plastic bags there. The most important thing is that I know the size and type of the needle, so it’s easy to find one when needed.
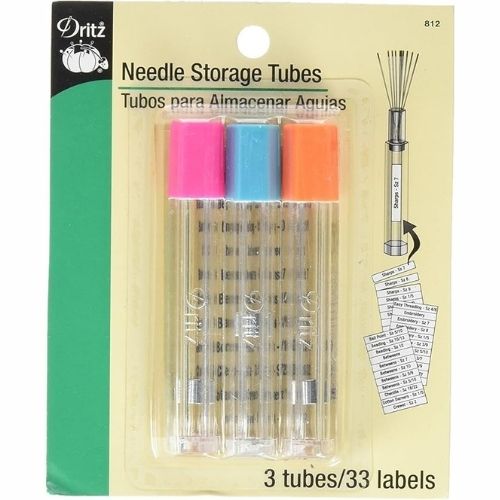
If you decide to store the needles outside the original packages, use stickers, markers, or printed labels to identify needle types and sizes. Include additional details, such as the brand or purpose (e.g., beading needles). Labels save time and prevent the frustration of searching for the right needle.
Maintain an inventory
If you have a vast inventory of embroidery needles and want to take your organization to the next level, consider maintaining an inventory. This can be as simple as jotting down the types and quantities of needles you have in a notebook or using a digital app. By keeping track of when you purchase or discard needles, you can ensure your inventory is always up to date. This prevents duplicate purchases and ensures you always have the right needle for your project.
An inventory prevents duplicate purchases and ensures you always find the right needle. If you have a small collection, inventory tracking is really optional.
Needle storage solutions you might like
As you can see, various ways to sort and store hand embroidery needles exist. Some are simple DIYs, and others – are space management solutions that do not require special tools or materials.
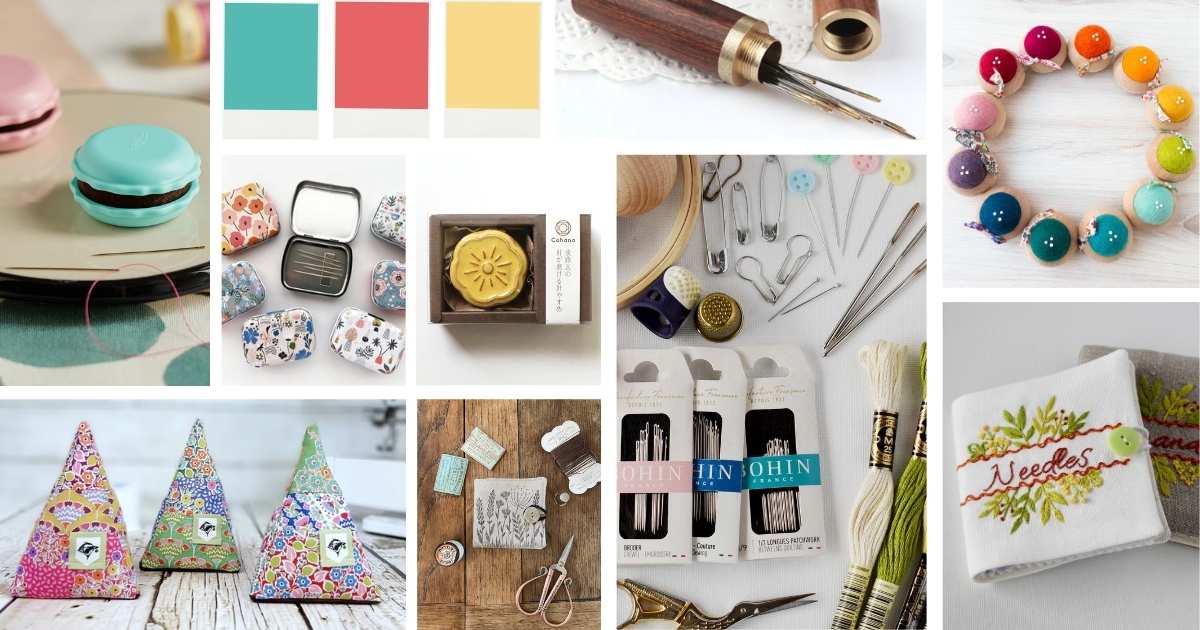
If you want to make the process faster and your storage more aesthetically pleasing, here are some ideas on how to organize embroidery needles with tools and solutions available in the market.
Needle books and pincushions
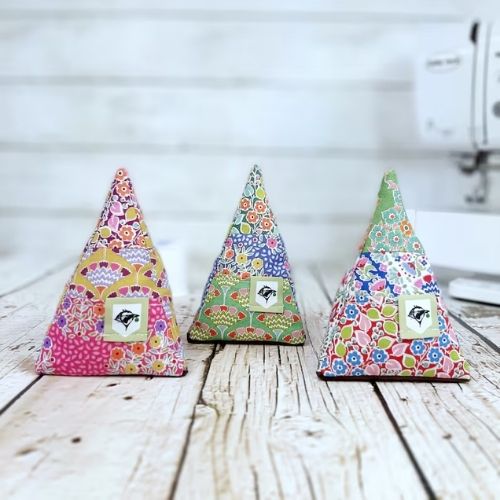
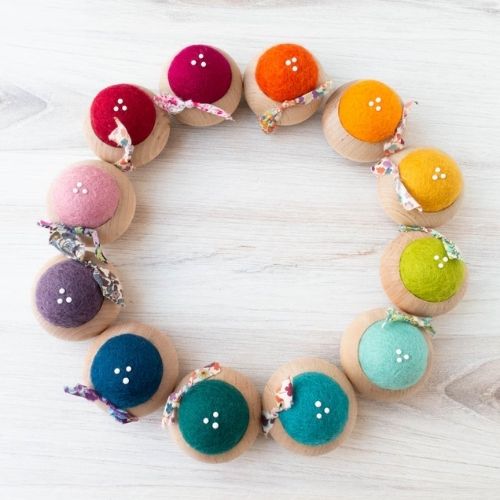
Needlebooks and pincushions are the most convenient and common solutions for needle storage when you use them frequently and want fast access to your needles.
Magnetic products – needle holders, boxes, and needle minders
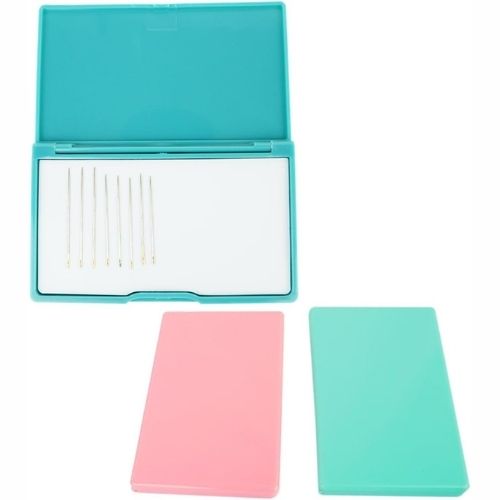
Magnetic boxes and needle holders are convenient storage solutions. Use them for fast access and storage. This method may require extra labeling to prevent mixing if used for storage.
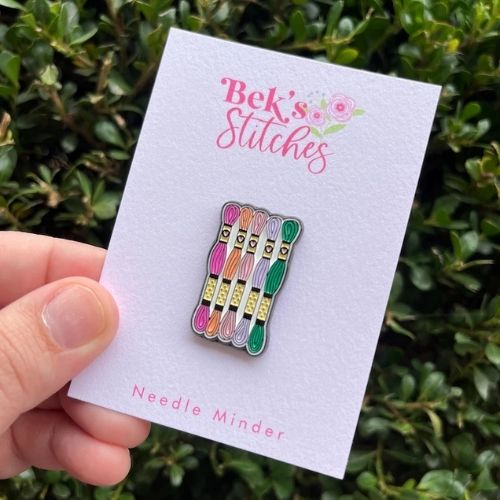
A magnetic needle minder is perfect for keeping track of those needles mid-project. It’s a small magnetic tool that attaches to your fabric and holds your needle in place while you are not using it.
Other needle storage solutions
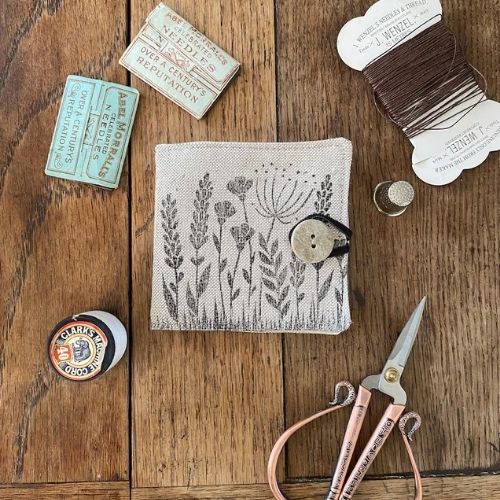
If you are not into specialized magnetic solutions, check out these simple storage ideas.
Over to you
Have you decided how to organize embroidery needles? Which storage solution and organizational method will work best for you?
Organizing hand embroidery needles is a simple but essential task for any embroiderer. By following the tips in this article, you can create a system that adapts to your needs, saves your time, enhances creativity, and protects your tools. Regular maintenance and thoughtful organization will ensure that your needles are always ready to assist you in your creative adventures.
Don’t miss a thing!
Follow me on YouTube, Instagram, Facebook, Flipboard, Telegram and Pinterest. On the other hand, you can subscribe to the Practical Embroidery newsletter and get embroidery tips straight to your inbox every week!
More about embroidery tools and materials on this Blog
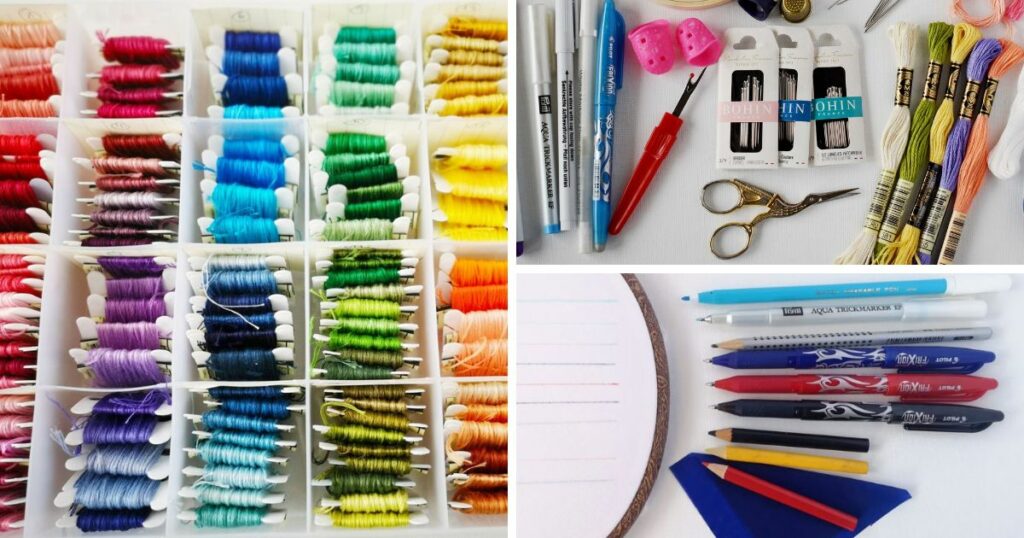
Embroidery materials for beginners. All you need to start learning hand embroidery
