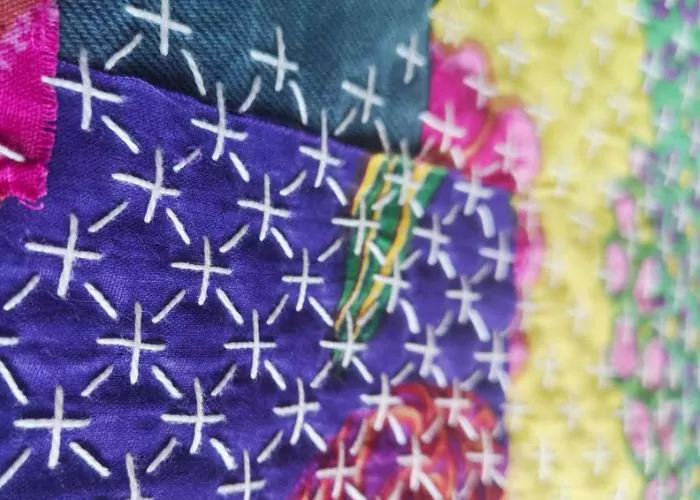

Laced Cretan Stitch
Laced Cretan Stitch is a decorative variation of the Cretan Stitch. To stitch this decorative bar, you will have to embroider a basic Cretan Stitch first. Then, a second layer – lacing is added. Usually, you use a contrasting thread for the lacing so it stands out.
All the lacing thread stays on the front side of the embroidery; on the back side, only the stitches from the base Cretan Stitch are visible.
Applications of the Laced Cretan Stitch
Laced Cretan Stitch is a decorative technique you can use as an alternative to a basic Cretan Stitch or any other decorative band.
This stitch will look great on the borders of garments or home textiles. You can combine various colors or novelty threads for more playful designs.
Also, this stitch is often used in crazy quilting and modern surface embroidery.


More stitches from the Cretan Stitch family


Learn how to embroider Laced Cretan Stitch
Follow the step-by-step tutorial with detailed photos below, and you will learn the Laced Cretan Stitch quickly. If you are a visual learner, watch a video lesson in the tutorial or on the Practical Embroidery YouTube channel to learn this hand embroidery stitch faster.

How to embroider Laced Cretan Stitch
Step-by-step hand embroidery tutorial
1. Mark four parallel lines for guidance. Start embroidering a basic Cretan Stitch. Take the needle up to the surface on the second line and make a stitch to the fourth line. Leave the loop of the working thread open.

2. Push the needle back to the surface on the third line, inside the loop.

3. Pull the thread to tighten the loop and make a stitch to the top marked line. Leave the loop open for the next stitch.

4. Return to the surface on the second line, inside the loop. Pull the thread to close the loop and repeat the steps to embroider an equally spaced Cretan Stitch bar.

5. When the entire row is stitched, push the needle to the back of the fabric and secure the last stitch.

6. Now it’s time to add lacing. Thread your needle with a contrasting color thread. Pull the yarn to the surface at the same starting point.

7. Pass the needle under the diagonal stitch on the central part of the Cretan Stitch. Move from top downwards.

8. Now pass the needle under the second section. Move upwards.

9. Repeat the lacing. Pass the needle upwards.

10. Then, move downwards. Take care not to pierce the fabric or the stitches you are lacing.

11. After the entire row of Laced Cretan Stitch is done, push the needle to the back and secure the thread.

Video tutorial
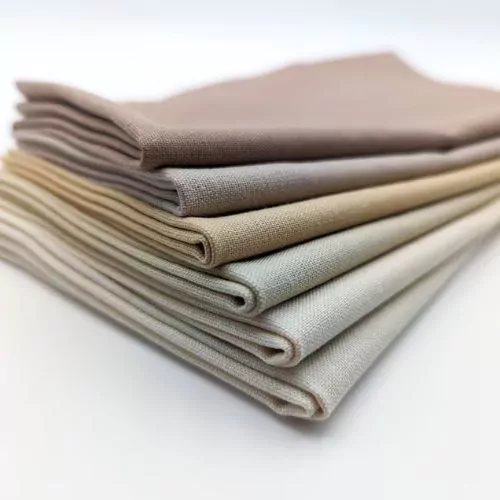
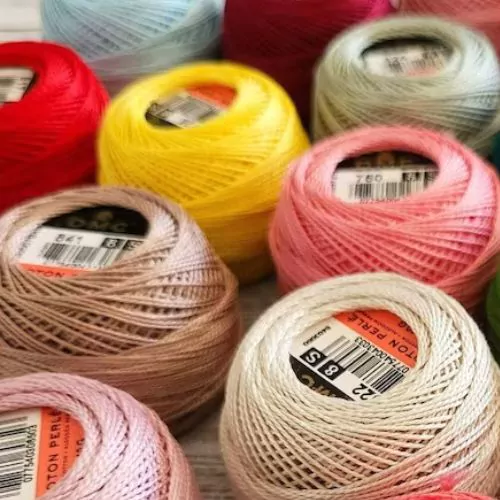
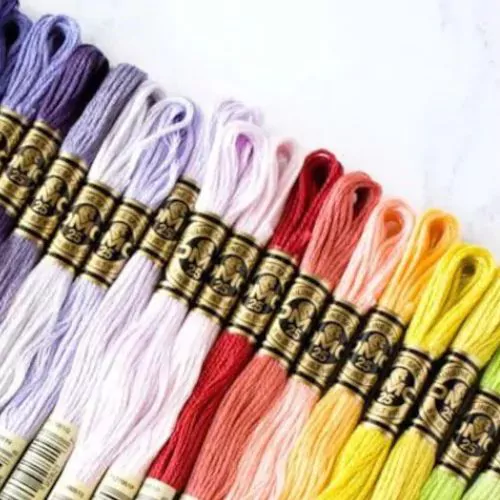
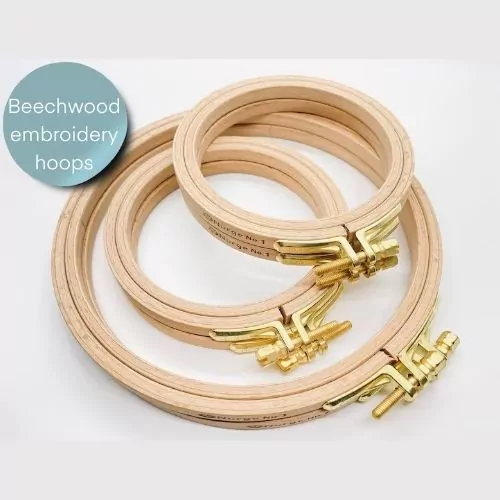
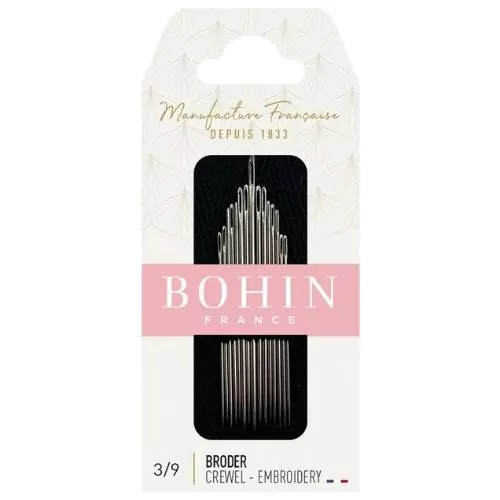
Tools and materials I used for this sampler
Disclaimer. To cover the cost of creating free embroidery patterns and video tutorials for this blog, I do sometimes link to products. Please assume these links are affiliate links. If you choose to buy through my links then THANK YOU – it will make it possible for me to keep doing this.

What’s next?
If you’re in the mood to explore more hand embroidery stitches, check out the Stitches and Techniques page for the list of other fantastic stitches available on my blog. From basic embroidery stitches to complex and playful variations of classical techniques, a whole world of stitches is waiting for you to explore and master. So, grab your hoop and needle, and let’s stitch together!
Don’t miss a thing!
Follow me on YouTube, Instagram, Facebook, Flipboard, and Pinterest. On the other hand, you can subscribe to the Practical Embroidery newsletter and get embroidery tips straight to your inbox every week!
Need More Guidance?
The top 10 hand embroidery stitches to learn is a free online course created for beginners.