Outline Embroidery Stitch
If you’ve been delving into the intricate world of hand embroidery stitches, you’ve probably come across the Outline stitch. It is a simple yet fundamental hand embroidery stitch from the Stem stitch family with a long history and vast application possibilities.
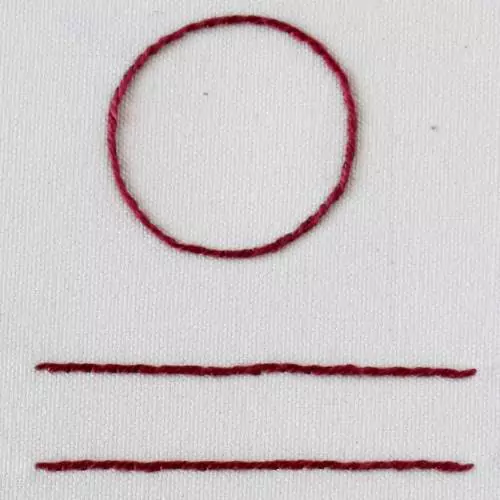
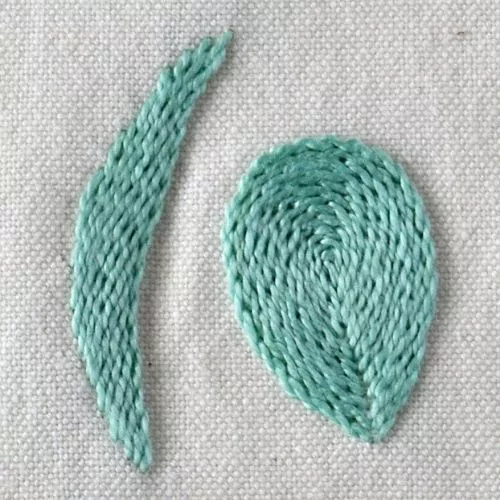
Visually, this hand embroidery stitch on the front side looks like a rope. And on the back side, it seems like a backstitch embroidery.
Note that Outline stitch is often mistaken for a Stem stitch, as their embroidery method is very similar. The difference between these stitches is the position of the working thread when you embroider. When you make a Stem stitch, keep the thread to the right, and when you make an Outline stitch – to the left side of the working direction.

Applications of the Outline stitch
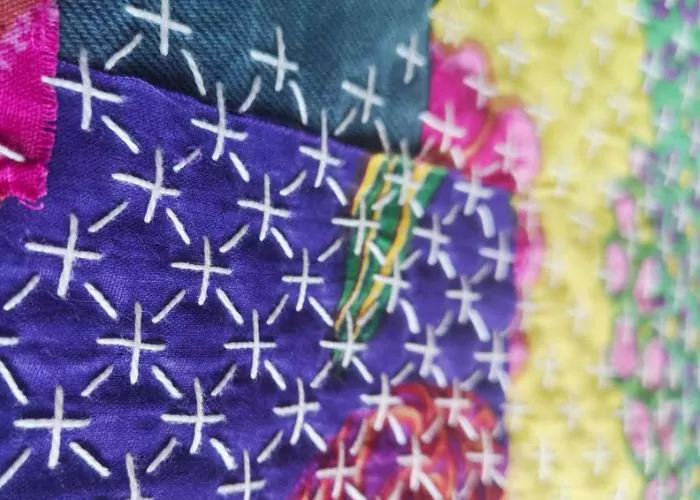
The Outline stitch, true to its name, has been a favorite for centuries to define and accentuate design borders. The versatility of the Outline stitch can’t be emphasized enough. While it’s a go-to stitch for borders, it’s equally stunning when used in flower patterns, giving them a distinct edge and definition or to embroider the vines. This contour embroidery stitch is also fabulous for embroidering lettering, making your hand-embroidered quotes pop with an elegant flair.
Step-by-step embroidery instructions for the Outline stitch:
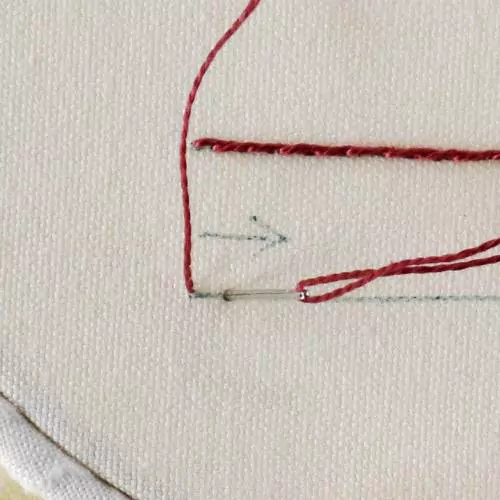
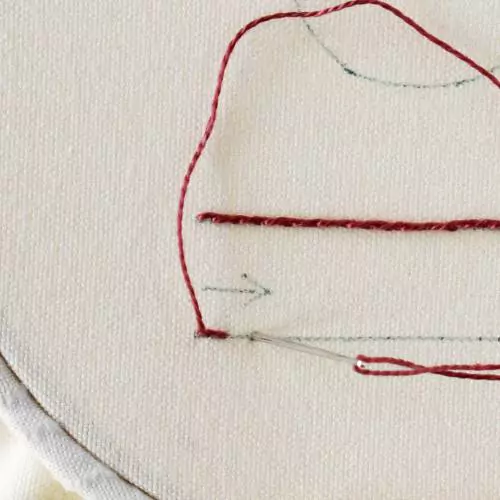
- Begin at the left end of your design line. Bring the needle up from the back to the front of the fabric.
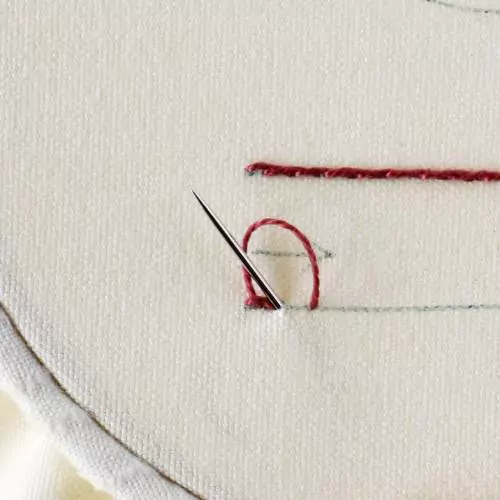
- Make a stitch forward. Insert the needle a small distance ahead on the design line and pull it up again halfway between the starting point and where the needle entered.
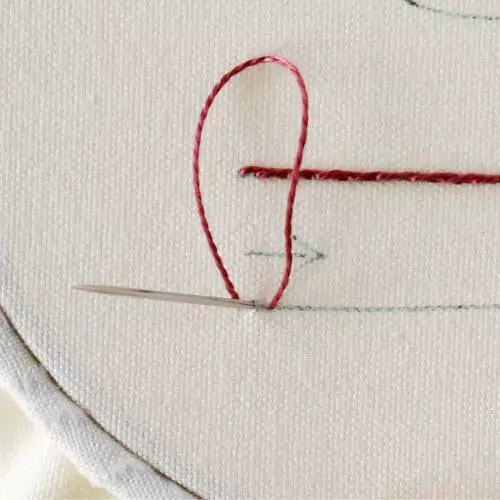
- Keep the loop of the working thread on the left side of your moving direction. Make sure it is always on the same side of the stitching line. This consistency is what gives the Outline stitch its smooth appearance.
- Repeat. Continue this process, always coming up at the midpoint of the previous stitch. This method creates an unbroken line, giving the design its flow.
- Finish with a small stitch and secure the thread on the backside.
- If you are embroidering Outline stitches in the circle, make a connecting stitch between the first and last stitch so the junction point is invisible.
Tips and Common Mistakes to Avoid:
- Even stitches. Aim for uniform stitch lengths to achieve a smooth, continuous look.
- Avoid pulling too tight. A common pitfall is pulling the thread too tight, causing the fabric to pucker. Gentle tension is critical!
- Curves. When working on curves, reduce your stitch length for a smoother finish. Longer stitches can make curves appear jagged.
More stitches from the Stem stitch family
Video tutorial
If you are a visual learner, watch a video tutorial below or on the Practical Embroidery YouTube channel. In this video, you’ll find easy-to-follow, step-by-step instructions that will have you creating the Outline embroidery stitch like a pro in no time.
What’s next?
If you’re in the mood to explore more hand embroidery stitches, check out the Stitches and Techniques page for the list of other fantastic stitches available on my blog. From timeless classics to modern twists, a whole world of stitches is waiting for you to explore and master. So, grab your hoop and needle, and let’s stitch our way to creative bliss!
Need More Guidance?
The top 10 hand embroidery stitches to learn is a free online course created for beginners.