
Rosette Chain Stitch
Rosette Chain Stitch is a decorative hand embroidery technique from the Chain Stitch family. It is a variation of the twisted Chain Stitch. In this stitch, the stitches are connected by a horizontal line rather than to each other.
Rosette Chain Stitch will look best if you embroider it with a thread that holds its shape well, for example, thin cords, metallic threads, or pearl cotton. In my sampler, I used six strands of pink embroidery floss for a straight band and double cotton perle for a circular shape.
On the reverse side, this technique creates a line of vertical stitches.
Other names of the Rosette Chain Stitch
Rosette Chain Stitch is an old and widely used hand embroidery stitch; therefore, it has many alternative names. Some of them are: rosette chain line stitch, bead edging stitch, braid stitch, or wrapped coral stitch.


Applications of the Rosette Chain Stitch
Rosette Chain Stitch is a decorative embroidery technique that takes curves well. It can be stitched on straight lines as well as wavy, circular, or spiral shapes.
Due to its organic look, this stitch is often used in botanical embroidery. It depicts vines, branches with leaves, or flowers. Besides that, Rosette Chain Stitch is used in crazy quilting and decorative surface embroidery.
Rosette Chain Stitch is a simple yet decorative technique. You can use it to embellish garment or home textile borders. It adapts to any shape or curve of the collar or seam. It looks gorgeous along the edges of textiles like table runners or napkins.
More stitches from the Chain Stitch family


Learn how to embroider Rosette Chain Stitch
Follow the step-by-step tutorial with detailed photos below, and you will learn the Rosette Chain Stitch quickly. If you are a visual learner, watch a video lesson in the tutorial or on the Practical Embroidery YouTube channel to learn this hand embroidery stitch faster.

How to embroider Rosette Chain Stitch
Step-by-step hand embroidery tutorial
1. Mark two parallel lines for guidance. We will work from right to left. Take the needle to the surface on the top right corer and make a small stitch to the left. Leave the loop of the working thread open.

2. Twist the loop of the working thread so that the right side of the thread is under the twist. Take the needle to the surface on the lower mark, inside the loop.

3. Pull the thread through to tighten the twisted chain stitch.

4. Pass the needle under the right leg of the twisted chain stitch. This will form the first petal of the Rosette Chain Stitch.

5. Pull the thread through and make a stitch to the left. Leave the loop of the working thread open.

6. Twist the loop and create the second twisted chain stitch.

7. Lace the needle under the right leg of the twisted chain stitch to create the second petal. From here, repeat the steps to embroider the entire band.

8. If you find it hard to maintain the correct twist in the stitches, try embroidering the Rosette Chain Stitch using a sewing method. With this method, the needle stays in the fabric, and you twist the thread around it rather than manually twisting the loop.

Video tutorial
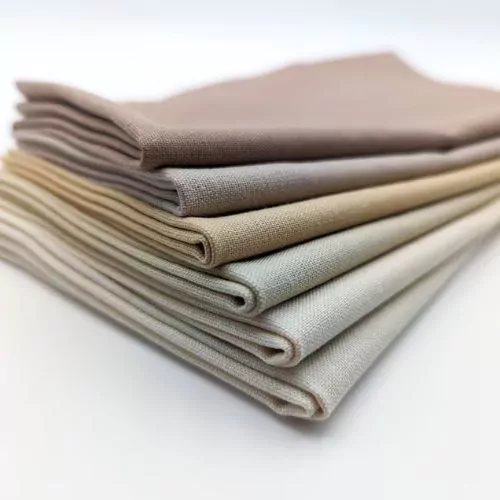
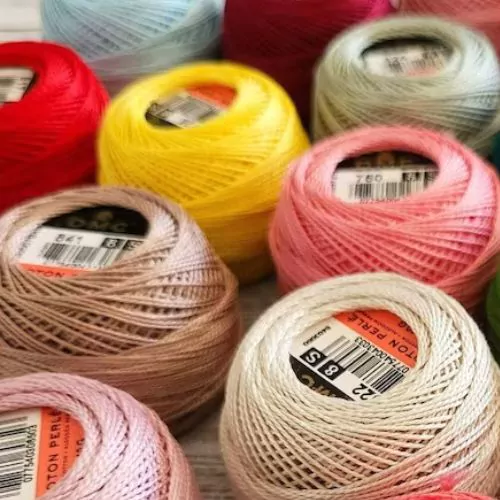
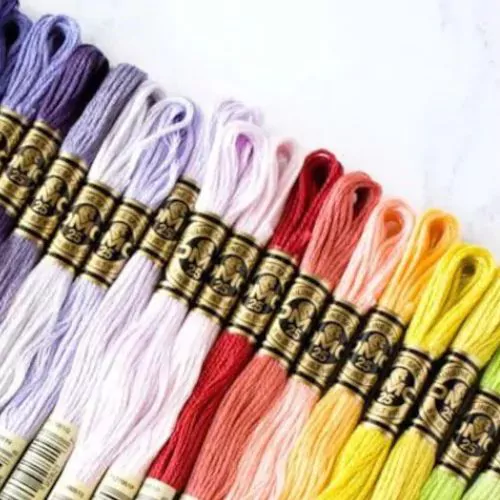
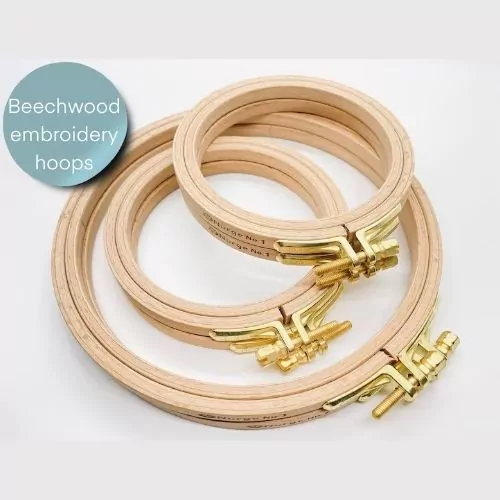
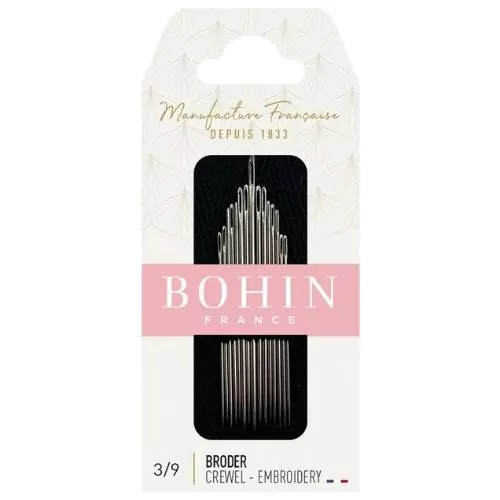
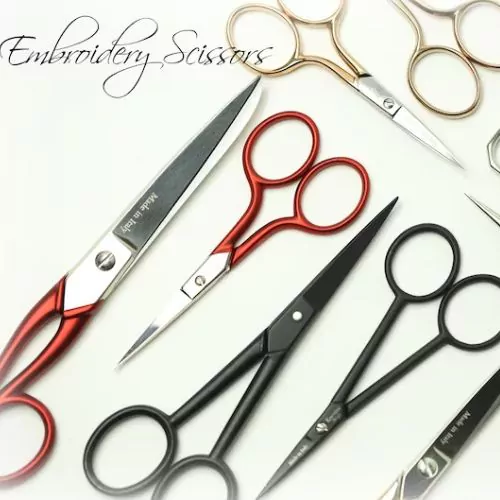
Tools and materials I used for this sampler
Disclaimer. To cover the cost of creating free embroidery patterns and video tutorials for this blog, I do sometimes link to products. Please assume these links are affiliate links. If you choose to buy through my links then THANK YOU – it will make it possible for me to keep doing this.
What’s next?
If you’re in the mood to explore more hand embroidery stitches, check out the Stitches and Techniques page for the list of other fantastic stitches available on my blog. From basic embroidery stitches to complex and playful variations of classical techniques, a whole world of stitches is waiting for you to explore and master. So, grab your hoop and needle, and let’s stitch together!
Don’t miss a thing!
Follow me on YouTube, Instagram, Facebook, Flipboard, and Pinterest. On the other hand, you can subscribe to the Practical Embroidery newsletter and get embroidery tips straight to your inbox every week!
Need More Guidance?
The top 10 hand embroidery stitches to learn is a free online course created for beginners.