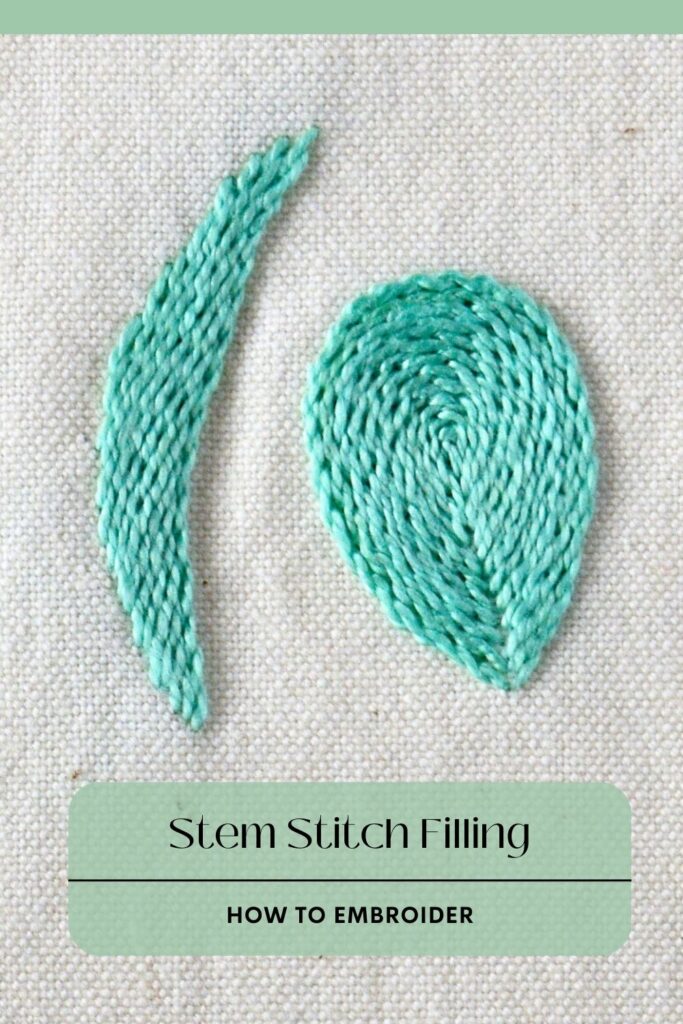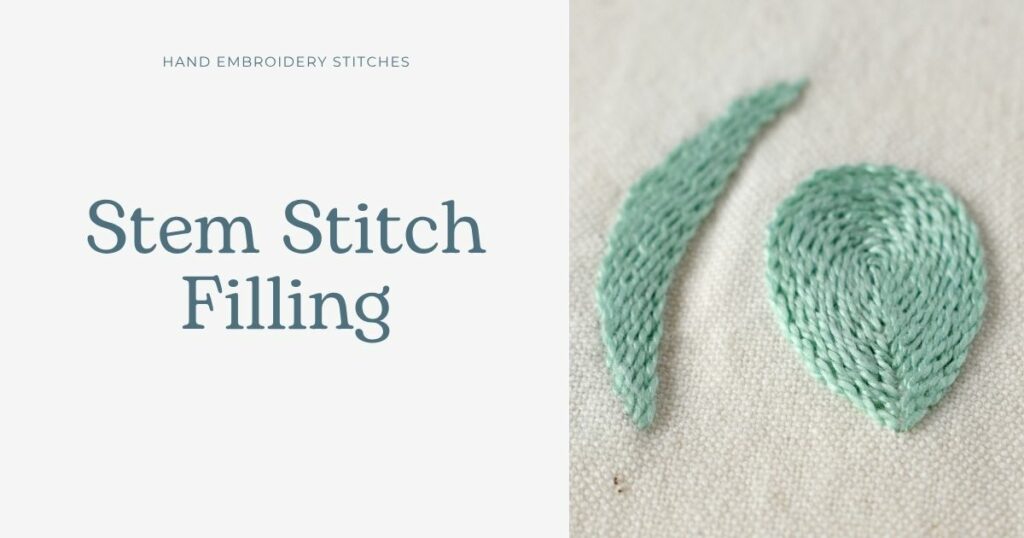
Stem Stitch Filling
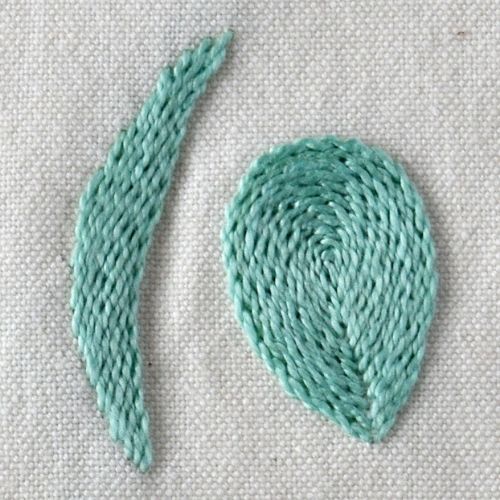
Stem Stitch Filling is a method of filling with Stem Stitch in hand embroidery. Filling the embroidery design with Stem Stitch will result in a beautiful, silky structure of smooth, blended lines that is especially visible when stitching with pearl cotton or other more structured threads.
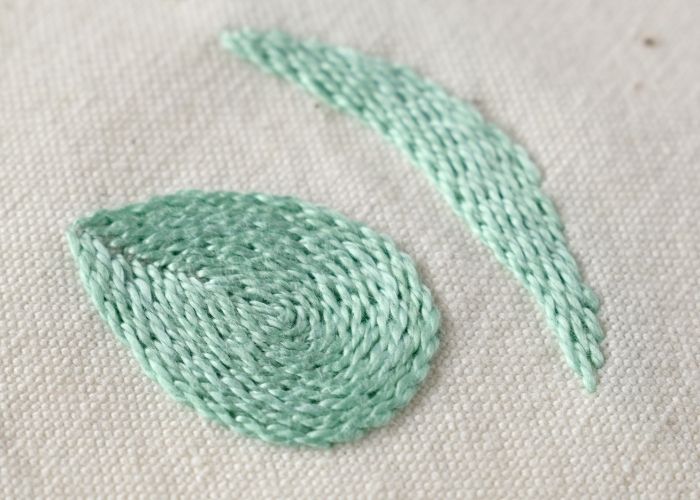
The method of this fill stitch is straightforward – you add rows of Stem stitch close to each other to fill the entire surface. The rows can follow one of the edges of the shape or create a circular filling.
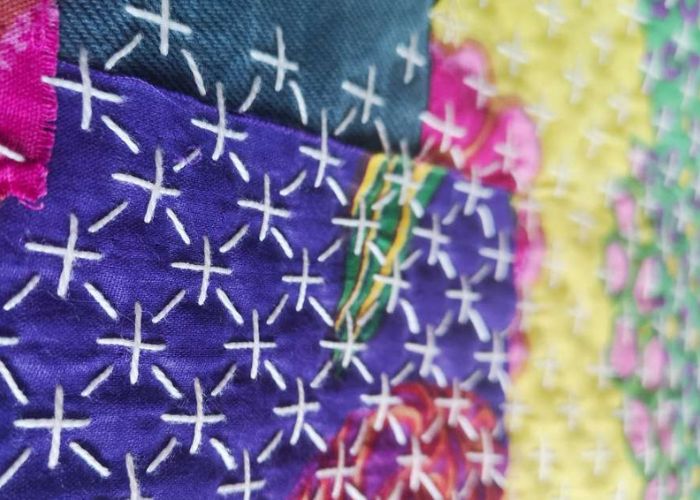
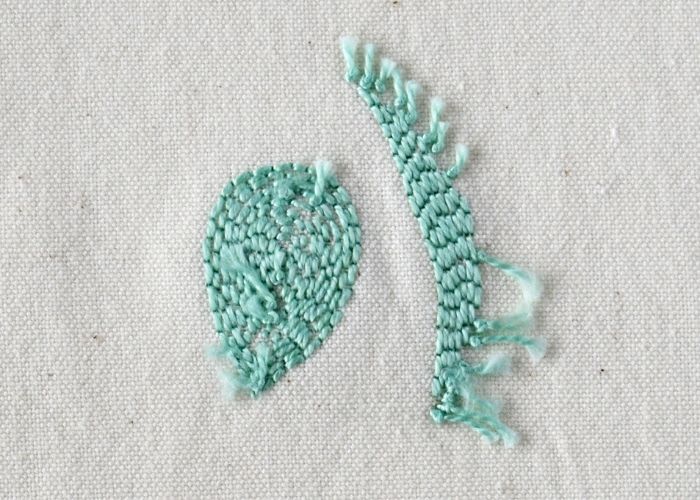
The reverse side of the filling will look like rows of backstitch.
Applications of the Stem Stitch Filling
Stem Stitch Filling is relatively easy to learn, and you will achieve nice and smooth results after a bit of practice.
This embroidery technique works best for filling long and narrow shapes, such as stems, vines, or leaves. It takes curves very well, and you can use it for creating bent and wavy shapes. On the other hand, it’s not the best filling stitch for extended shapes.
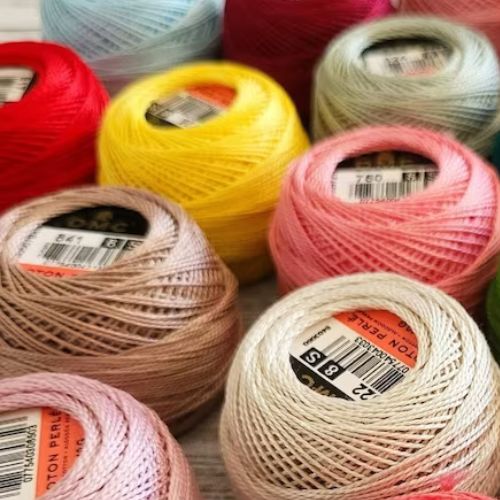
The thickness of the thread will determine the density of the filling and how visible the structure of the stitches will look.
Stem Stitch Filling can be stitched with a single color or thread, or you can add shading by changing the thread color from row to row.
To achieve a nice silky surface, you will need to maintain the same direction of the stitches in every row. For example, if you work your Stem stitch from left to right, keep the working thread below the needle. If you want to reverse direction to return along the shape (moving from right to left), ensure the working thread is above the needle. Otherwise, you will alternate the row of Stem Stitch with an Outline Stitch. That would result in breaking the silky surface of the filling.
More stitches from the Stem Stitch family
Learn how to embroider Stem Stitch Filling
Follow the step-by-step tutorial with detailed photos below, and you will learn the Stem Stitch Filling quickly. If you are a visual learner, watch a video lesson in the tutorial or on the Practical Embroidery YouTube channel to learn this hand embroidery stitch faster.
How to embroider Stem Stitch Filling
Step-by-step hand embroidery tutorial
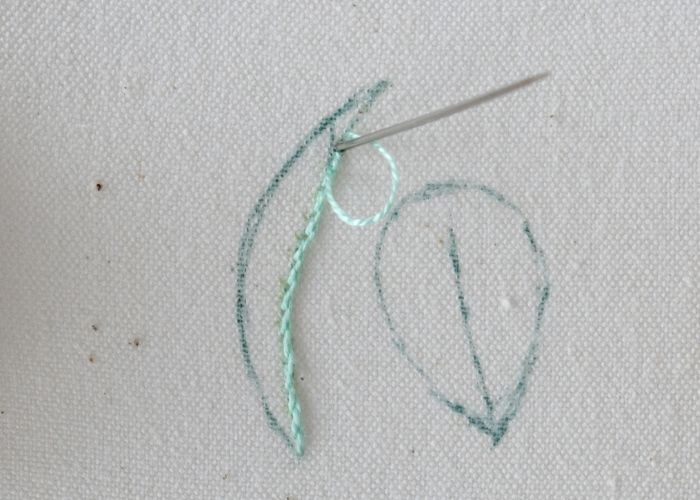
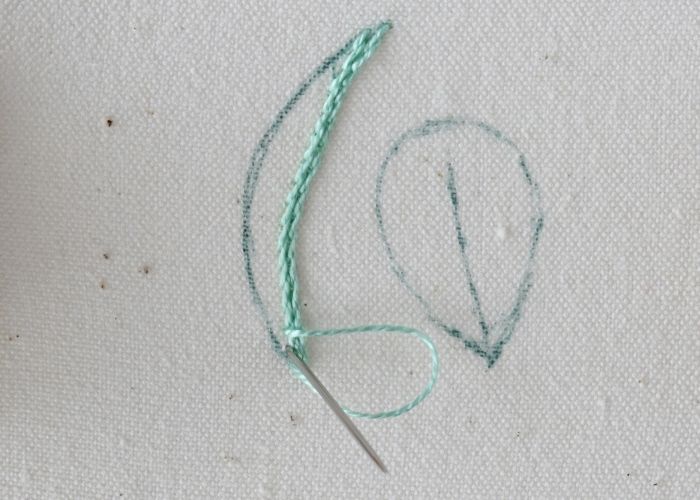
1. To embroider long shapes, start at one of the edges. Move from left to right and embroider a row of Stem Stitch.
2. Now, add one more row of Stem Stitch close to the first one.
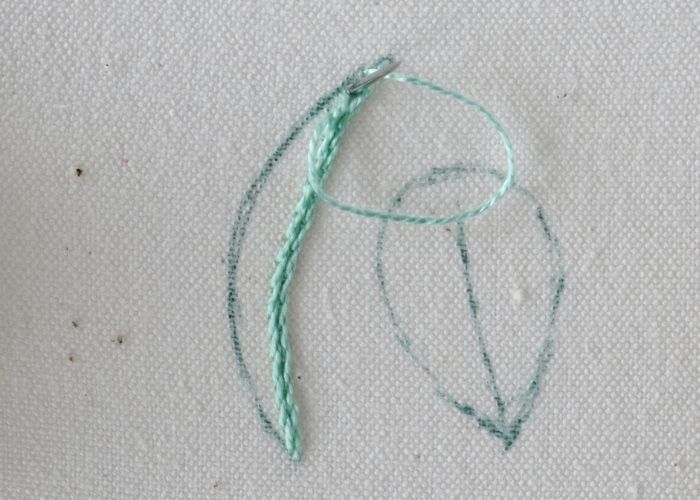
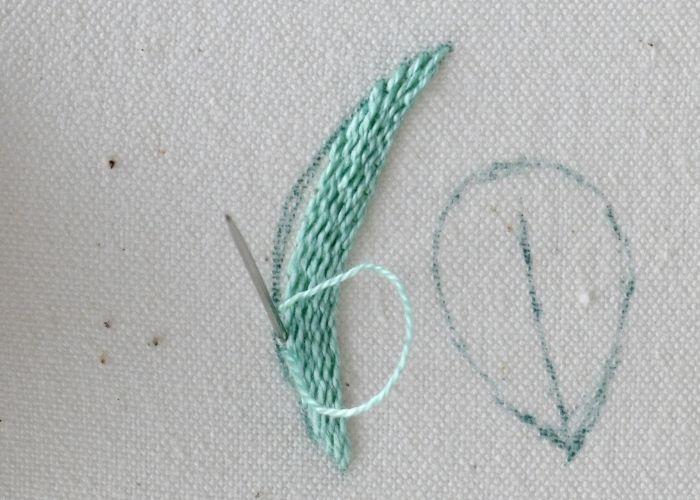
3. Add one more row of Stem Stitch. Always start from the left and stitch to the right. If you want to reverse direction to return along the shape (moving from right to left), ensure the working thread is above the needle.
4. Add as many rows as needed to fill the entire shape. The length of the rows might change to fill the shape best.
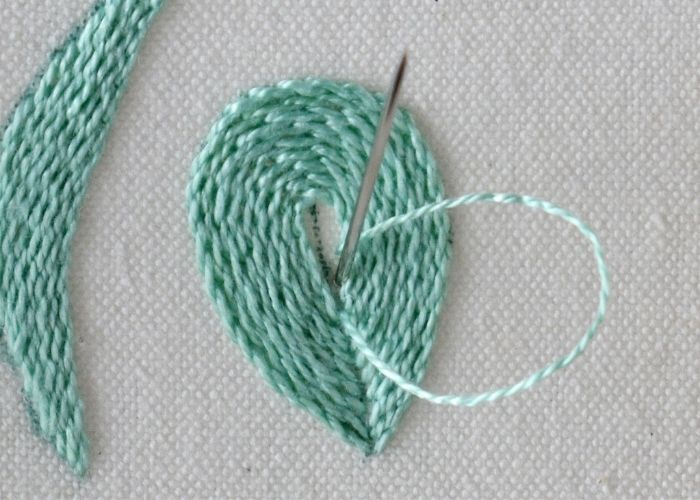
5. To embroider rounded shapes like this drop (or leaf), start from the tip and outline the shape with Stem Stitch.
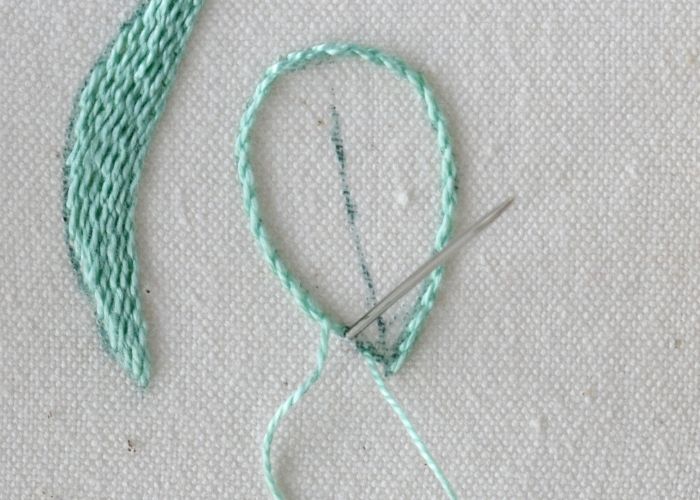
6. Now, add the second row, positioning it close to the first one.
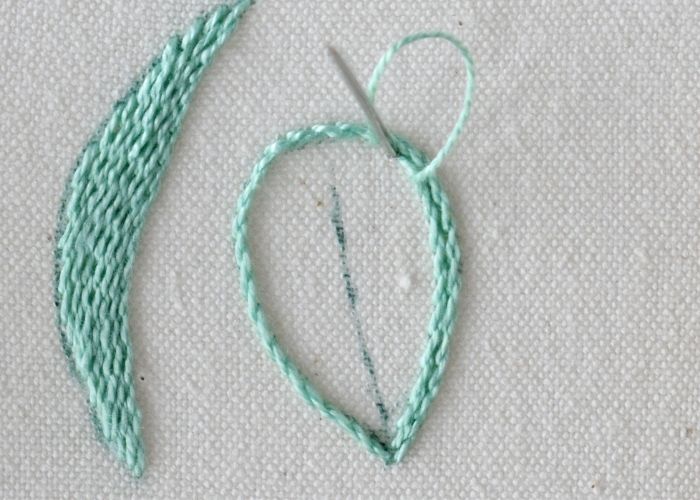
7. Continue adding rows of Stem Stitch filling, with a starting and finishing point at the center of the shape.

8. When the space you are filling becomes narrow, reduce the length of the stitches to make nicer curves.
Video tutorial
Tools and materials I used for this sampler
Disclaimer. To cover the cost of creating free embroidery patterns and video tutorials for this blog, I do sometimes link to products. Please assume these links are affiliate links. If you choose to buy through my links then THANK YOU – it will make it possible for me to keep doing this.


What’s next?
If you’re in the mood to explore more hand embroidery stitches, check out the Stitches and Techniques page for the list of other fantastic stitches available on my blog. From timeless classics to modern twists, a whole world of stitches is waiting for you to explore and master. So, grab your hoop and needle, and let’s stitch our way to creative bliss!
Don’t miss a thing!
Follow me on YouTube, Instagram, Facebook, Flipboard, and Pinterest. Or why not subscribe to Practical Embroidery newsletter and get embroidery tips straight to your inbox every few weeks?
Need More Guidance?
The top 10 hand embroidery stitches to learn is a free online course created for beginners.