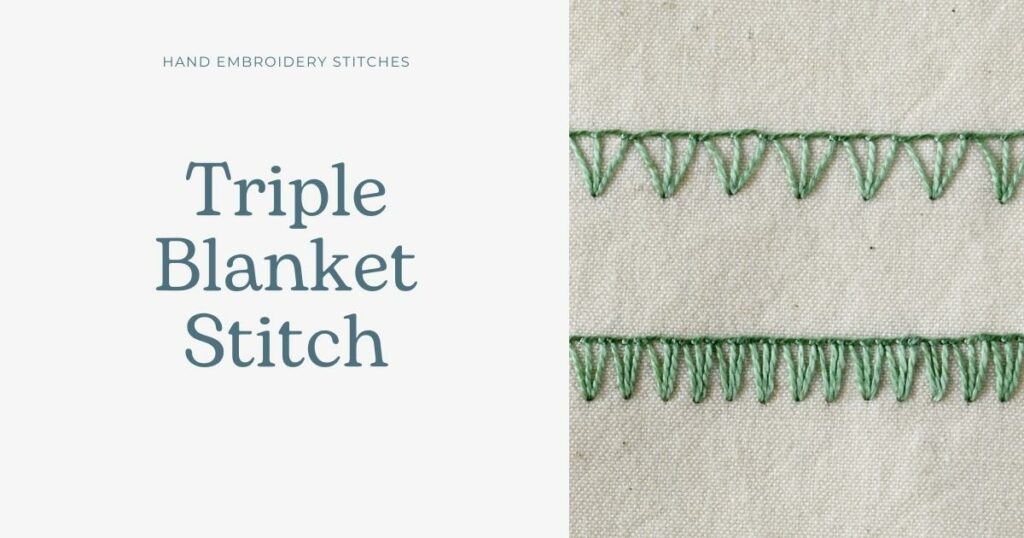
Triple Blanket Stitch
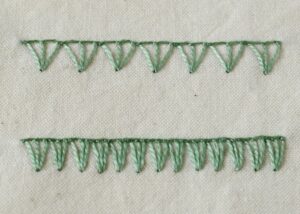
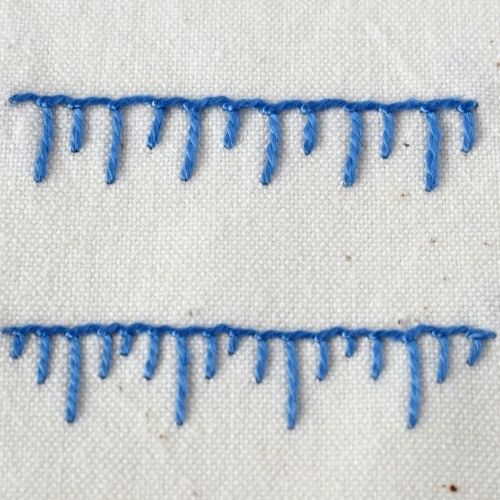
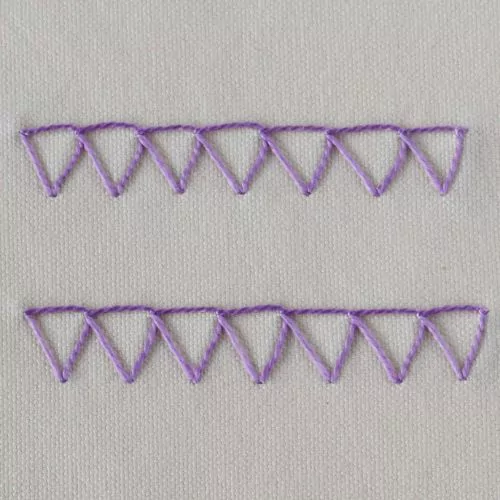
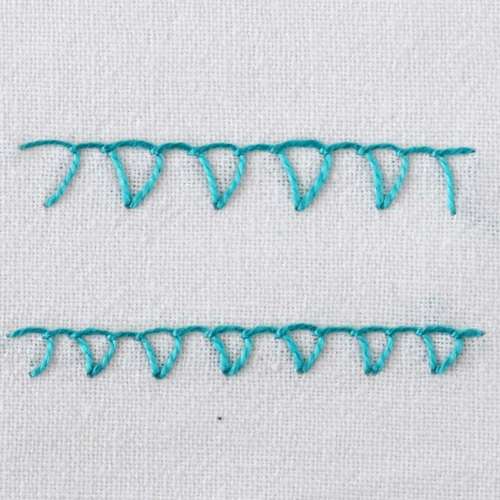
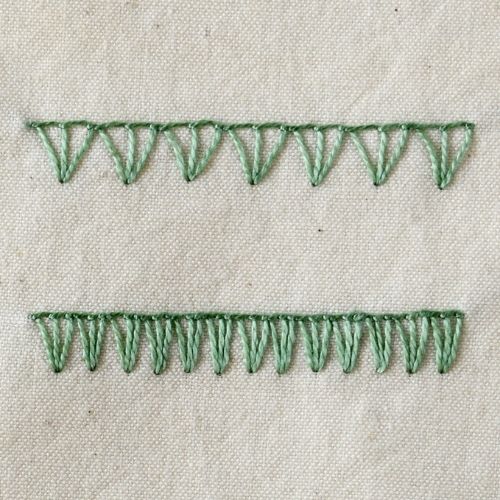
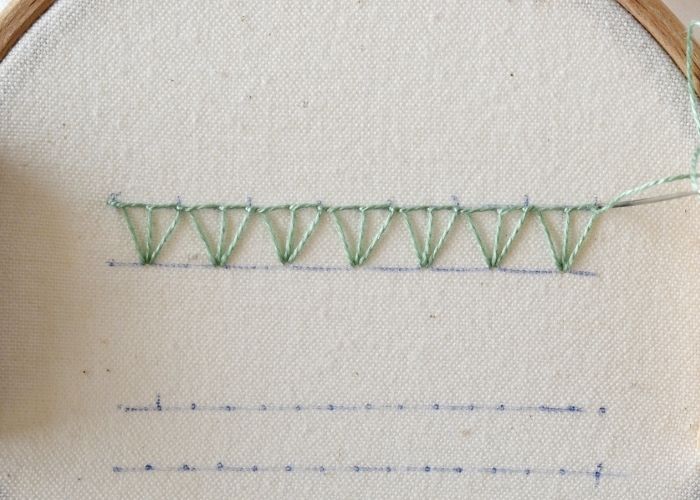
Triple Blanket Stitch is one of the many decorative variations of the basic Blanket Stitch. To make this stitch, you will have to group blanket stitches by three, where the central stitch is straight and the side stitches are slanted. This embroidery technique results in a decorative band where one side is a continuous line and the other is a dented edge of triangles.
On the reverse side, this stitch will look like groups of three stitches positioned as a fan.
Other names of the stitch
As an alternative to the Triple Blanket Stitch, you can call this technique a Blanket stitch in triples.
Applications of the Triple Blanket Stitch
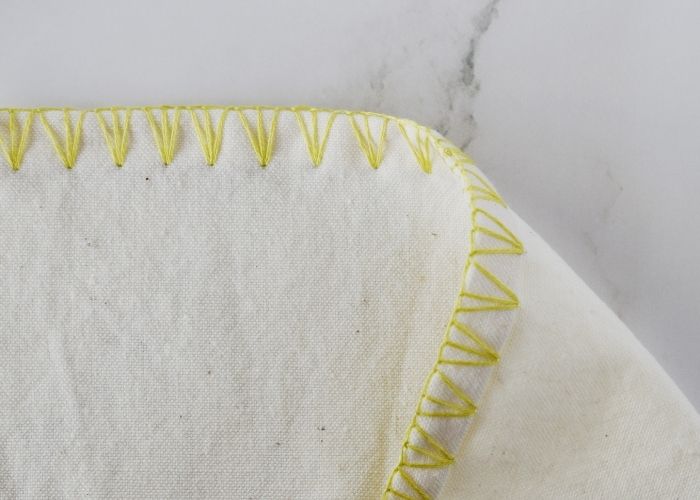
This decorative hand embroidery method not only looks good, but is also a functional stitch that can hold the hems of blankets, napkins, or other home textiles and garments. Triple Blanket Stitch will ensure the edge is secured and decorated at the same time.
In modern surface embroidery, you can use this technique to embroider decorative outlines and borders.
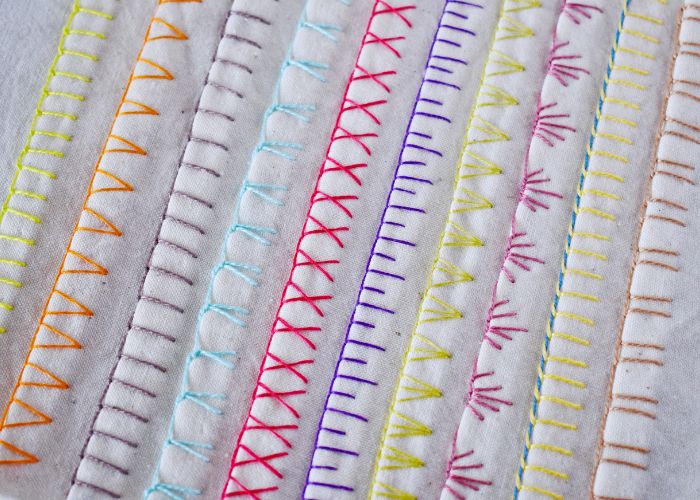
More stitches from Stitch family
For the full overview of this stitch family, read the article “Blanket stitch and its variations” on this blog.
Learn how to embroider Triple Blanket Stitch
Follow the step-by-step tutorial with detailed photos below, and you will learn the Triple Blanket Stitch quickly. If you are a visual learner, watch a video lesson in the tutorial or on the Practical Embroidery YouTube channel to learn this hand embroidery stitch faster.
How to embroider Triple Blanket Stitch
Step-by-step hand embroidery tutorial
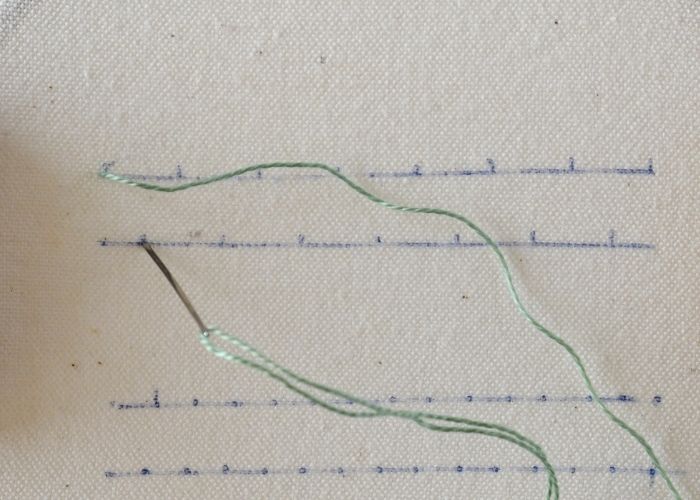
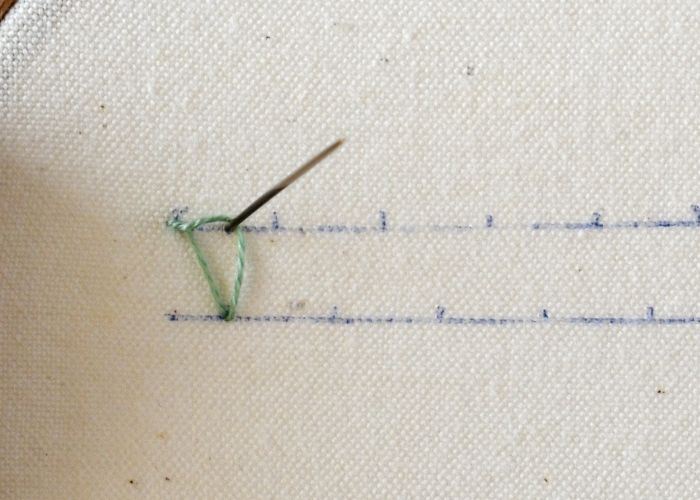
1. Mark two parallel lines (or one line, parallel to the edge of the fabric). You can also mark equal distances between the stitches to guarantee neat results. Take the needle up to the surface at the top left corner and make a diagonal stitch to the second marked line.
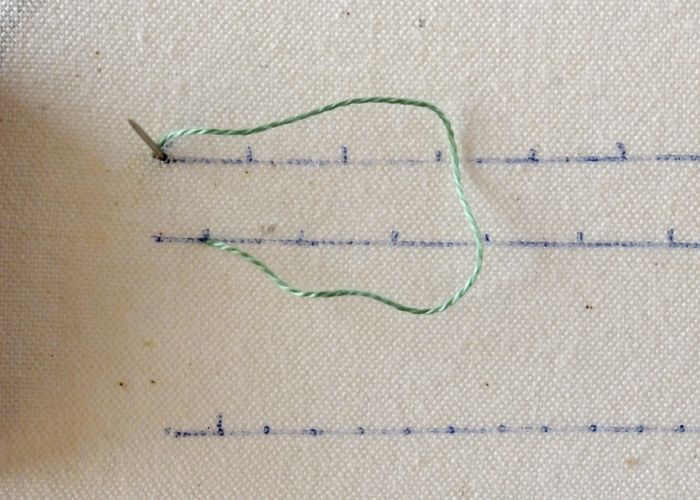
2. Take the needle back up very close to the starting point, inside the loop of the working thread. Pull the thread to close the loop. This will form the first Blanket stitch – the left side of the triangle.
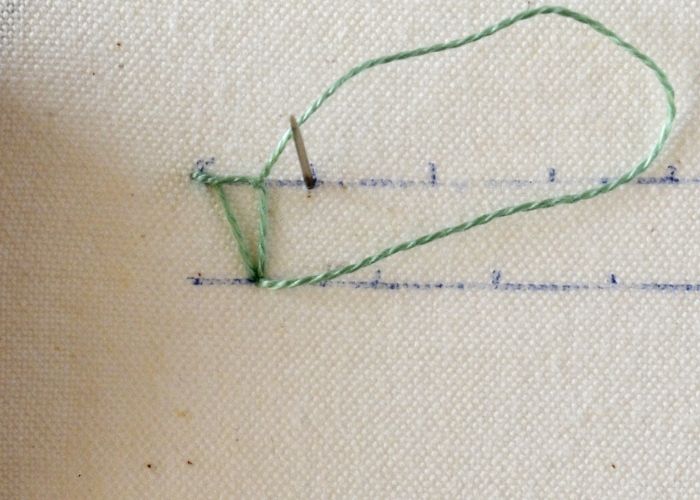
3. Make a second Blanket Stitch. The leg is positioned in the same spot as the first stitch. This one is the central stitch.
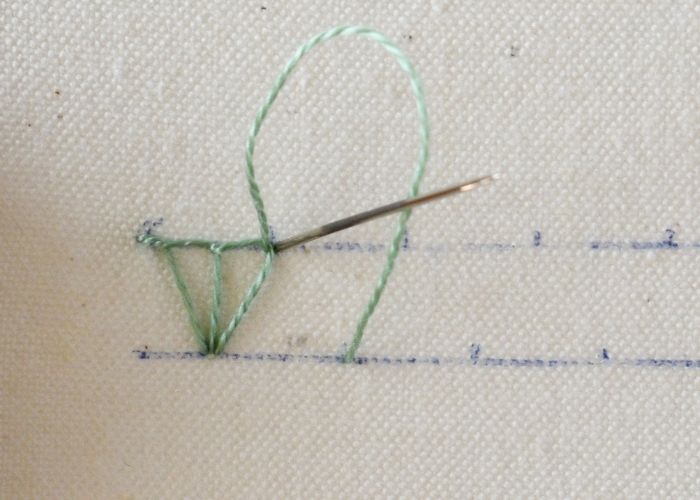
4. Now, add the third Blanket stitch. The leg goes to the same spot, so it closed the triangle.
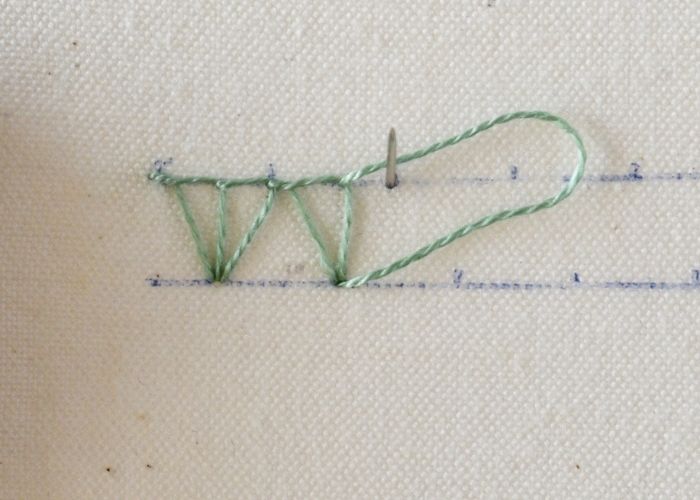
5. After completing one Triple Blanket Stitch, add the next one. Start with a left stitch.
6. Then, add the central stitch and the right stitch.
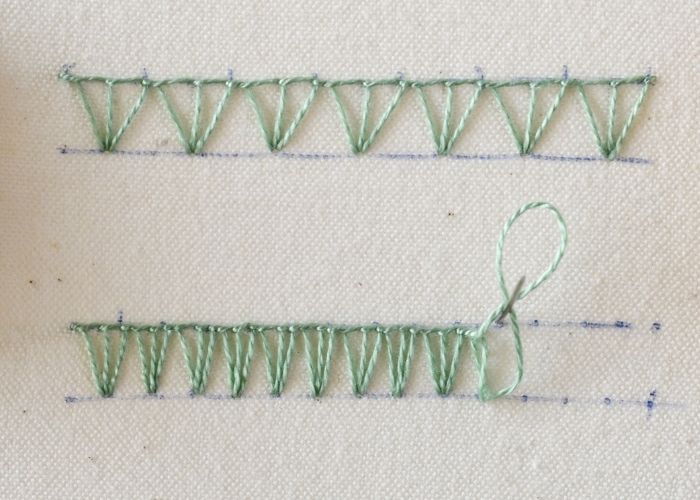
7. Continue embroidering stitches grouped by three until the entire edge is embellished. Secure the last stitch with a small anchoring stitch.
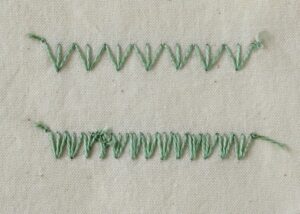
8. With this embroidery technique, you can create stitches of various lengths and densities, enabling a range of designs and visual effects.
Video tutorial
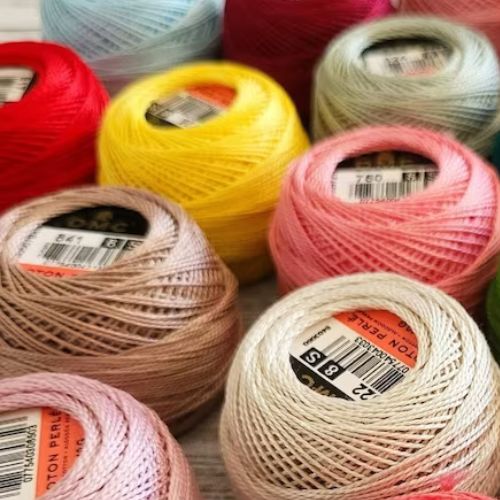
Tools and materials I used for this sampler
Disclaimer. To cover the cost of creating free embroidery patterns and video tutorials for this blog, I do sometimes link to products. Please assume these links are affiliate links. If you choose to buy through my links then THANK YOU – it will make it possible for me to keep doing this.


What’s next?
If you’re in the mood to explore more hand embroidery stitches, check out the Stitches and Techniques page for the list of other fantastic stitches available on my blog. From timeless classics to modern twists, a whole world of stitches is waiting for you to explore and master. So, grab your hoop and needle, and let’s stitch our way to creative bliss!
Don’t miss a thing!
Follow me on YouTube, Instagram, Facebook, Flipboard, and Pinterest. Or why not subscribe to Practical Embroidery newsletter and get embroidery tips straight to your inbox every few weeks?
Need More Guidance?
The top 10 hand embroidery stitches to learn is a free online course created for beginners.