
Up and Down Feathered Buttonhole Stitch
The Up and Down Feathered Buttonhole Stitch is a hand embroidery technique from the Blanket Stitch family, made by combining the Mirrored Blanket Stitch (aka Up and Down Blanket Stitch) with a Feather Stitch.
This unique combination of two embroidery techniques results in a decorative band that can be shaped into various forms. Stitches made at a sharper angle will look like weeds and plants, while stitches placed at a 90-degree angle will create a geometric band.
On the back side of the fabric, this stitch looks like two rows of parallel vertical stitches, grouped in pairs.


Applications of the Up and Down Feathered Buttonhole Stitch
This hand embroidery technique is great for embellishing home textiles and garments. It works well on straight lines like hems or seams, and it also takes curves well, so you can use it to embellish necklines and other rounded shapes.
In decorative surface embroidery, the Up and Down Feathered Buttonhole Stitch is useful for depicting botanical elements like branches, weeds, and other plants. For a more natural look, vary the stitch size, the lengths of paired legs, and the stitch angles.
Other stitches from the Blanket Stitch family


Learn how to embroider Up and Down Feathered Buttonhole Stitch
Follow the step-by-step tutorial with detailed photos below, and you will learn the Up and Down Feathered Buttonhole Stitch quickly. If you are a visual learner, watch a video lesson in the tutorial or on the Practical Embroidery YouTube channel to learn this hand embroidery stitch faster.

How to embroider Up and Down Feathered Buttonhole Stitch
Step-by-step hand embroidery tutorial
1. Mark three parallel lines for guidance. Start with a basic blanket stitch: bring the needle up to the surface on the central line and make one stitch up and to the right. Leave the loop of the working thread open.

2. Get the needle back to the surface on the central marked line, inside the loop.

3. Pull the thread through to tighten the loop and shape the Blanket Stitch. Then, make a short horizontal stitch on the central line.

4. Now create an Up and Down Blanket Stitch. Push the needle to the surface on the upper marked line. Pull the thread through to the surface.

5. Pass the needle under the horizontal stitch you just made and pull the thread through.

6. Now make one more Up and Down Blanket Stitch, this time between the second and third marking lines. Start with the Blanket Stitch.

7. Add a short horizontal stitch on the central line.

8. Get the needle back to the surface on the third marking line and pass it under the central horizontal stitch.

9. From here, repeat the sequence until you stitch the entire band.

10. Changing the angle of the Blanket Stitch will highly influence the final look of the stitch. Note that these two bands are stitched with the same thread and technique; only the stitch angle differs.

Video tutorial
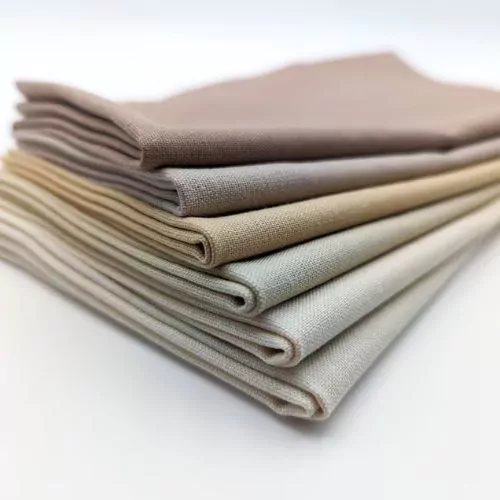
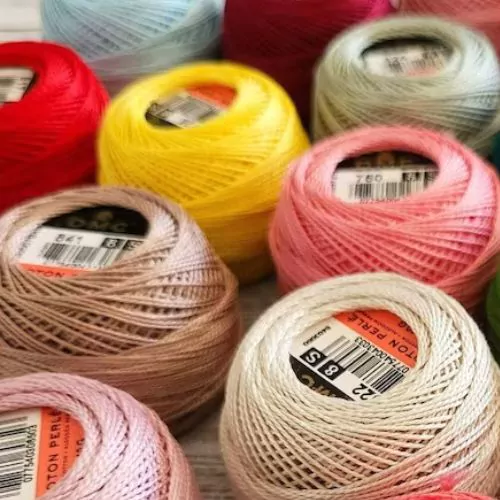
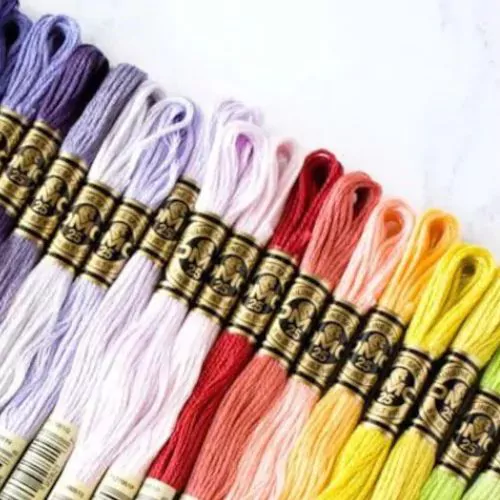
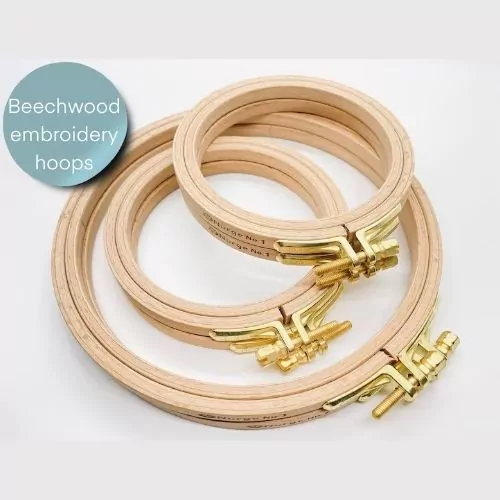
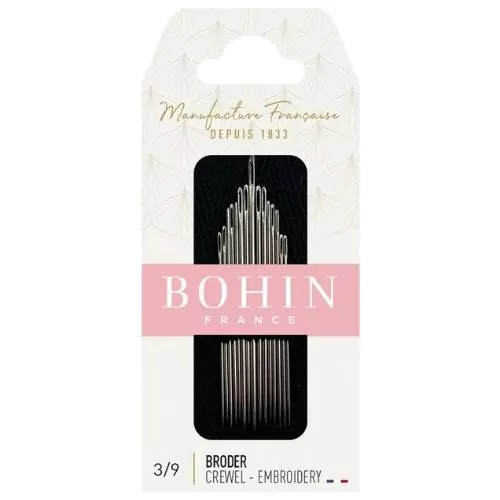
Tools and materials I used for this sampler
Disclaimer. To cover the cost of creating free embroidery patterns and video tutorials for this blog, I do sometimes link to products. Please assume these links are affiliate links. If you choose to buy through my links then THANK YOU – it will make it possible for me to keep doing this.

What’s next?
If you’re in the mood to explore more hand embroidery stitches, check out the Stitches and Techniques page for the list of other fantastic stitches available on my blog. From timeless classics to modern twists, a whole world of stitches is waiting for you to explore and master. Decorative stitches, techniques for filling and outlines, borders or mending – all in one place!


Don’t miss a thing!
Follow me on YouTube, Instagram, Facebook, Flipboard, Telegram, Reddit or Pinterest. On the other hand, you can subscribe to the Practical Embroidery newsletter and get embroidery tips straight to your inbox every week!
Need More Guidance?
The top 10 hand embroidery stitches to learn is a free online course created for beginners.