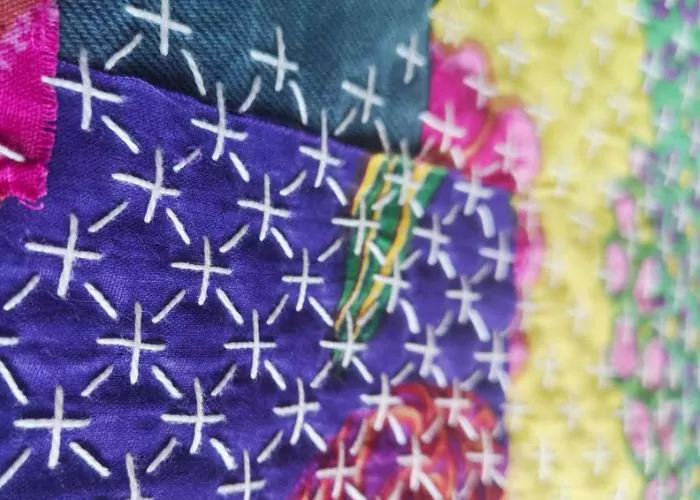

Velvet Stitch
Velvet Stitch is a raised stitch from canvas work technique that combines the cross stitch and a loop to create a raised, dimensional surface.
To embroider this stitch, you will work from left to right and from the bottom up. Dense rows of Velvet Stitch will result in a fully covered, fluffy surface.
The appearance of the Velvet Stitch depends on the density of the stitch and the thread you use for it. Also, you can opt to leave the loops of the stitch intact or cut them. In my sampler, on the left, I used six strands of embroidery floss and cut the loops. The shape on the right is filled with a single pearl cotton thread, and the loops are left intact.
On the back side, this stitch looks like a cross stitch with an additional vertical stitch.
Other names of the Velvet Stitch
This hand embroidery technique has many alternative names, like Astrakhan, Astrakhan velvet, Berlin plush, plush, raised, rug, and tassel stitch.


Applications of the Velvet Stitch
The Velvet Stitch technique comes from canvas work and is a counted thread technique, but it is also used in decorative surface embroidery and stump work.
In modern surface embroidery, you can use Velvet Stitch to depict the hair of people, animal fur, or household objects like carpets and rugs. In botanical embroidery, this stitch works well for the centers of flowers, leaves and blooms, grasses and bushes, or fluffy clouds.
More stitches from the Cross Stitch family


Learn how to embroider Velvet Stitch
Follow the step-by-step tutorial with detailed photos below, and you will learn the Velvet Stitch quickly. If you are a visual learner, watch a video lesson in the tutorial or on the Practical Embroidery YouTube channel to learn this hand embroidery stitch faster.

How to embroider Velvet Stitch
Step-by-step hand embroidery tutorial
1. If you are stitching on the even-weave fabric, mark the shape and the guiding lines or a grid first. Start stitching at the bottom left corner and make the first half of the cross stitch – a diagonal stitch to the top right.

2. Get the needle back up at the same starting point and make one more diagonal stitch, but this time leave the loop of the working thread open. The size of this loop will define the length of your stitches.

3. Get the needle back to the surface on the lower mark, ready to make the second part of the cross stitch.

4. Make a diagonal stitch to finish the cross stitch. This second diagonal stitch will hold the loop you left open in place and stabilize the stitch.

5. Get the needle back to the surface on the lower mark and start the second stitch. Repeat all the same steps.

6. After the first row is filled with Velvet Stitch, start the second one, just above the first row, and fill it with looped stitches. Try to keep all the loops of the same size. If you struggle with sizing, you can use an additional tool, such as a pencil or a knitting needle, to measure the loops.

7. Embroider the rows of the Velvet Stitch until the entire shape is filled.

8. Then you can cut the loops to create a carpet-like surface. Use sharp scissors and combs to ensure all the threads are of the same length.

9. Another option is to keep the loops intact.

Video tutorial
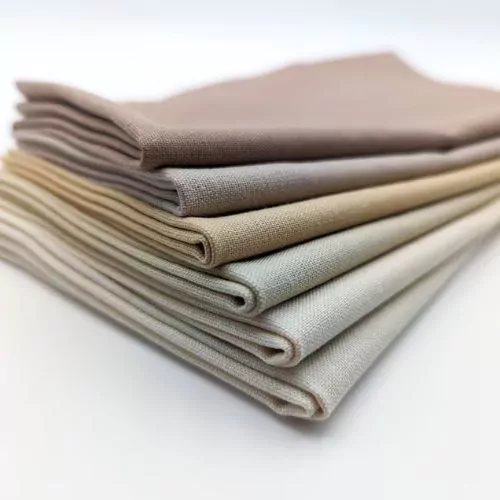
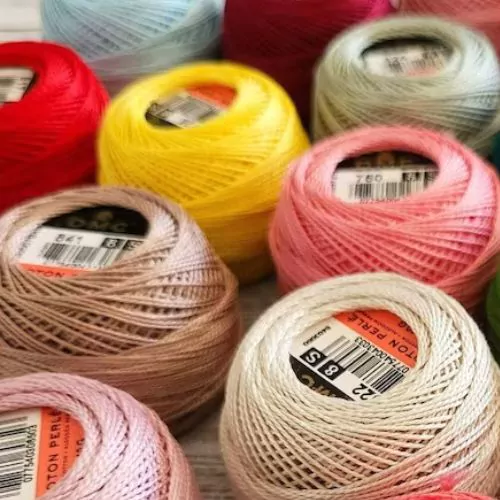
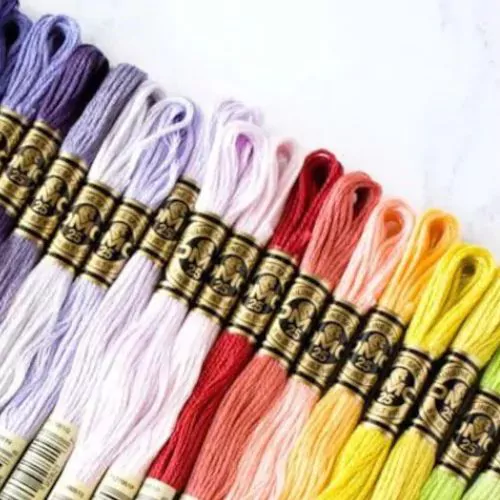
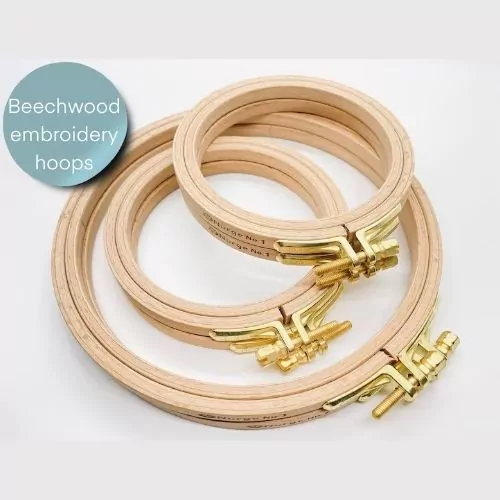
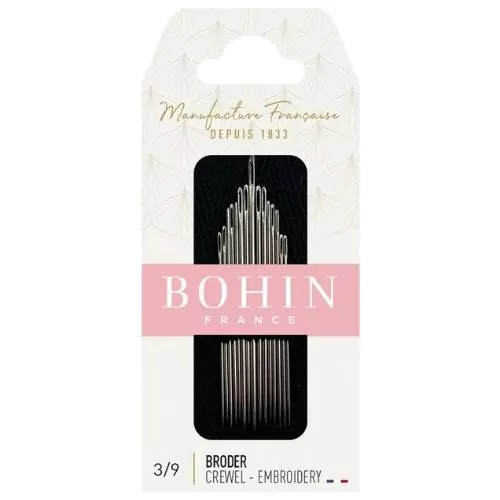
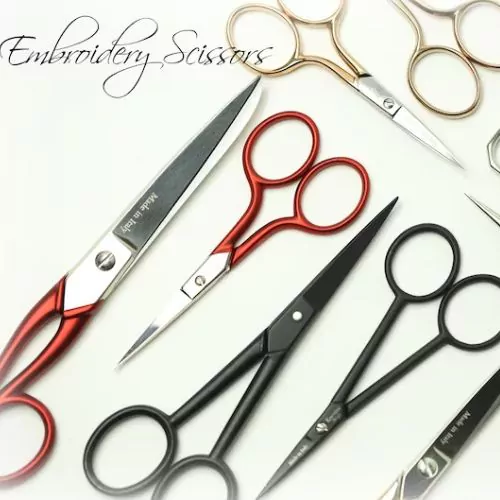
Tools and materials I used for this sampler
Disclaimer. To cover the cost of creating free embroidery patterns and video tutorials for this blog, I do sometimes link to products. Please assume these links are affiliate links. If you choose to buy through my links then THANK YOU – it will make it possible for me to keep doing this.
What’s next?
If you’re in the mood to explore more hand embroidery stitches, check out the Stitches and Techniques page for the list of other fantastic stitches available on my blog. From basic embroidery stitches to complex and playful variations of classical techniques, a whole world of stitches is waiting for you to explore and master. So, grab your hoop and needle, and let’s stitch together!
Don’t miss a thing!
Follow me on YouTube, Instagram, Facebook, Flipboard, and Pinterest. On the other hand, you can subscribe to the Practical Embroidery newsletter and get embroidery tips straight to your inbox every week!
Need More Guidance?
The top 10 hand embroidery stitches to learn is a free online course created for beginners.