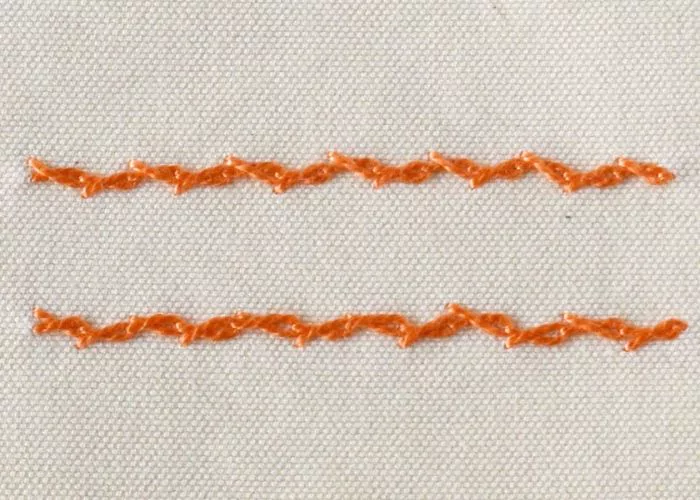
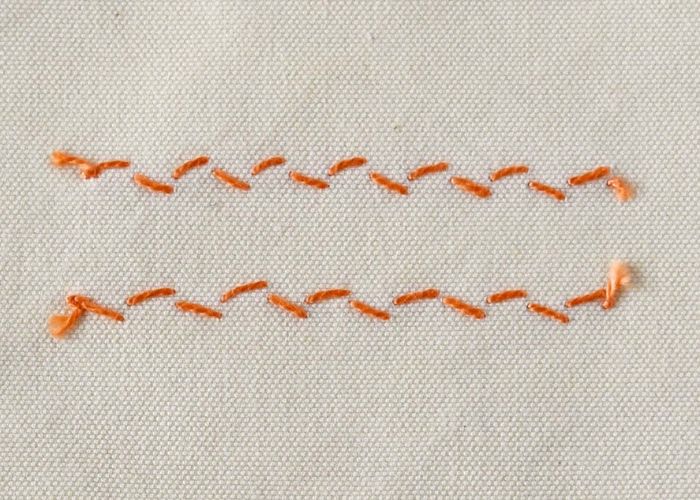
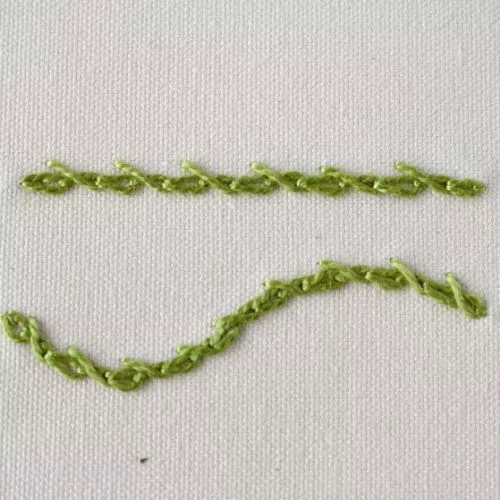
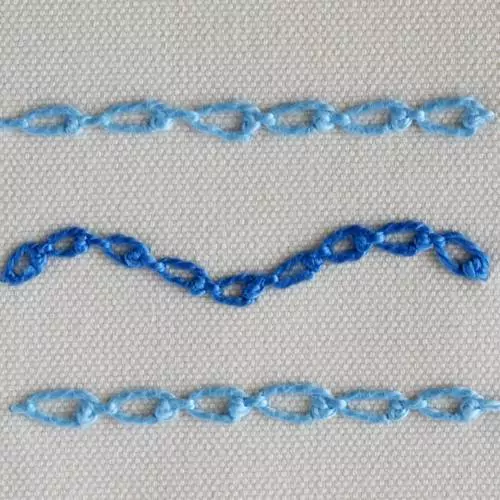
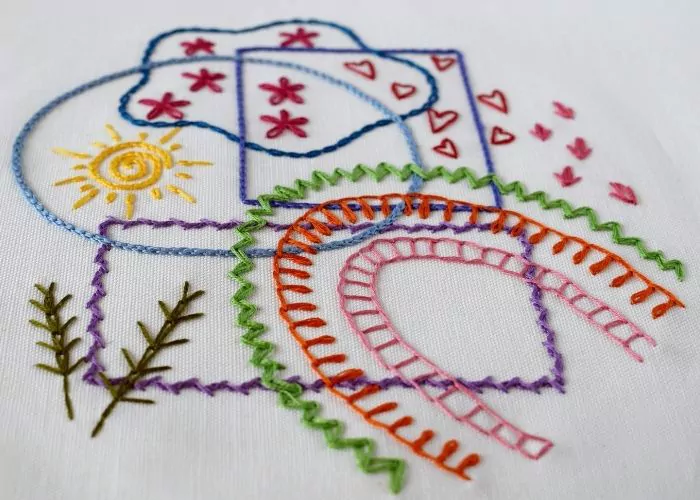
Alternating Twisted Chain Stitch
This hand embroidery Alternating Twisted Chain Stitch is a variation of the classic Chain Stitch, where the needle takes an alternate path through the fabric, creating a twisted appearance. This technique produces a visually striking effect, perfect for adding dimension and depth to your embroidery projects. The stitch can be worked in a straight line or curved, allowing you to easily create beautiful floral stems, intricate outlines, and decorative borders.
Whether you’re a seasoned stitcher or just starting your embroidery journey, the Alternating Twisted Chain Stitch is a must-have in your stitching repertoire.
Applications Of The Alternating Twisted Chain Stitch
The versatility of this variation of the Chain stitch makes it a valuable addition to your embroidery toolbox. Here are some creative applications of this stitch:
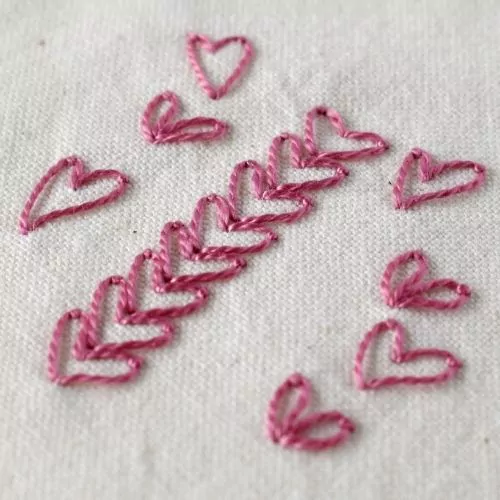
- Floral Embroidery: Use the stitch to create stunning floral stems, leaves, and vines, bringing nature’s beauty to your designs.
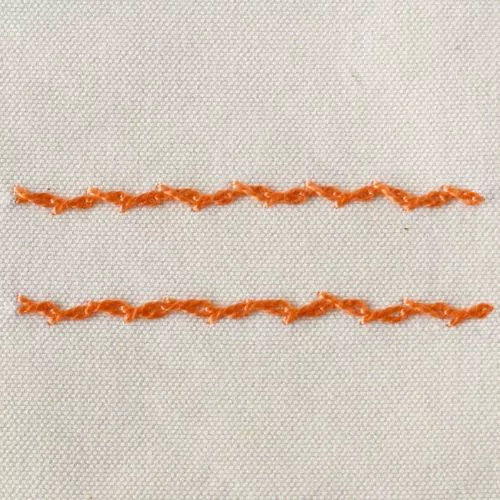
- Outline and Borders: The stitch’s twisted appearance makes it ideal for outlining motifs and adding decorative borders to your embroidery projects.
- Textured Fillings: Experiment with filling larger areas using rows of Alternating Twisted Chain stitches, giving your designs a unique and textured finish.
- Monograms and Lettering: Add elegance to monograms and lettering using the Alternating Twisted Chain stitch for smooth, sophisticated outlines.
More Variations Of The Chain Stitch
Learn how to embroider Alternating Twisted Chain Stitch
Follow the step-by-step tutorial with detailed photos below, and you will learn the Alternating Twisted Chain Stitch quickly. If you are a visual learner, watch a video lesson in the tutorial or on the Practical Embroidery YouTube channel to learn this hand embroidery stitch faster.
How to embroider Alternating Twisted Chain Stitch
Step-by-step hand embroidery tutorial
Instructions
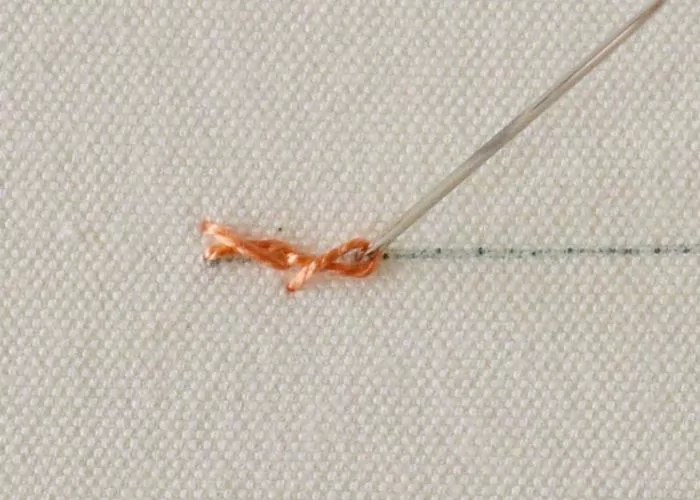
1. Mark the line for the desired path of your embroidery.
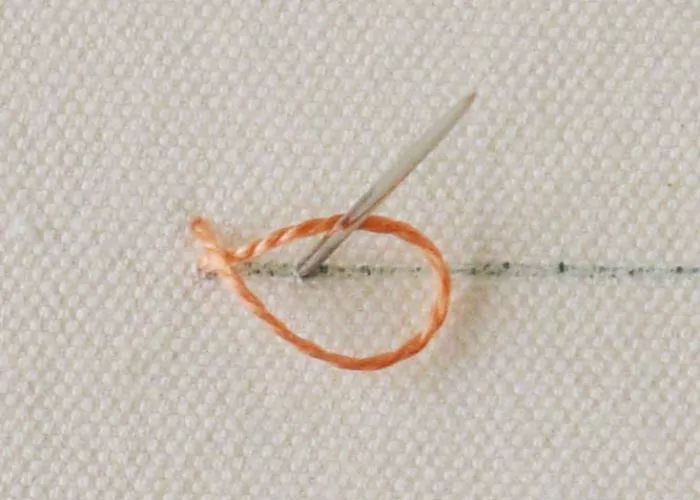
2. Take the needle up on the line. Pass the needle to the fabric close to the starting point, above the thread, and leave the loop.
3. Take the needle up on the line, one stitch to the right.
4. Twist the thread forming the loop and pass the working tread inside the loop. Tighten the loop.
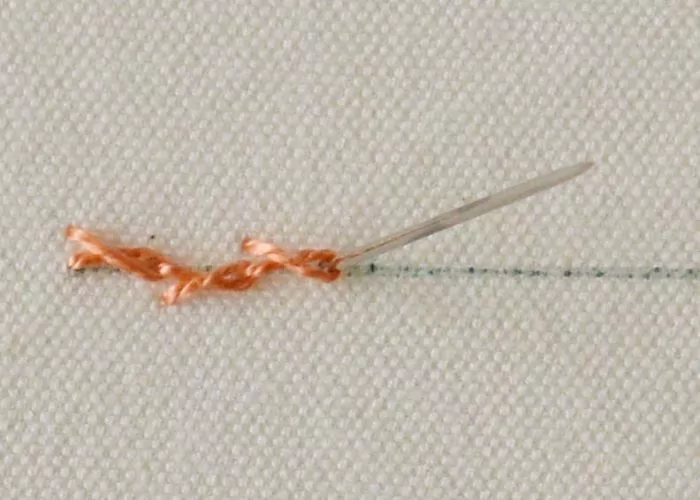
5. Push the needle down into the fabric under the Chain you just created.
6. Twist the loop and push the needle on the marked line inside the twisted loop.
7. Continue making twisted chain stitches. Position the stitches alternately – one above the chain stitch and the next – under the chain stitch.
Video tutorial
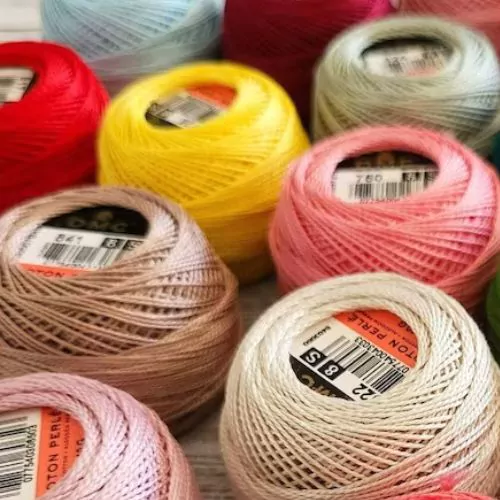
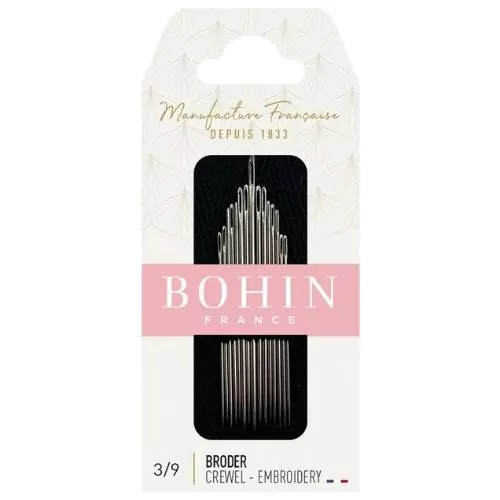
Tools and materials I used for this sampler
Disclaimer. To cover the cost of creating free embroidery patterns and video tutorials for this blog, I do sometimes link to products. Please assume these links are affiliate links. If you choose to buy through my links then THANK YOU – it will make it possible for me to keep doing this.


What’s next?
If you’re in the mood to explore more hand embroidery stitches, check out the Stitches and Techniques page for the list of other fantastic stitches available on my blog. From timeless classics to modern twists, a whole world of stitches is waiting for you to explore and master. So, grab your hoop and needle, and let’s stitch our way to creative bliss!
Don’t miss a thing!
Follow me on YouTube, Instagram, Facebook, and Pinterest. Or why not subscribe to Practical Embroidery newsletter and get embroidery tips straight to your inbox every few weeks?
Projects to practice Alternating Twisted Chain Stitch
Need More Guidance?
The top 10 hand embroidery stitches to learn is a free online course created for beginners.