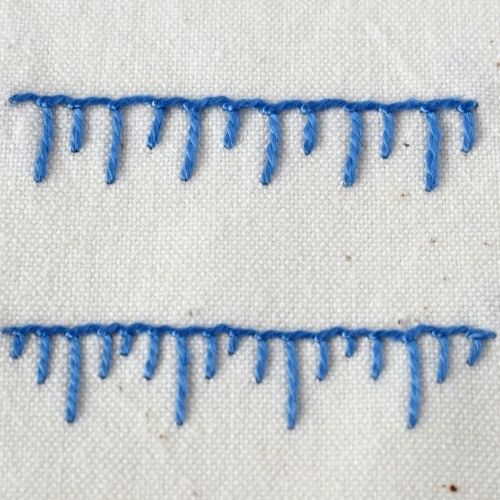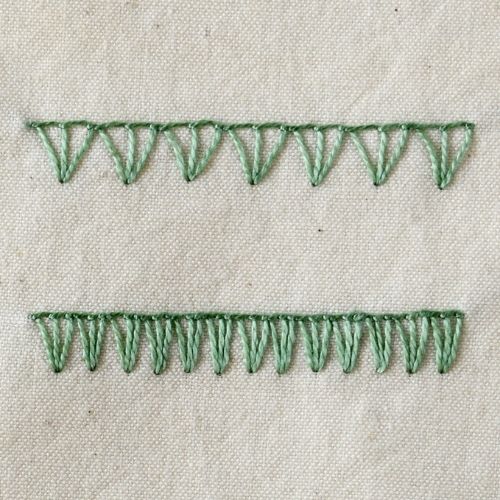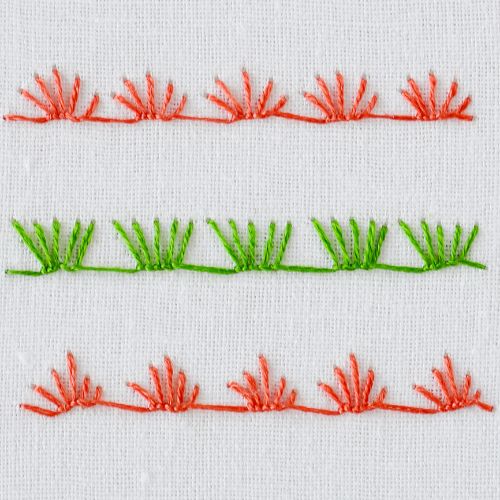
Buttonhole Bar Picots
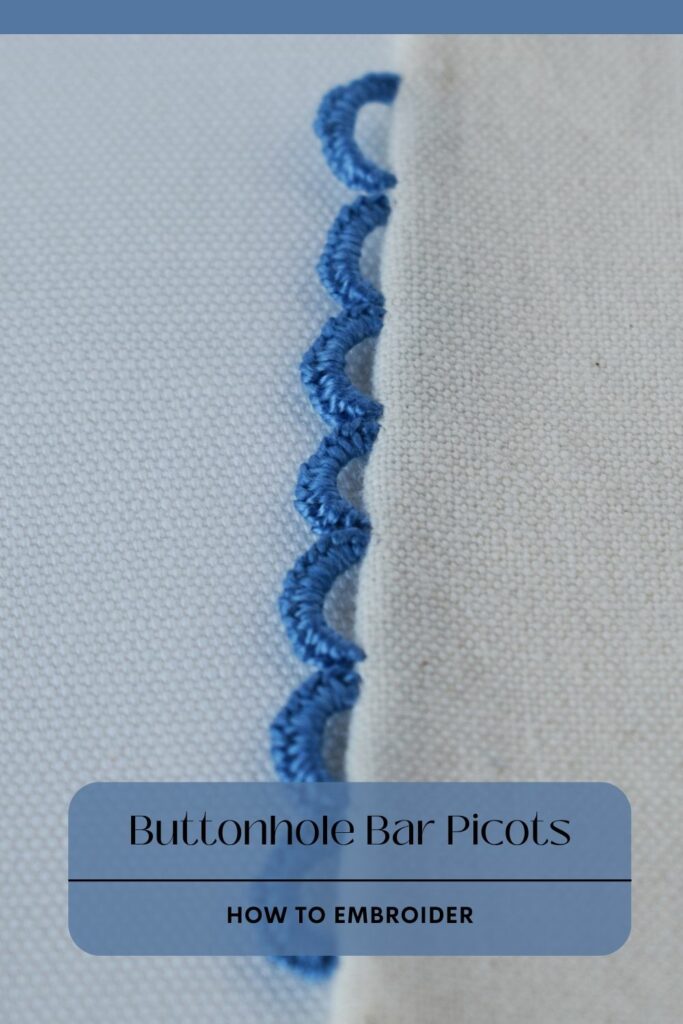
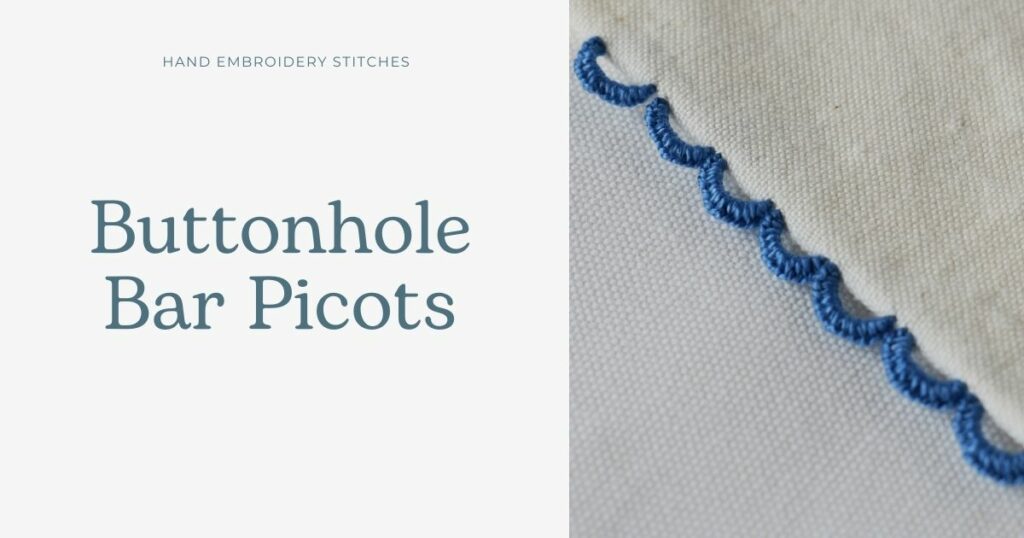
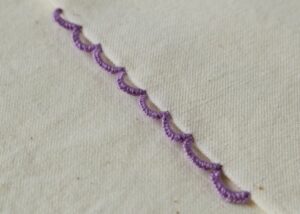
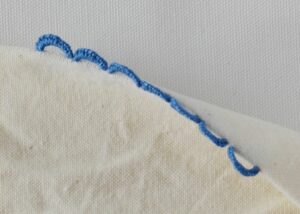
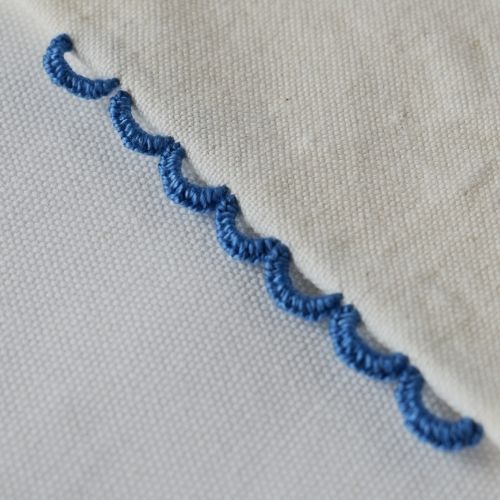
Buttonhole Bar Picots is a decorative variation of the Blanket Stitch for edges that creates a bold, textural edging.
The method of this technique is simple – position equally spaced Buttonhole Bars along the edge of the fabric to decorate it.
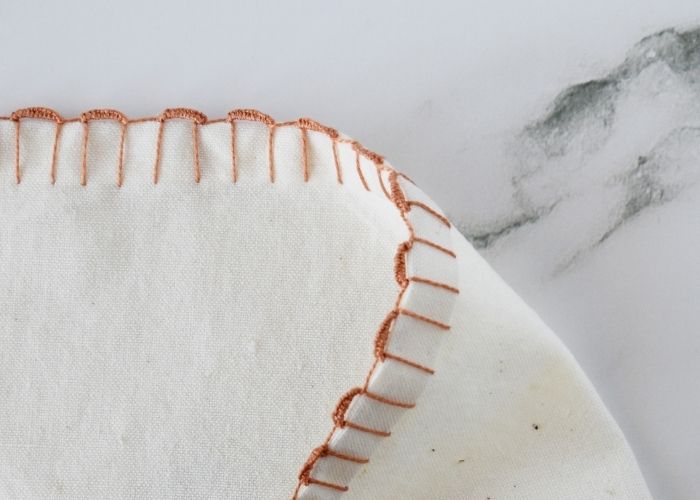
This stitch is double-sided, so both sides of the embroidery look almost the same. All the starting and finishing threads can be hidden between the layers of the fabric close to the edge.
Other names of the Buttonhole Bar Picots
This hand embroidery technique can also be called Buttonhole Picots, Buttonhole Scallops, Ring Picots, or Buttonhole Rings.
Applications of the Buttonhole Bar Picots
This hand embroidery technique for edging is mainly used to decorate the edges of garments and household textiles like tablecloths, fabric napkins, or towels.
Using the thread of the same color as the fabric will give an elegant textural edging. Colorful threads, on the other hand, will result in bold, playful edging.
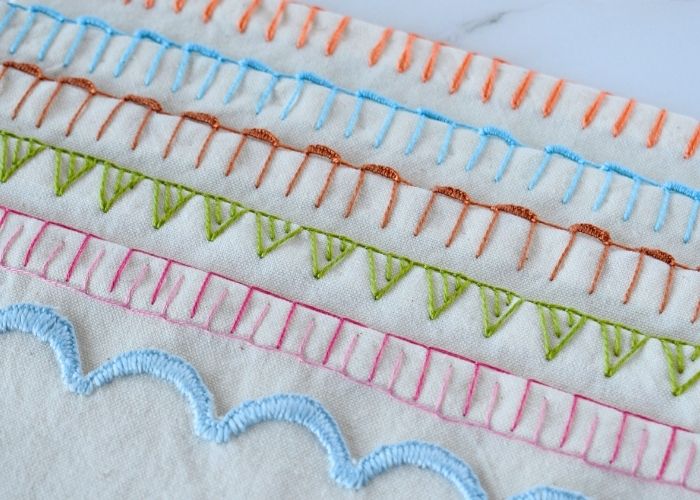
To create various designs, you can combine Buttonhole Bar Picots with Blanket stitch edging, change the distance between the loops, or make them overlap. You can also make the loops of various colors.
More stitches from Stitch family
Head to the article “Blanket Stitch And Its Variations” to learn more bout various Blanket stitch options for outlines, borders, filling and decorative edging.
Learn how to embroider Buttonhole Bar Picots
Follow the step-by-step tutorial with detailed photos below, and you will learn the Buttonhole Bar Picots quickly. If you are a visual learner, watch a video lesson in the tutorial or on the Practical Embroidery YouTube channel to learn this hand embroidery stitch faster.
How to embroider Buttonhole Bar Picots
Step-by-step hand embroidery tutorial
1. Prepare the edge of the textile you will embellish. Note that Buttonhole Bar Picots only decorate, but do not hold the fabric together. Take the needle to the surface and make a stitch back. Return to the starting point inside the fold.
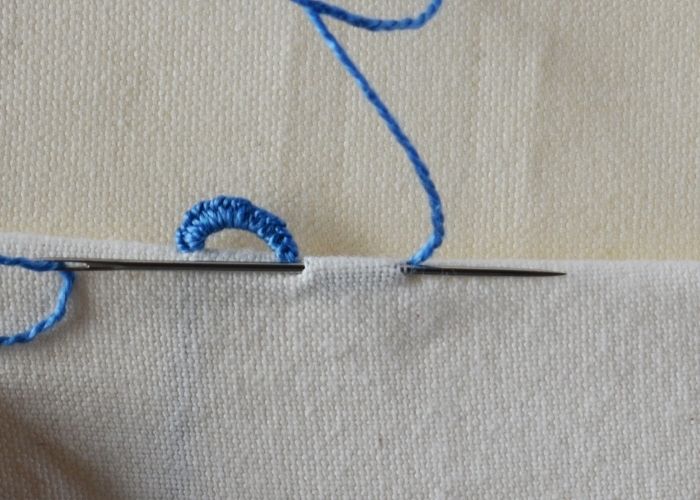
2. Add one more loop. This is a base for your picots. You can create a loop of 3-4 threads to make a bulkier ring picot.
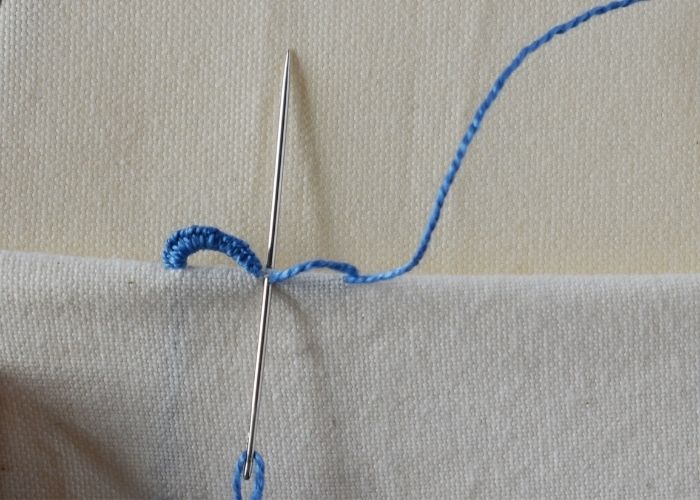
3. Make the first Blanket stitch on the loop. Tighten it well.
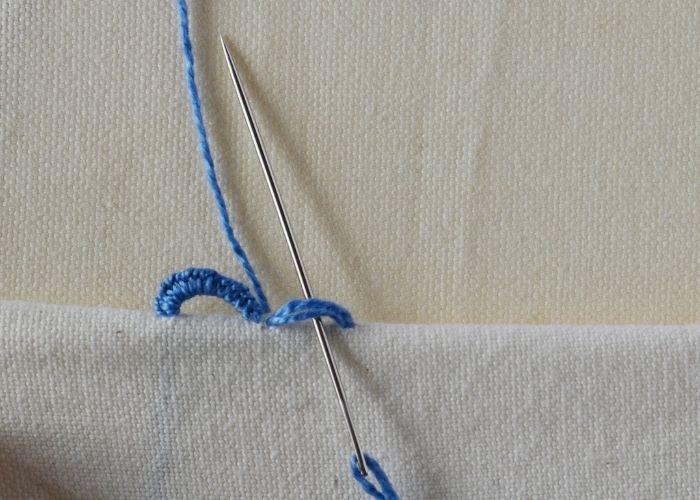
4. Add one more Blanket stitch on the loop of threads.
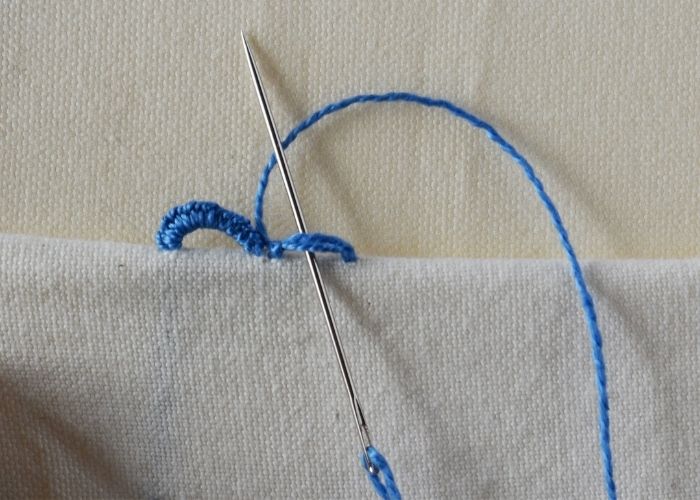
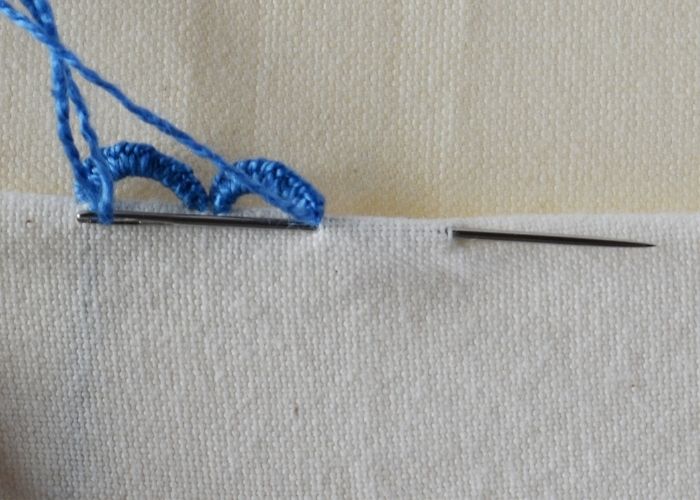
5. Continue adding dense Blanket stitches to cover the entire thread loops with neat, dense stitches.
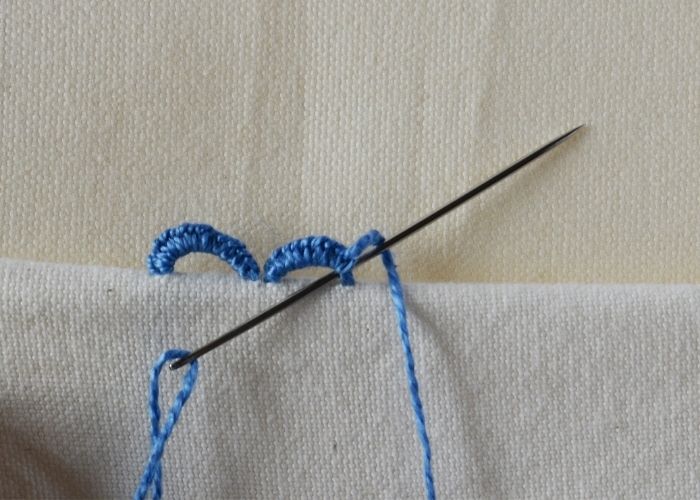
6. When the first Buttonhole Bar Picot is finished, push the needle between the layers of the fabric and move to make the next picot, or secure the thread to finish off.
Video tutorial
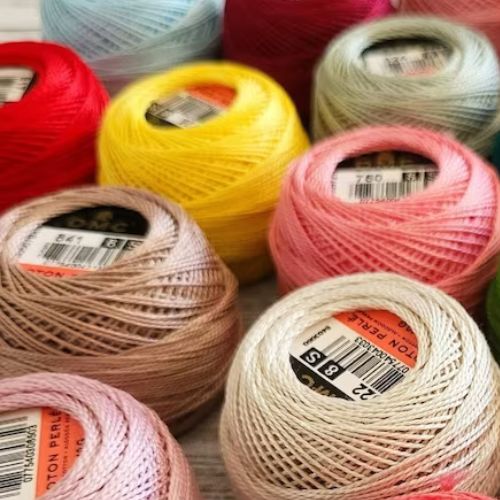
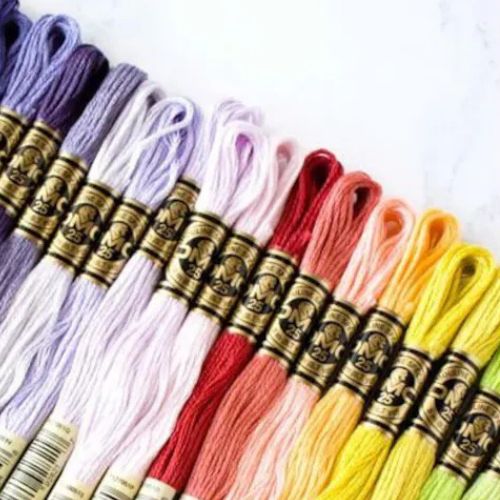
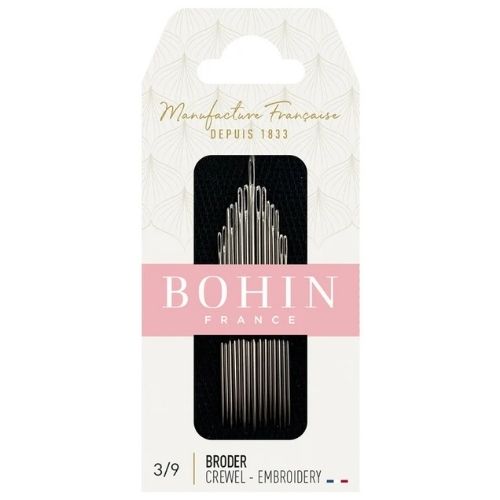
Tools and materials I used for this sampler
Disclaimer. To cover the cost of creating free embroidery patterns and video tutorials for this blog, I do sometimes link to products. Please assume these links are affiliate links. If you choose to buy through my links then THANK YOU – it will make it possible for me to keep doing this.
What’s next?
If you’re in the mood to explore more hand embroidery stitches, check out the Stitches and Techniques page for the list of other fantastic stitches available on my blog. From timeless classics to modern twists, a whole world of stitches is waiting for you to explore and master. So, grab your hoop and needle, and let’s stitch our way to creative bliss!
Don’t miss a thing!
Follow me on YouTube, Instagram, Facebook, Flipboard, and Pinterest. Or why not subscribe to Practical Embroidery newsletter and get embroidery tips straight to your inbox every few weeks?
Need More Guidance?
The top 10 hand embroidery stitches to learn is a free online course created for beginners.
