DIY magnetic bookmark tutorial: Create a personalized hand-embroidered page holder
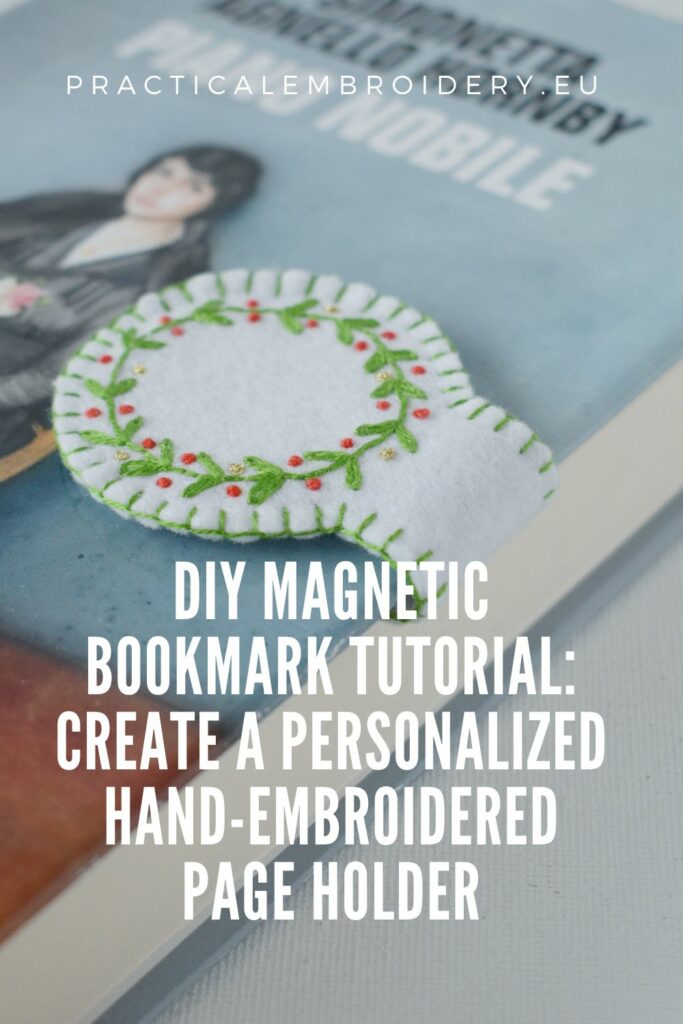
DIY tutorial with a free printable magnetic bookmark template and Christmas wreath embroidery pattern
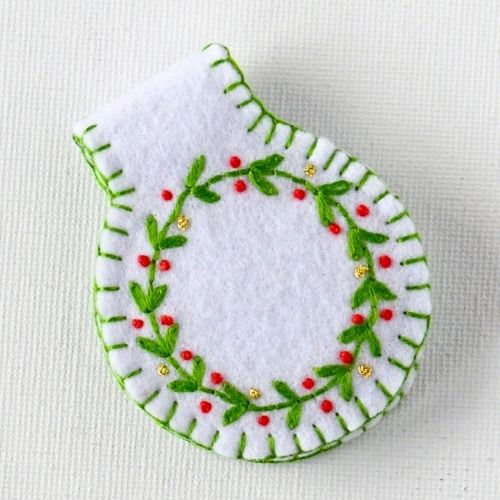
If you are a book lover who enjoys adding a personal touch to your reading accessories, this magnetic bookmark DIY embroidery and sewing project is perfect for you! These custom magnetic bookmarks combine embroidery with practical functionality – they not only mark the pages and hold them securely in place with hidden magnets but also add a cozy feeling and a personal touch.
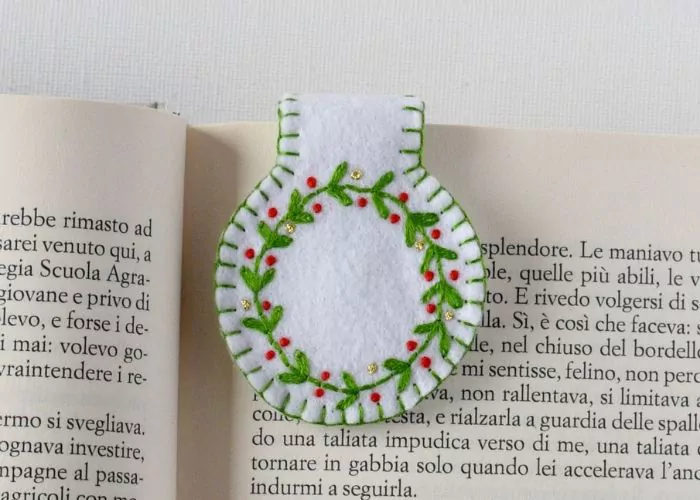
This DIY magnetic bookmark tutorial will walk you through the process of creating your very own custom bookmark, from preparing the materials to transferring the embroidery pattern, stitching, and adding those final decorative touches. Whether you’re an embroidery pro or just getting started, this step-by-step tutorial will help you create a beautiful and unique page marker that makes a lovely gift or a sweet addition to your collection of reading accessories.
How to make and embroider magnetic bookmark
Tolls and materials
- Embroidery hoop.
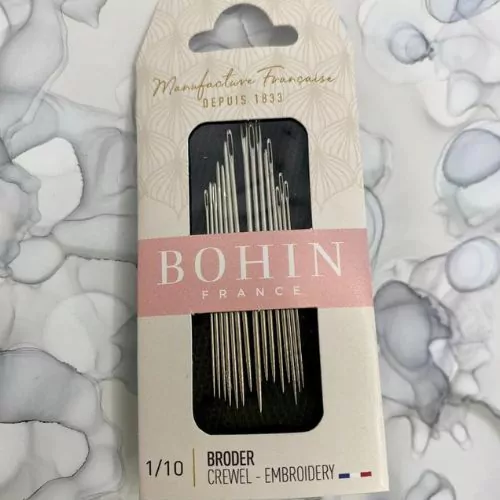
- Embroidery needles.
- Scissors – paper, craft, and embroidery scissors.
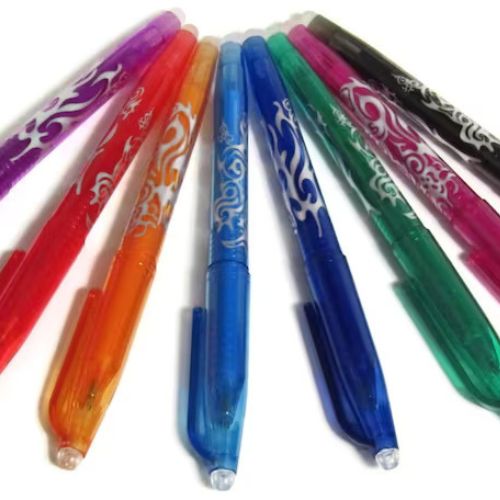
- Friction pen.
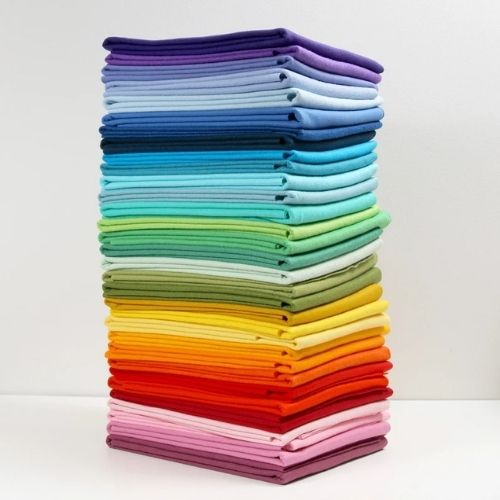
- Felt fabric.
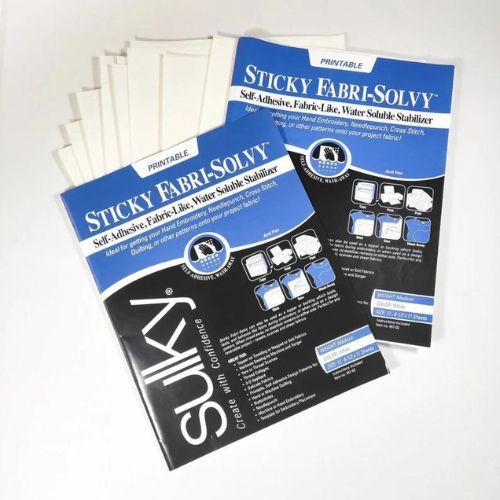
- Water soluble stabilizer.
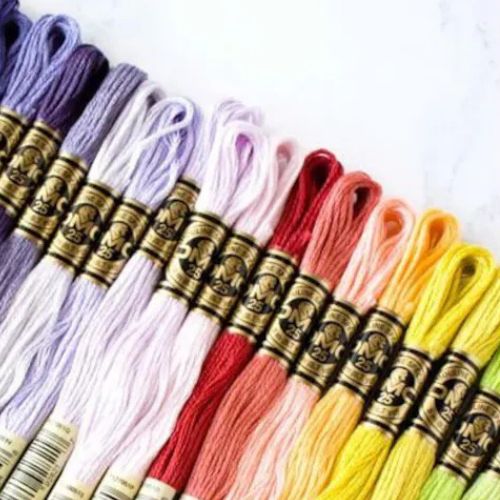
- Embroidery floss.
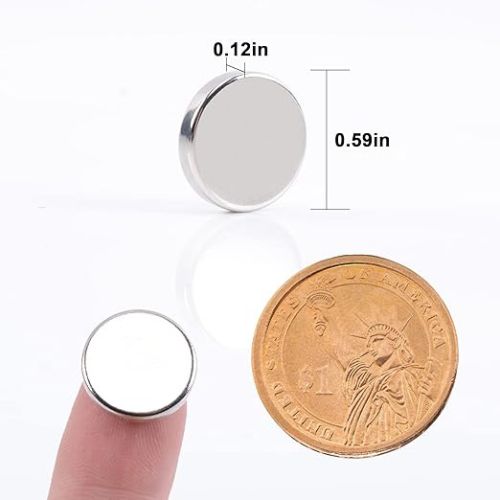
- Two magnetic discs. Mine are 15 mm in diameter, but any size between 10 and 20 mm will work for this project.
- Piece of cardboard.
Magnetic bookmark making instructions
How to make a magnetic bookmark – Step-by-step tutorial
- Gather tools and materials
Download the free Magnetic bookmark PDF pattern and stitch guide and print it. Gather the tools and materials listed above.
- Transfer the pattern
Layer the water-soluble stabilizer above the printed pattern and transfer the embroidery design and the bookmark template using a friction pen.
- Prepare the pattern transfer
Cut out the water-soluble stabilizer with a pattern. Leave a 0,5 cm edge around the marks.
- Peal and stick
Separate the stabilizer with a design from the paper backing and stick it on the felt fabric. Press with your fingers to attach the stabilizer.
- Prepare the hoop
Place the fabric with a design in the hoop. Tighten the tension screw so the fabric stays taut.
- Embroider the wreath
Use two strands of green embroidery floss and a Backstitch to embroider the wreath. I made 3-4 stitches between each pair of leaves. Start stitching with a folded thread method. This will help to avoid the knots on the back and the bumps on the front of your custom magnetic bookmark.
- Embroider the leaves
Use two strands of green embroidery floss to make the leaves. Make a Detached Chain stitch for each leave. Then, move on to the next section of the wreath with Backstitch.
- Add red berries
Use two strands of red embroidery floss and embroider French knots. Leave some empty spaces for the golden berries.
- Add golden berries
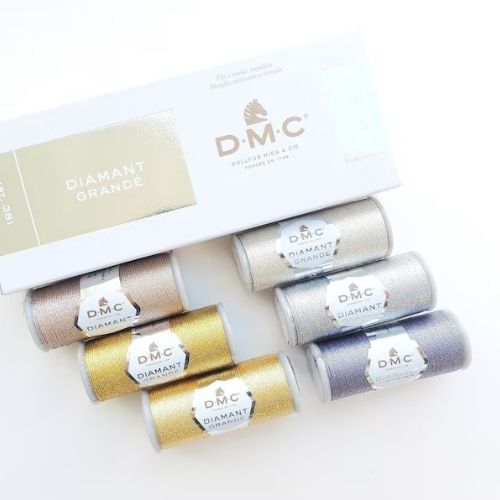
I separated a DMC Diamant Grande thread in half to attain the same size as the red French knots.
- Embroider the second side of the magnetic bookmark
When one side is done, move to the second circle and repeat all the steps – embroider the wreath and add red and golden berries. At this point, you can add additional personalization to this DIY magnetic bookmark and embroider your initials inside the wreath.
- Prepare the embroidered bookmark for sewing
Remove the fabric from the hoop and cut out the shape of the page marker.
- Remove the stabilizer
Submerge the fabric into the lukewarm water and wait some minutes till the water-soluble stabilizer melts. Wash the embroidery with running water and mild detergent. You will feel that all the stabilizer is gone, and the fabric is not sticky. Dry and iron the embroidered segment of the marker.
- Prepare the backing
While the embroidered piece is drying, cut out the blank shape of the marker from the pattern page, outline it on the felt fabric, and cut it out from the felt. Iron this piece and set it aside.
- Prepare the magnets
Cut two circles from the cardboard. The circle’s diameter is 1 cm smaller than the diameter of the bookmark. Glue the magnetic discs to the cardboard and let them dry well. Please pay attention to the sides of the magnets and turn them to the correct position before gluing.
- Pin the pieces together
Place the two pieces of the reading place holder one above another with an embroidery facing out. Match the angles and secure them together with a pin. Trim the edges if needed.
- Sew with Blanket stitch
Use two strands of green embroidery floss and sew the pieces of your personalized magnetic bookmark together. You can use Blanket stitch of Whip stitch for sewing. Start with a folded thread method or hide the knot between the layers of the felt fabric. When sewing, remember to leave the opening hole for the magnets.
- Insert the magnets
When almost the entire sewing is done, insert the pieces of cardboard with the magnets into each circle of the bookmark. Control if the poles of the magnets are positioned in the correct direction and the magnets are pulling each other instead of pushing.
- Close the gap
Finish sewing the pieces with the Blanket stitch.
Video Tutorial
Recommended Products
Disclaimer. To cover the cost of creating free embroidery patterns and video tutorials for this blog, I do sometimes link to products. Please assume these links are affiliate links. If you choose to buy through my links then THANK YOU! – it will make it possible for me to keep doing this.
Over to you
Congratulations! You’ve just made a one-of-a-kind magnetic bookmark with a Christmas wreath embroidery. Now, you have a beautiful, functional, and personalized accessory that’s perfect for marking a page in the book you are reading or gifting to a fellow book lover. The hand-embroidered Christmas wreath motive adds a festive mood and coziness, and the hidden magnets ensure your bookmark stays securely in place.
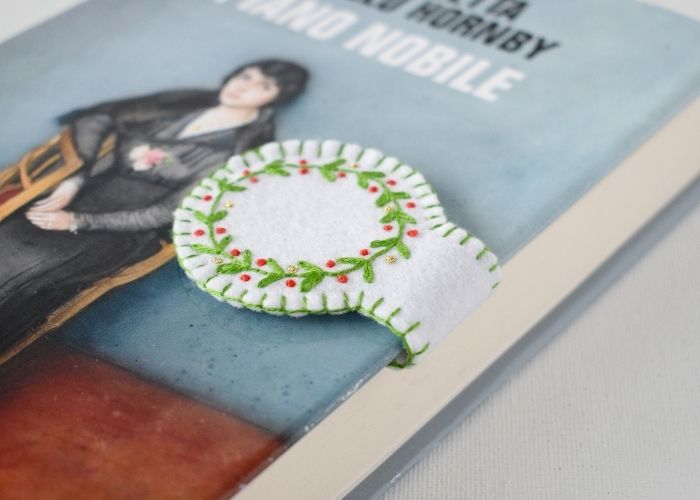
Now that you know how to make a magnetic bookmark, you can experiment with different designs, colors, and personalization to create a collection of page markers for any occasion. These make perfect handmade gifts for Christmas, birthdays, and other occasions when you want a handmade gift. Happy reading, and enjoy the satisfaction of making something truly unique by hand!
Don’t miss a thing!
Follow me on YouTube, Instagram, Facebook, and Pinterest. Or why not subscribe to Practical Embroidery newsletter and get embroidery tips straight to your inbox every week?