
Hand Embroidered Corner Bookmark: A Step-by-Step Guide to Crafting a heartfelt gift for a book lover
Looking for a perfect gift to make for a book lover in your life? Then, this tutorial is for you!
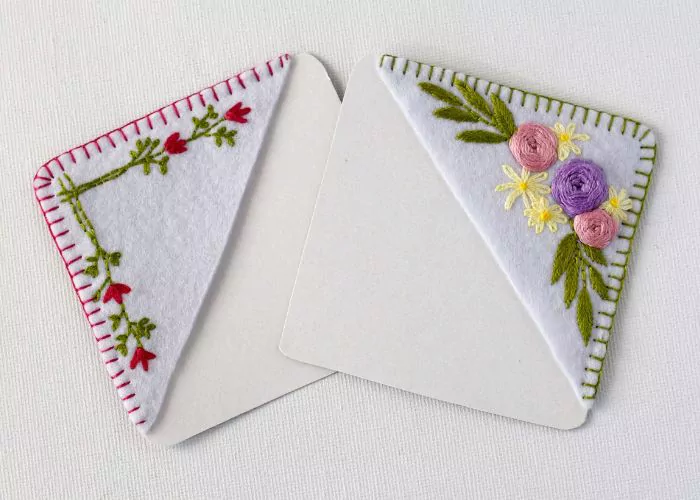
Hand embroidered corner bookmark with floral embroidery is a testament to the elegance and timelessness of needlework. This charming project bridges the gap between traditional craftsmanship and modern functionality, offering a creative outlet for those who appreciate the art of embroidery.
Imagine tucking a beautifully stitched piece of art into your favorite novel, a constant companion during your literary journeys. In this detailed guide, I’ll show you how to create two variations of hand embroidered corner bookmarks. So you can gift one and keep the second one for yourself.
Whether you’re a seasoned stitcher or a novice, this tutorial will guide you through each meticulous step, ensuring your bookmark is not just a tool but a miniature work of art that reflects your personal style and skill.
The best part? You can sign up for my biweekly newsletter and download both floral patterns for free.
Disclaimer: To cover the cost of creating free embroidery patterns and video tutorials for this blog, I do sometimes link to products. Please assume these links are affiliate links. If you choose to buy through my links then THANK YOU – it will make it possible for me to keep doing this.

Hand Embroidered Corner Bookmark
Step-by-step hand embroidery tutorial
Tools and Materials
Tools:
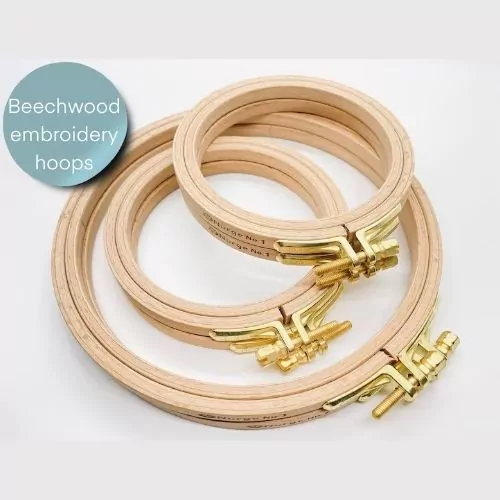
- Embroidery hoop. Mine is 10 cm in diameter.
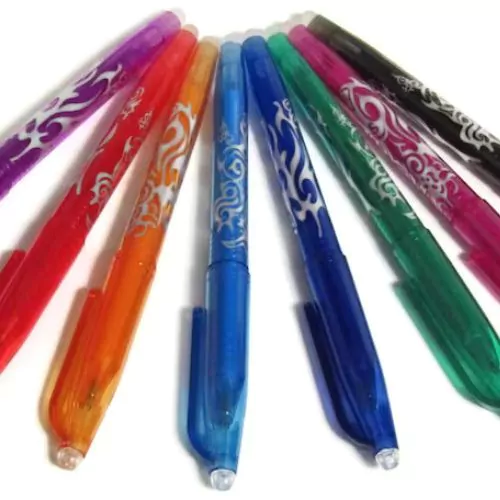
- Friction pen for pattern transfer.
- Scissors. Craft scissors and embroidery scissors.
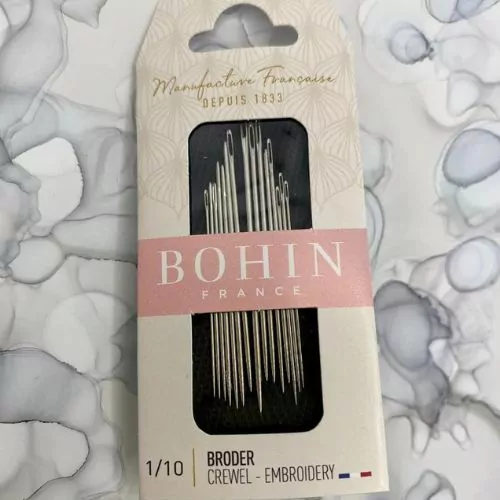
- Embroidery needle.
Materials:
- Embroidery pattern. Download it now.
- Felt fabric, 15 x 15 cm (to make two bookmarks). I used white felt fabric, but you can choose any color.
- Embroidery floss. I used DMC embroidery floss #581 Moss Green, #600 Very Dark Cranberry, #3354 Light Dusty Rose, #209 Dark Lavender, #3078 Very Light Golden Yellow, and #444 Dark Lemon. Choose your favorite colors to personalize the bookmark.
- Water soluble stabilizer for pattern transfer. I used a self-adhesive stabilizer.
- Piece of thin carboard paper. Any sturdy paper will do – I used a piece of foiled paper from the packaging.
Instructions
- Download and print the pattern. Gather all the tools and materials you will need for the project.

2. Transfer the pattern to the water-soluble stabilizer. Use friction pen for pattern transfer. I traced the shape of two bookmarks and copied both patterns.

3. Frame the fabric in a hoop, adjust the tension, and tighten the screw. Peal and stick the water soluble stabilizer with the pattern to the center of the fabric in a hoop.

4. To embroider the Minimalistic flowers, start with the stems. Use two strands of green embroidery floss to embroider with the Backstitch. For the leaves – use a Detached Chain Stitch.

5. Use two strands of bright pink embroidery floss to embroider the flowers. First, make two Detached Chain Stitches on the sides and then make one central Chain Stitch.

6. Floral bouquet pattern will require more work. Start with the leaves. Use two strands of green embroidery floss to embroider with Fishbone Stitch.

7. Add the branches. Use two strands of the same green embroidery floss and make Backstitches to connect the leaves and the stem.

8. Embroider the daisies. Use two strands of light yellow embroider floss. Embroider Lazy Daisy Stitches in the circle to depict small flowers.

9. Pop a French Knot inside each daisy to make the centers of the flowers.

10. Embroider pink flowers. Use six strands of light pink embroidery floss. Use Woven Wheel Stitch for this part of the embroidery. Start with five spokes.

11. Then – add weaving stitches. Use a blunt cross-stitch needle or the back of your embroidery needle for weaving stitches.

12. After the first woven flower is done, add one more flower.

13. Finally, embroider the central woven flower. Use six strands of light purple embroidery floss. First, make five Straight Stitches to form the spokes. Then, weave the thread around the spokes to create the Woven Wheel flower.

14. Both floral patterns are done. Take the embroidery from the hoop and cut out the shapes of the bookmarks.

15. Soak the pieces in lukewarm water to remove the stabilizer. Rinse well. Dry and press the embroideries.
16. Cut out the square shapes of the cardboard paper.

17. Match the corner of the fabric with the paper card and clip them together. Use a sewing or paper clip to temporarily hold the pieces together.

18. Sew the embroidered piece with the paper. Use the Blanket Stitch. It will form a nice and neat border and securely hold the paper card with the felt fabric. Use one of the embroidery colors to highlight the seam or opt for the neutral color.

Video Tutorial
Recommended Products
Disclaimer. To cover the cost of creating free embroidery patterns and video tutorials for this blog, I do sometimes link to products. Please assume these links are affiliate links. If you choose to buy through my links then THANK YOU! – it will make it possible for me to keep doing this.


Over to You

Crafting a hand embroidered corner bookmark is an enriching experience that combines the beauty of embroidery with the joy of creating something both artistic and functional. Throughout this guide, we’ve explored the detailed steps necessary to bring this charming project to life, from preparing the fabric and transferring the design, to the intricate process of stitching and finishing the bookmark. Each step plays a crucial role in ensuring your bookmark’s durability and aesthetic appeal.

Remember, the joy of creating your hand embroidered corner bookmark is as essential as the final product. It’s an opportunity to hone your skills, express your creativity, and make a personalized item that can be cherished for years. Whether gifting it to a fellow book lover or keeping it for your collection, this bookmark is a testament to the timeless art of hand embroidery. So, take your time, enjoy the process, and revel in the satisfaction of crafting something truly unique by hand.
More DIY Gift ideas from the blog:


Don’t miss a thing!
Follow me on YouTube, Instagram, Facebook, Flipboard, Telegram, Reddit or Pinterest. On the other hand, you can subscribe to the Practical Embroidery newsletter and get embroidery tips straight to your inbox every week!