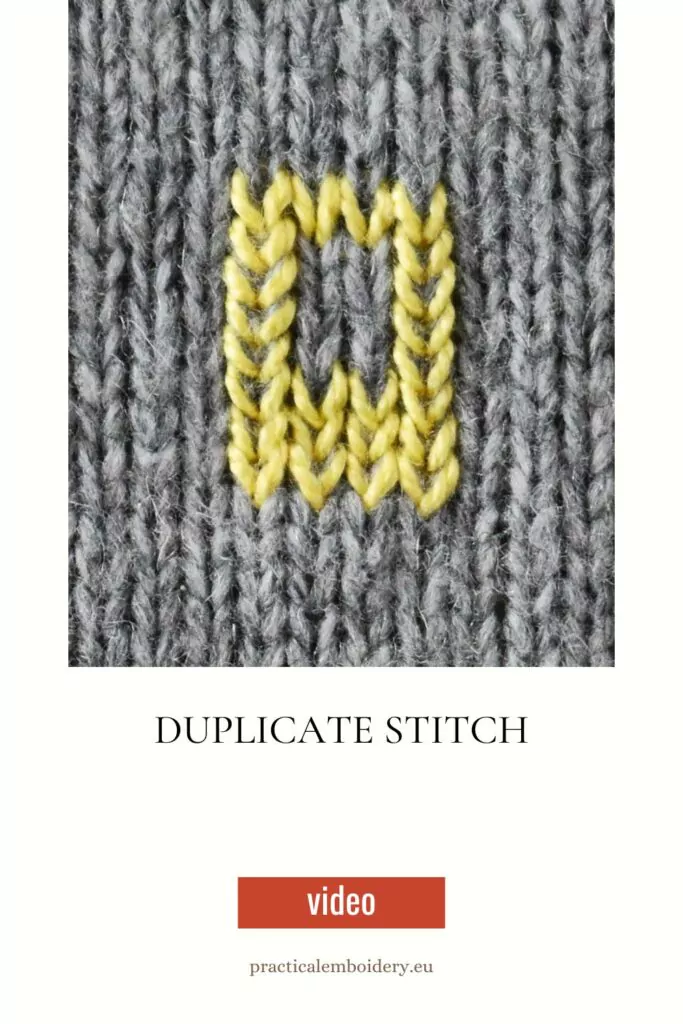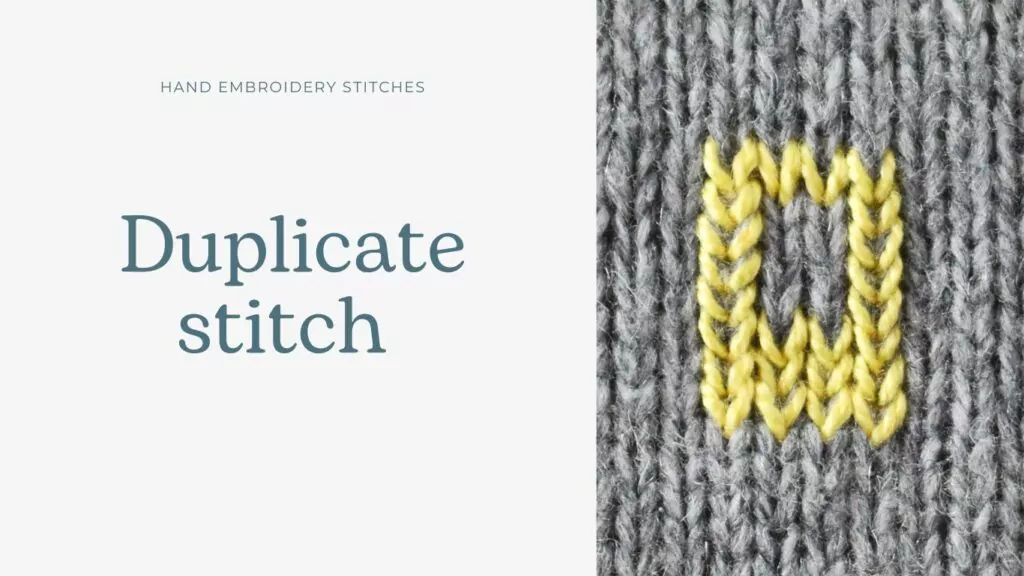
Duplicate Embroidery Stitch
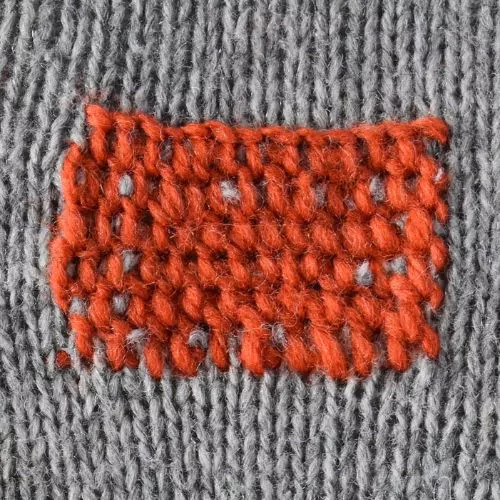
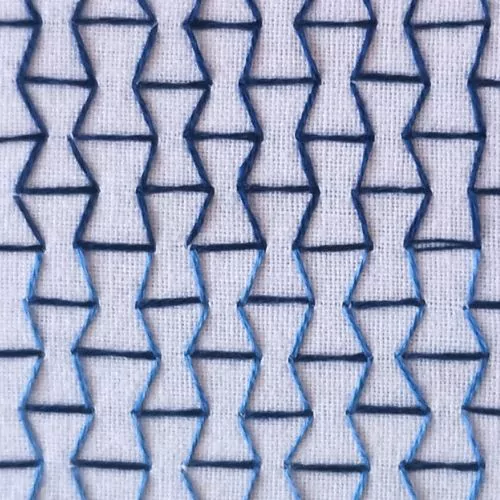
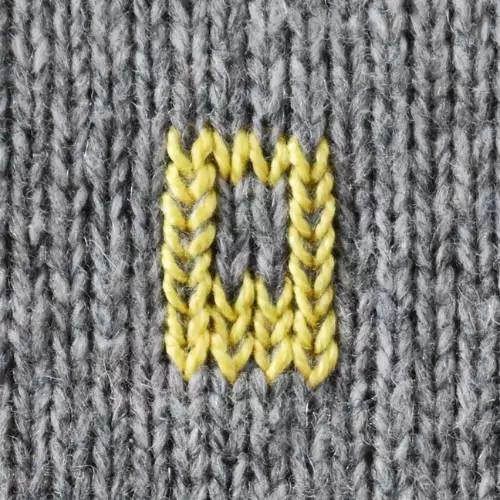
Duplicate Stitch Hand Embroidery is your go-to stitch if you want to embroider on the knitwear – add some colorful details and decorative elements, cover the stain or mend a hole. As the name suggests, it duplicates the plain knit stitches (stockinette stitch). You can choose to use A-shaped stitches or V-shaped stitches. It is only a choice of design.
By the way – you do not need to know how to knit to be able to embroider this simple stitch!
Other Names Of The Duplicate Stitch
This stitch is also called Swiss Darning, as it is widely used to mend holes in knitwear. With this technique, you can recreate missing stitches (the hole) or cover the existing ones.
Applications Of The Duplicate Stitch:
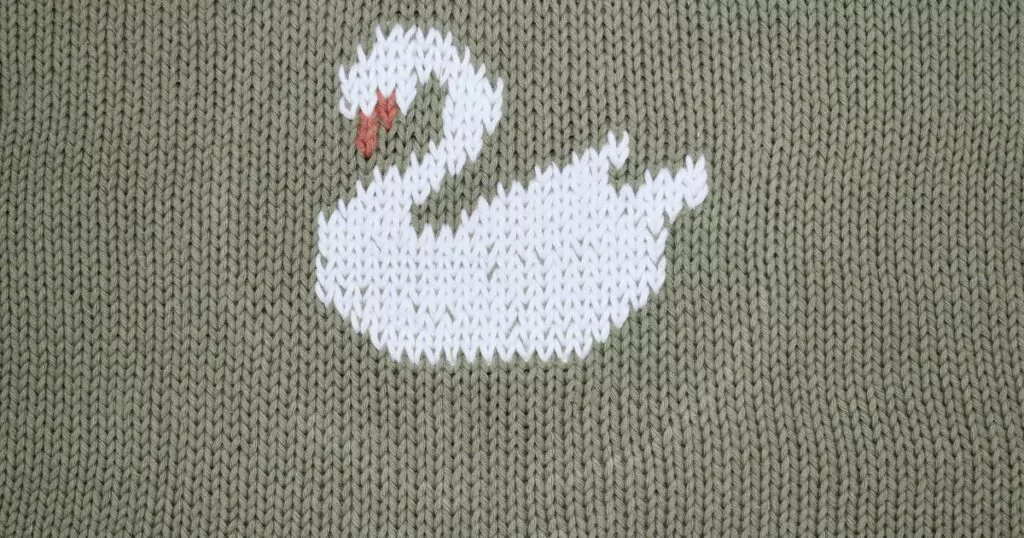
- Knitters often use these stitches to replace knitting techniques like intarsia or Fair Isle.
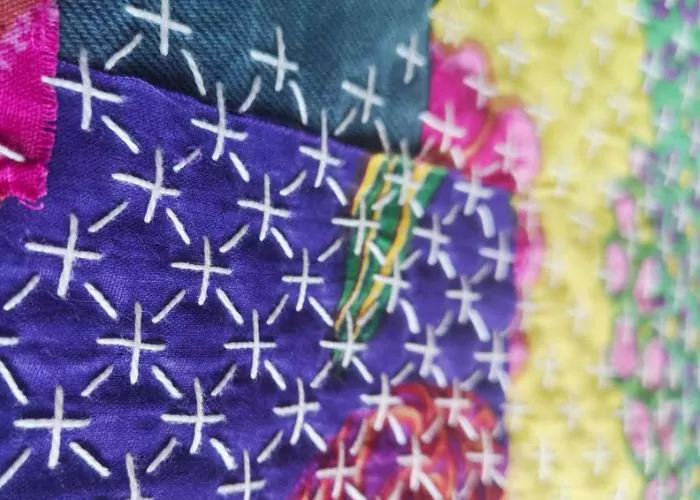
- A duplicate stitch is excellent for adding decorative details to plain knitwear. With it, you can personalize a boring sweater with letters, flowers, or any other counted embroidery motive.
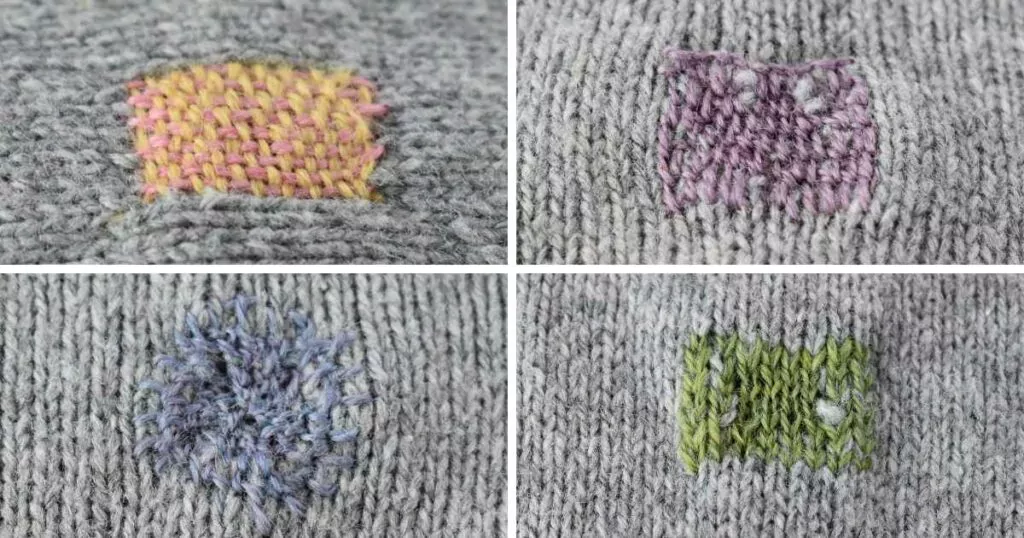
- Duplicate stitch is essential in mending knitwear. You can cover the stains or repair the holes with stitches and make your mend invisible. Also, you can go bold and make the mending stand out.
Embroidery Tips:
More hand embroidery stitches for mending
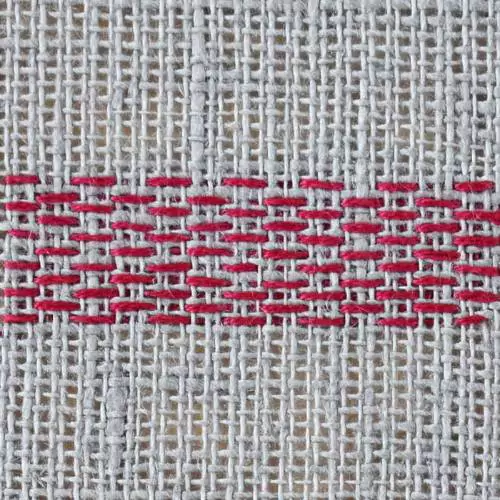
You will find an extensive list of embroidery stitches from this stitch group in the article “Hand embroidery stitches for mending” on this Blog.
Learn how to embroider Duplicate stitch
Follow the step-by-step tutorial with detailed photos below, and you will learn the Duplicate stitch quickly. If you are a visual learner, watch a video lesson in the tutorial or on the Practical Embroidery YouTube channel to learn this hand embroidery stitch faster.
How to embroider Duplicate stitch
Step-by-step hand embroidery tutorial
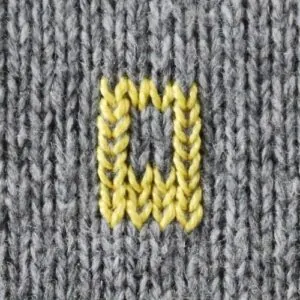
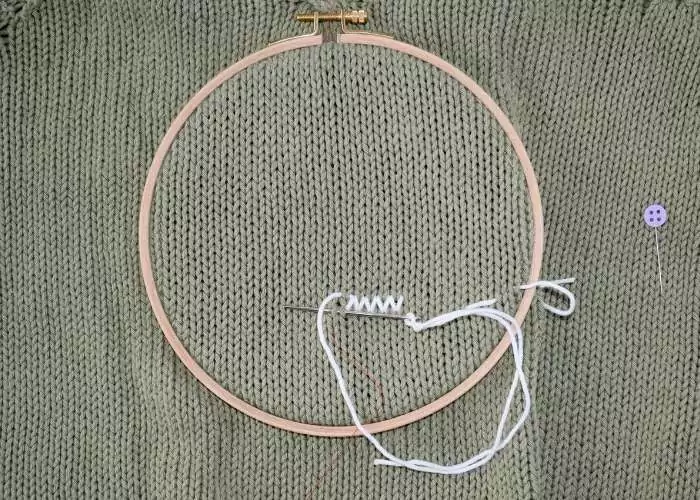
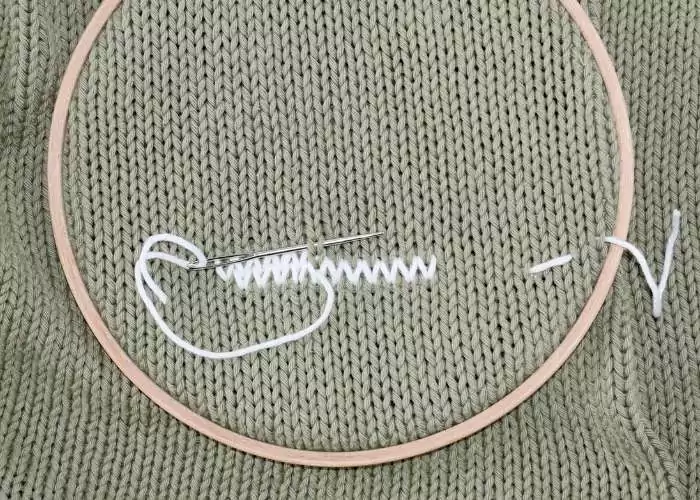
1. Start embroidering from the bottom right side. Leave the tale of the thread long and start stitching. You will take care of this end later. For each V of the pattern, make one Duplicate Stitch. Pass the needle under the knit stitch from the right side when working from the right.
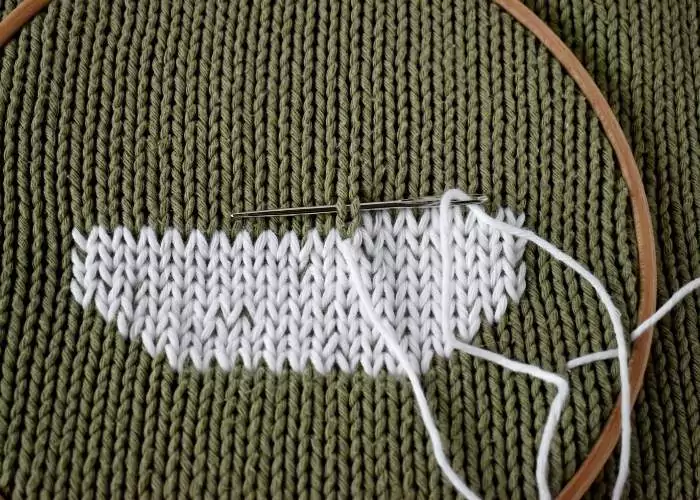
2. Now, add the second row of duplicate stitches. You will work from the felt, so you must pass the needle under the knit stitch from the left.
3. Keep moving from side to side and change the direction of the stitches from row to row, till you will fill entire area with duplicate stitches.
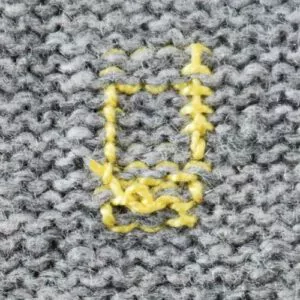
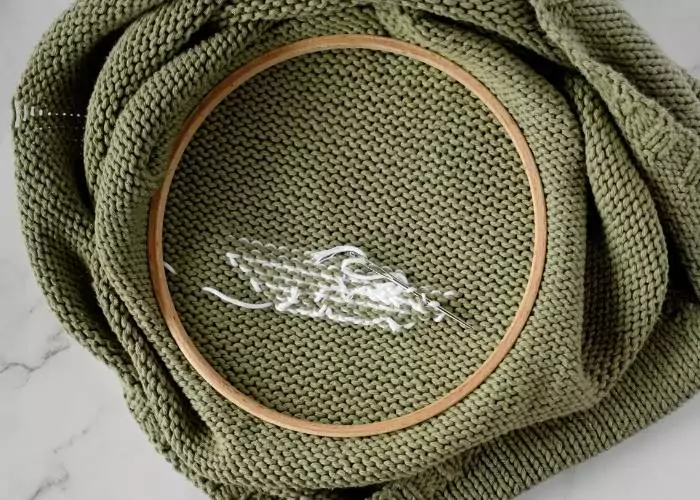
4. When you finish the embroidery, secure the ends of the threads under the previously made stitches on the back.
Video tutorial
If you are a visual learner, watch a video tutorial below or on the Practical Embroidery YouTube channel. In this video, you’ll find easy-to-follow, step-by-step instructions that will have you creating the Duplicate stitch like a pro in no time.
What’s next?
If you’re in the mood to explore more hand embroidery stitches, check out the Stitches and Techniques page for the list of other fantastic stitches available on my blog. From timeless classics to modern twists, a whole world of stitches is waiting for you to explore and master. So, grab your hoop and needle, and let’s stitch our way to creative bliss!
Don’t miss a thing!
Follow me on YouTube, Instagram, Facebook, Flipboard, Telegram and Pinterest. On the other hand, you can subscribe to the Practical Embroidery newsletter and get embroidery tips straight to your inbox every week!
Need More Guidance?
The top 10 hand embroidery stitches to learn is a free online course created for beginners.