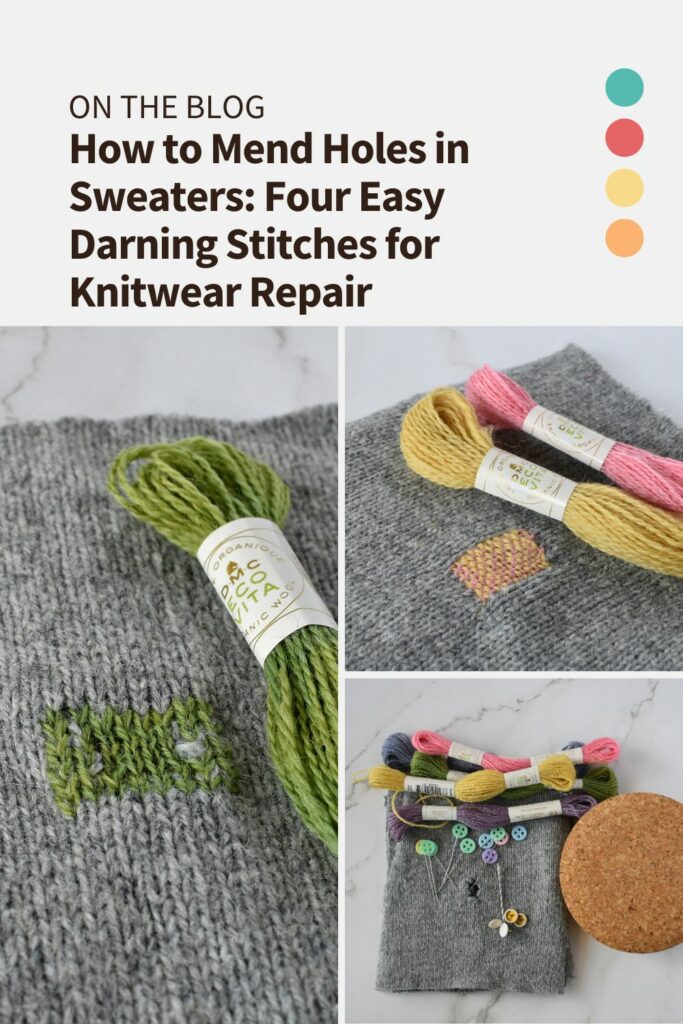
How to Mend Holes in Sweaters: Four Easy Darning Stitches for Knitwear Repair
Sweaters and other knitwear are wardrobe staples we reach for year after year—but over time, even our favorite pieces can develop thin spots, snags, or holes. Instead of tossing them out, learning how to mend holes in sweaters is a rewarding and straightforward way to extend their life. With just a few stitches and basic tools, you can restore your knitwear, save money, and embrace a more sustainable approach to fashion.
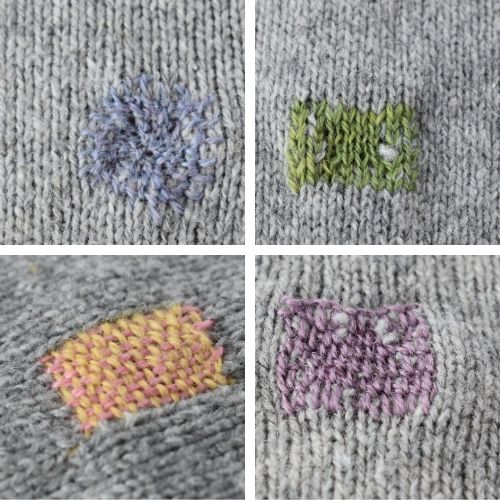
In this guide, I’ll show you four effective techniques for repairing knitwear: the Weaving stitch, Scotch darning stitch, Swiss darning (also called Duplicate stitch), and the Blanket stitch variation – Sun wheel stitch.
Each method has its own strengths, whether you’re aiming for a nearly invisible repair or a bold, decorative patch. Step-by-step photos and a comprehensive video tutorial will guide you through the process, allowing even beginners to feel confident tackling sweater repairs at home.
Tools and materials for sweater repair
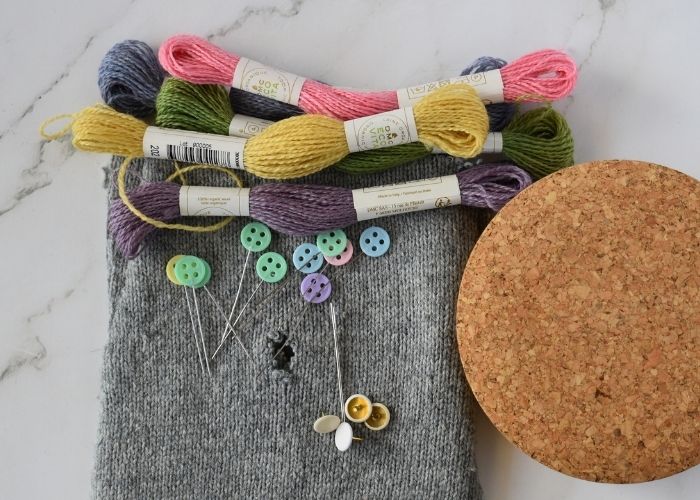
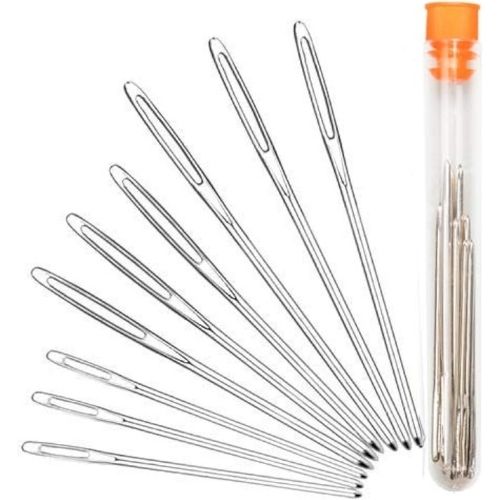
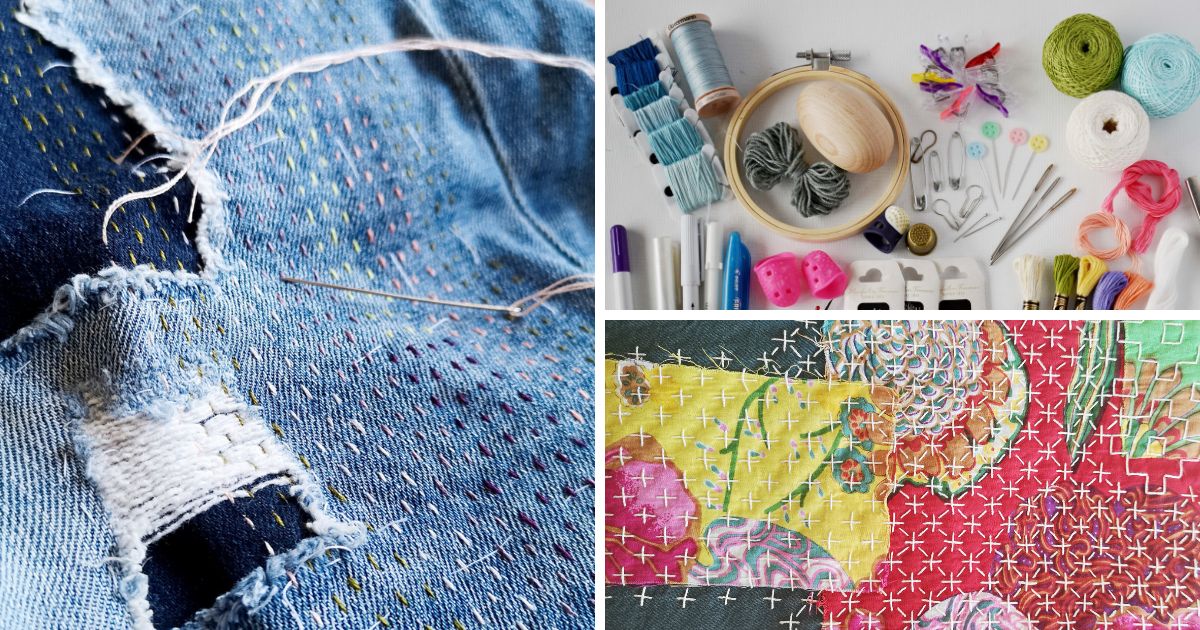
To mend holes in your favorite knitwear, you will need basic mending tools, such as a darning needle, thread, and scissors. Additionally, some accessories, such as pins or safety pins, are required for a smooth mending process. Besides that, it’s good to have a base material you can place under the hole and pin the fabric to it. You can use a sponge, a piece of cardboard, or a cork pad. Opt for materials that can be slipped inside the sleeve of the sweater or other narrow spaces.
Read the article “Mending tools and materials. What you need to get started with visible mending” for more tools and materials you might want to use.
Threads for knitwear repairs
The best thread for mending knitwear is the same as the thread used to knit the garment. But let’s be honest, how many sweaters did you knit and have a spare thread left for mending them?
I knit quite a lot, but it’s mostly chunky voluminous knits or colorful socks. My biggest challenge is finding fine wools for mending machine-made fine knits.
First, check inside the sweater. Some knitwear producers add a small bag of thread for repairs, together with a spare button. Also, you can harvest some thread by undoing the seams of the sweater. But what if you need more thread?
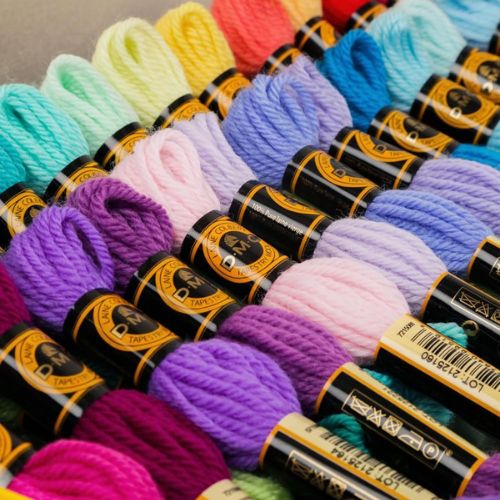
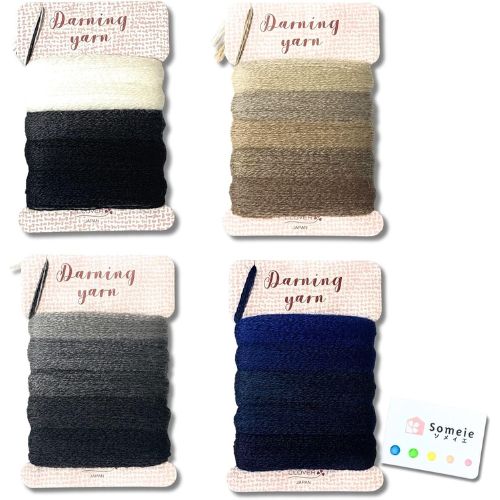
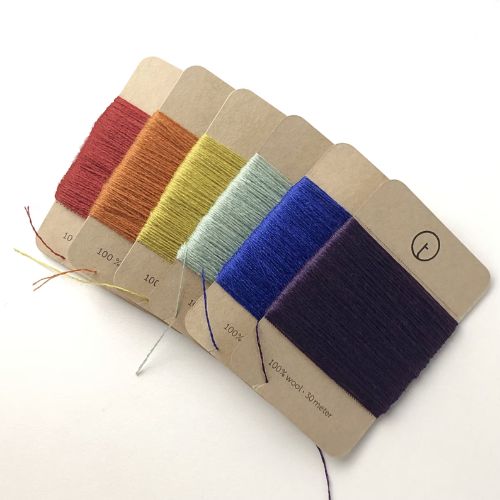
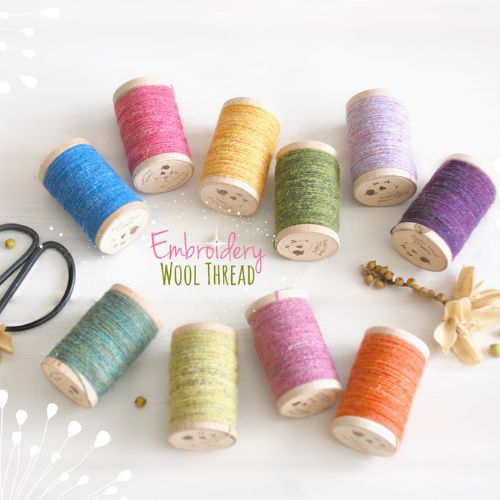
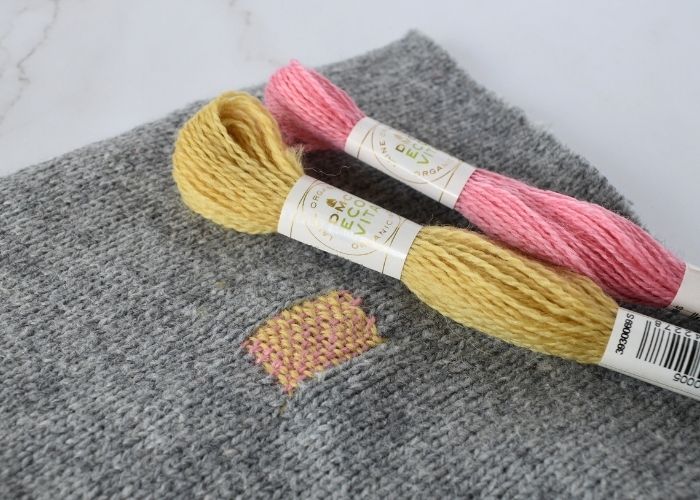
Wool embroidery threads of various thicknesses are an excellent option for mending woolen sweaters. Additionally, you can find thin wool and cashmere threads designed explicitly for mending projects.
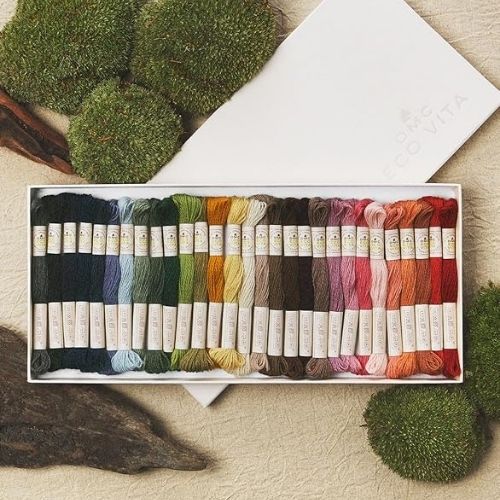
For the mending tutorial below, I used DMC Eco Vita woolen embroidery threads. It’s a lovely option for mending fine knitwear. It is available on Amazon and Etsy with a variety of color options.
More wool options for mending on Amazon:

Mending wool on Etsy:

Matching vs contrasting yarn
The thickness of the thread is not the only criterion you should consider when choosing mending supplies. The color of the thread is as important as its size.
To make your mending invisible, use the same thread as for knitting. For example, Swiss darning with the same thread will be totally invisible and is the best way to invisibly mend holes in sweaters.
On the other hand, if you want your mending to stand out and be as visible as possible, opt for threads of bright, contrasting colors and create colorful patches using the Weave stitch technique.
Of course, you can choose everything in between these two extremes – make visible mending with calm pastel colors or add the patches with a slightly darker tone threads.
Four easy darning stitches for knitwear repair
There are many hand embroidery and mending techniques you can use for mending knitwear. For this tutorial, I shortlisted four of my favorite techniques that are functional, versatile, and easy to learn.
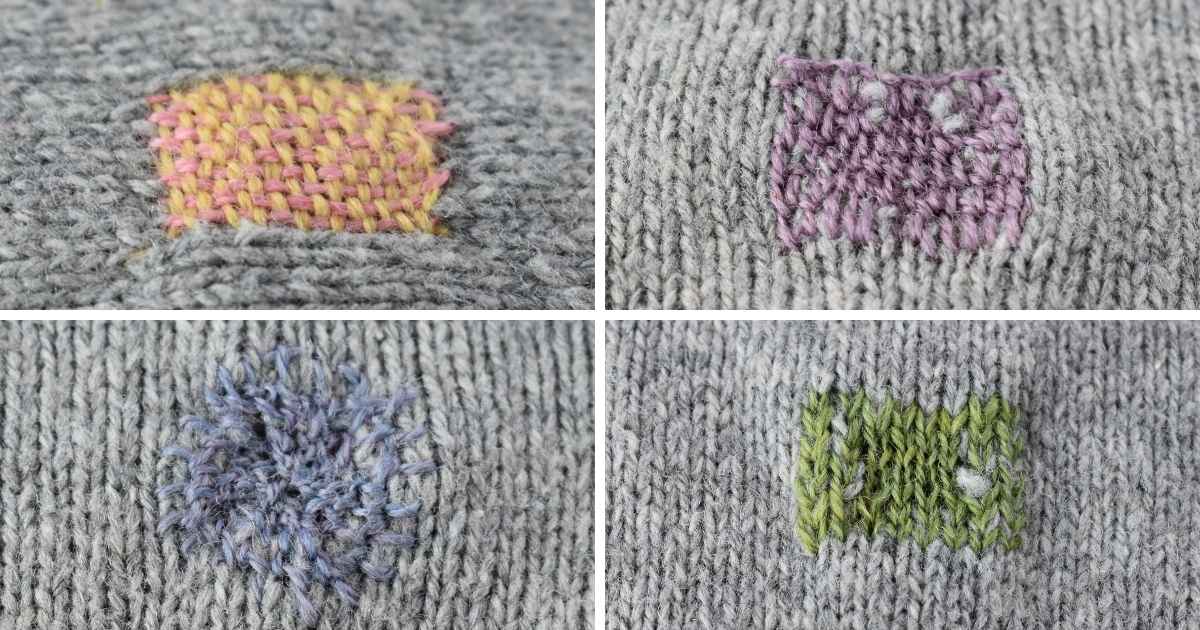
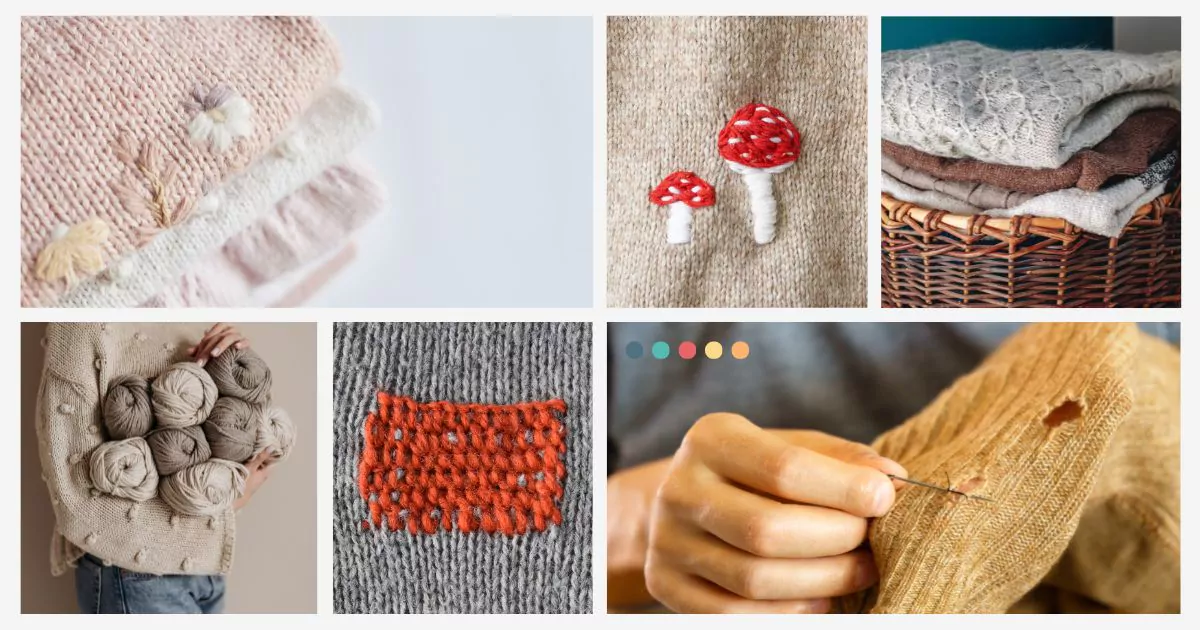
- Weave stitch. This technique covers the holes and stains by creating a patch above the damaged area. Use it for bold, visible mending.
- Scotch darning stitch. It is an excellent technique for covering the holes and reinforcing thinned knits. I use it to patch the elbows of the sweaters and the heels of the socks.
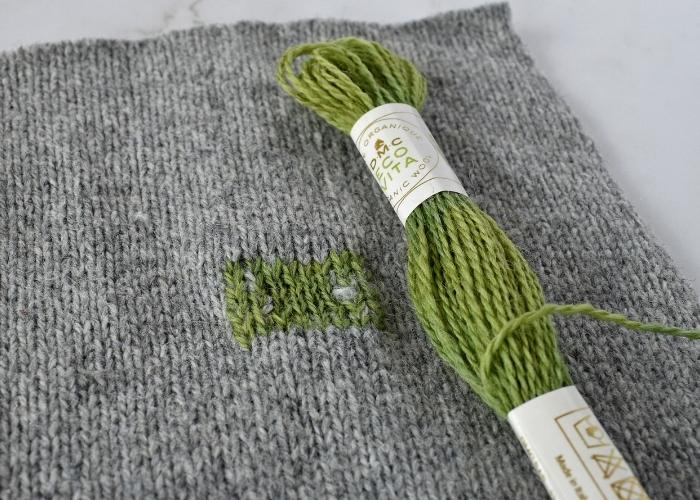
- Swiss darning. Also known as the Duplicate stitch, it is the best darning technique to invisibly mend holes in sweaters. It perfectly recreates a stockinette stitch and blends seamlessly with knitwear.
- Sun wheel stitch. This variation of Blanket stitch can reinforce the thinned fabric or cover the hole with a circular patch.
How to mend holes in sweaters: four techniques
Step-by-step knitwear mending tutorial
Before you start mending, gather the necessary tools and materials, and prepare the knits that require mending. Before you start patching, address pulled threads, remove the pile, and weave in hanging threads on the back of the knit.
Weave stitch tutorial
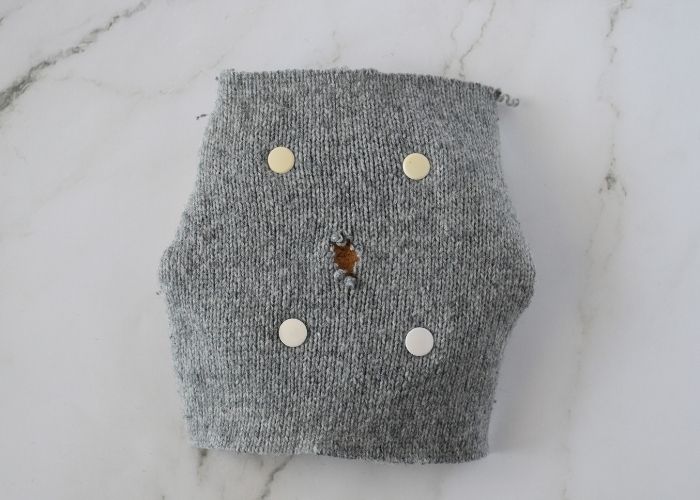
1. Secure your knit on the soft, but stable surface. I used a cork pad and push pins for this task.
2. Thread a blunt darning needle with a wool thread.
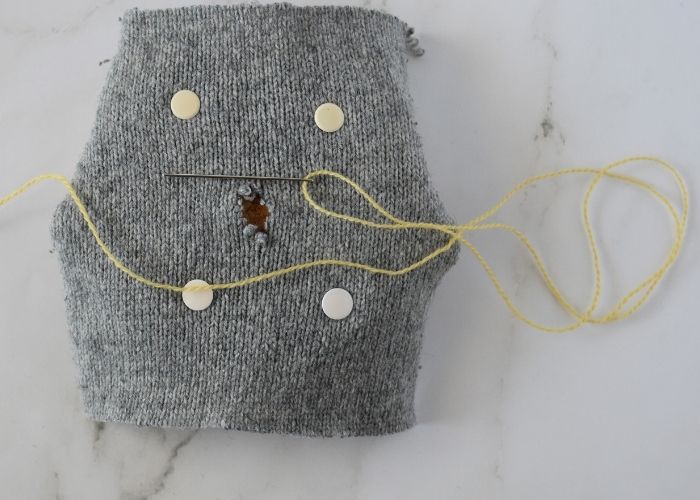
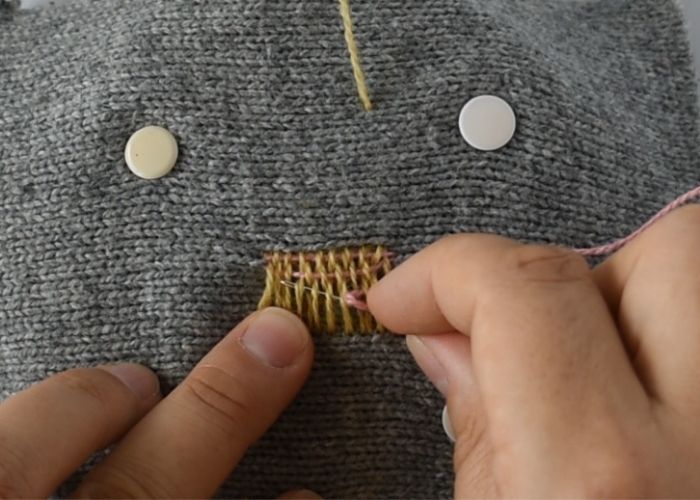
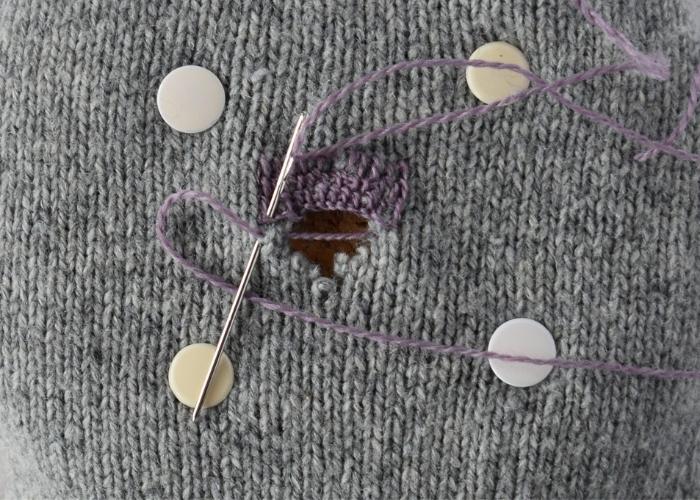
3. Start with horizontal stitches – the base for weaving. Cover the entire damaged area with dense horizontal stitches. Leave the ends of the thread parked on the sides.
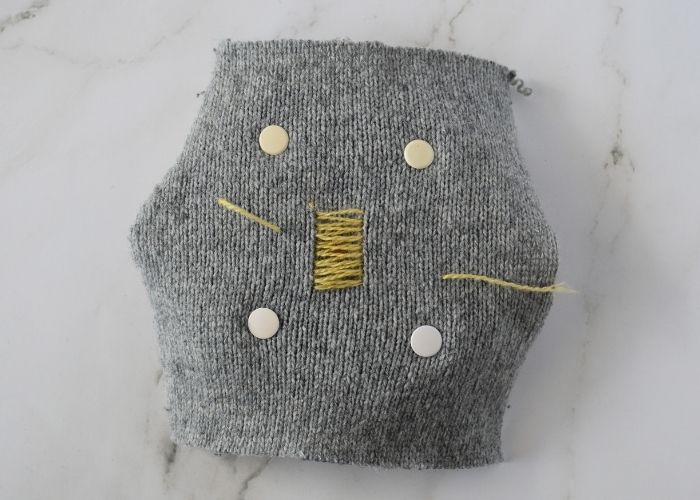
4. Change the thread color and start weaving. Pass the needle under every second thread of the base. Pass the needle inside the knit and, on the return path, weave in the needle under every other thread.
5. This will form a new layer of woven fabric on top of the damaged knit. Move back and forth, weaving a patch.
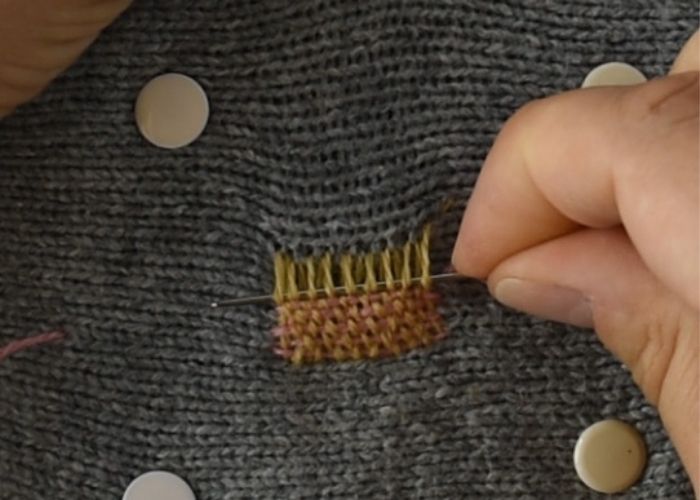
6. Create a dense weave to cover the hole in the knitwear.
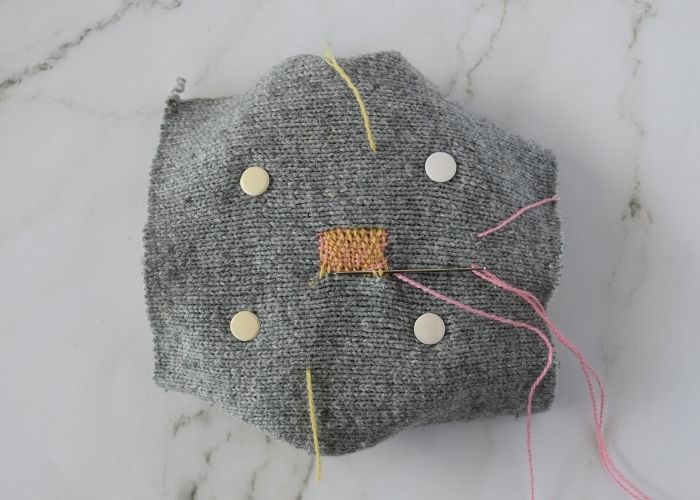
7. Turn your knit inside out and pull all the parked threads to the back. Weave in the ends of the threads.
Scotch darning stitch tutorial
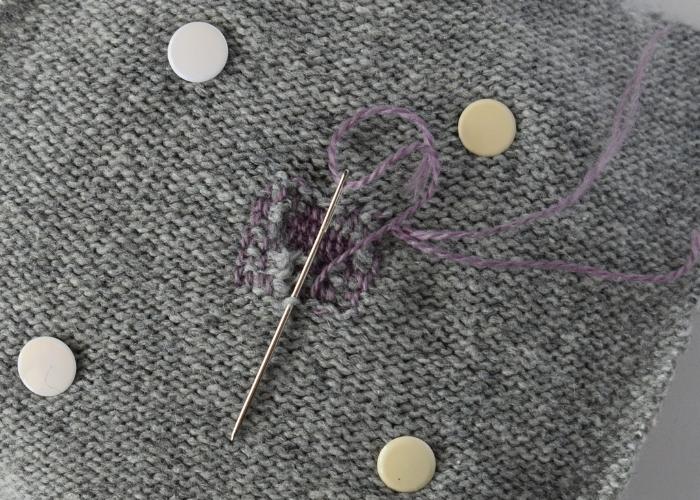
1. Pin your knit to the cork pad and take your needle with a thread up at the edge of the hole you are mending. Leave the end of the thread parked on the side. Work from right to left and make a running stitch on the edge of the future patch, securing every stitch of the knit.
2. Now, work from left to right. On top of the running stitch, make a row of blanket stitches.

3. Secure each broken stitch of the knit that you meet on the way.
4. Anchor the last blanket stitch and make a new row of running stitch. Leave the hanging thread above the hole.
5. Make one more row of blanket stitch. To cover the hole, make a blanket stitch with a thread inside.
6. Add as many rows of Scotch darning stitch as you need to cover the hole and reinforce the fabric around it.

7. Be sure to catch every loose or broken stitch of the knit as you move with mending.
8. When the mending is complete, weave in the ends of the threads on the back.
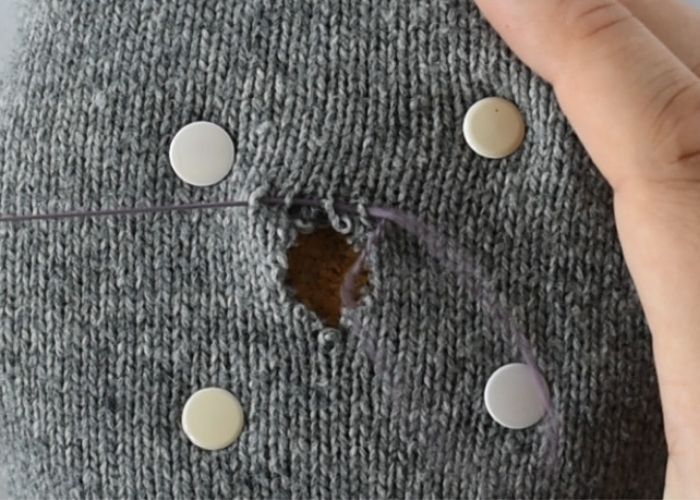
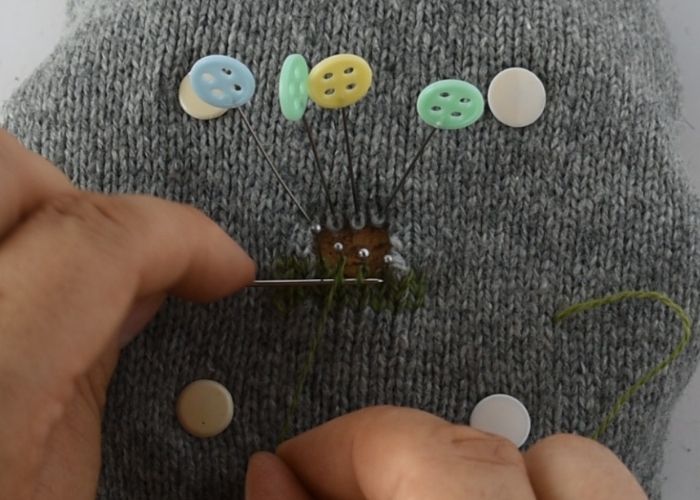
Swiss darning tutorial
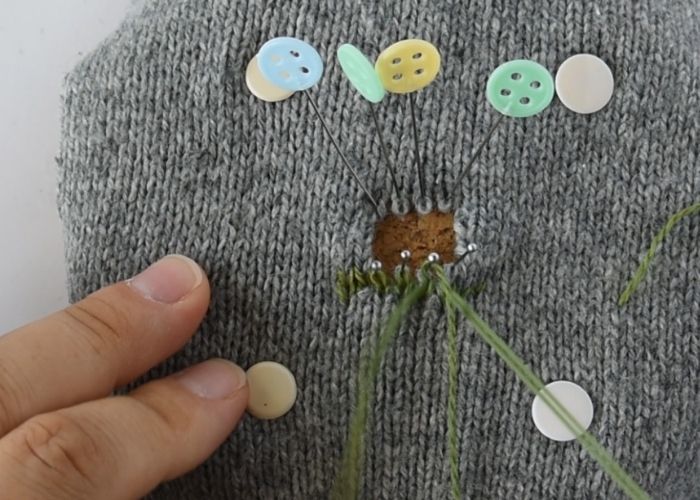
1. Secure the knitwear of the cork pad. Place a pin in each loose stitch of the knit.
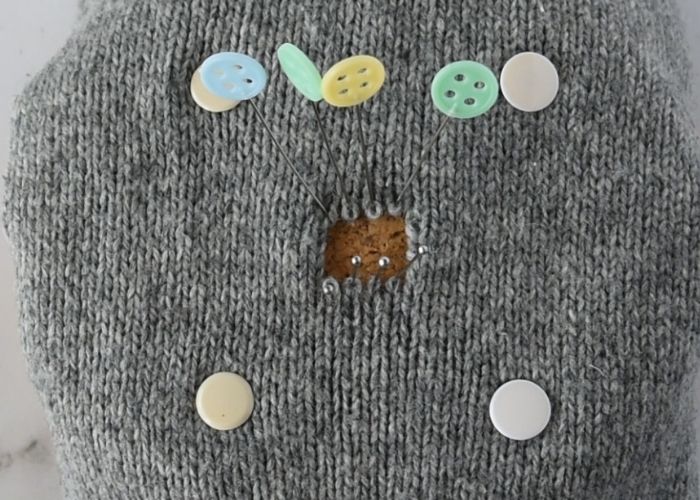
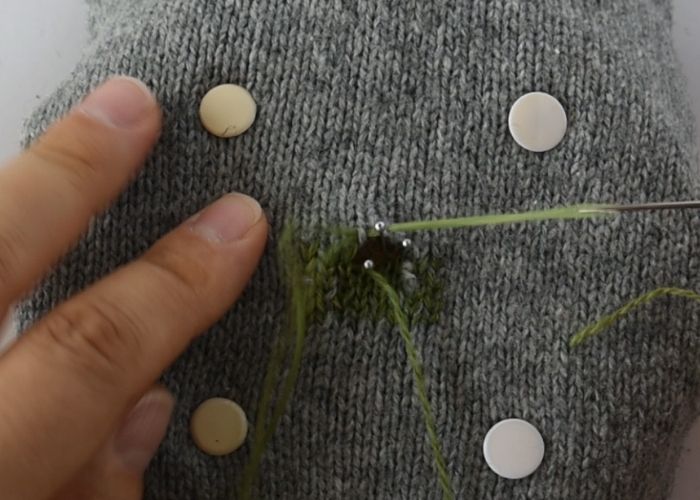
2. Start with a row or two of duplicate stitches. This will reinforce the knit around the hole and make a Swiss darning patch more stable.
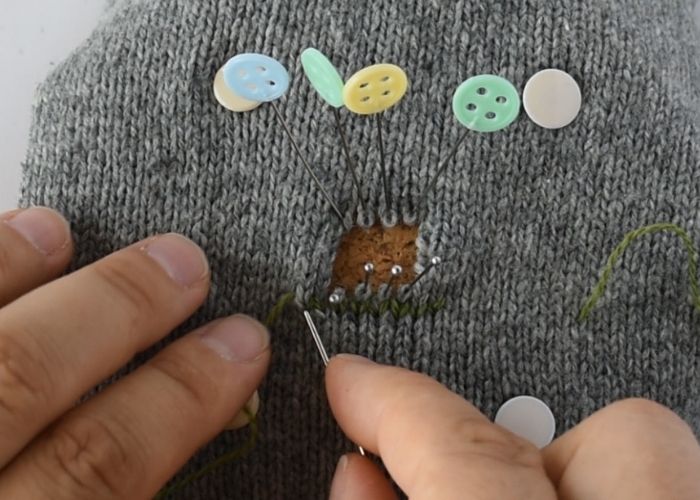
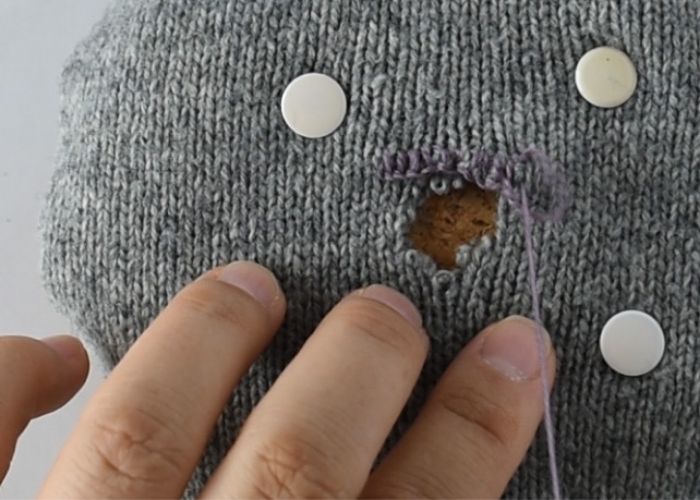
3. This row of duplicate stitch is the last row to duplicate. From the next row, we will have to recreate the knit.
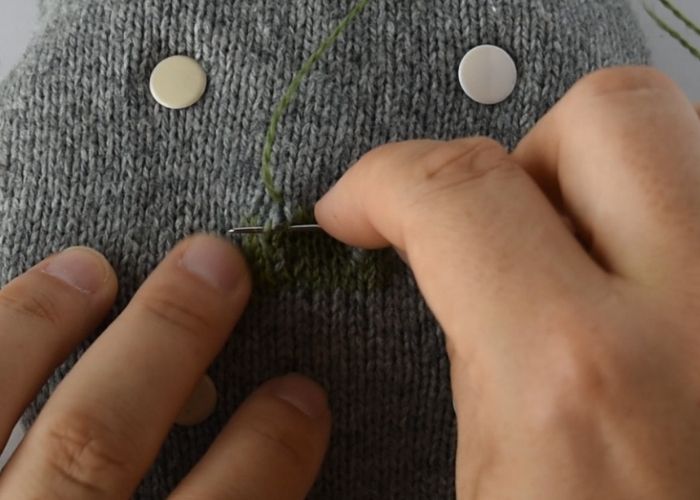
4. To recreate the missing stitch, pass the needle inside the stitch on the pin.
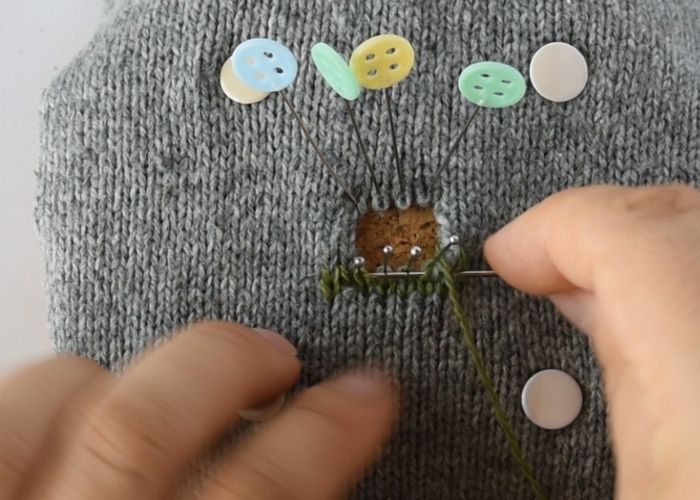
5. Take the pin out and place it just above the stitch.
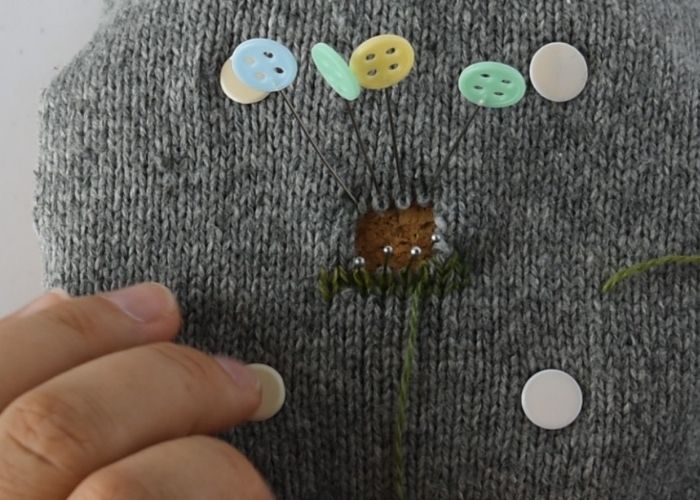
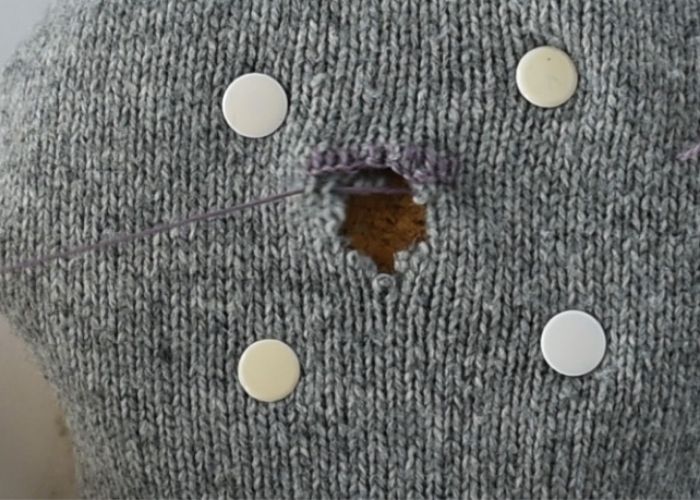
6. Loop the thread around the pin and place it back inside the last stitch.

7. Come up inside the next stitch on the second pin.
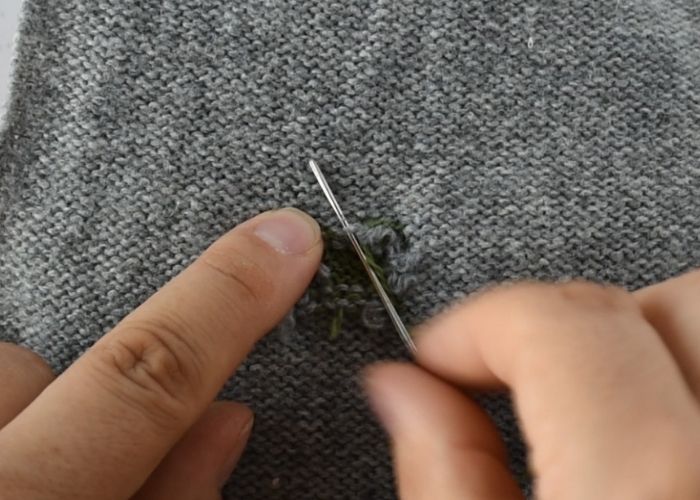
8. Repeat the steps to recreate the entire row of stitches. When you reach the edge of the hole, make duplicate stitches to maintain the square shape of the patch. Change the stitching direction and make one more row of Swiss darning. Make as many rows as needed to reconstruct the entire hole.
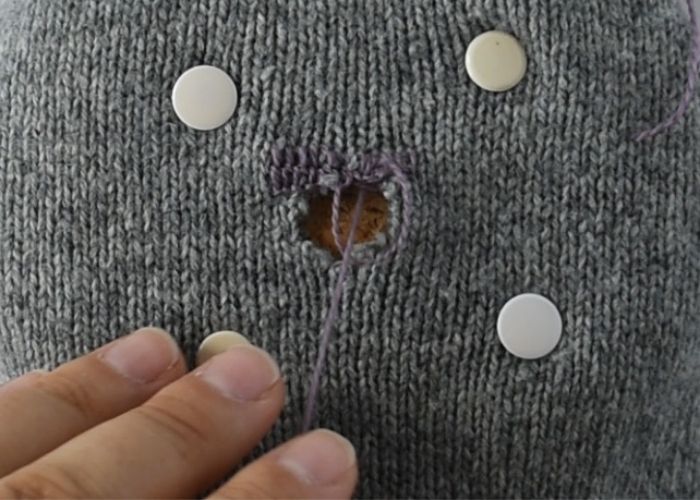
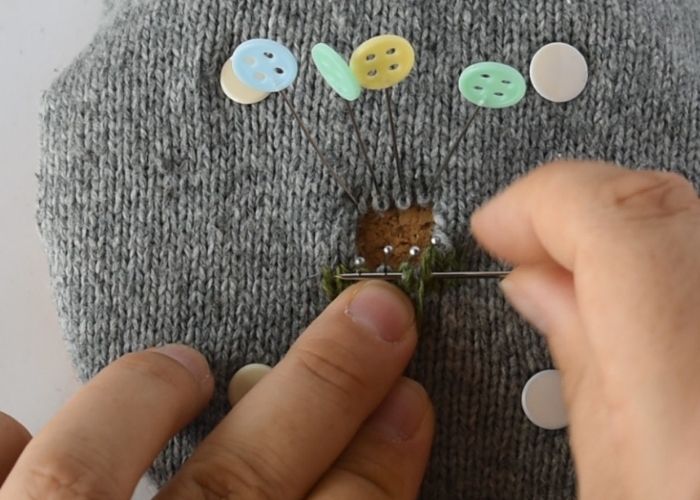
9. When you reach the last row of missing stitches, connect the stitches on the pins with open stitches at the top of the hole. Remove the pins as you go.
10. After the hole is secured, add a row or two of duplicate stitches.
11. Secure the ends of the threads on the back of the knit.
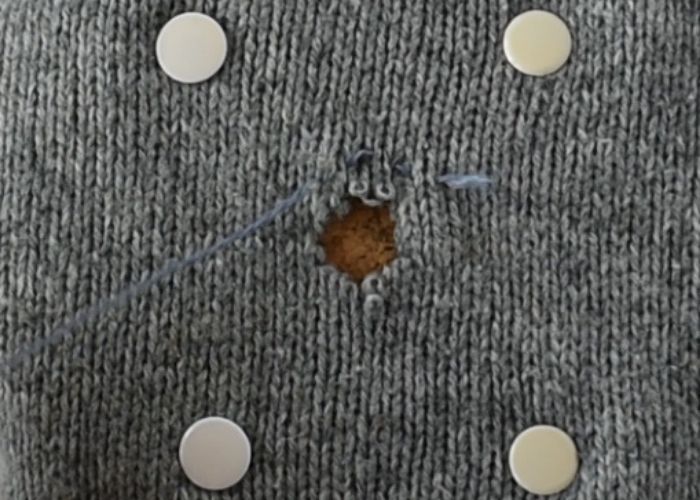
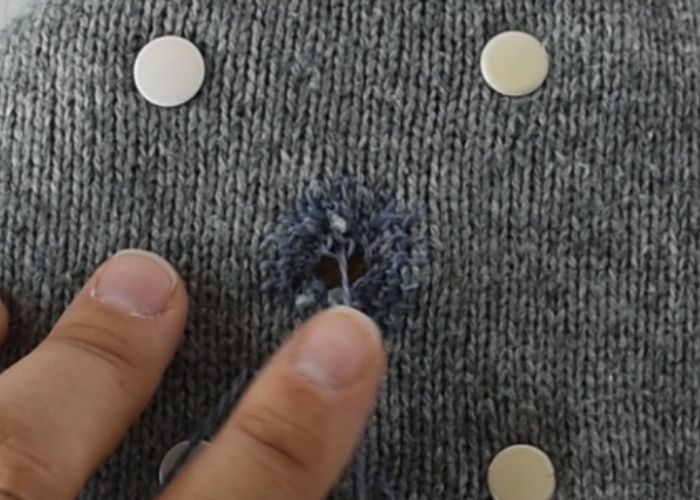
Blanket stitch – Sun wheel mending tutorial
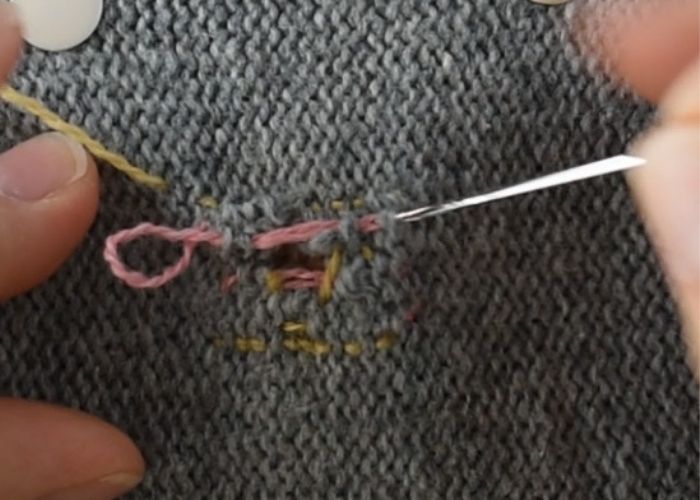
1. Start with a running stitch close to the edge of the hole. This will secure the start of the mending.
2. After 5-7 stitches, start making blanket stitch with the legs facing out – Sun wheel stitch.
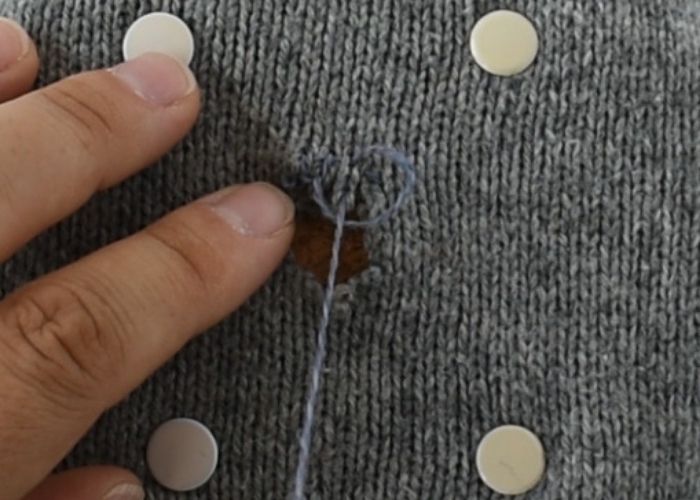
3. Move in a circle and make the entire row of sun wheel stitch.
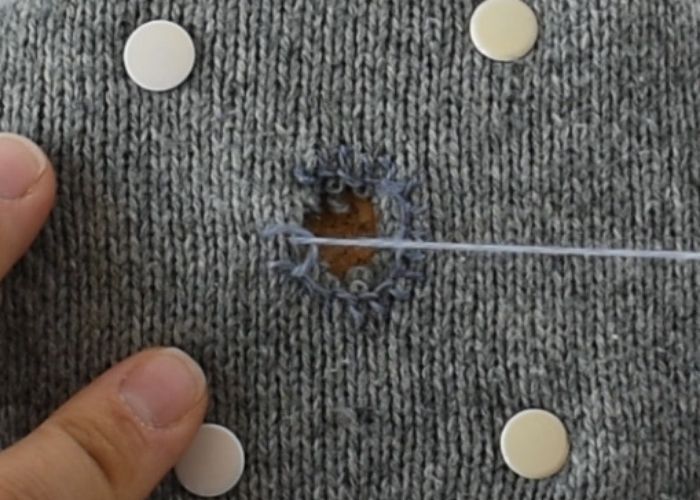
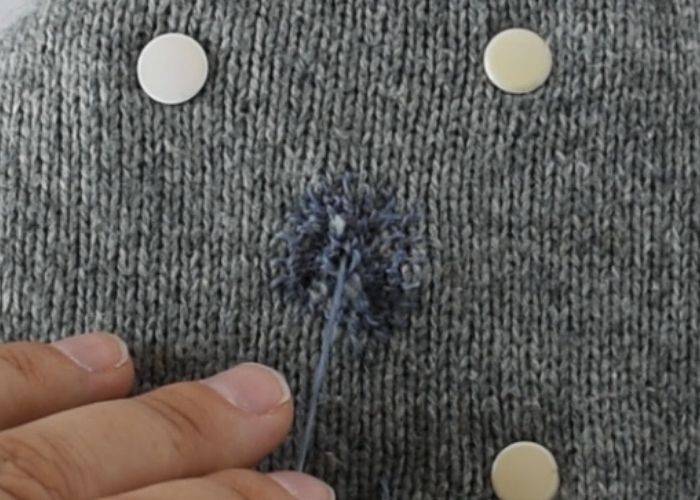
4. Connect the circle and start making the second row. Pass the needle inside the edge of the blanket stitch. This will create a new layer of fabric over the hole.
5. Work row by row, covering the hole and creating a patch.
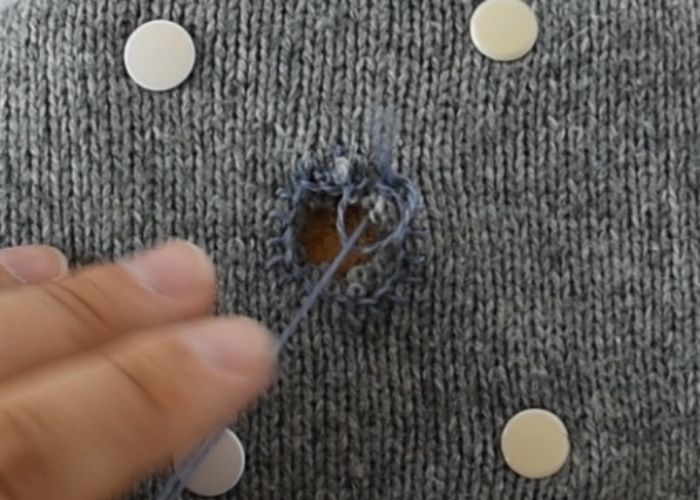
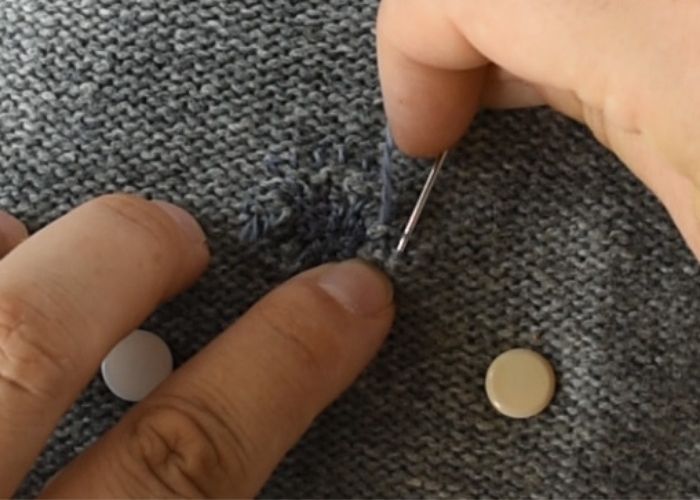
6. When you reach the center of the hole and there is no more space for new stitches, pass the needle to the back.
7. Secure the ends of the threads on the back of the knit.
Video Tutorial
Recommended Products
Disclaimer. To cover the cost of creating free embroidery patterns and video tutorials for this blog, I do sometimes link to products. Please assume these links are affiliate links. If you choose to buy through my links then THANK YOU! – it will make it possible for me to keep doing this.

Tips for successful sweater mending
Mending knitwear can feel intimidating at first, but a few simple habits will make the process smoother and more enjoyable. Whether you’re repairing your very first hole or improving your technique, these tips will help you get better results every time.
Practice on scrap fabric first
Before you start repairing your favorite sweater, take some time to practice on scrap knit fabric or an old piece of clothing you don’t mind experimenting with. This gives you the chance to get comfortable with the stitches, adjust your tension, and learn how the yarn behaves without the pressure of “ruining” a cherished garment.
Use good lighting and a contrasting yarn when learning
Each stitch is crucial when you mend. If you work with darker or fuzzy knits, get good lighting. Additionally, use a contrasting yarn color when learning darning techniques. It makes it much easier to follow your stitch path and check your progress. Once you feel confident, you can switch to matching yarn for an invisible mend.
Embrace visible mending as a design choice
Not all repairs need to be hidden. Visible mending is a popular way to transform flaws and damage into beautiful, unique details. Choose colorful yarns and bold mending techniques to add character and personality to your knitwear. Mending doesn’t just fix holes—it can also become a form of creative self-expression.
Over to you
Learning how to mend holes in sweaters is a skill that not only saves your favorite garments but also supports a more sustainable and mindful approach to clothing. With the four methods we’ve covered—Weaving stitch, Scotch darning stitch, Swiss darning, and Sun wheel stitch—you now have practical techniques for both invisible repairs and creative visible mending.
Whether you’re patching up a well-loved wool pullover or experimenting with decorative stitches to add personality, mending is a rewarding way to extend the life of your wardrobe. It’s not about perfection—it’s about giving your clothes a second chance and making them uniquely yours.
If you’d like to see these techniques in action, don’t forget to watch the full video tutorial embedded above. And if you try any of these mending methods, I’d love to hear about your experience—share your results in the comments!
Don’t miss a thing!
Follow me on YouTube, Instagram, Facebook, Flipboard, Telegram and Pinterest. On the other hand, you can subscribe to the Practical Embroidery newsletter and get embroidery tips straight to your inbox every week!
More about mending on this blog
Visible Mending Knitwear: A Creative and Sustainable Approach
Embroidery Mending Basics: Beginner’s Guide to Sustainable Wardrobe
Sashiko Style Mending: Step-by-step Tutorial for Repairing Jeans