
Ladder Hem Stitch
Ladder Hem Stitch is a variation of the Hem Stitch with an additional row of embroidery to make the drawn threads and a line between the folded hem and the rest of the fabric even more decorative and emphasized.
Traditionally, all stitching is done with a thread of a similar color to the fabric, making it almost invisible.
This technique is great for garment or textile edges, as both sides of the hem will look neat and tidy.

Applications of the Ladder Hem Stitch
Ladder Hem Stitch is a traditional decorative drawn thread technique for finishing the edges of the linen home textiles – napkins, table runners, tablecloths, or towels. Also, this technique is used in garments to decorate and secure the hems of linen skirts and aprons, or the edges of shirts.
You can adjust the size of the opening between the folded hem and the rest of the garment, as well as the visibility of the decoration. For greater impact, remove more threads (to create a wider gap and more open stitching) and use a contrasting thread for stitching. On the other hand, if you wish to keep the edge barely visible, remove only 2-3 threads and stitch with the same color thread as the fabric.
More techniques for finishing the edges


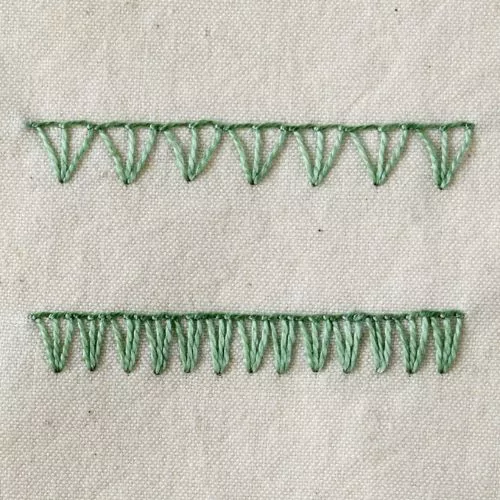
Learn how to embroider Ladder Hem Stitch
Follow the step-by-step tutorial with detailed photos below, and you will learn the Ladder Hem Stitch quickly. If you are a visual learner, watch a video lesson in the tutorial or on the Practical Embroidery YouTube channel to learn this hand embroidery stitch faster.

How to embroider Ladder Hem Stitch
Step-by-step hand embroidery tutorial
1. Measure the size of the fold. I decided on the 2 cm fold and marked the fabric at 2, 4, and 6 cm.

2. Draw the threads on the marks. Pull away 1 thread at first two marks and 3-4 threads on the last mark. The first two drawn threads will help you fold the hem, and the last one is for the actual stitching.

3. Fold the hem and press. If done well, you will not need to baste or pin the hem.

4. First, make a regular Hem Stitch. Thread the needle, make the knot, and hide the knot inside the fold. We will be stitching from right to left.

5. Pass the needle under the cluster of the drawn threads. Decide on the density of your stitching and always use the same thread count to maintain the size.

6. Pass the needle under the same group of threads again to make a second wrap.

7. Then pull the thread to gather these threads into a nice cluster, leaving a gap in the row of pulled threads.

8. Now, pass the needle through the fabric fold. This step will attach the edge of the fold to the seam and secure the hem.

9. Move to the next group of pulled threads and pass the needle under. Wrap the second group of threads twice.

10. Pass the needle inside the folded edge and move to the next stitch. Repeat this sequence along the entire edge.

11. After the last stitch is done, secure the final stitch and hide the end inside the fold. Single Hem Stitch is done.

12. Now, add a Ladder to your Hem Stitch. Secure the starting thread inside the edge of the fabric. I used some running stitches to temporarily lock the thread.

13. Pass the needle under the first cluster of the threads.

14. Make the second wrap and push the needle into the fabric between the first and the second groups of drawn threads. Bring it back to the surface after the second cluster of threads.

15. Continue with this sequence. First, wrap the cluster of threads with your working thread.

16. Then, pass the needle in the fabric between the clusters and come up under the next group of stitches. When the entire edge is embellished with a Ladder Hem Stitch, secure the final stitch and hide the end under the stitching.

Video tutorial
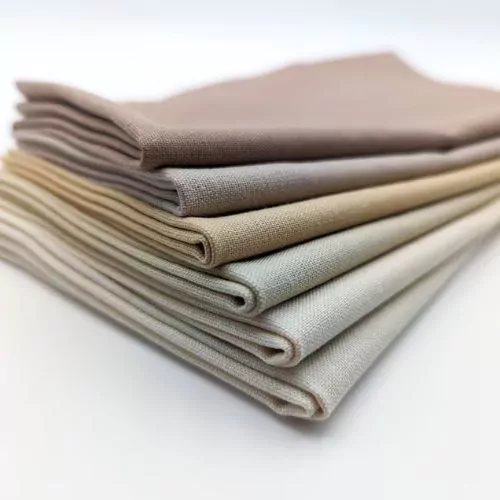
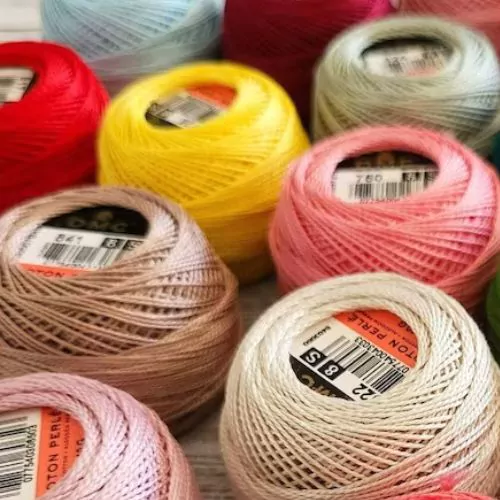
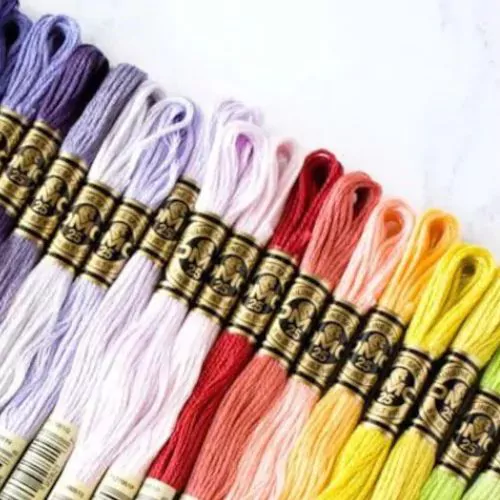
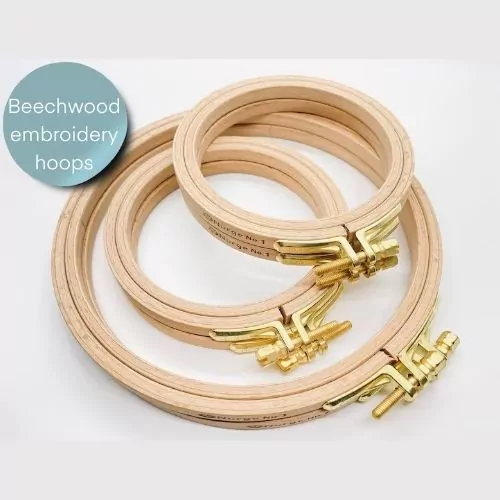
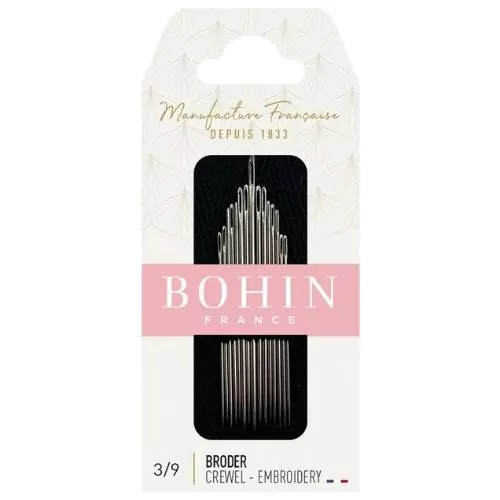
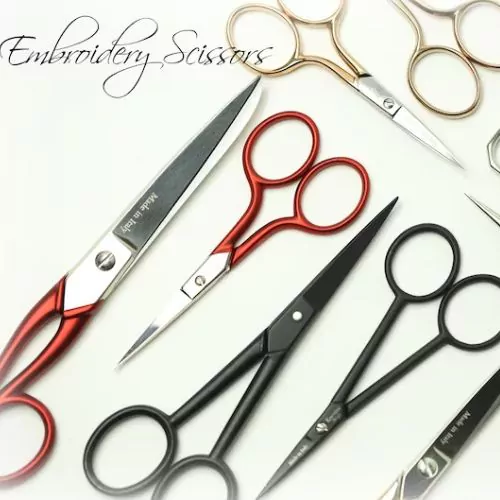
Tools and materials I used for this sampler
Disclaimer. To cover the cost of creating free embroidery patterns and video tutorials for this blog, I do sometimes link to products. Please assume these links are affiliate links. If you choose to buy through my links then THANK YOU – it will make it possible for me to keep doing this.
What’s next?
If you’re in the mood to explore more hand embroidery stitches, check out the Stitches and Techniques page for the list of other fantastic stitches available on my blog. From basic embroidery stitches to complex and playful variations of classical techniques, a whole world of stitches is waiting for you to explore and master. So, grab your hoop and needle, and let’s stitch together!
Don’t miss a thing!
Follow me on YouTube, Instagram, Facebook, Flipboard, and Pinterest. On the other hand, you can subscribe to the Practical Embroidery newsletter and get embroidery tips straight to your inbox every week!
Need More Guidance?
The top 10 hand embroidery stitches to learn is a free online course created for beginners.