Long and Short Stitch for Round Shapes. Learn how to Embroider a Sphere and a Circle
Long and Short stitch for round shapes is a variation of the Long and Short stitch hand embroidery technique, also known as Silk shading or Shading stitch. It is a great embroidery stitch for filling small and vast areas, depicting the petals of flowers, animals, and various three-dimensional objects.
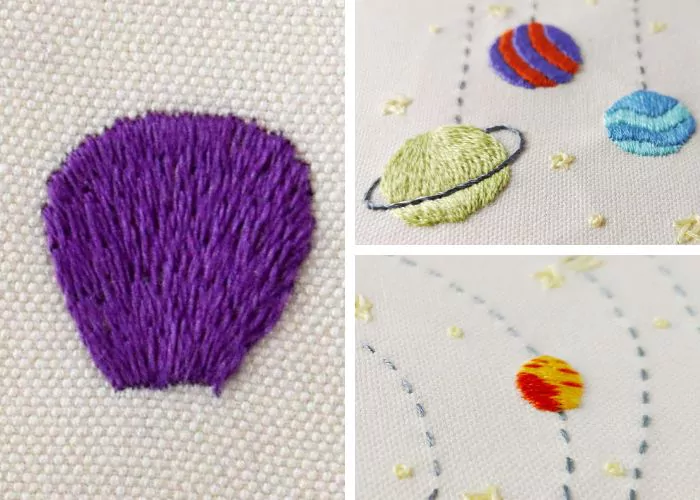
The embroidery method is simple—a series of straight stitches of various lengths are positioned to cover the fabric. However, it can be challenging to achieve a smooth surface and desired visual effect with this technique. It requires patience and practice.
Embroidering round shapes with a Silk Shading Stitch can be even more intimidating. I created this guide on using Long and Short Stitch for round shapes to encourage you to try this technique and practice stitching round shapes with the Silk shading.
The difference between Sphere and Circle
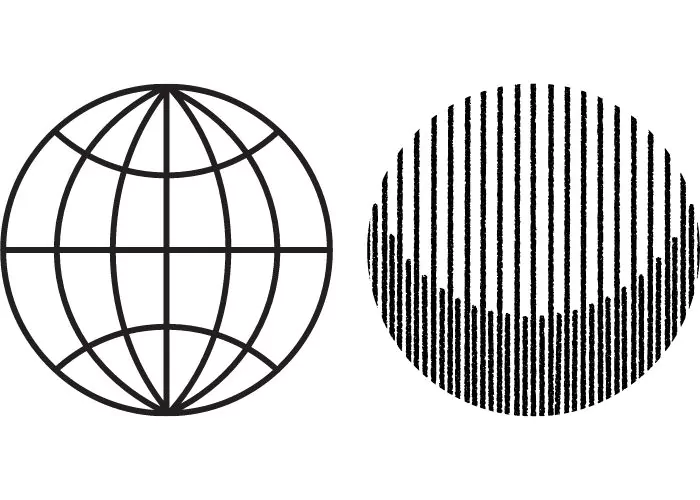
Both sphere and circle are perfectly round geometric shapes. The circle is a two-dimensional figure—a round object in a plain—while the sphere is a three-dimensional round object in space.
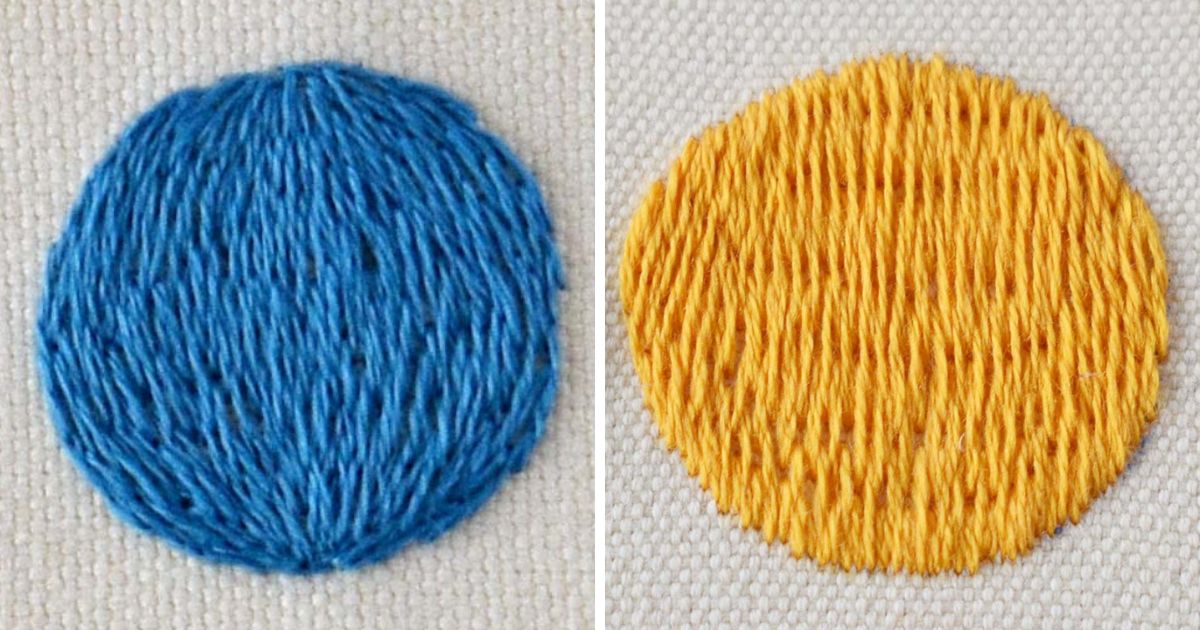
Considering these differences, we should use different methods to embroider round shapes with Long and Short Stitch. Use the technique for the sphere if you are embroidering three-dimensional figures like an apple, crystal ball, or the planet Earth. Opt for the flat filling technique if the shape you are embroidering is two-dimensional or if it is a simple surface filling.
Tips for perfect Long and Short stitch for round shapes
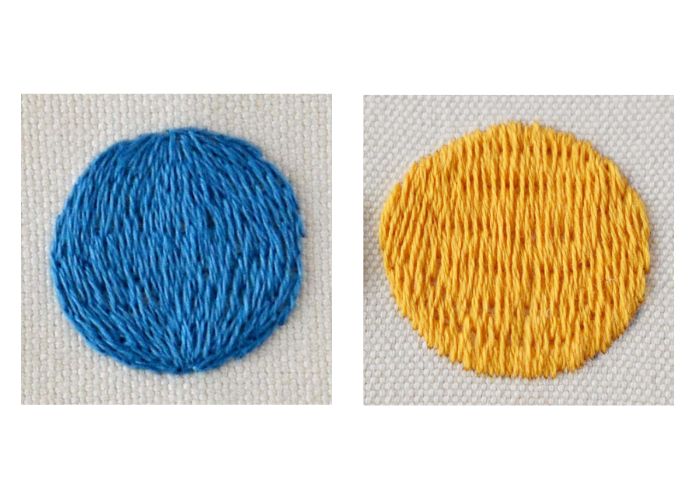
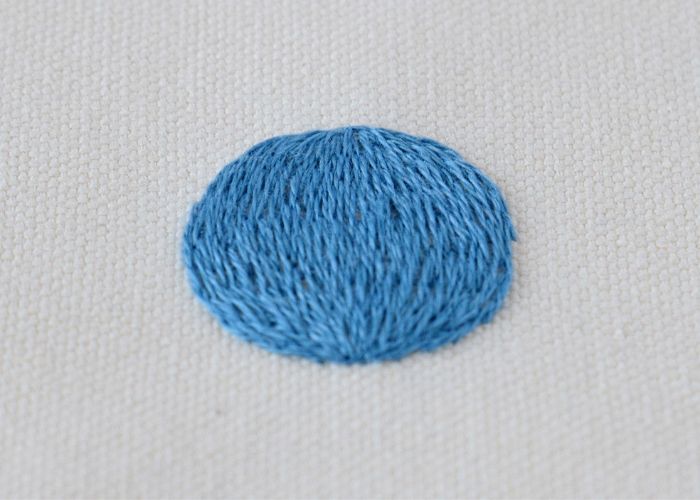
- Use a single strand of the floss. The thinner the thread, the smoother the stitch’s surface will be. I used a single strand of DMC embroidery floss to embroider a blue sphere sampler and two strands of DMC embroidery floss to embroider a yellow circle. As you can notice, the surface of the sphere is much smoother.
- Pay attention to the tension of the fabric while you work. Puckered fabric is one of the mistakes beginners often make.
- Position the stitches close to each other and avoid “naked” areas in your filling.
- Work in rows, but use stitches of various lengths. This will help you to avoid a striped, blocky surface.
- Use more shades of the same color for a seamless color transition and even more dimensional look.
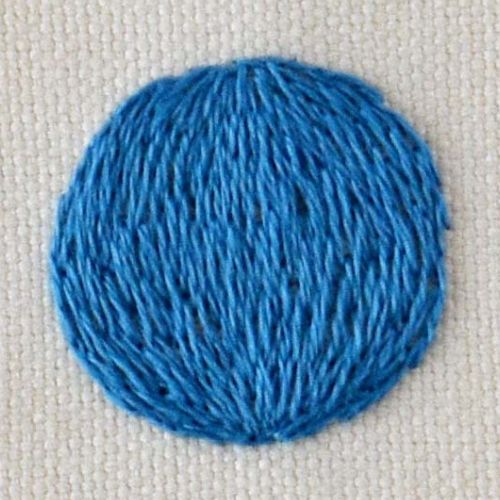
How to embroider a Sphere with Long and Short Stitch
Step-by-step hand embroidery tutorial
Sphere: Step-by-step instructions
- To embroider a nice, round, three-dimensional sphere shape with a Long and Short Stitch, start by marking guiding lines on the shape. First, mark the central axis at the top and bottom. Then, draw the meridians—curved lines that go from one pole to another.
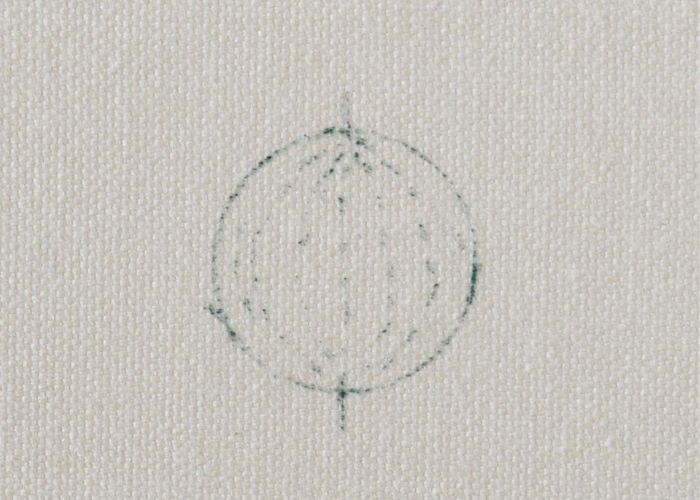
2. Outline the sphere with a Spilt Backstitch or a Stem Stitch.
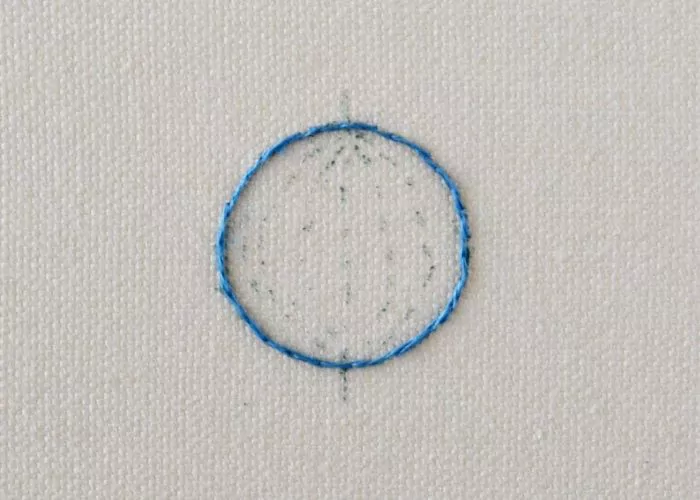
3. First, embroider the guidelines of the meridian lines you drew with Straight stitches.
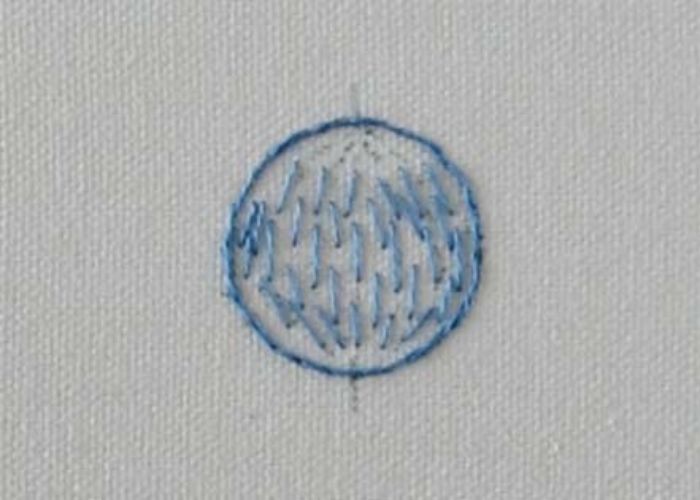
4. Then, start filling the shape with Long and Short stitches. For the direction of the stitches, follow the guidelines you embroidered first.
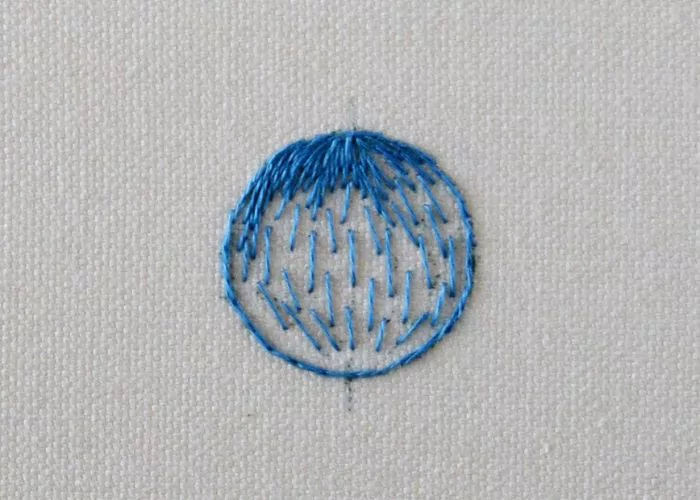
5. Add the rows of stitches to fill one side of the shape.
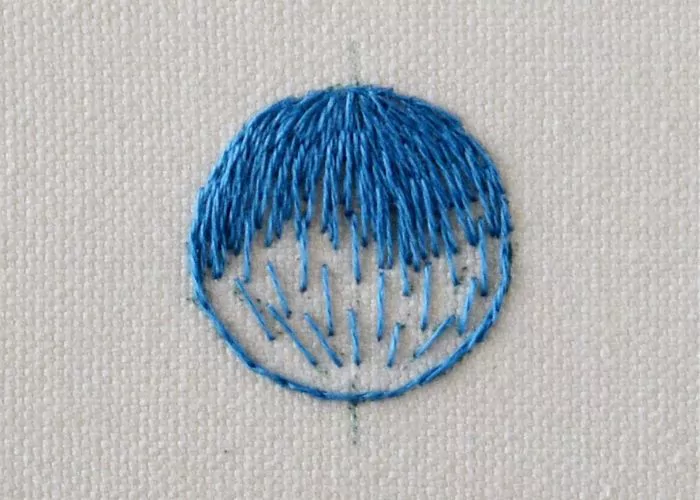
6. Then, move to another pole and repeat filling with Long and Short stitches.
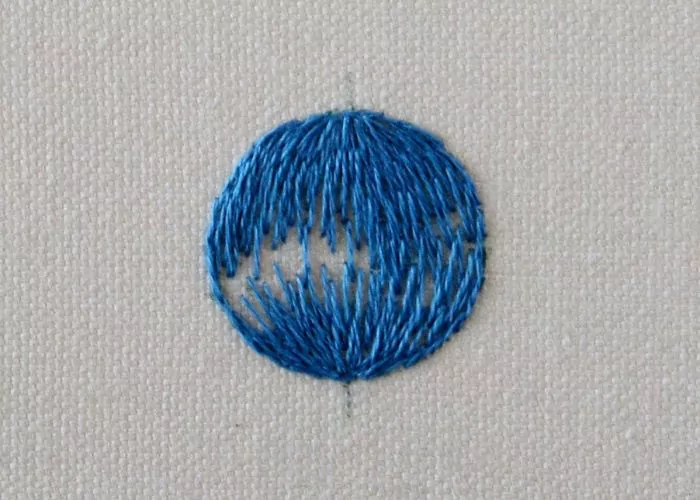
7. Join the filling in the center of the shape. Keep adding stitches until the entire sphere is filled and no fabric shows.
Video Tutorial – how to embroider a sphere
If you are a visual learner, watch a video lesson below or on the Practical Embroidery YouTube channel to learn this hand embroidery technique faster.
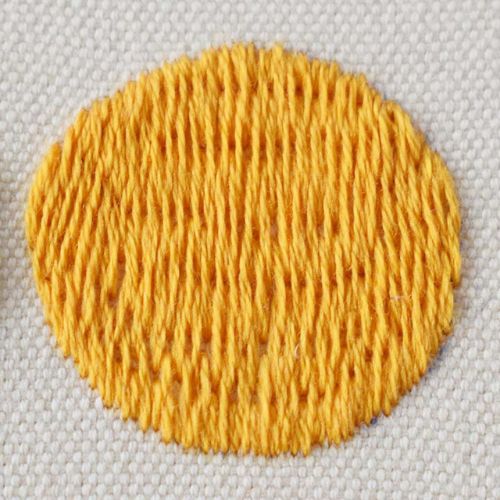
How to embroider a Circle with Long and Short Stitch
Step-by-step hand embroidery tutorial
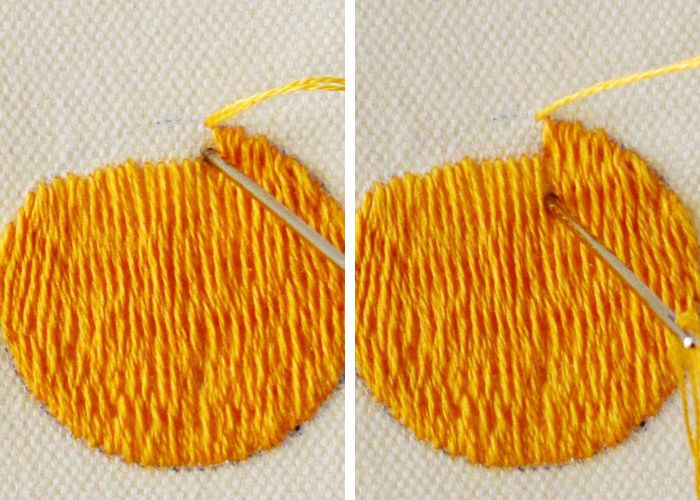
Circle: Step-by-step instructions
- Start with a row of straight stitches made close to each other but in alternating lengths. One stitch is made short, and the next one is made long.
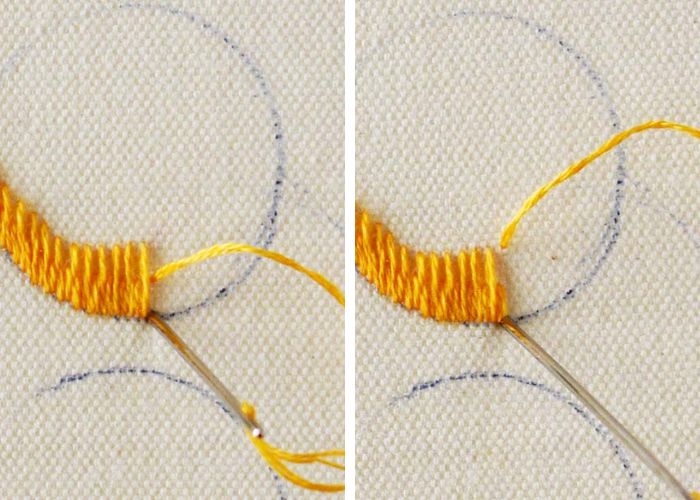
2. In the second row, embroider only the stitches corresponding to a short stitch below. All the stitches are of the same length now.
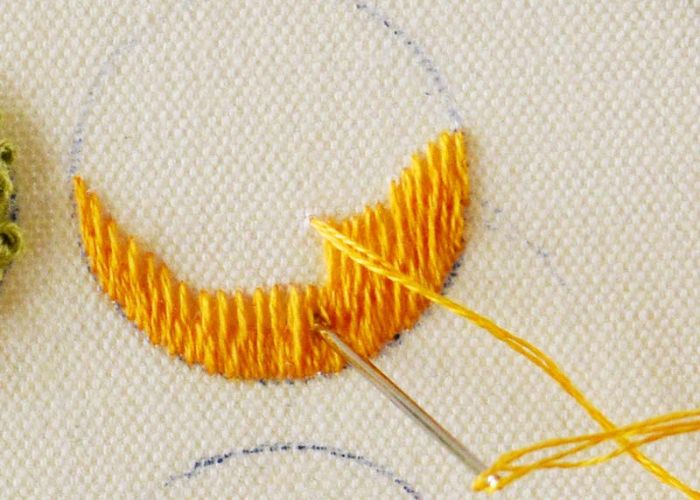
3. Keep adding the rows one above the other.
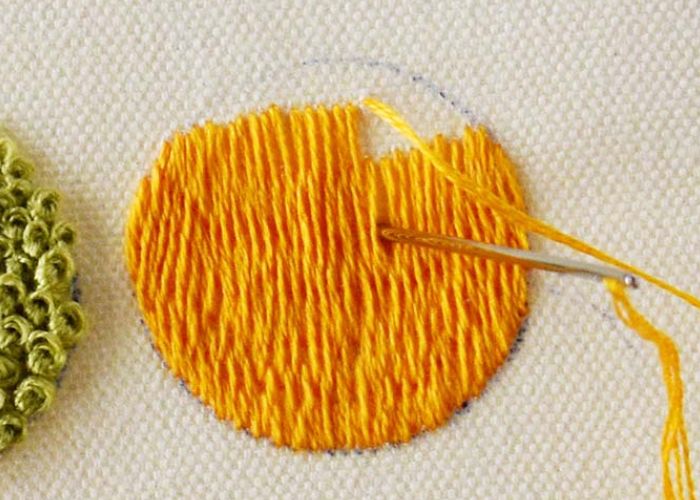
4. In the last row, make a short stitch above the stitch of the previous row and a long stitch above the stitch from the row before the previous one.
Video Tutorial – Six hand embroidery stitches for filling
If you are a visual learner, watch a video lesson below (starting from 4:28 min) or on the Practical Embroidery YouTube channel to learn this hand embroidery method.
Recommended Products
Disclaimer. To cover the cost of creating free embroidery patterns and video tutorials for this blog, I do sometimes link to products. Please assume these links are affiliate links. If you choose to buy through my links then THANK YOU! – it will make it possible for me to keep doing this.
Over to you
I hope this Long and Short Stitch for round shapes tutorial will encourage you to try different methods of using Silk shading to fill various shapes and objects.
Do not expect a perfect result on the first try! This embroidery stitch requires some practice and some patience.
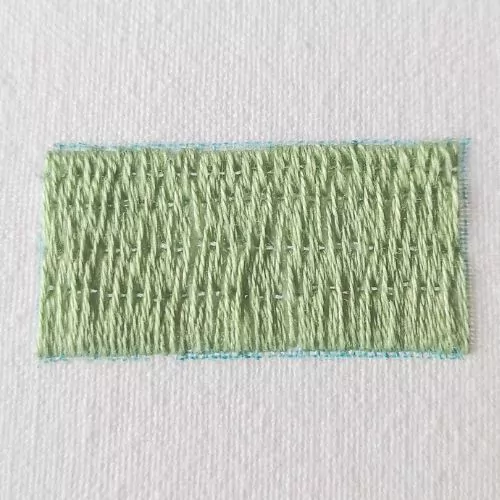
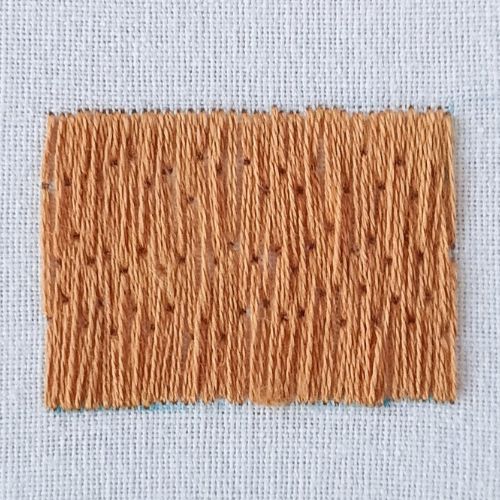
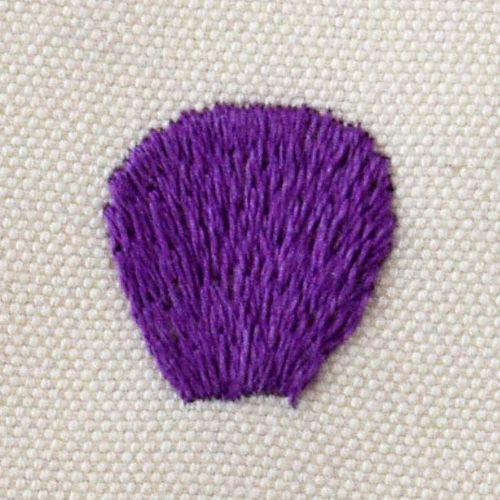
Here are my samplers from 2018, 2020, 2023 and 2024. You can see the difference, right?

You can’t skip the practice and rely solely on talent. Practice is the bridge between your abilities and success.
– Steve Nash
Don’t miss a thing!
Follow me on YouTube, Instagram, Facebook, Flipboard, Telegram and Pinterest. On the other hand, you can subscribe to the Practical Embroidery newsletter and get embroidery tips straight to your inbox every week!

