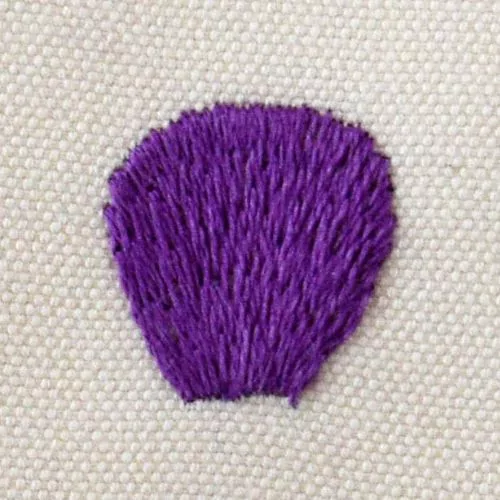
Long and Short stitch
Long and short stitch embroidery is a hand embroidery technique for filling. A series of straight stitches of various lengths are positioned to cover the fabric surface smoothly. This hand embroidery stitch is rather challenging. You need some patience and a lot of practice to become really good at it.
There are some critical points to this technique:
- Use a single strand of the floss. The thinner the thread, the smoother the stitch’s surface will be. For large-scale embroideries, choose bulkier threads that have better coverage.
- Pay attention to the tension of the fabric while you work. Puckered fabric is one of the mistakes beginners often make.
- Position the stitches close to each other and avoid “naked” areas in your filling.
- Work in rows, but use stitches of various lengths. This will help you to avoid a striped, blocky surface.
- Draw additional guides for color changes and angle changes.
- Change the angle of the stitches to depict the object’s dimension better.
- If you are making a color transition, use more shades of the same color for a seamless change.


Other names of this Thread painting technique
You can find this hand embroidery technique called Silk shading, Shading stitch, Long and short satin stitch, Tapestry shading, Cushion stitch, Algerian filling stitch, Kensington stitch and Plumage stitch. Many of these names come from how the stitch is used to depict animals and for gradual color blending.
Applications of the Long and Short filling stitch
This hand embroidery stitch is popular amongst hand embroidery enthusiasts and is widely used in different embroidery styles. Centuries ago, this filling technique was widely spread worldwide – from Japan and China to Germany and England.
Thread painting technique is popular in freehand modern embroidery for shading flower petals, birds, and animals. In Jacobean crewelwork, larger botanical elements like branches and animals are depicted with Tapestry shading stitch.
Silk shading embroidery uses only this embroidery stitch for the entire embroidery project (only Split stitch or Stem stitch is added to the outlines). The stitches’ flow and the floss colors’ gradual blending create photo-real images.
More stitches from the Satin stitch family
Step-by-step embroidery tutorial
Follow the step-by-step instructions with detailed photos below, and you will learn the simple filling in a single color in no time. If you are a visual learner, watch a video lesson in the tutorial or on the Practical Embroidery YouTube channel to learn this hand embroidery stitch faster.
How to embroider Long And Short Stitch
Step-by-step hand embroidery tutorial
Instructions
1. Draw additional guiding lines for the shape and direction of the stitches.
2. Start with outlining the shape. Use stem stitch for the outline.

3. Start embroidering the first row of the straight stitches. First, make some longer guiding stitches.

4. Then add more stitches in between to fill the entire row. The stitches of the first row are of different lengths – long and short.

5. Add the second row. Start with guiding stitches. Now, the stitches are of a similar length.

6. Make enough stitches to cover the spaces above the short stitches from the previous row.

7. Add as many rows as you need to cover the entire shape.

8. The last row is similar to the first one. Make short and long stitches to cover the border smoothly and to fill all the gaps between long and short stitches in the previous row.

Video tutorial

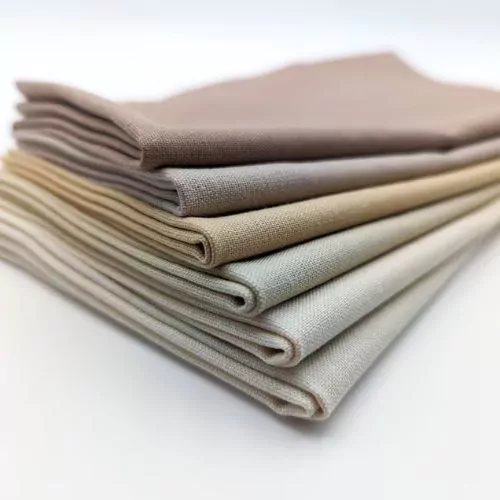
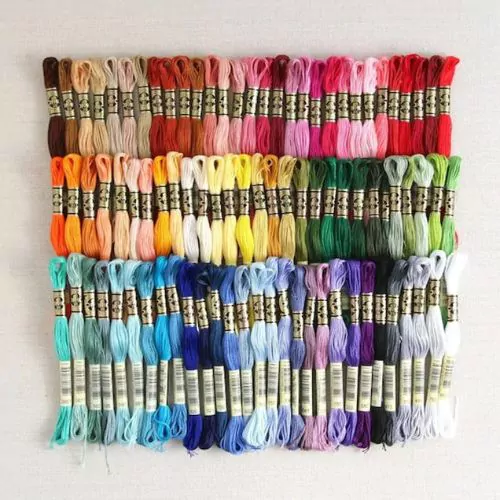
Tools and materials I used for this sampler
Disclaimer. To cover the cost of creating free embroidery patterns and video tutorials for this blog, I do sometimes link to products. Please assume these links are affiliate links. If you choose to buy through my links then THANK YOU – it will make it possible for me to keep doing this.

What’s next?
If you’re in the mood to explore more hand embroidery stitches, check out the Stitches and Techniques page for the list of other fantastic stitches available on my blog. From timeless classics to modern twists, a whole world of stitches is waiting for you to explore and master. So, grab your hoop and needle, and let’s stitch our way to creative bliss!
Don’t miss a thing!
Follow me on YouTube, Instagram, Facebook, and Pinterest. Or why not subscribe to Practical Embroidery newsletter and get embroidery tips straight to your inbox every few weeks?
Need More Guidance?
The top 10 hand embroidery stitches to learn is a free online course created for beginners.