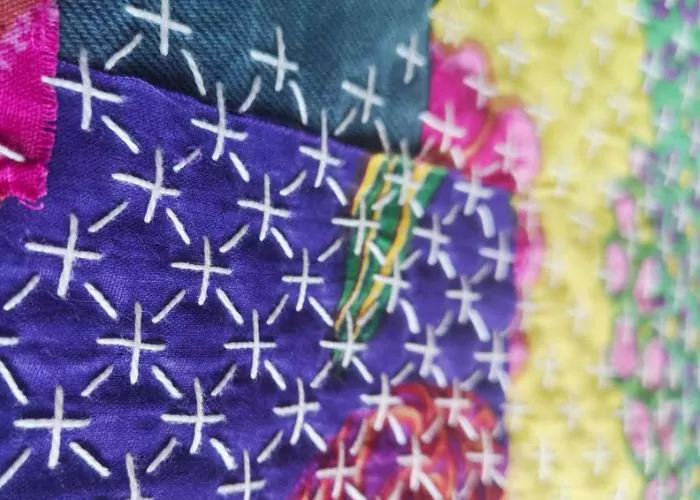
Overlock Stitch
Overlock stitch hand sewing is a variation of the Blanket stitch. Visually, it might look like a Closed blanket stitch, but the embroidery technique differs. Besides that, the back side of these two stitches looks different.
This stitch is called Overlock stitch because the stitch looks like the one made with an overlock sewing machine used for finishing the edges of the garments.
Other names of the stitch
Overlock stitch hand sewing is also called a Merrow stitch or Overlocking stitch.


Applications Of The Overlock Stitch
Overlock stitch hand sewing is a decorative and secure way to finish the edges of blankets, garments, or home textiles. You can often see vintage blankets with the edges of the Overlock stitch.
Besides the edging, you can use this stitch for border designs or decorative outlines in hand embroidery projects.
More Variations Of The Blanket Stitch
Learn how to embroider Overlock Stitch
Follow the step-by-step tutorial with detailed photos below, and you will learn the Overlock Stitch quickly. If you are a visual learner, watch a video lesson in the tutorial or on the Practical Embroidery YouTube channel to learn this hand embroidery stitch faster.
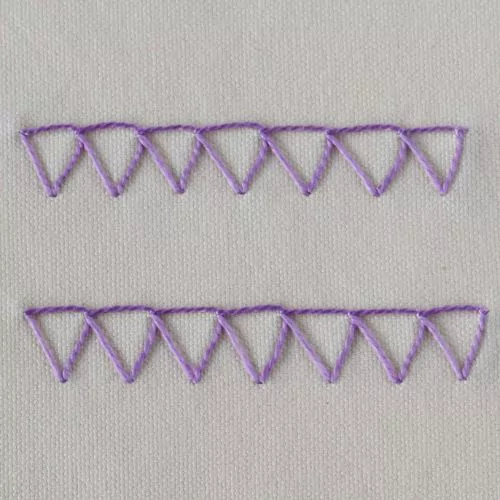
How To Embroider Overlock Stitch By Hand
Step-by-step hand embroidery tutorial
Instructions
1. To embroider an Overlock stitch by hand, you must use a double thread and knot both ends of the thread together. Mark two parallel lines (or one line below the edge you want to secure).

2. Push the needle up on the top line and stitch to the line marked below. Come up on the upper mark and pass the needle between the threads. This will form a triangle. Be careful not to pass the needle in the middle of the thread.

3. Pull the thread to tighten the loop. Make one more stitch and pass the needle between the treads.

4. Pull the thread to tighten the loop.

5. Repeat the steps until the edging is finished.
Video tutorial

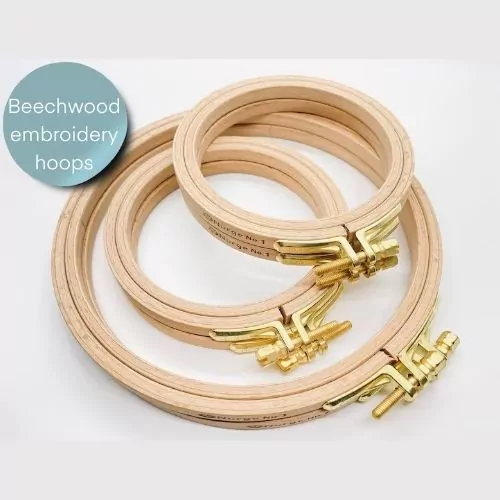
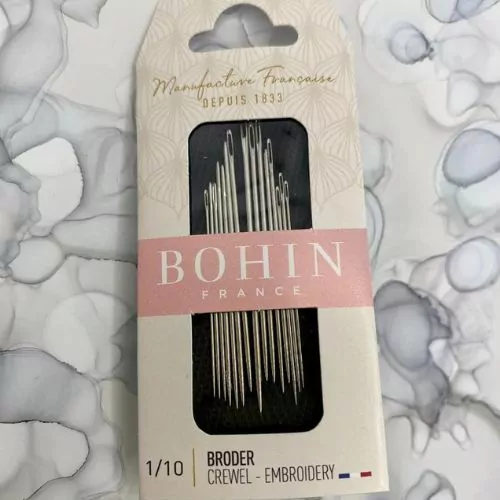
Tools and materials I used for this sampler
Disclaimer. To cover the cost of creating free embroidery patterns and video tutorials for this blog, I do sometimes link to products. Please assume these links are affiliate links. If you choose to buy through my links then THANK YOU – it will make it possible for me to keep doing this.

What’s next?
If you’re in the mood to explore more hand embroidery stitches, check out the Stitches and Techniques page for the list of other fantastic stitches available on my blog. From timeless classics to modern twists, a whole world of stitches is waiting for you to explore and master. So, grab your hoop and needle, and let’s stitch our way to creative bliss!
Don’t miss a thing!
Follow me on YouTube, Instagram, Facebook, and Pinterest. Or why not subscribe to Practical Embroidery newsletter and get embroidery tips straight to your inbox every few weeks?
Need More Guidance?
The top 10 hand embroidery stitches to learn is a free online course created for beginners.