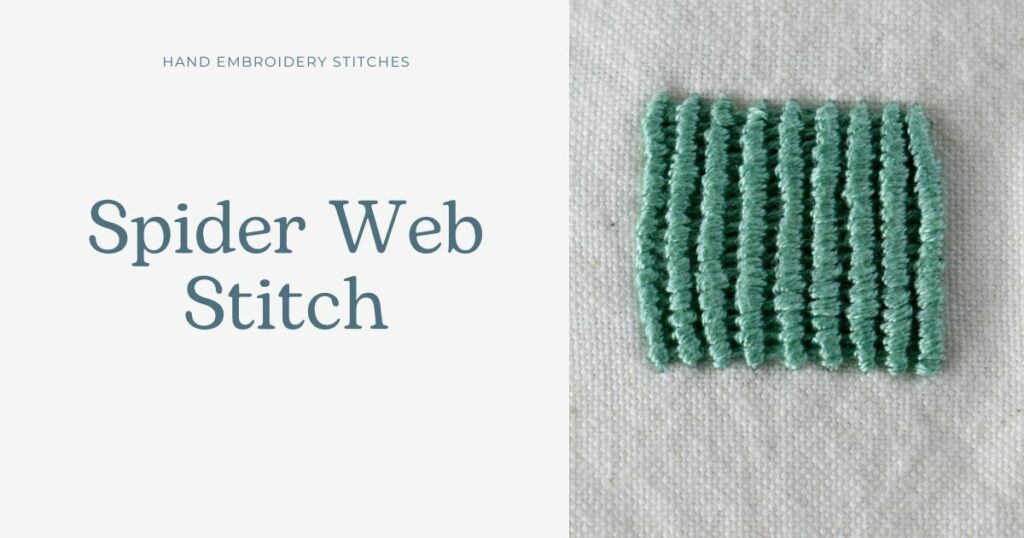
Spider Web Stitch
Spider Web Stitch is a hand embroidery filling technique from the Weave Stitch family. The embroidery method is the same as in Whipped Spider Wheel – first, we create a base and then add whipping stitches. But this time we are not moving in circles, but filling a delimited area with rows.
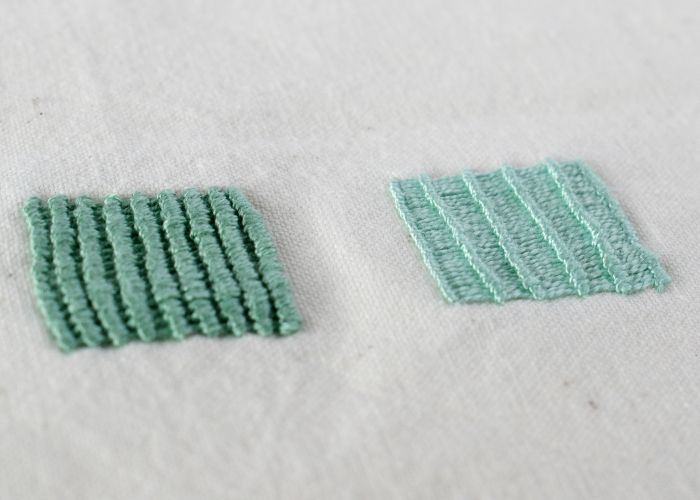
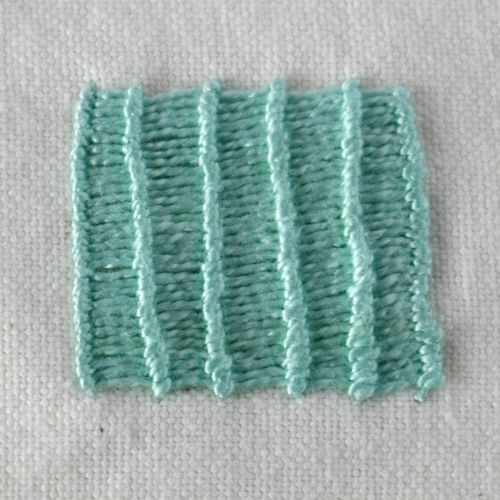
The final result of the stitch will depend on the threads you choose and the spacing between the stitches of the base layer.
For example, for the square on the left in my sampler, I used six strands of embroidery floss. Additionally, I positioned the base layer stitches close to one another. This resulted in densely ribbed, raised filling.
On the other hand, the right square of the sampler is stitched with a pearl cotton thread, and the foundational stitches are widely spaced. This results in less ribbed, flatter filling.
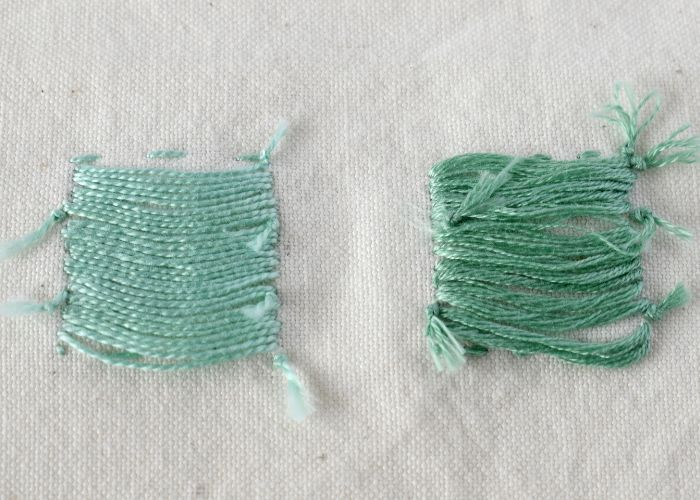
All the whipping is done in the same direction; therefore, on the reverse side of the fabric, you will see the jumping threads for each row.
Applications of the Spider Web Stitch
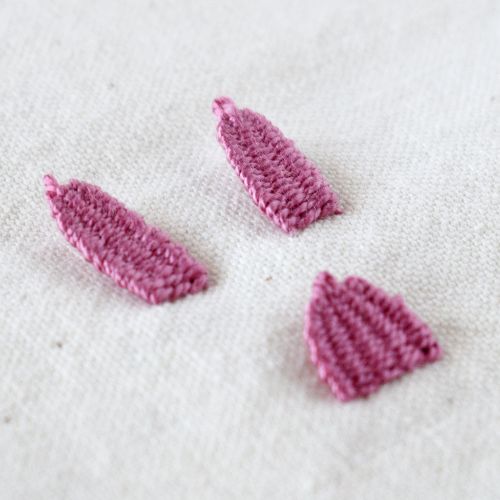
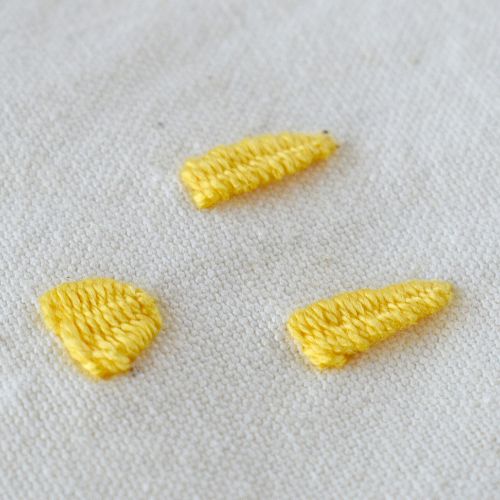
This embroidery technique creates a beautiful, textured ribbed pattern and is excellent for dense, textural fillings.
You can use this decorative surface embroidery stitch to fill various shapes that require volume and texture. Try using it for leaves in botanical embroidery, sea shells in marine designs, or for woven objects, such as hats, rugs, or baskets, when depicting home settings.
More stitches from the Weave Stitch family

Learn how to embroider Spider Web Stitch
Follow the step-by-step tutorial with detailed photos below, and you will learn the Spider Web Stitch quickly. If you are a visual learner, watch a video lesson in the tutorial or on the Practical Embroidery YouTube channel to learn this hand embroidery stitch faster.
How to embroider Spider Web Stitch
Step-by-step hand embroidery tutorial
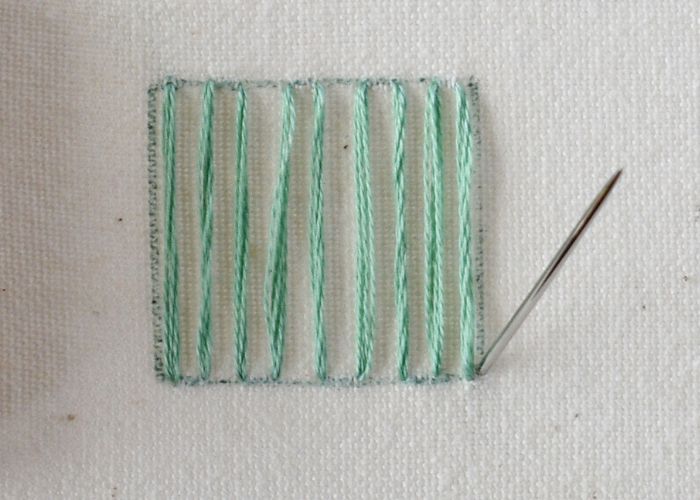
1. Start with long vertical stitches that will create a base for the stitch. Fill the shape with parallel, equally spaced stitches.
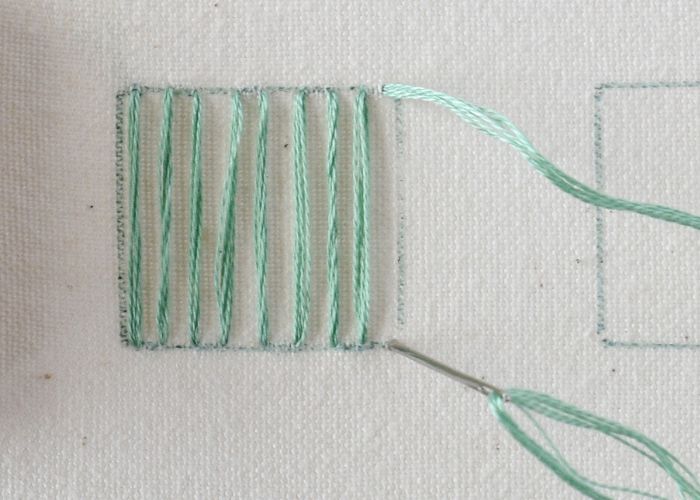
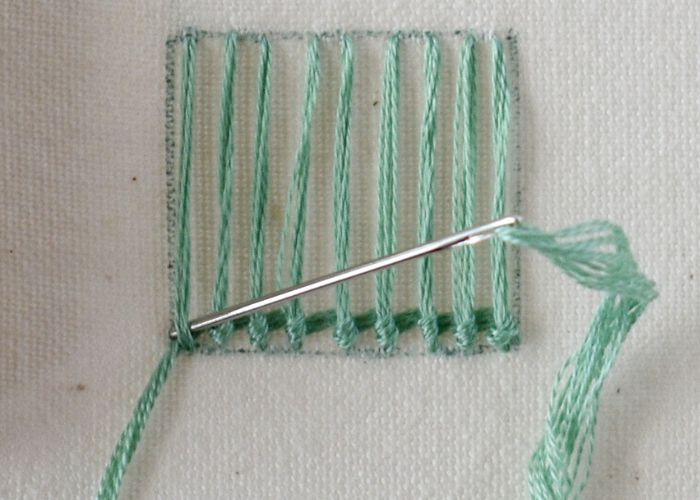
2. Take the needle up on the lower right corner of the design. At this point, you can change the color of the thread. Also, you can switch to a blunt tapestry needle that is more handy for lacing. Otherwise, you can use the back of the needle to avoid snagging the thread or accidentally piercing the fabric.
3. To create a ribbed pattern, you will need to wrap the lacing thread around each of the base stitches. To start, pass the needle under the first stitch, over the first stitch, and then under both the first and second stitches.
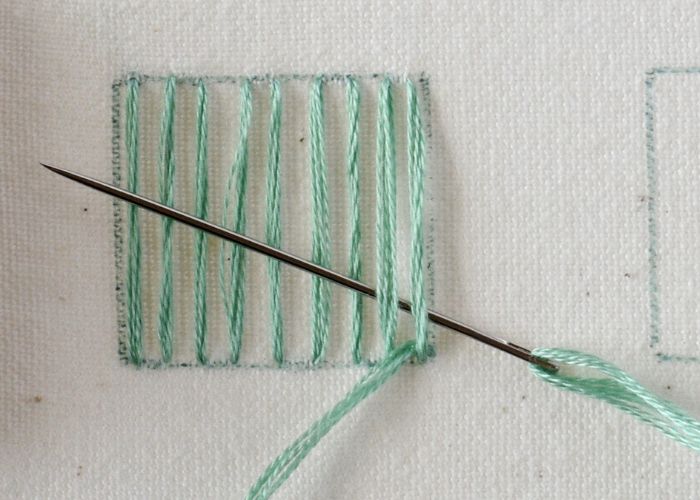
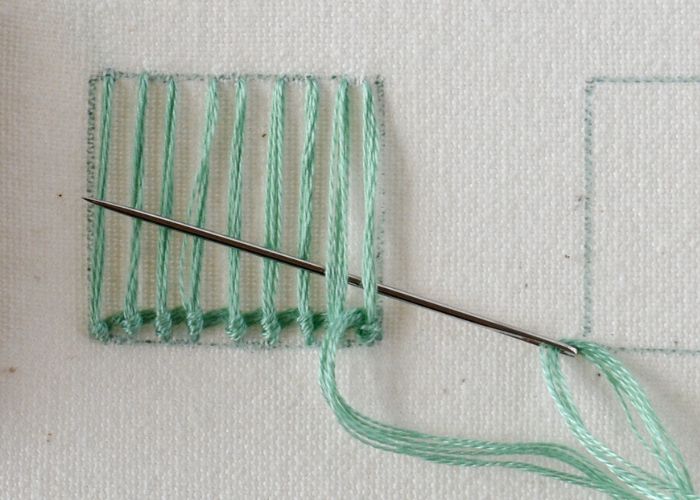
4. Then, wrap the second stitch and pass the needle under the second and third vertical stitches.
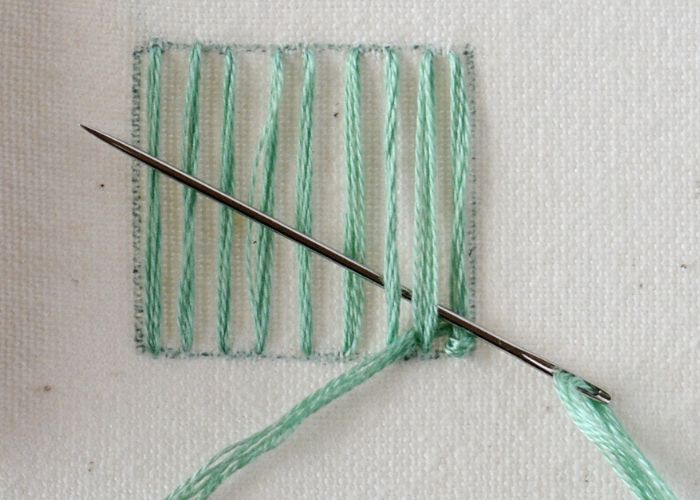
5. Repeat these steps to wrap each vertical thread.
6. After the last stitch is wrapped, pass the needle to the back and pull all the thread to the reverse side.
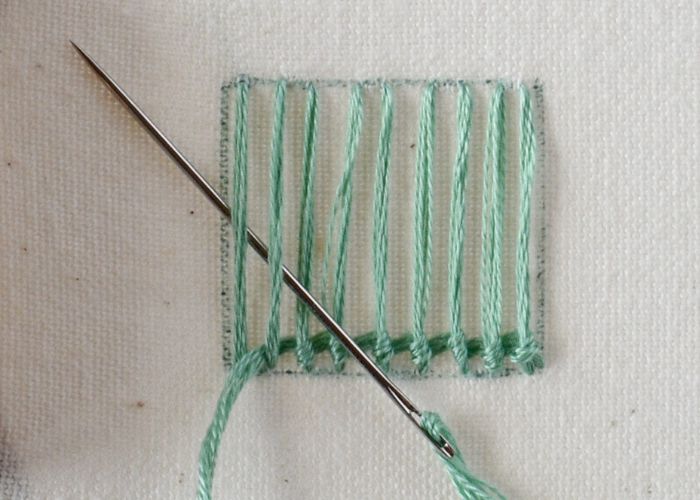
7. Take the needle back up on the right side of the design and repeat the wrapping of each base stitch.
8. Add a row of wrapping stitches after a row, gently pushing the wrapped threads down to maintain a constant density of the filling.
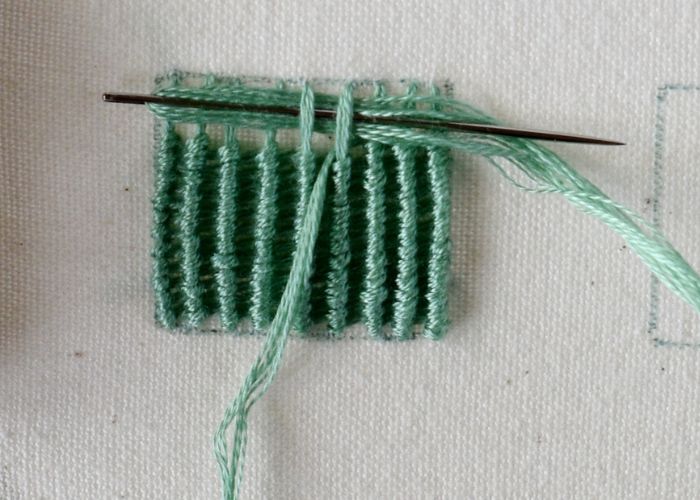
9. Note that a different number of base stitches and a diverse thread will result in a differently looking Spider Web Stitch filling.

Video tutorial
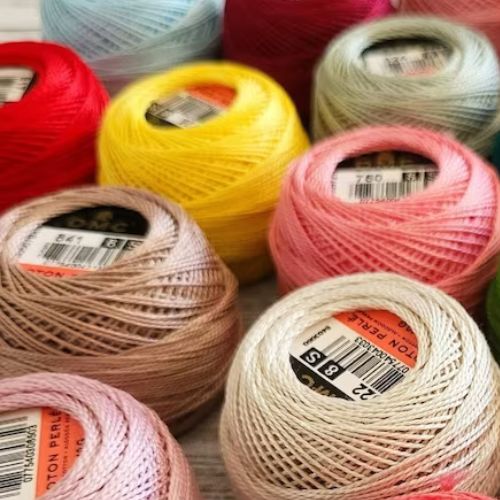
Tools and materials I used for this sampler
Disclaimer. To cover the cost of creating free embroidery patterns and video tutorials for this blog, I do sometimes link to products. Please assume these links are affiliate links. If you choose to buy through my links then THANK YOU – it will make it possible for me to keep doing this.


What’s next?
If you’re in the mood to explore more hand embroidery stitches, check out the Stitches and Techniques page for the list of other fantastic stitches available on my blog. From timeless classics to modern twists, a whole world of stitches is waiting for you to explore and master. So, grab your hoop and needle, and let’s stitch our way to creative bliss!
Don’t miss a thing!
Follow me on YouTube, Instagram, Facebook, Flipboard, and Pinterest. Or why not subscribe to Practical Embroidery newsletter and get embroidery tips straight to your inbox every few weeks?
Need More Guidance?
The top 10 hand embroidery stitches to learn is a free online course created for beginners.